要点:
1.为通过循环遍历的方式,为同组的每一个对象定义相同的事件时,不要每次都通过临时创建一个匿名事件,来将对象绑定事件,而是通过调用命名函数的方式
2.这个例子的lastPosition注意定义一个全局变量,offsetLeft的距离是所调用的对象,距离浏览器窗口的左边的距离,不是固定窗口
代码:
<!DOCTYPE html>
<html lang="en">
<head>
<meta charset="UTF-8">
<title>Document</title>
<style>
* {
margin: 0;
padding: 0
}
ul {
list-style: none
}
body {
background-color: #333;
}
.nav {
width: 800px;
height: 42px;
margin: 100px auto;
background: url(images19/rss.png) right center no-repeat;
background-color: #fff;
border-radius: 10px;
position: relative;
}
.nav li {
width: 83px;
height: 42px;
text-align: center;
line-height: 42px;
float: left;
cursor: pointer;
}
.nav span {
position: absolute;
top: 0;
left: 0;
width: 83px;
height: 42px;
background: url(images19/cloud.gif) no-repeat;
}
ul {
position: relative;
}
</style>
</head>
<body>
<div class="nav">
<span id="cloud"></span>
<ul id="navBar">
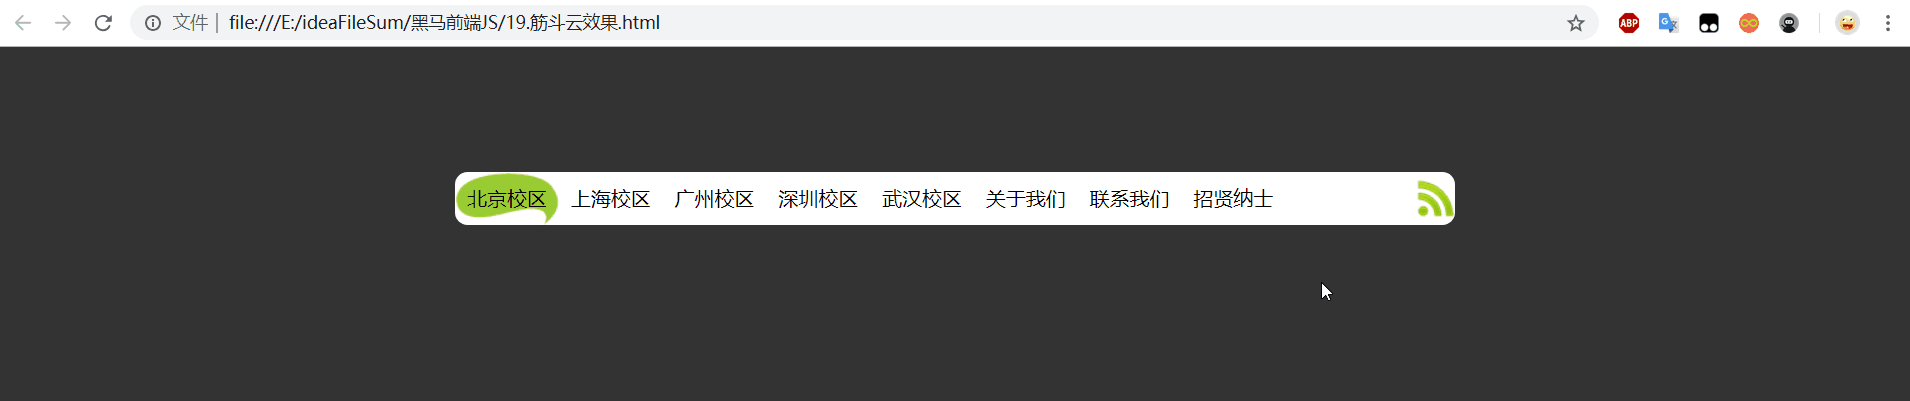
<li>北京校区</li>
<li>上海校区</li>
<li>广州校区</li>
<li>深圳校区</li>
<li>武汉校区</li>
<li>关于我们</li>
<li>联系我们</li>
<li>招贤纳士</li>
</ul>
</div>
<script type="text/javascript">
function myGet(id){
return document.getElementById(id);
}
var cloud = myGet("cloud");
// 获取云彩对象
var liObjs = myGet("navBar").children;
// 获取所有的li标签对象
for(var i=0;i<liObjs.length;i++){
liObjs[i].onmouseover = mouseoverHandle;
liObjs[i].onmouseout = mouseoutHandle;
liObjs[i].onclick = clickHandle;
}
// 通过循环为每个li标签注册鼠标进入鼠标离开和点击事件
// 通过命名函数,节省内存空间,不用每次都开辟空间
function mouseoverHandle(){
animate(cloud,this.offsetLeft);
}
var lastPosition = 0;
// 一定要在点击事件的处理函数外部声明这个变量,才可以在后面离开函数中调用这个变量
function clickHandle(){
lastPosition = this.offsetLeft;
// 记录当前位置
}
function mouseoutHandle(){
animate(cloud,lastPosition);
// 回到点击事件标记的位置
}
function animate(element,target){
clearInterval(element.intervalName);
// 每次点击移动按钮的时候,清理定时器,将原来的定时器清理掉,不然会叠加多线程多个定时器,加快速度
element.intervalName = setInterval(function(){
var current = element.offsetLeft;
// 通过.style.left不能获取style标签里面的值,只能获取到内部样式的值
// 而.offsetLeft这个值,可以获取到任何位置,div这个属性的.left的值,不带单位
var step = 80;
// 每次增加80像素
step = current<target?step:-step;
// 判断是在目标的左边还是右边,从而判断是前进还是后退
current += step;
if(Math.abs(target-current)>Math.abs(step)){
element.style.left = current + "px";
}else{
clearInterval(element.intervalName);
element.style.left = target + "px";
// 当执行到最后一步时,如果不满增加的长度,而再一次执行时,而又超过目标像素的距离,
// 所以设置直接一步到目标距离,而不会
}
},30)
}
</script>
</body>
</html>效果: