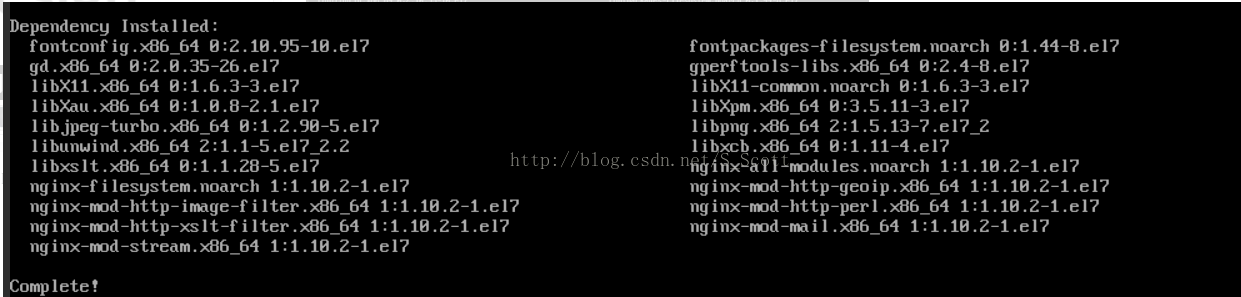
1. 安装及启动nginx
输入yum install nginx命令进行nginx的安装,当需要确认时输入”y“确认。
yum install nginx
安装完成后,输入service nginx start启动nginx服务。
service nginx start

输入wget http://127.0.0.1测试nginx服务。
wget http://127.0.0.1

2. 安装PHP及相应组件
输入yum install php php-fpm命令进行PHP的安装,当需要确认时输入”y“确认。
yum install php php-fpm

输入service php-fpm start启动php-fpm服务,并使用命令cat /etc/php-fpm.d/www.conf |grep -i 'listen ='查看php-fpm配置。

service php-fpm start

cat /etc/php-fpm.d/www.conf |grep -i 'listen ='

上图可见php-fpm的默认配置的监听端口为9000,现在需要修改配置将php解析的请求转发到127.0.0.0:9000处理即可。
使用命令nginx -t查找nginx配置文件,并使用vi命令修改该配置文件:
nginx -t
vi /etc/nginx/nginx.conf

在配置文件中找到以下片段,修改红色部分。(按任意键(或者i键)行文本编辑,以“#”开头的为注释行。编辑完成后,按Esc键,在输入:wq,保存并退出)

server {
  listen       80;
  root   /usr/share/nginx/html;
  server_name  localhost;

  #charset koi8-r;
  #access_log  /var/log/nginx/log/host.access.log  main;

  location / {
      index  index.html index.htm;
  }

  #error_page  404              /404.html;

  # redirect server error pages to the static page /50x.html
  #
  error_page   500 502 503 504  /50x.html;
  location = /50x.html {
      root   /usr/share/nginx/html;
  }

  # pass the PHP scripts to FastCGI server listening on 127.0.0.1:9000
  #
  location ~ .php$ {
      fastcgi_pass   127.0.0.1:9000;
      fastcgi_index   index.php;
      fastcgi_param  SCRIPT_FILENAME  $document_root$fastcgi_script_name;
      include        fastcgi_params;
  }

}
修改后保存,输入service nginx restart重启nginx服务。

service nginx restart

在web目录下创建index.php:

vi /usr/share/nginx/html/index.php

用vi命令进行编辑,写入以下信息:

Hello World

在浏览器中,访问服务器公网IP+php网页名称查看环境配置是否成功,如果页面可以显示“hello world”,说明配置成功
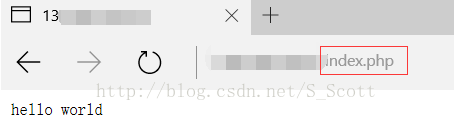
注意:刚买的阿里云服务器要配置安全组,不然公网在浏览器中打不开
