大家在玩的时候 一定要使用ningx 1.9以上版本啊!
下载:wget https://releases.hashicorp.com/consul/0.7.5/consul_0.7.5_linux_amd64.zip
解压: yum -y install unzip
unzip consul_0.7.5_linux_amd64.zip
安装:./consul 直接运行

看到这个:
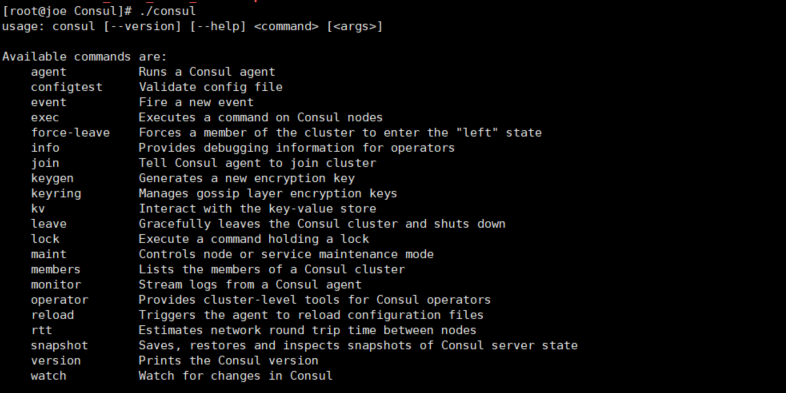
成功!
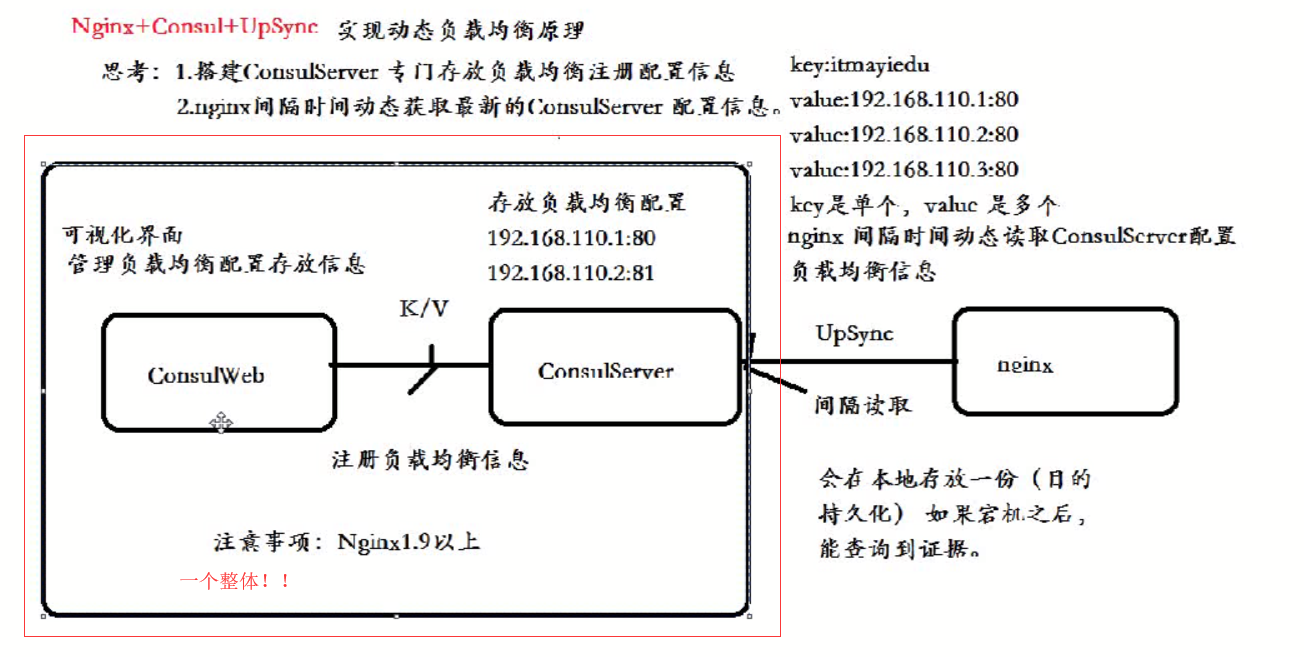
consul 是一个整体 包括 图形化界面
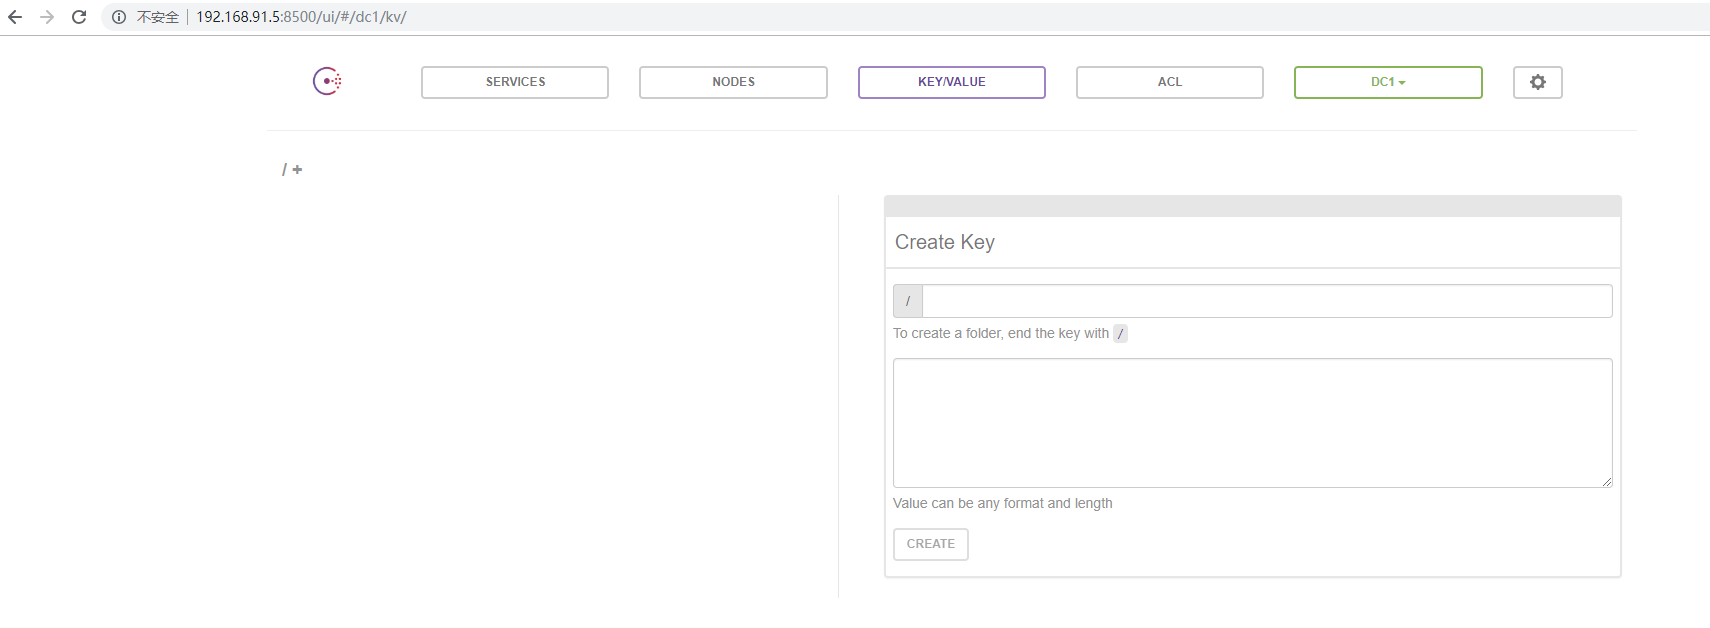
启动: ./consul agent -dev -ui -node=consul-dev -client=192.168.91.5
看到如下:

访问:
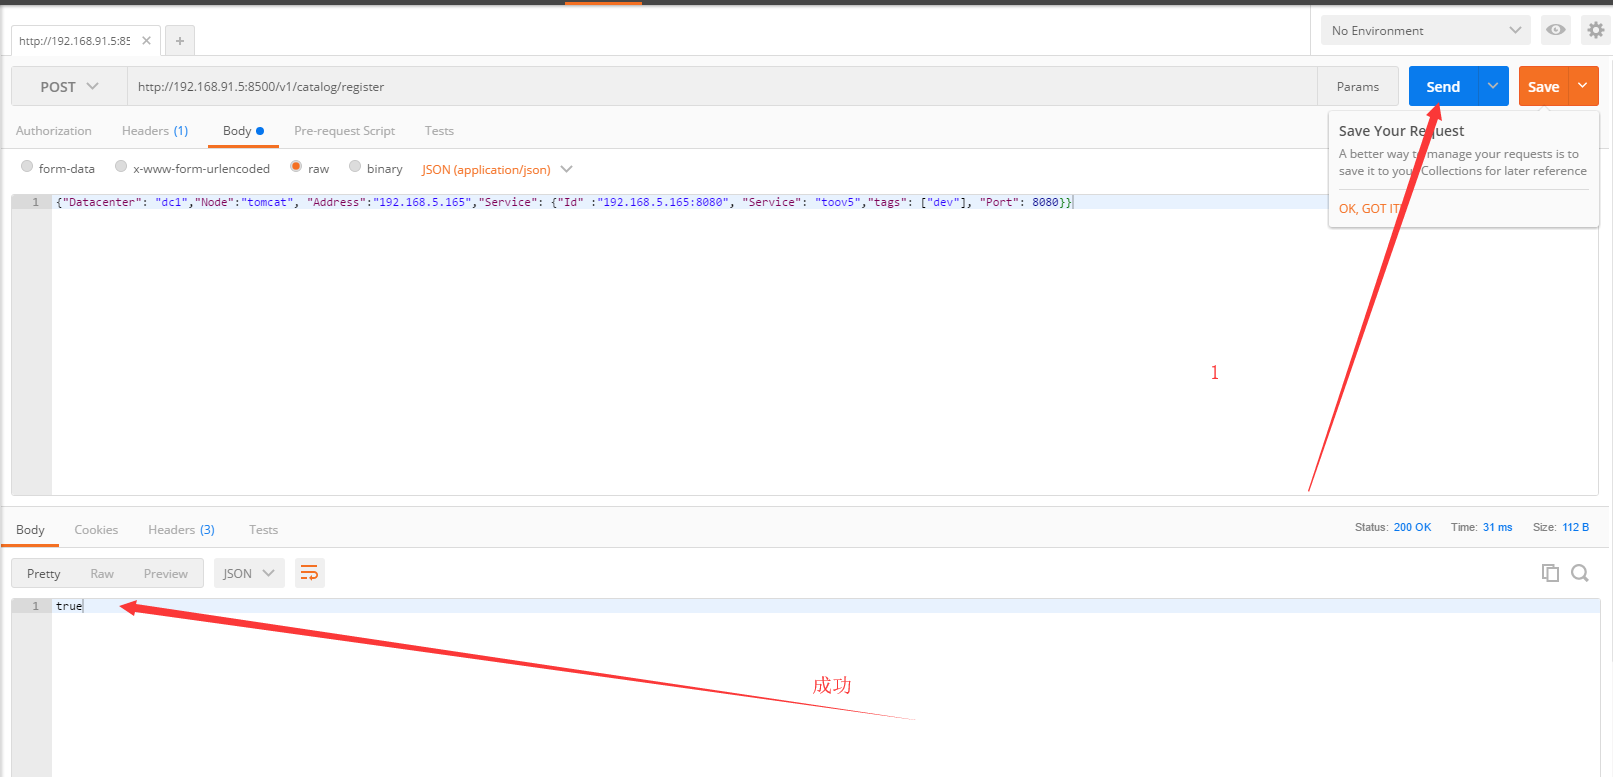
使用PostMan
注册接口: http://192.168.91.5:8500/v1/catalog/register
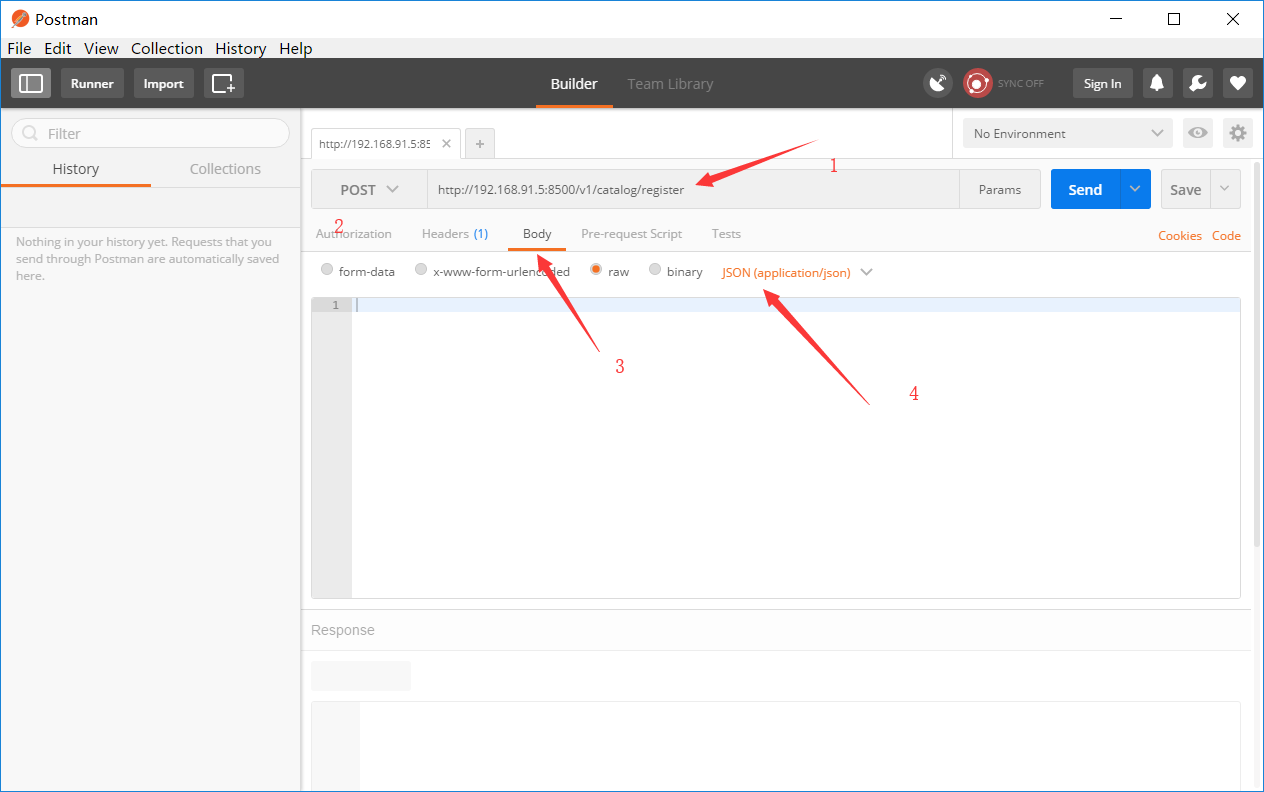
参数1
{"Datacenter": "dc1","Node":"tomcat", "Address":"192.168.5.165","Service": {"Id" :"192.168.5.165:8080", "Service": "toov5","tags": ["dev"], "Port": 8080}}
参数2
{"Datacenter": "dc1", "Node":"tomcat", "Address":"192.168.5.165","Service": {"Id" :"192.168.5.165:8081", "Service": "toov5","tags": ["dev"], "Port": 8081}}
Datacenter指定数据中心,Address指定服务IP,Service.Id指定服务唯一标识,Service.Service指定服务分组,Service.tags指定服务标签(如测试环境、预发环境等),Service.Port指定服务端口。
参数1情况:
查看:
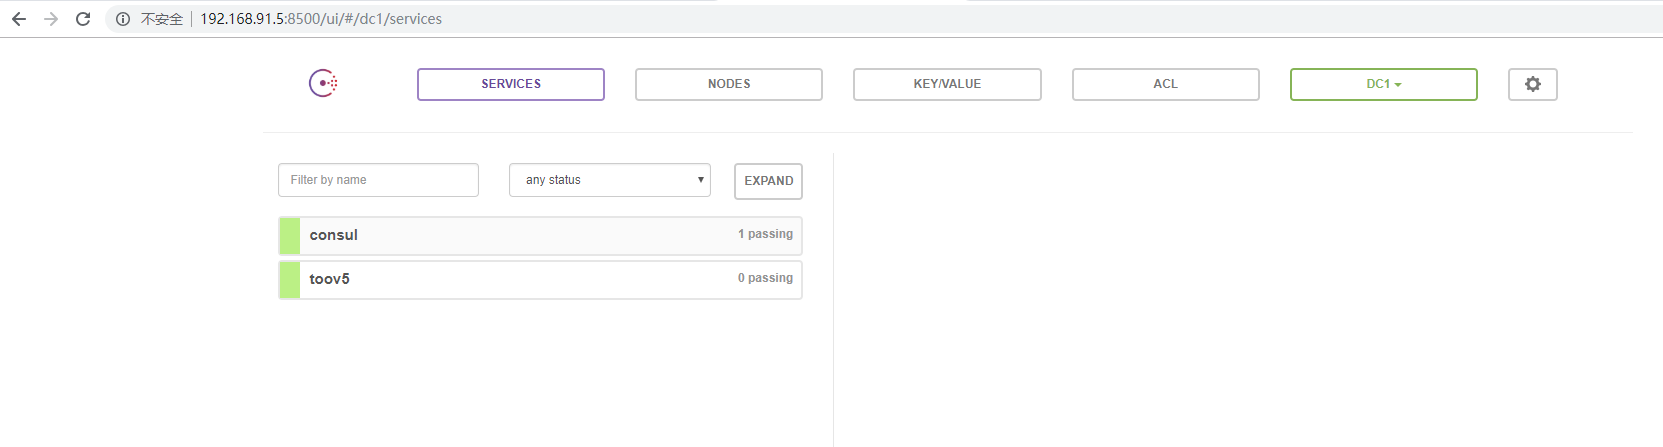
发现Http服务: