访问控制
①.在location段设置
`[root@lizihan ~]# vim /usr/local/nginx/conf/nginx.conf
 allow 172.16.11.14/32;        //允许172.16.11.14访问
 deny 172.16.11.15/32;        //拒绝172.16.11.15访问
测试
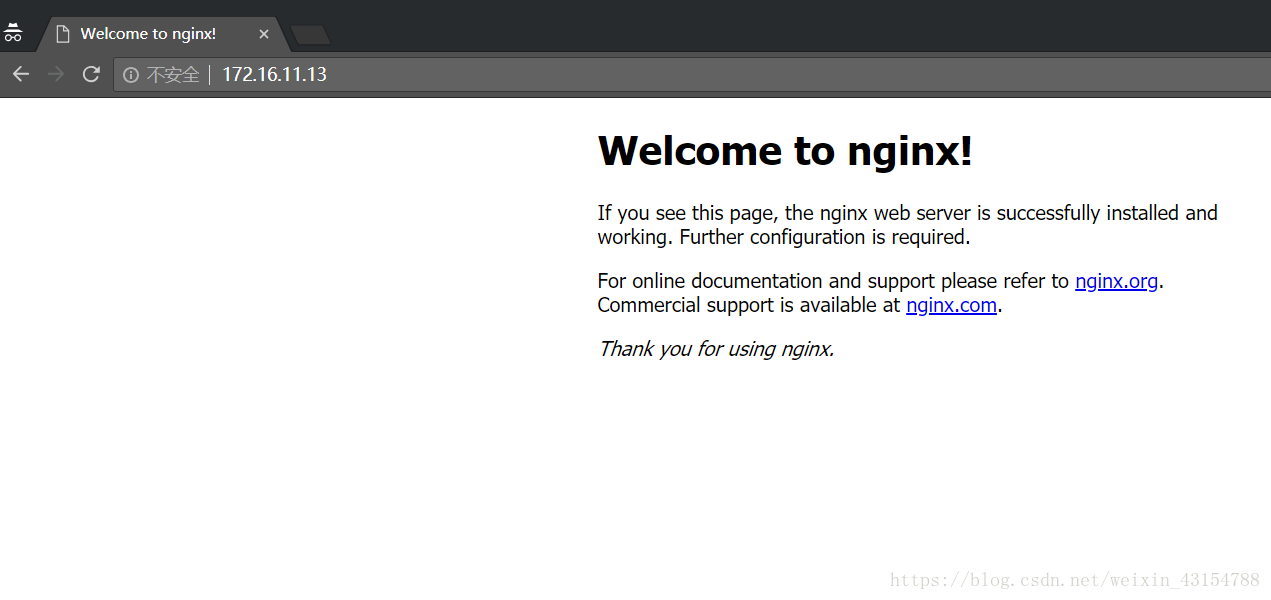
在172.16.11.14上访问
[root@lizihan ~]# curl 172.16.11.13
<!DOCTYPE html>
<html>
<head>
<title>Welcome to nginx!</title>
<style>
    body {
        width: 35em;
        margin: 0 auto;
        font-family: Tahoma, Verdana, Arial, sans-serif;
    }
</style>
</head>
<body>
<h1>Welcome to nginx!</h1>
<p>If you see this page, the nginx web server is successfully installed and
working. Further configuration is required.</p>

<p>For online documentation and support please refer to
<a href="http://nginx.org/">nginx.org</a>.<br/>
Commercial support is available at
<a href="http://nginx.com/">nginx.com</a>.</p>

<p><em>Thank you for using nginx.</em></p>
</body>
</html>
在172.16.11.15上访问
[root@lizihan ~]# curl 172.16.11.13
<html>
<head><title>403 Forbidden</title></head>
<body bgcolor="white">
<center><h1>403 Forbidden</h1></center>
<hr><center>nginx/1.14.0</center>
</body>
</html>
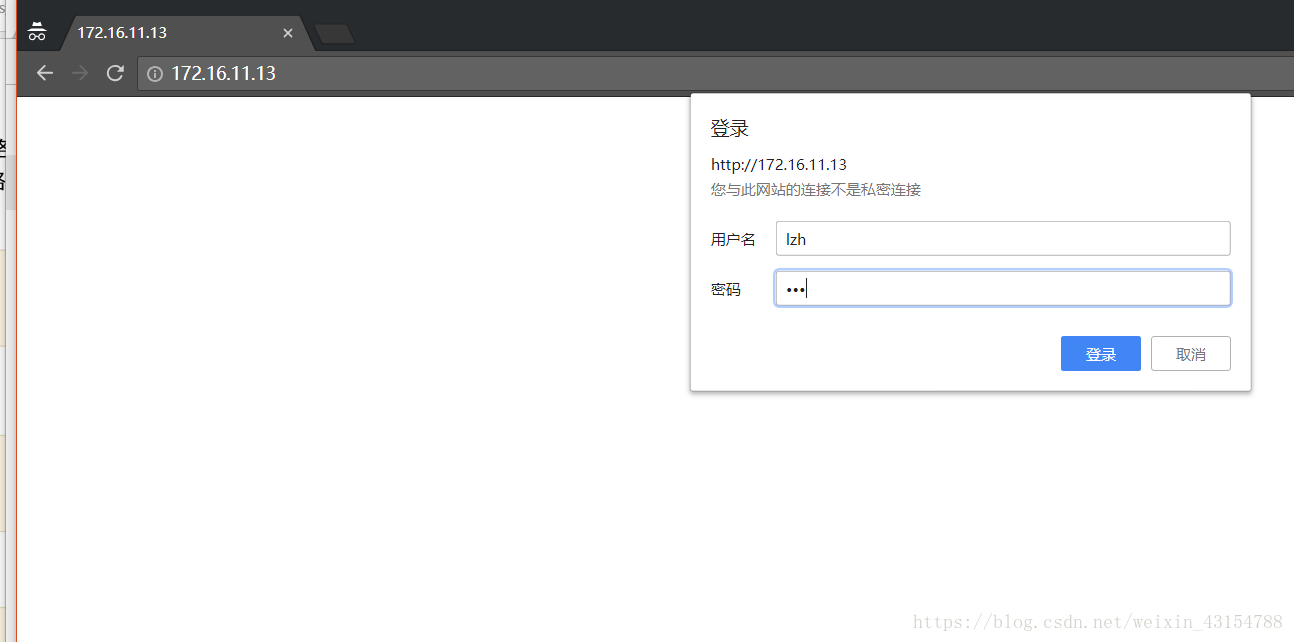
基于用户认证
①.安装htpasswd命令,然后生成用户和密码
[root@lizihan ~]# yum -y install httpd-tools
[root@lizihan ~]# touch /usr/local/nginx/pass
[root@lizihan ~]# htpasswd -c -m /usr/local/nginx/pass lzh     //为用户lzh生成密码,这里用户不是系统用户
New password:
Re-type new password:
Adding password for user lzh
[root@lizihan ~]# cat /usr/local/nginx/pass
lzh:$apr1$4o0wpgvQ$N97Tt5oRWkHJwmJRj3X8E0
②.修改配置文件
[root@lizihan ~]# vim /usr/local/nginx/conf/nginx.conf
auth_basic "haha";            //欢迎信息
auth_basic_user_file "/usr/local/nginx/pass";           //放用户密码的文件
[root@lizihan ~]# nginx -s reload
测试
配置证书
- 172.16.11.15(CA)
①.生成一对密钥
[root@lizihan ~]# cd /etc/pki/CA/
[root@lizihan CA]# (umask 077;openssl genrsa -out private/cakey.pem 2048)               //生成密钥
Generating RSA private key, 2048 bit long modulus
.........................................................+++
....................................+++
e is 65537 (0x10001)
[root@lizihan CA]# openssl rsa -in private/cakey.pem -pubout         //提取公钥
writing RSA key
-----BEGIN PUBLIC KEY-----
MIIBIjANBgkqhkiG9w0BAQEFAAOCAQ8AMIIBCgKCAQEAtsrXOuQXSQSv0UTTFycm
1SC9Fs6whSEXkKLdmVr6VLrpfqPky/X4B4TjbXFNrG5GFeVMfSztvuNpJH89PIsO
XHMAIODBDqt6IiVqynClWD0kzR+w+e9HjFz0LO9r0aS+jui2nrssKcRm0p84Fm9K
h062bujEvYqkRWdIwBCJ5zv7bN5D+KNcnc9I3oOfbMTIqz1tCe7LrWoE2yJsAeH7
my0OVU4rjxRLCnmuvXOO0jwBUT0x4B+fmsvx0i2pjxJhNlxHgx8niTTEpIKtPij6
mVdPWUO2aVvtmljgPbhpsRweAfiLVmHOxYPL6Q1l6b7rsgQ/HDPB7eKCZXGh0gb+
lQIDAQAB
-----END PUBLIC KEY-----
②.生成自签署证书
`[root@lizihan CA]# openssl req -new -x509 -key private/cakey.pem -out cacert.pem -days 7     //生成7天的自签署证书
You are about to be asked to enter information that will be incorporated
into your certificate request.
What you are about to enter is what is called a Distinguished Name or a DN.
There are quite a few fields but you can leave some blank
For some fields there will be a default value,
If you enter '.', the field will be left blank.
-----
Country Name (2 letter code) [XX]:CN        //国家
State or Province Name (full name) []:HB       //省
Locality Name (eg, city) [Default City]:WH          //城市
Organization Name (eg, company) [Default Company Ltd]:www.abc.com        //这里写公司域名
Organizational Unit Name (eg, section) []:www.abc.com         //同上
Common Name (eg, your name or your server's hostname) []:www.abc.com          //显示的名称
Email Address []:[email protected]           //邮箱地址
[root@lizihan CA]# openssl x509 -text -in cacert.pem              //读出公钥的内容
[root@lizihan CA]# touch index.txt && echo 01 > serial
- 172.16.11.13(客户端,也就是nginx的服务器)
①.生成密钥
[root@lizihan ~]# cd /usr/local/nginx/
[root@lizihan nginx]# mkdir ssl
[root@lizihan nginx]# cd ssl
[root@lizihan ssl]# (umask 077;openssl genrsa -out nginx.key 2048)     //生成密钥
Generating RSA private key, 2048 bit long modulus
.................+++
..................................................................................................+++
e is 65537 (0x10001)
②.生成证书签署请求
[root@lizihan ssl]# openssl req -new -key nginx.key -days 7 -out nginx.csr
You are about to be asked to enter information that will be incorporated
into your certificate request.
What you are about to enter is what is called a Distinguished Name or a DN.
There are quite a few fields but you can leave some blank
For some fields there will be a default value,
If you enter '.', the field will be left blank.
-----
Country Name (2 letter code) [XX]:CN              //国家
State or Province Name (full name) []:HB           //省
Locality Name (eg, city) [Default City]:WH          //城市
Organization Name (eg, company) [Default Company Ltd]:www.abc.com         //公司域名
Organizational Unit Name (eg, section) []:www.abc.com       //同上
Common Name (eg, your name or your server's hostname) []:nginx             //服务器名称
Email Address []:[email protected]        //邮箱地址

Please enter the following 'extra' attributes
to be sent with your certificate request
A challenge password []:1234        //密码
An optional company name []:nginx         //名称
③.客户端把证书签署请求文件发送给CA
[root@lizihan ssl]# scp nginx.csr [email protected]:/root
[email protected]'s password:
nginx.csr                                           100% 1090   845.0KB/s   00:00
- 172.16.11.15
①.签署客户端提交上来的证书
[root@lizihan CA]# openssl ca -in /root/nginx.csr -out nginx.crt -days 7
Using configuration from /etc/pki/tls/openssl.cnf
Check that the request matches the signature
Signature ok
Certificate Details:
        Serial Number: 1 (0x1)
        Validity
            Not Before: Oct 24 18:42:31 2018 GMT
            Not After : Oct 31 18:42:31 2018 GMT
        Subject:
            countryName               = CN
            stateOrProvinceName       = HB
            organizationName          = www.abc.com
            organizationalUnitName    = www.abc.com
            commonName                = nginx
            emailAddress              = [email protected]
        X509v3 extensions:
            X509v3 Basic Constraints:
                CA:FALSE
            Netscape Comment:
                OpenSSL Generated Certificate
            X509v3 Subject Key Identifier:
                F7:E6:13:08:0B:A8:F7:AD:8A:7B:E2:9E:CF:47:80:1A:DA:5D:37:C5
            X509v3 Authority Key Identifier:
                keyid:E5:01:00:BB:3A:12:6C:1D:69:2B:4A:4C:9C:B0:DD:0F:3F:B9:81:E1

Certificate is to be certified until Oct 31 18:42:31 2018 GMT (7 days)
Sign the certificate? [y/n]:y


1 out of 1 certificate requests certified, commit? [y/n]y
Write out database with 1 new entries
Data Base Updated
②.把签署好的证书发给客户端
[root@lizihan CA]# scp nginx.crt [email protected]:/usr/local/nginx/ssl/
[email protected]'s password:
nginx.crt                                           100% 4565     3.0MB/s   00:00
- 172.16.11.13
修改配置文件
[root@lizihan ssl]# vim /usr/local/nginx/conf/nginx.conf
    server {
        listen       443 ssl;
        server_name  www.abc.com;

        ssl_certificate      /usr/local/nginx/ssl/nginx.crt;
        ssl_certificate_key  /usr/local/nginx/ssl/nginx.key;

        ssl_session_cache    shared:SSL:1m;
        ssl_session_timeout  5m;

        ssl_ciphers  HIGH:!aNULL:!MD5;
        ssl_prefer_server_ciphers  on;

        location / {
            root   html;
            index  index.html index.htm;
    }
    }
    [root@lizihan ssl]# nginx -s reload
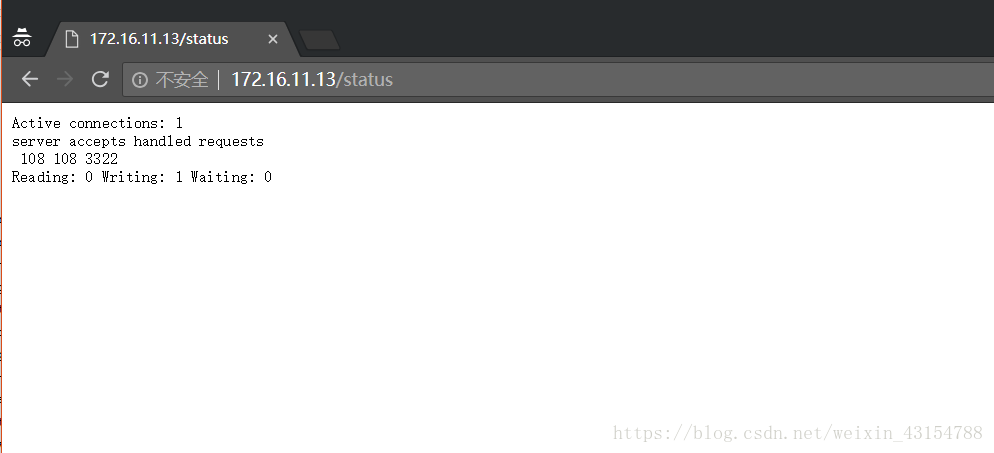
开启状态页面
配置文件
[root@lizihan ssl]# vim /usr/local/nginx/conf/nginx.conf
        location /status {
            stub_status on;
            allow 192.168.0.0/16;
            deny all;

        }
[root@lizihan ssl]# nginx -s reload
测试
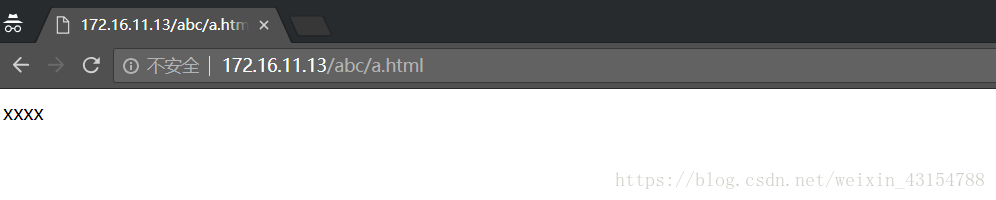
rewrite
[root@lizihan ~]# vim /usr/local/nginx/conf/nginx.conf
        location /abc {
            root   /opt;
            index index.html;
            rewrite ^/abc/(.*\.html) /aaa/$1 last;        //将/abc的url重写成/aaa的,并接上last往下面继续匹配
        }
        location /aaa {
            root /opt;
            index index.html;
            rewrite ^/aaa/(.*\.html) /ccc/$1 break;           //将/aaa的url重写成/ccc的,并停止匹配

        }
[root@lizihan ~]# mkdir /opt/{abc,aaa,ccc}
[root@lizihan ~]# echo 'xx' > /opt/abc/a.html && echo 'xxx' > /opt/aaa/a.html && echo 'xxxx' > /opt/ccc/a.html
使用/abc的url最终匹配出来的是/ccc的
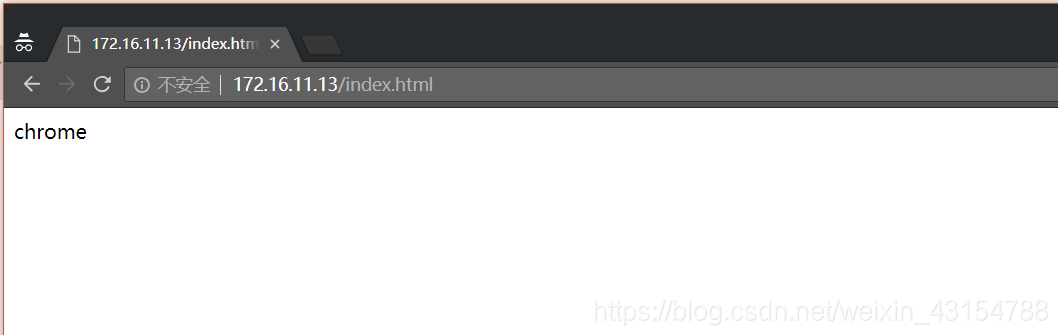
基于浏览器实现分离
①.修改配置文件
[root@lizihan ~]# vim /usr/local/nginx/conf/nginx.conf
        location / {
            root html;
           index index.html;
            if ($http_user_agent ~ Firefox){
               rewrite ^(.*)$ /firefox/$1 break;
            }
            if ($http_user_agent ~ Chrome) {
               rewrite ^(.*)$ /chrome/$1 break;
            }
        }

        error_page   500 502 503 504  /50x.html;
        location = /50x.html {
            root   html;
        }
    }
②.创建不同的访问网页文件
[root@lizihan ~]# mkdir /usr/local/nginx/html/firefox
[root@lizihan ~]# mkdir /usr/local/nginx/html/chrome
[root@lizihan ~]# echo 'firefox' > /usr/local/nginx/html/firefox/index.html
[root@lizihan ~]# echo 'chrome' > /usr/local/nginx/html/chrome/index.html
测试
在谷歌上访问
在火狐上访问

反向代理与负载均衡
| 服务器类型 | ip | 安装的服务 |
|---|---|---|
| 代理服务器 | 172.16.11.13 | nginx |
| 目标服务器 | 172.16.11.14 | nginx |
| 目标服务器 | 172.16.11.15 | httpd |
- 172.16.11.14
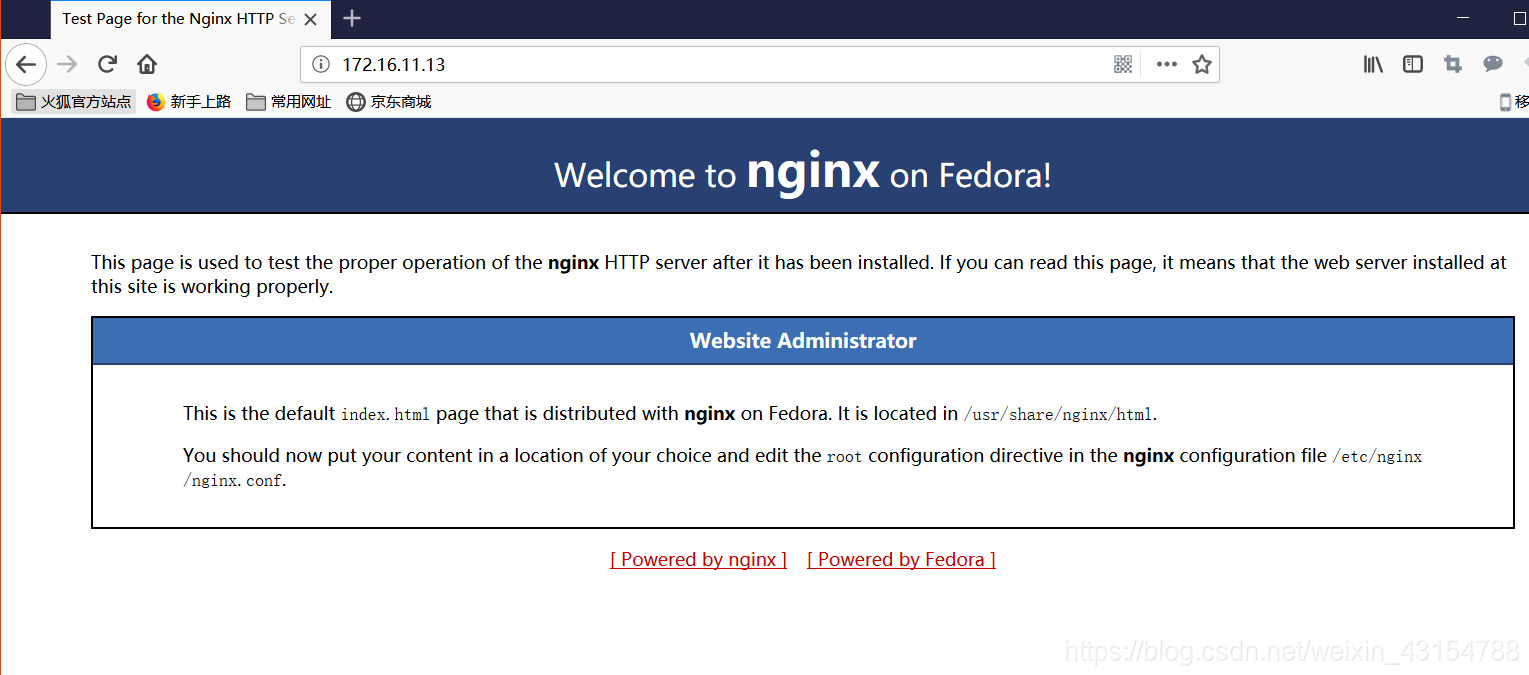
使用yum安装nginx并启动服务
[root@lizihan ~]# yum -y install epel-release
[root@lizihan ~]# yum -y install nginx
[root@lizihan ~]# systemctl start nginx.service
[root@lizihan ~]# ss -antl
State      Recv-Q Send-Q Local Address:Port               Peer Address:Port
LISTEN     0      128             *:80                          *:*
LISTEN     0      128             *:22                          *:*
LISTEN     0      100     127.0.0.1:25                          *:*
LISTEN     0      128            :::80                         :::*
LISTEN     0      128            :::22                         :::*
LISTEN     0      100           ::1:25                         :::*
- 172.16.11.15
①.使用yum安装httpd
[root@lizihan ~]# yum -y install epel-release
[root@lizihan ~]# yum -y install httpd
②.配置httpd网页文件并启动服务
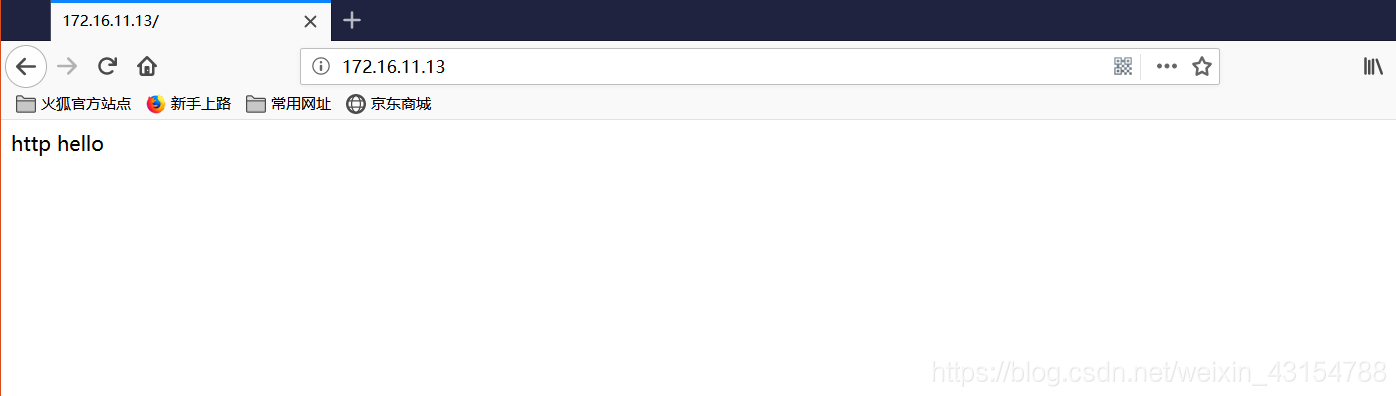
[root@lizihan ~]# echo 'http hello' > /var/www/html/index.html
[root@lizihan ~]# systemctl start httpd
[root@lizihan ~]# ss -antl
State      Recv-Q Send-Q Local Address:Port               Peer Address:Port
LISTEN     0      128             *:22                          *:*
LISTEN     0      100     127.0.0.1:25                          *:*
LISTEN     0      128            :::80                         :::*
LISTEN     0      128            :::22                         :::*
LISTEN     0      100           ::1:25                         :::*
- 172.16.11.13
修改配置文件
[root@lizihan ~]# vim /usr/local/nginx/conf/nginx.conf
upstream xx.com {                               //负载均衡配置在httpd段
    server 172.16.11.14:80 weight=1;
    server 172.16.11.15:80 weight=2;
}
        location / {
            root html;
            proxy_pass http://xx.com;                 //反向代理
            index index.html;
}
测试