==引子==
先请看几个使用Cinder开发的案例:
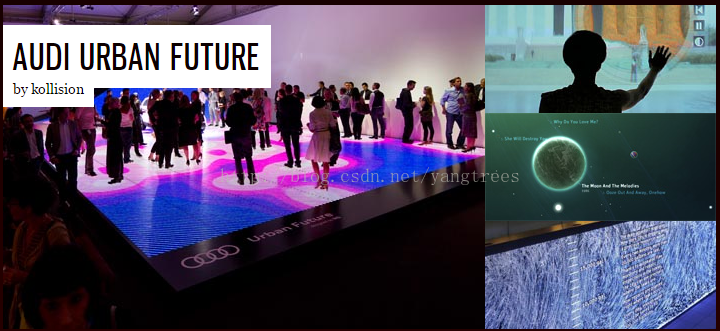
==Cinder简介==
Cinder是一个由社区开发,开源,高质量C++库,功能和Processing类似,主要是致力于绘图以及艺术化的表现,使用它就可以开发出各种绚丽的效果。其实Cinder是一个工具箱式的函数库,里面包含了图形、图像等等多种工具,使用时可以很轻松的信手拈来,而不必考虑其他。
官网简介:http://libcinder.org/about/
官方文档:http://libcinder.org/docs/dev/index.html
下载地址:http://libcinder.org/download/
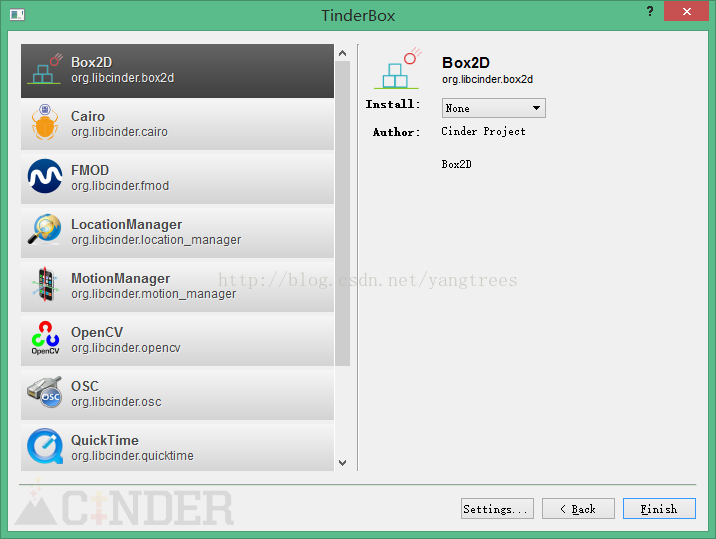
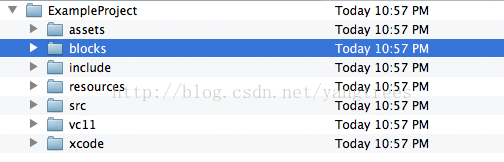
==Cinder建立工程==
在Cinder下载并解压缩完成后,在...\cinder_0.8.6_vc2012\tools\TinderBox-Win目录下会有一个TinderBox.exe,使用它可以很方便的建立一个Cinder工程,并且不用配置。使用TinderBox.exe建立工程,会出现以下提示:

Template:选择模板,一般应用程序都是Basic OpenGL,还可以建立屏保程序ScreenSaver或者Mac程序Cocoa OpenGL
Project Name: 不解释
Location: 不解释
Cinder Version: 在安装了不同版本Cinder的条件下,可以选择Cinder的版本,在Settings里面设置不同的Cinder版本对应的名称。
Environment:根据你的开发环境选择。
Create local git repository:部署git本地数据。

==代码解析==
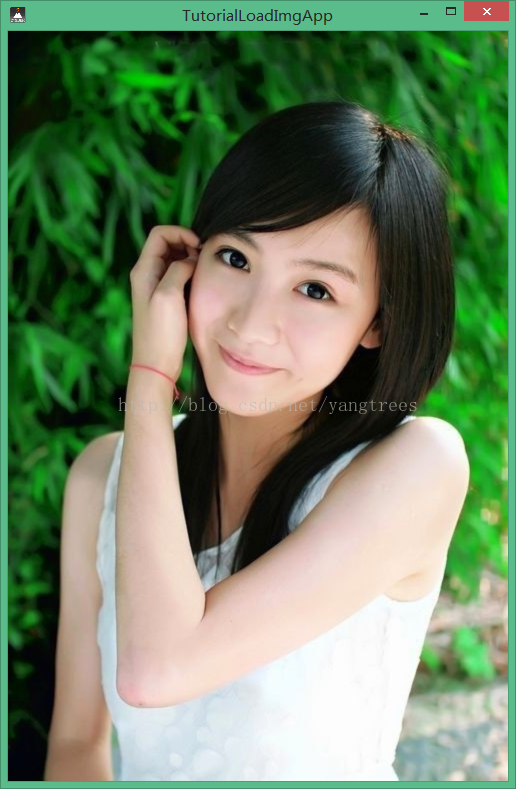
以读取并显示图像为例,对代码结构进行一个简要的说明。
跟脚本语言或者Processing类似,Cinder函数的结构主要有:
void setup(); 初始状态,载入资源等;
void update(); 每一帧更新一次;
void draw(); 在Update()结束后绘制;
只要在相应的位置编写代码就可以。还有其他一些功能模块:
void prepareSettings( Settings *settings );
void mouseDown( MouseEvent event );
void keyDown( KeyEvent event );
void fileDrop( FileDropEvent event );
...
也都比简单
==图像资源的载入和显示==
Cinder载入图像有两种方式:一种是Surface,另一种是Texture,
Surface侧重于图像处理,相当于OpenCV中的Mat,当然功能十分有限:cinder::ip
Texture侧重于显示,直接使用了GPU(基于OpenGL或者D3D):cinder::gl::Texture; cinder::dx::Texture

#include "cinder/app/AppNative.h"
#include "cinder/gl/gl.h"
#include "cinder/ImageIo.h"				//Loading and displaying images
#include "cinder/gl/Texture.h"			//displaying images

using namespace ci;
using namespace ci::app;
using namespace std;

class TutorialLoadImgApp : public AppNative {
  public:
	void prepareSettings( Settings *settings );
	void setup();
	void mouseDown( MouseEvent event );
	void keyDown( KeyEvent event );
	void update();
	void draw();

private:
	Surface mSurface1;
	gl::Texture mTexture1;
	Surface mSurface2;
	gl::Texture mTexture2;
};

void TutorialLoadImgApp::prepareSettings( Settings *settings ){

	mTexture1 = loadImage( loadAsset("girl000.jpg") );//这里载入是为了设置Window大小,真正载入图像需要在setup()
	settings->setWindowSize(mTexture1.getWidth(),mTexture1.getHeight());
	settings->setFrameRate( 60.0f );
}

void TutorialLoadImgApp::setup()
{
	//方式1:Load到Texture
	mTexture1 = loadImage( loadAsset("girl000.jpg") );
	//从Texture到Surface
	mSurface1 = Surface(mTexture1);

	//方式2:Load到Surface
	mSurface2 = loadImage( loadAsset("girl001.jpg") );
	//从Surface到Texture
	mTexture2 = gl::Texture(mSurface2);

	//方式3:载入网络图像
	//loadImage( loadUrl( "http://site.com/image.png" ) );
}

void TutorialLoadImgApp::mouseDown( MouseEvent event )
{
	if(event.isLeft()){
		//...
	}
}
void TutorialLoadImgApp::keyDown( KeyEvent event )
{
	if( event.getChar() == 'f' )
		setFullScreen( ! isFullScreen() );
}
void TutorialLoadImgApp::update()
{

}

void TutorialLoadImgApp::draw()
{
	// clear out the window with black
	gl::clear( Color( 0, 0, 0 ) );
	gl::draw( mTexture1 );

}

CINDER_APP_NATIVE( TutorialLoadImgApp, RendererGl )