有很多网友介绍Unity 创建并使用font的方法,这里总结一下备忘,同时网友的部分文章有一些小坑被我踩到,在这里记录一下,希望能帮助其他同学
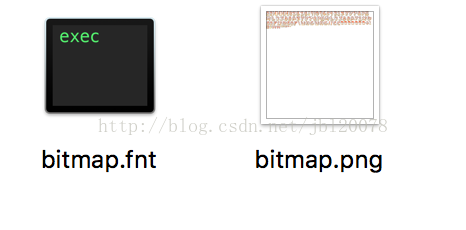
一、首先创建字体(ttf文件),网上有用BitMap工具的,也有在Mac系统上用GlyPhDesigner的,其实两个都可以,只是GlyPhDesigner在部分mac retain屏幕上显示不全,制作ttf的方法就不过多介绍(美工的工作)。
二、制作font字体
我用的Unity版本是5.5.2
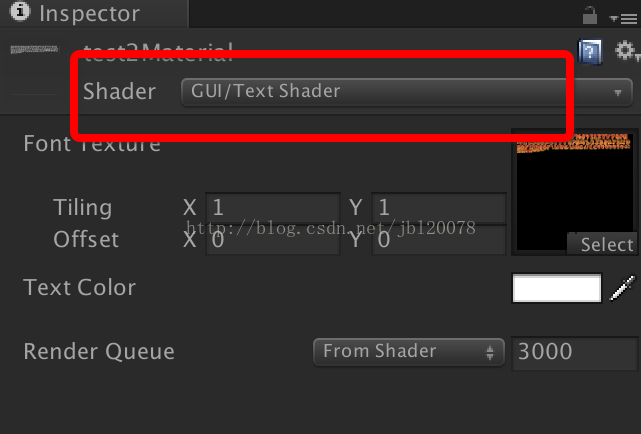
1、先创建一个材质球,shader模式为GUI/Text Shader ,将上面的字体纹理添加上去,纹理的Alpha Source设置要注意(我设置成Input Texture Alpha,如果做出来的字体按照弧度图设置透明度请选择From Gray Scale,这个根据制作出来的字体样式来决定,跟美工商量它的alpha通道模式)
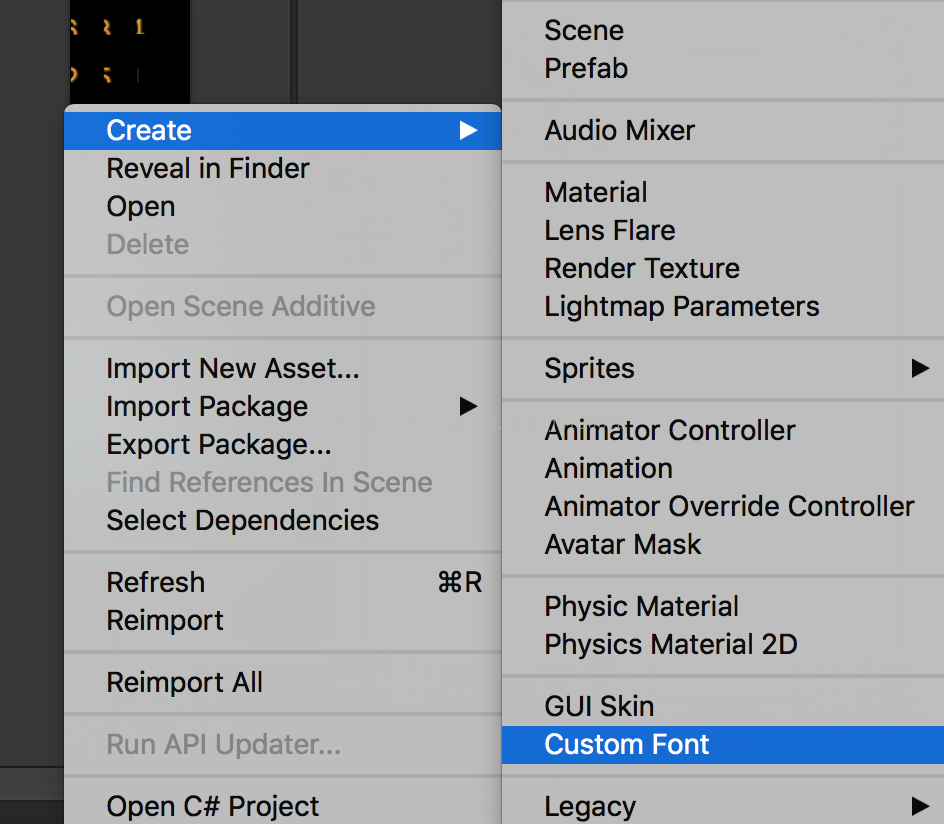
2、创建font文件
3、将材质添加到font上
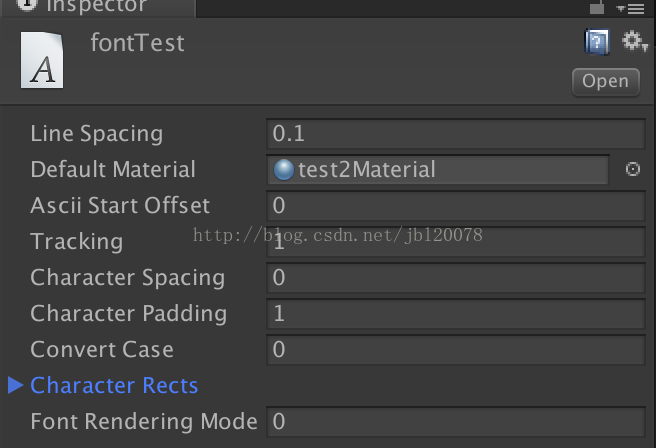
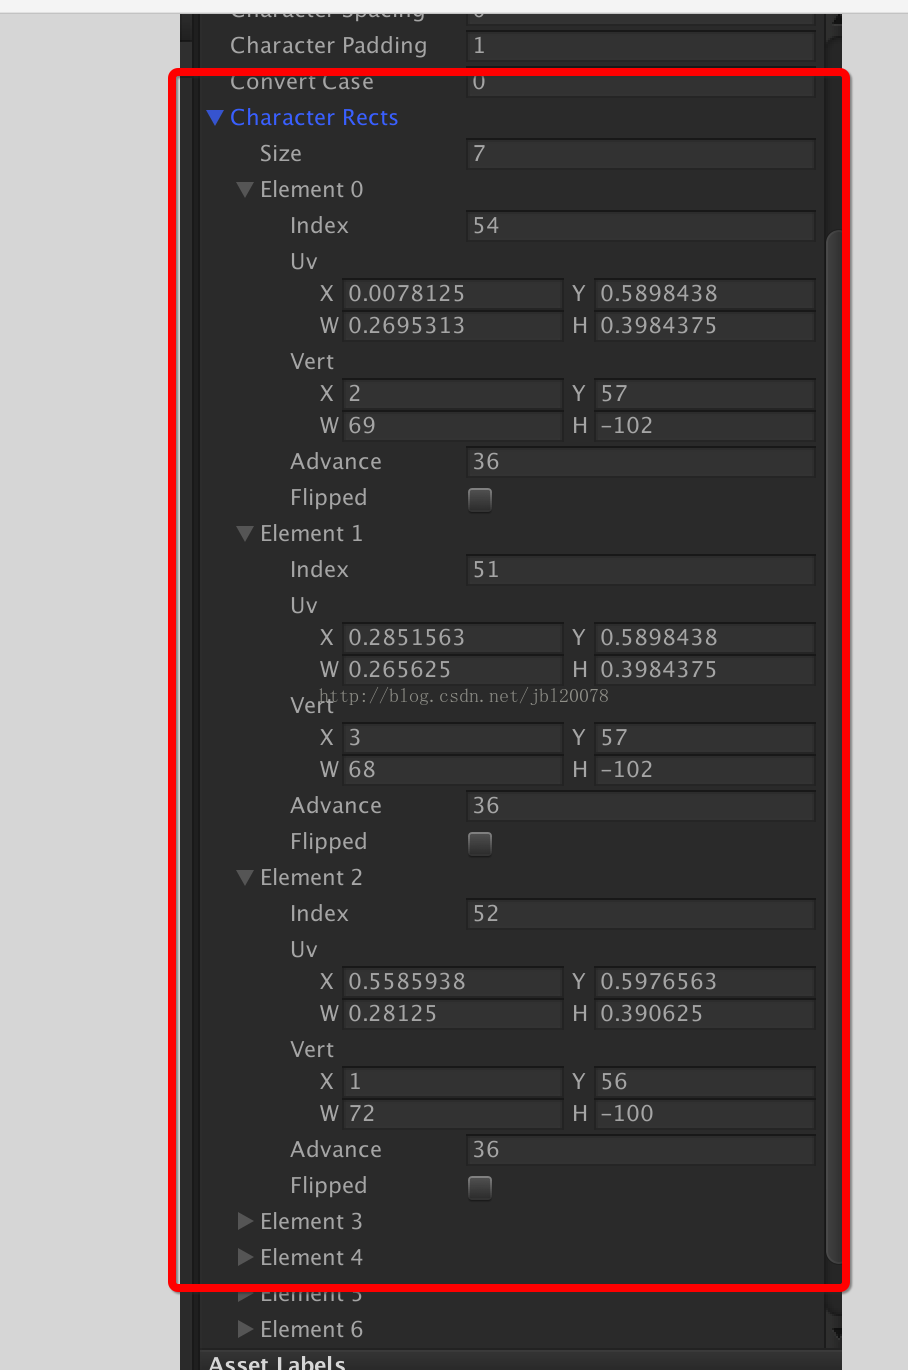
后面就是最重要的步骤,配置Character Rects,网友提供了相关公式,不过对于包含很多字体的fnt文件,手动配置实在是太麻烦,所有从网上搜到了位网友写的自动解析方法,注意这个方法只适用于xml格式的fnt文件
using UnityEngine;
using System.Collections;
using System.Xml;
using System;


public class CustomFontImportor : MonoBehaviour
{
	public Font font;
	public TextAsset textAsset;


	void Awake()
	{
		if(font == null || textAsset == null)
		{
			Debug.LogError("请设置font和textAsset.");
			return;
		}

		XmlDocument xmlDocument = new XmlDocument();
		xmlDocument.LoadXml(textAsset.text);


		int totalWidth = Convert.ToInt32(xmlDocument["font"]["common"].Attributes["scaleW"].InnerText);
		int totalHeight = Convert.ToInt32(xmlDocument["font"]["common"].Attributes["scaleH"].InnerText);

		XmlElement xml = xmlDocument["font"]["chars"];
		ArrayList characterInfoList = new ArrayList();


		for(int i = 0; i < xml.ChildNodes.Count; ++i)
		{
			XmlNode node = xml.ChildNodes[i];
			if(node.Attributes == null)
			{
				continue;
			}
			int index = Convert.ToInt32(node.Attributes["id"].InnerText);
			int x = Convert.ToInt32(node.Attributes["x"].InnerText);
			int y = Convert.ToInt32(node.Attributes["y"].InnerText);
			int width = Convert.ToInt32(node.Attributes["width"].InnerText);
			int height = Convert.ToInt32(node.Attributes["height"].InnerText);
			int xOffset = Convert.ToInt32(node.Attributes["xoffset"].InnerText);
			int yOffset = Convert.ToInt32(node.Attributes["yoffset"].InnerText);
			int xAdvance = Convert.ToInt32(node.Attributes["xadvance"].InnerText);

			CharacterInfo info = new CharacterInfo();
			Rect uv = new Rect();
			uv.x = (float)x / totalWidth;
			uv.y = (float)(totalHeight - y - height) / totalHeight;
			uv.width = (float)width / totalWidth;
			uv.height = (float)height / totalHeight;


			info.index = index;
			info.uvBottomLeft = new Vector2(uv.xMin, uv.yMin);
			info.uvBottomRight = new Vector2(uv.xMax, uv.yMin);
			info.uvTopLeft = new Vector2(uv.xMin, uv.yMax);
			info.uvTopRight = new Vector2(uv.xMax, uv.yMax);
			info.minX = xOffset;
			info.maxX = xOffset + width;
			info.minY = -yOffset - height;
			info.maxY = -yOffset;
			info.advance = xAdvance;
			info.glyphWidth = width;
			info.glyphHeight = height;


			characterInfoList.Add(info);
		}
		font.characterInfo = characterInfoList.ToArray(typeof(CharacterInfo)) as CharacterInfo[];


		Debug.Log("生成成功.");
	}
}
网上不止这一种解析方法,但是我几乎都拿过来试过,还是这个好用,当然也可以改成Editor
使用方法很简单,拖到一个对象上面把自己创建的font和fnt字体文件拖拽到组件中即可生成
4、最后一步创建一个Text,将创建的font文件和材质拖拽到对象中(材质不要拖,我拖进去之后纹理变成了白色)
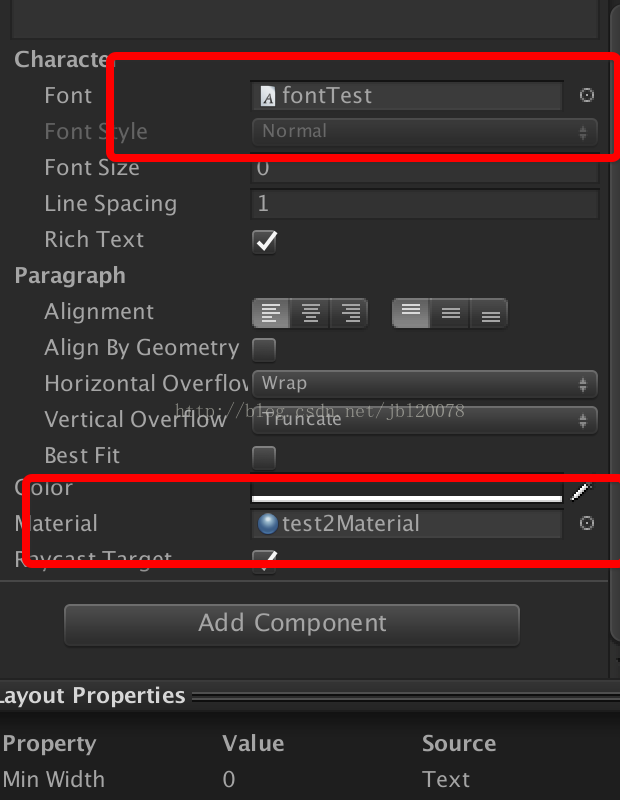
之后我遇到的问题是,上面步骤做好之后编辑text发现没用,后来网友提供方法是把这个font字体导出资源包,然后再拖入工程即可使用。
另外,我换到另一台电脑按照上面步骤制作的时候马上就显示了,但是文字模糊不清,我重新导出再导入就可以了,所以没找到原因之前还是导出一下吧,不知道Unity的font的刷新保存功能怎么做?
csdn这个编辑器真是烂
参考资料,非常感谢下面的作者:
http://blog.csdn.net/liujunjie612/article/details/45694719