前提:Java环境已经配置
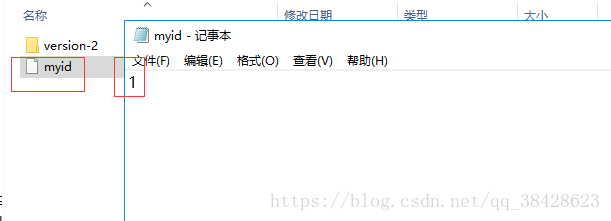
zookeeper 单台和集群的区别在于配置文件(conf/zoo.cfg)的配置不同,还有dataDir的目录需要新建一个没有文件类型的文件myid,并起myid里面的值输入对应配置中server.后面的数值。附上我配置的文件信息 https://download.csdn.net/download/qq_38428623/10691734 我是在我的机器上部署的,所以属于是伪集群。
具体步骤如下:
1、进去conf目录,zoo_sample.cfg 复制并且修改文件名为zoo.cfg,然后打开zoo.cfg文件,修改的配置文件如下:
# The number of milliseconds of each tick
tickTime=2000
# The number of ticks that the initial
# synchronization phase can take
initLimit=10
# The number of ticks that can pass between
# sending a request and getting an acknowledgement
syncLimit=5
# the directory where the snapshot is stored.
# do not use /tmp for storage, /tmp here is just
# example sakes.
dataDir=../tmp/zookeeper
# the port at which the clients will connect
clientPort=2181
# the maximum number of client connections.
# increase this if you need to handle more clients
#maxClientCnxns=60
#
# Be sure to read the maintenance section of the
# administrator guide before turning on autopurge.
#
# http://zookeeper.apache.org/doc/current/zookeeperAdmin.html#sc_maintenance
#
# The number of snapshots to retain in dataDir
#autopurge.snapRetainCount=3
# Purge task interval in hours
# Set to "0" to disable auto purge feature
#autopurge.purgeInterval=1#server.x=y:z:m
server.1=127.0.0.1:2280:2281
server.2=127.0.0.1:2380:2381
server.3=127.0.0.1:2480:2481
server.x=y:z:m(其中x为myid写的值,而且时数值类型,其主要也是用于选举leader的值之一,y为当前机器的ip地址,z为心跳端口,m为数据交换的端口,比如选举leader时的端口)。
2、进去配置文件中dataDir配置的目录,在目录下新建一个文件名字叫 myid,并且打开myid文件里面的值输入配置文件中 server.后面的数值
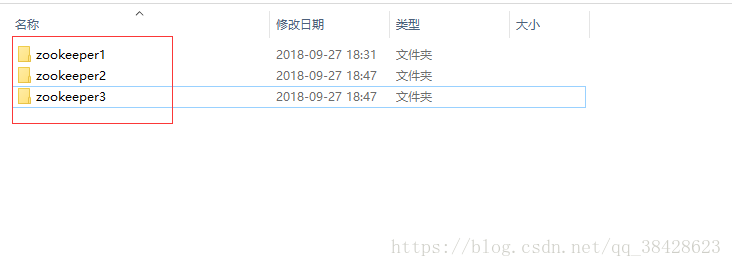
复制一份程序并且重新命名,按照上面的步骤操作一边,其实也可以复制配置文件,但是我是直接复制程序,最终的结果: