前面https://www.cnblogs.com/toov5/p/9823353.html 说的很不好用哈哈 还需要json格式化
我们可以用Admin-UI 比较爽歪歪
原理:
将所有服务的监控中心管理存放在admin ui平台上

JSON数据放到注册中心去,用于展示。
下面我们创建如图所示的这个监控server端
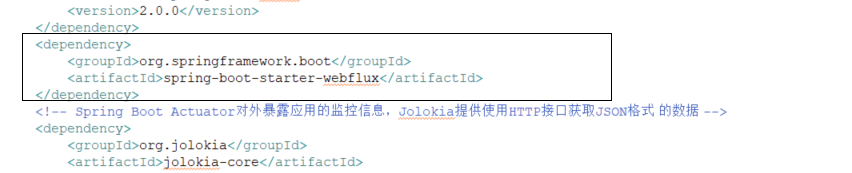
创建maven工程 pom依赖
<parent>
		<groupId>org.springframework.boot</groupId>
		<artifactId>spring-boot-starter-parent</artifactId>
		<version>2.0.0.RELEASE</version>
	</parent>
	<dependencies>
		<dependency>
			<groupId>de.codecentric</groupId>
			<artifactId>spring-boot-admin-starter-server</artifactId>
			<version>2.0.0</version>
		</dependency>
		<dependency>
			<groupId>org.springframework.boot</groupId>
			<artifactId>spring-boot-starter-webflux</artifactId>
		</dependency>
		<!-- Spring Boot Actuator对外暴露应用的监控信息,Jolokia提供使用HTTP接口获取JSON格式 的数据 -->
		<dependency>
			<groupId>org.jolokia</groupId>
			<artifactId>jolokia-core</artifactId>
		</dependency>
		<dependency>
			<groupId>org.springframework.boot</groupId>
			<artifactId>spring-boot-starter-actuator</artifactId>
		</dependency>
		<dependency>
			<groupId>com.googlecode.json-simple</groupId>
			<artifactId>json-simple</artifactId>
			<version>1.1</version>
		</dependency>
	</dependencies>
注意这里的web组件被替代了
然后启动文件:
package com.toov5.adminUiServer;

import org.springframework.boot.SpringApplication;
import org.springframework.boot.autoconfigure.EnableAutoConfiguration;
import org.springframework.context.annotation.Configuration;

import de.codecentric.boot.admin.server.config.EnableAdminServer;

@Configuration
@EnableAutoConfiguration
@EnableAdminServer
public class AdminServerApplication {

    public static void main(String[] args) {
        SpringApplication.run(AdminServerApplication.class, args);
    }
}
@Configuration 类似于创建bean
一定要在项目中:@EnableAdminServer 启动!!!!
application.yml配置文件:
然后给这个项目服务起名字
spring:
  application:
    name: spring-boot-admin-server
项目陆目录结构:

启动,访问:
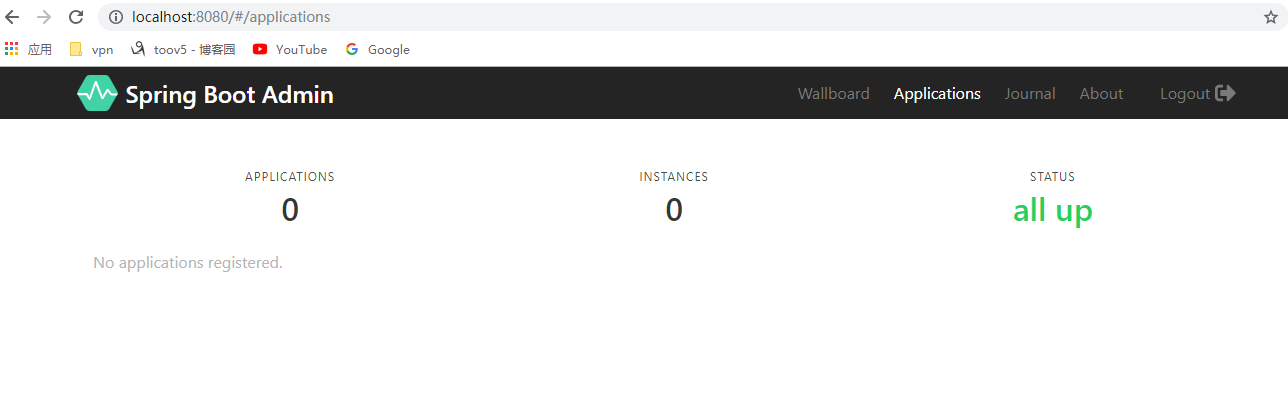
等待被注册过来~
对了在写这个教程时候遇到了个jar包 maven下载不下来 看到了有些jar包是下载不下来的的确
下面吧client端注册到上面的server端

首先依赖的jar包pom文件
<parent>
		<groupId>org.springframework.boot</groupId>
		<artifactId>spring-boot-starter-parent</artifactId>
		<version>2.0.0.RELEASE</version>
	</parent>
	<dependencies>
		<dependency>
			<groupId>de.codecentric</groupId>
			<artifactId>spring-boot-admin-starter-client</artifactId>
			<version>2.0.0</version>
		</dependency>
		<dependency>
			<groupId>org.springframework.boot</groupId>
			<artifactId>spring-boot-starter-actuator</artifactId>
		</dependency>
		<dependency>
			<groupId>org.jolokia</groupId>
			<artifactId>jolokia-core</artifactId>
		</dependency>
		<dependency>
			<groupId>com.googlecode.json-simple</groupId>
			<artifactId>json-simple</artifactId>
			<version>1.1</version>
		</dependency>
		<dependency>
			<groupId>org.springframework.boot</groupId>
			<artifactId>spring-boot-starter-web</artifactId>
		</dependency>
	</dependencies>
yum配置文件:
spring:
  boot:
    admin:
      client:
        url: http://localhost:8080
server:
  port: 8081

management:
  endpoints:
    web:
      exposure:
        include: "*"
  endpoint:
    health:
      show-details: ALWAYS
启动类:
package com.toov5.adminUiClient;

import org.springframework.boot.SpringApplication;
import org.springframework.boot.autoconfigure.SpringBootApplication;

@SpringBootApplication
public class AppClinet {

    public static void main(String[] args) {
        SpringApplication.run(AppClinet.class, args);
    }

}
目录结构:

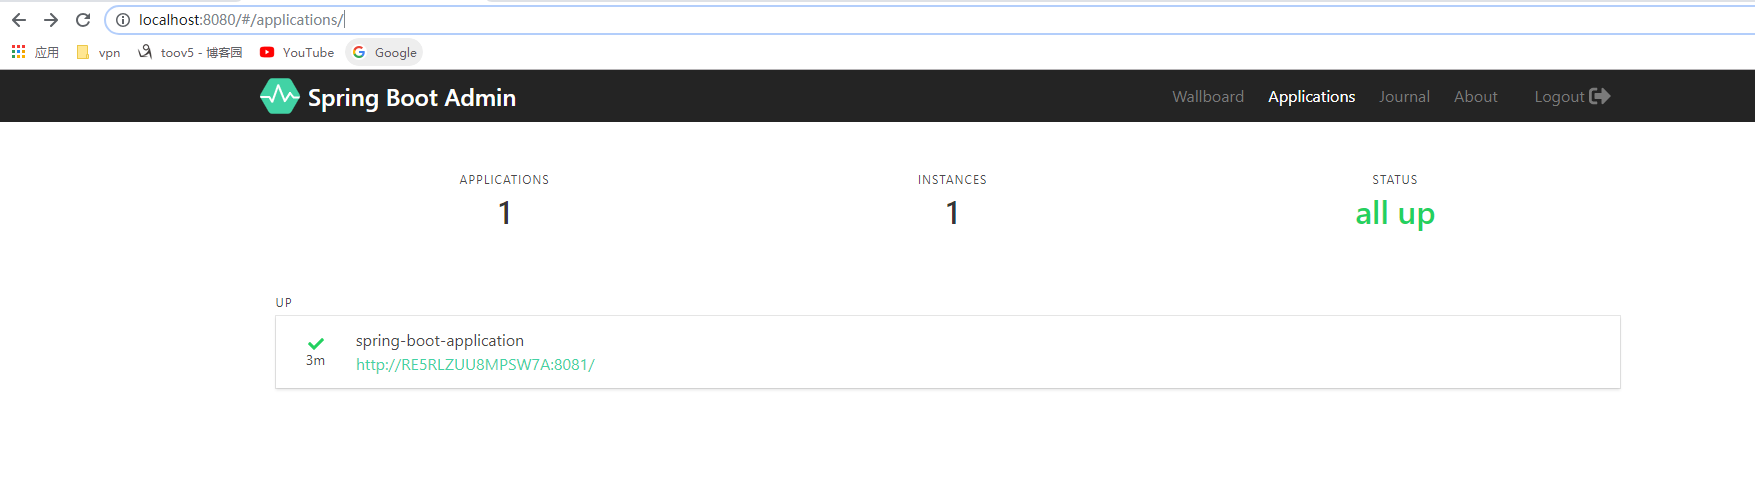
先启动server 然后 启动client
PS:jar包 maven下载不下来 看到了有些jar包是下载不下来的的确
小伙伴们自己点点 都有的各种信息 好好玩吧~~