版权声明:本文为博主原创文章,未经博主允许不得转载。 https://blog.csdn.net/ljk126wy/article/details/83149069
springboot 默认是用的页面是thymeleaf,对freemark 比较熟悉的同学也可以使用 freemarker,但是如果你说以上2个技术我都不会!我就要用jsp! 恩......... 我们还是去看springboot官方文档吧。这里给大家说一个看官网的技巧,主要是跟英文不好的同学说的,如果你的英文不好去看官方文档看不懂怎么办类,我们可以借助工具 安装一些网页翻译的插件或者有道词典啥的。看的时候先收搜关键字 然后主要看代码 关于介绍不懂的我们可以通过翻译工具进行翻译。我们就拿jsp举例。
首先我们先百度spirng 找到spring官方地址
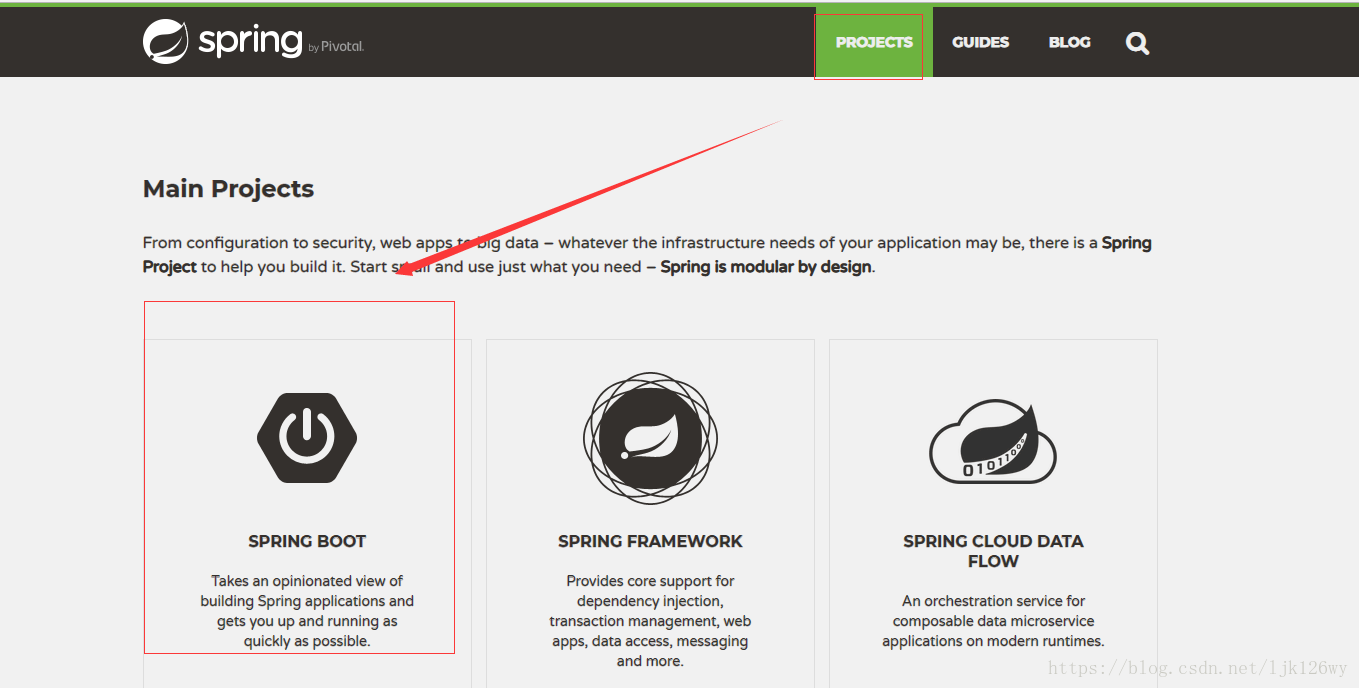
进入官网 查看spring 的产品 找到spirngboot


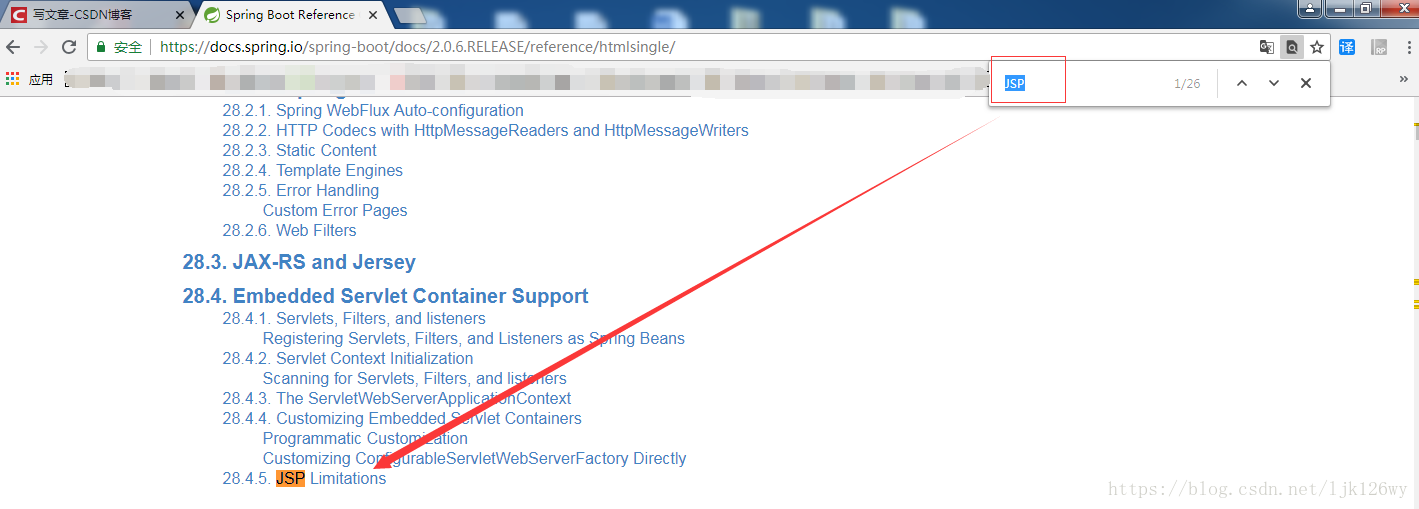
通过上图我们可以看见 JSP Limitations 意思是:jsp 的限制 我的英文也不咋地 勿喷。
我们在点击进入看看
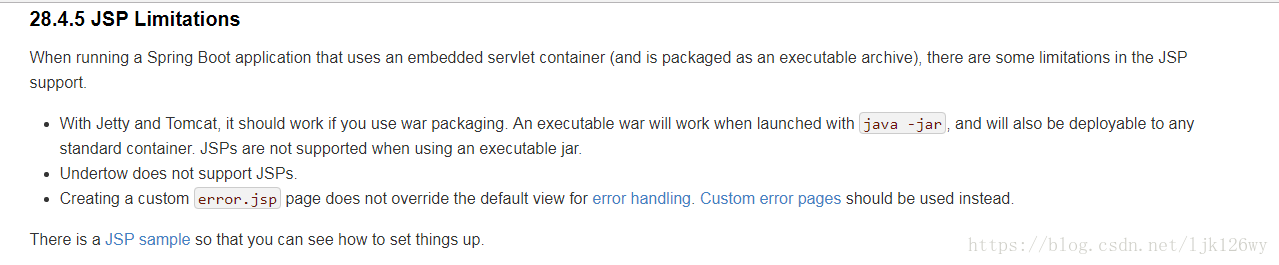
我们用翻译插件翻译内容如下 ,下面的翻译要学会甄选 比如 jetty 给翻译成了码头 war packagin 就是战争包装 是不是有点无语 但是也不影响我们知道他的大概意思。
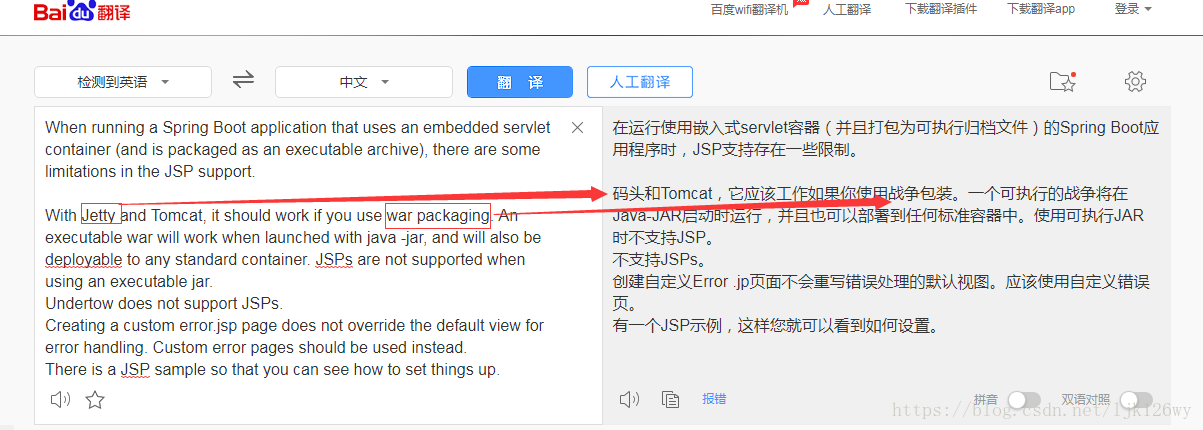
也就是说如果使用jsp的话 通过jar 命令方式启动 是不支持jsp 那么如果使用类 spirngboot 给我们提供了一个sample 我们直接去看sample 就知道如果使用了。到现在为止阅读完毕。让我们继续说如何使用jsp的事。
打开springboot提供的官方案例:
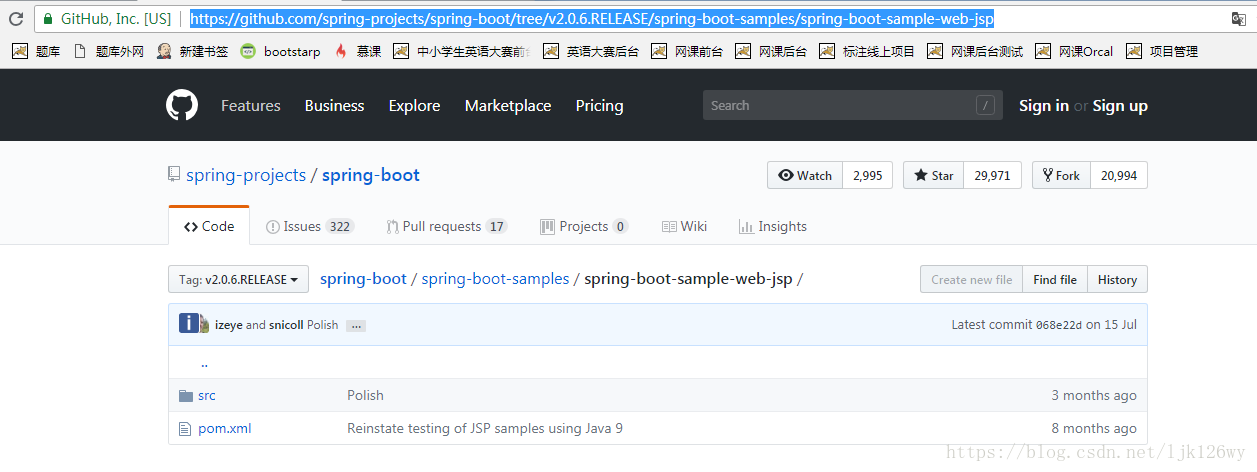
有demo就好办了 我们照着抄就是了 。接下来开始抄! come on!
1 pom.xml 有哪些依赖
<!-- 非必选 -->
<dependency>
    <groupId>javax.servlet</groupId>
    <artifactId>jstl</artifactId>
</dependency>
<!-- Provided 编译和测试的时候使用-->
<dependency>
    <groupId>org.springframework.boot</groupId>
    <artifactId>spring-boot-starter-tomcat</artifactId>
    <scope>provided</scope>
</dependency>
<!-- 对jsp的支持的依赖 -->
<dependency>
    <groupId>org.apache.tomcat.embed</groupId>
    <artifactId>tomcat-embed-jasper</artifactId>
    <scope>provided</scope>
</dependency>
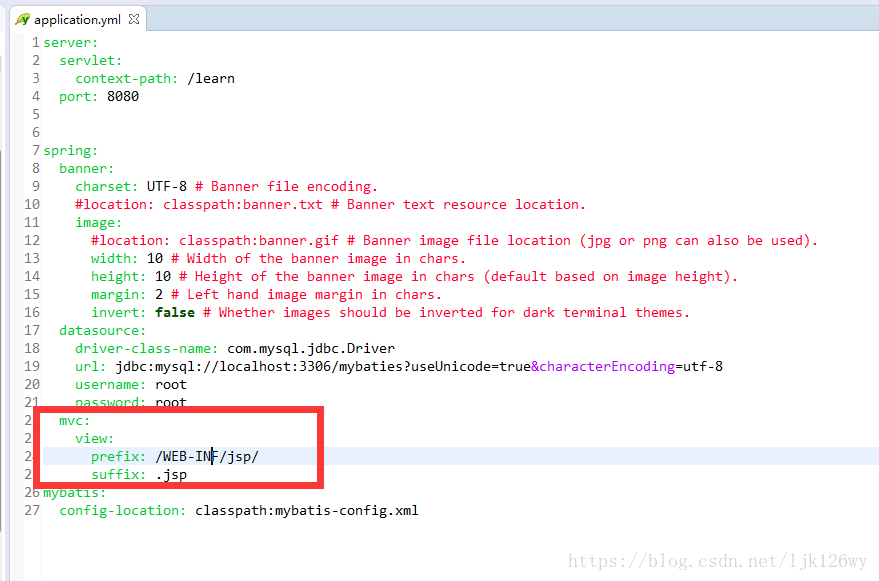
2 配置文件需要配置的信息
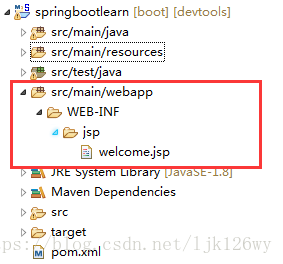
3 jsp 添加的路径位置 和jsp内容:
<%@ page language="java" contentType="text/html; charset=UTF-8"
    pageEncoding="UTF-8"%>
<!DOCTYPE html>
<html>
<head>
<meta charset="UTF-8">
<title>Insert title here</title>
</head>
<body>
   ${welcome}
</body>
</html>
4 创建Controller 访问jsp页面
package cn.lijunkui.controller;
import org.springframework.stereotype.Controller;
import org.springframework.ui.Model;
import org.springframework.web.bind.annotation.RequestMapping;
@Controller
@RequestMapping()
public class JspController {
@RequestMapping("/jsp")
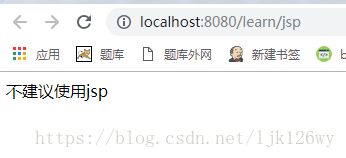
public String toJps(Model model) {
model.addAttribute("welcome", "不建议使用jsp");
return "welcome";
}
}测试结果