说在前面
Servlet简介:https://blog.csdn.net/Soinice/article/details/82745918
当使用Spring-Boot时,嵌入式Servlet容器通过扫描注解的方式注册Servlet、Filter和Servlet规范的所有监听器(如HttpSessionListener监听器)
Spring boot 的主 Servlet 为 DispatcherServlet,其默认的url-pattern为“/”。也许我们在应用中还需要定义更多的Servlet,该如何使用SpringBoot来完成呢?
在spring boot中添加自己的Servlet有两种方法,代码注册Servlet和注解自动注册(Filter和Listener也是如此)。
一、代码注册通过ServletRegistrationBean 获得控制。
也可以通过实现 ServletContextInitializer 接口直接注册。
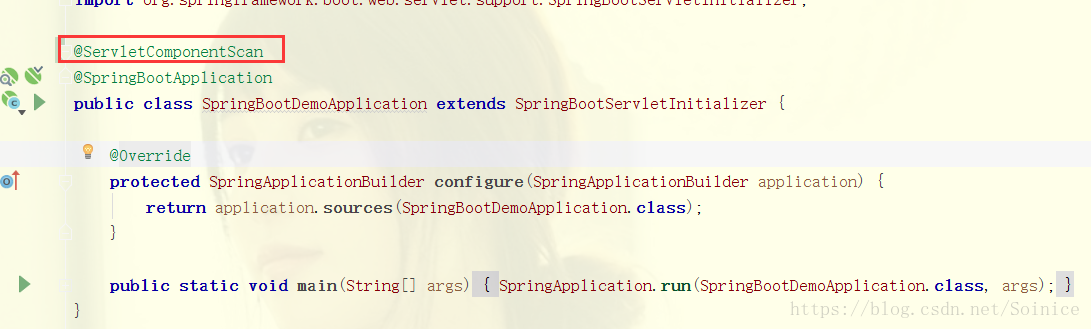
二、在 SpringBootApplication 上使用@ServletComponentScan注解后,Servlet可以直接通过 @WebServlet 注解自动注册,无需其他代码。
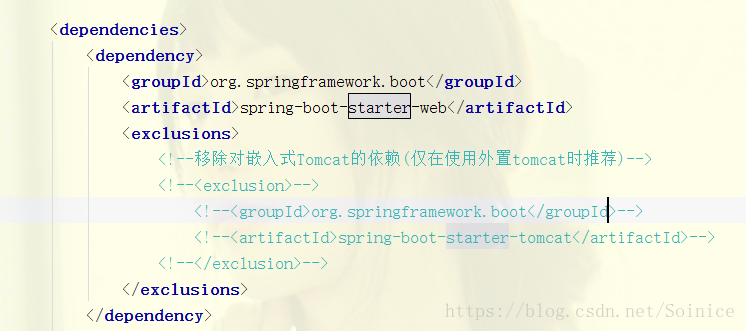
在pom.xml加入相关依赖
当然,通过idea 创建默认spring boot web 项目,会默认含有这个属性
1)通过ServletRegistrationBean进行代码注册
编写 Servlet

注册 Servlet
将 Servelt 注册成 Bean。在上文创建的 WebMvcConfig类中添加如下代码:

注意urlMappings,后面需要 “/”
页面访问

2)通过注解@ServletComponentScan进行代码注册
编写 Servlet
在Servlet类添加注解@WebServlet(servlet请求地址,类似1)中urlMappings)

注册 Servlet
将 Servelt 进行组件扫描。在应用启动SpringBootDemoApplication类中添加注解@ServletComponentScan:
页面访问

总结
web开发使用Controller基本能解决大部分的需求,但是有时候我们也需要使用Servlet,因为相对于拦截和监听来说,有时候原生的还是比较好用的。
源码下载
[相关示例完整代码]请获取 相关分支哦:feature-20180910-web