1.在linux上安装python3,参考链接:https://www.cnblogs.com/kimyeee/p/7250560.html
安装python3时候,建议不要更改默认的python ,,默认python指向python2,,linux有一些东西需要用到,,比如yum,,如果将python默认指向python3,,这些东西将不可用
2.安装django,直接pip3 install django
3.安装uwsgi:
安装依赖:yum install zlib-devel bzip2-devel pcre-devel openssl-devel ncurses-devel sqlite-devel readline-devel tk-devel
安装uwsgi:pip3 install uwsgi
查看版本:uwsgi --version
测试:
准备测试文件test.py,代码如下:
def application(env, start_response):
    start_response('200 OK', [('Content-Type','text/html')])
    #return ["Hello World"] # python2
    return [b"Hello World"] # python3
将文件上传linux ,使用lrzsz , 安装lrzsz:yum install lrzsz
然后,运行 uWSGI:
uwsgi --http :8000 --wsgi-file test.py
打开下面url,浏览器上应该显示hello world
curl http://127.0.0.1:8000
效果展示:

4.链接uwsgi和django
将自己的django项目上传服务器,安装项目中需要的模块
进入上传的项目文件夹 与manage.py同目录运行:
uwsgi --http :8000 --wsgi-file appname/wsgi.py #appname为你自己的目录
在其他窗口打开连接:http://127.0.0.1:8000
效果:
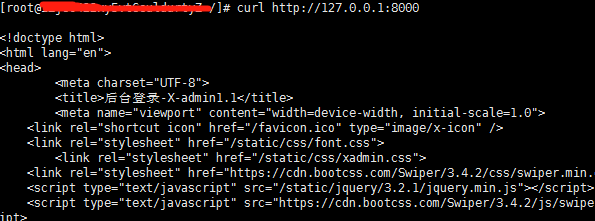
出来显示的是首页前段代码
这证明上边的步骤没问题
5.安装配置nginx
(1)安装
wget http://nginx.org/download/nginx-1.9.5.tar.gz
tar xf nginx-1.9.5.tar.gz
cd nginx-1.9.5
./configure --prefix=/usr/local/nginx --with-http_stub_status_module --with-http_gzip_static_module
make && make install
或者参考
http://cantgis.blog.51cto.com/5788192/1540004
(2)启动:进入安装的nginx目录下
/usr/local/nginx/sbin/
启动:
./nginx start
重启:
./nginx -s reload
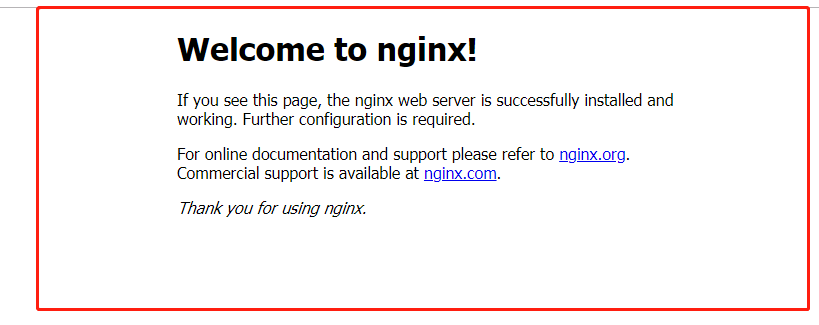
启动好之后在我们电脑的浏览器输入服务器ip会显示nginx页面,如图:
6.使用uwsgi的配置文件运行django
#user root nobody;
worker_processes  1;

#error_log  logs/error.log;
#error_log  logs/error.log  notice;
#error_log  logs/error.log  info;

#pid        logs/nginx.pid;


events {
    worker_connections  1024;
}


http {
    include       mime.types;
    include uwsgi_params;#没有这个会报错在uwsgi错误日志里:self.method = environ['REQUEST_METHOD'].upper();KeyError: 'REQUEST_METHOD'
    default_type  application/octet-stream;

    #log_format  main  '$remote_addr - $remote_user [$time_local] "$request" '
    #                  '$status $body_bytes_sent "$http_referer" '
    #                  '"$http_user_agent" "$http_x_forwarded_for"';

    #access_log  logs/access.log  main;

    sendfile        on;
    #tcp_nopush     on;

    #keepalive_timeout  0;
    keepalive_timeout  65;

    #gzip  on;

    server {
        listen       80;
       #server_name  localhost;
    server_name  对外访问ip;
    access_log /www/www/access.log;
        error_log /www/www/error.log;
        #charset koi8-r;

        #access_log  logs/host.access.log  main;

        location / {
            root   html;
            index  index.html index.htm;
        uwsgi_pass     127.0.0.1:8088;#和uwsgi端口对应
            uwsgi_read_timeout 300;
        }

        #error_page  404              /404.html;

        # redirect server error pages to the static page /50x.html
        #
        #error_page   500 502 503 504  /50x.html;
        #location = /50x.html {
        #    root   html;
        #}
    location /static/ {
            alias  /www/www/webJB/webjb/static/;
            index  index.html index.htm;
        }


}
新建一个my_uwsgi.ini ,内容如下:
[uwsgi]
#http = :9000
#the local unix socket file than commnuincate to Nginx
socket = 127.0.0.1:8088
# the base directory (full path)
chdir = /www/www/webJB/webjb
# Django's wsgi file
wsgi-file = webjb/wsgi.py
# maximum number of worker processes
processes = 4
#thread numbers startched in each worker process
threads = 2

vacuum = true
##monitor uwsgi status
#stats =127.0.0.1:9191
## clear environment on exit
#vacuum          = true
#stopsignal = QUIT


daemonize = /www/www/webJB/uwsgi.log

#stats=/root/uwsgi/uwsgi.status
#pidfile=/root/uwsgi/uwsgi.pid
将文件放入manage.py同目录下
运行:uwsgi --ini my_uwsgi.ini
如图:

即可,
重启nginx,访问域名,可以了