版权声明:本文为博主原创文章,未经博主允许不得转载。 https://blog.csdn.net/qq_21078557/article/details/80496495
本文主要介绍STM32-F407使用HX711测量物体重量
一、写在前面
首先必须说一说网上虽然有很多相似的代码,但是大多都是51的,淘宝给的只有51和arduino的,网上偶有完整的103的代码,大部分都没有办法直接用,写的一知半解的,难受,香菇。
二、实物图和最后的效果展示
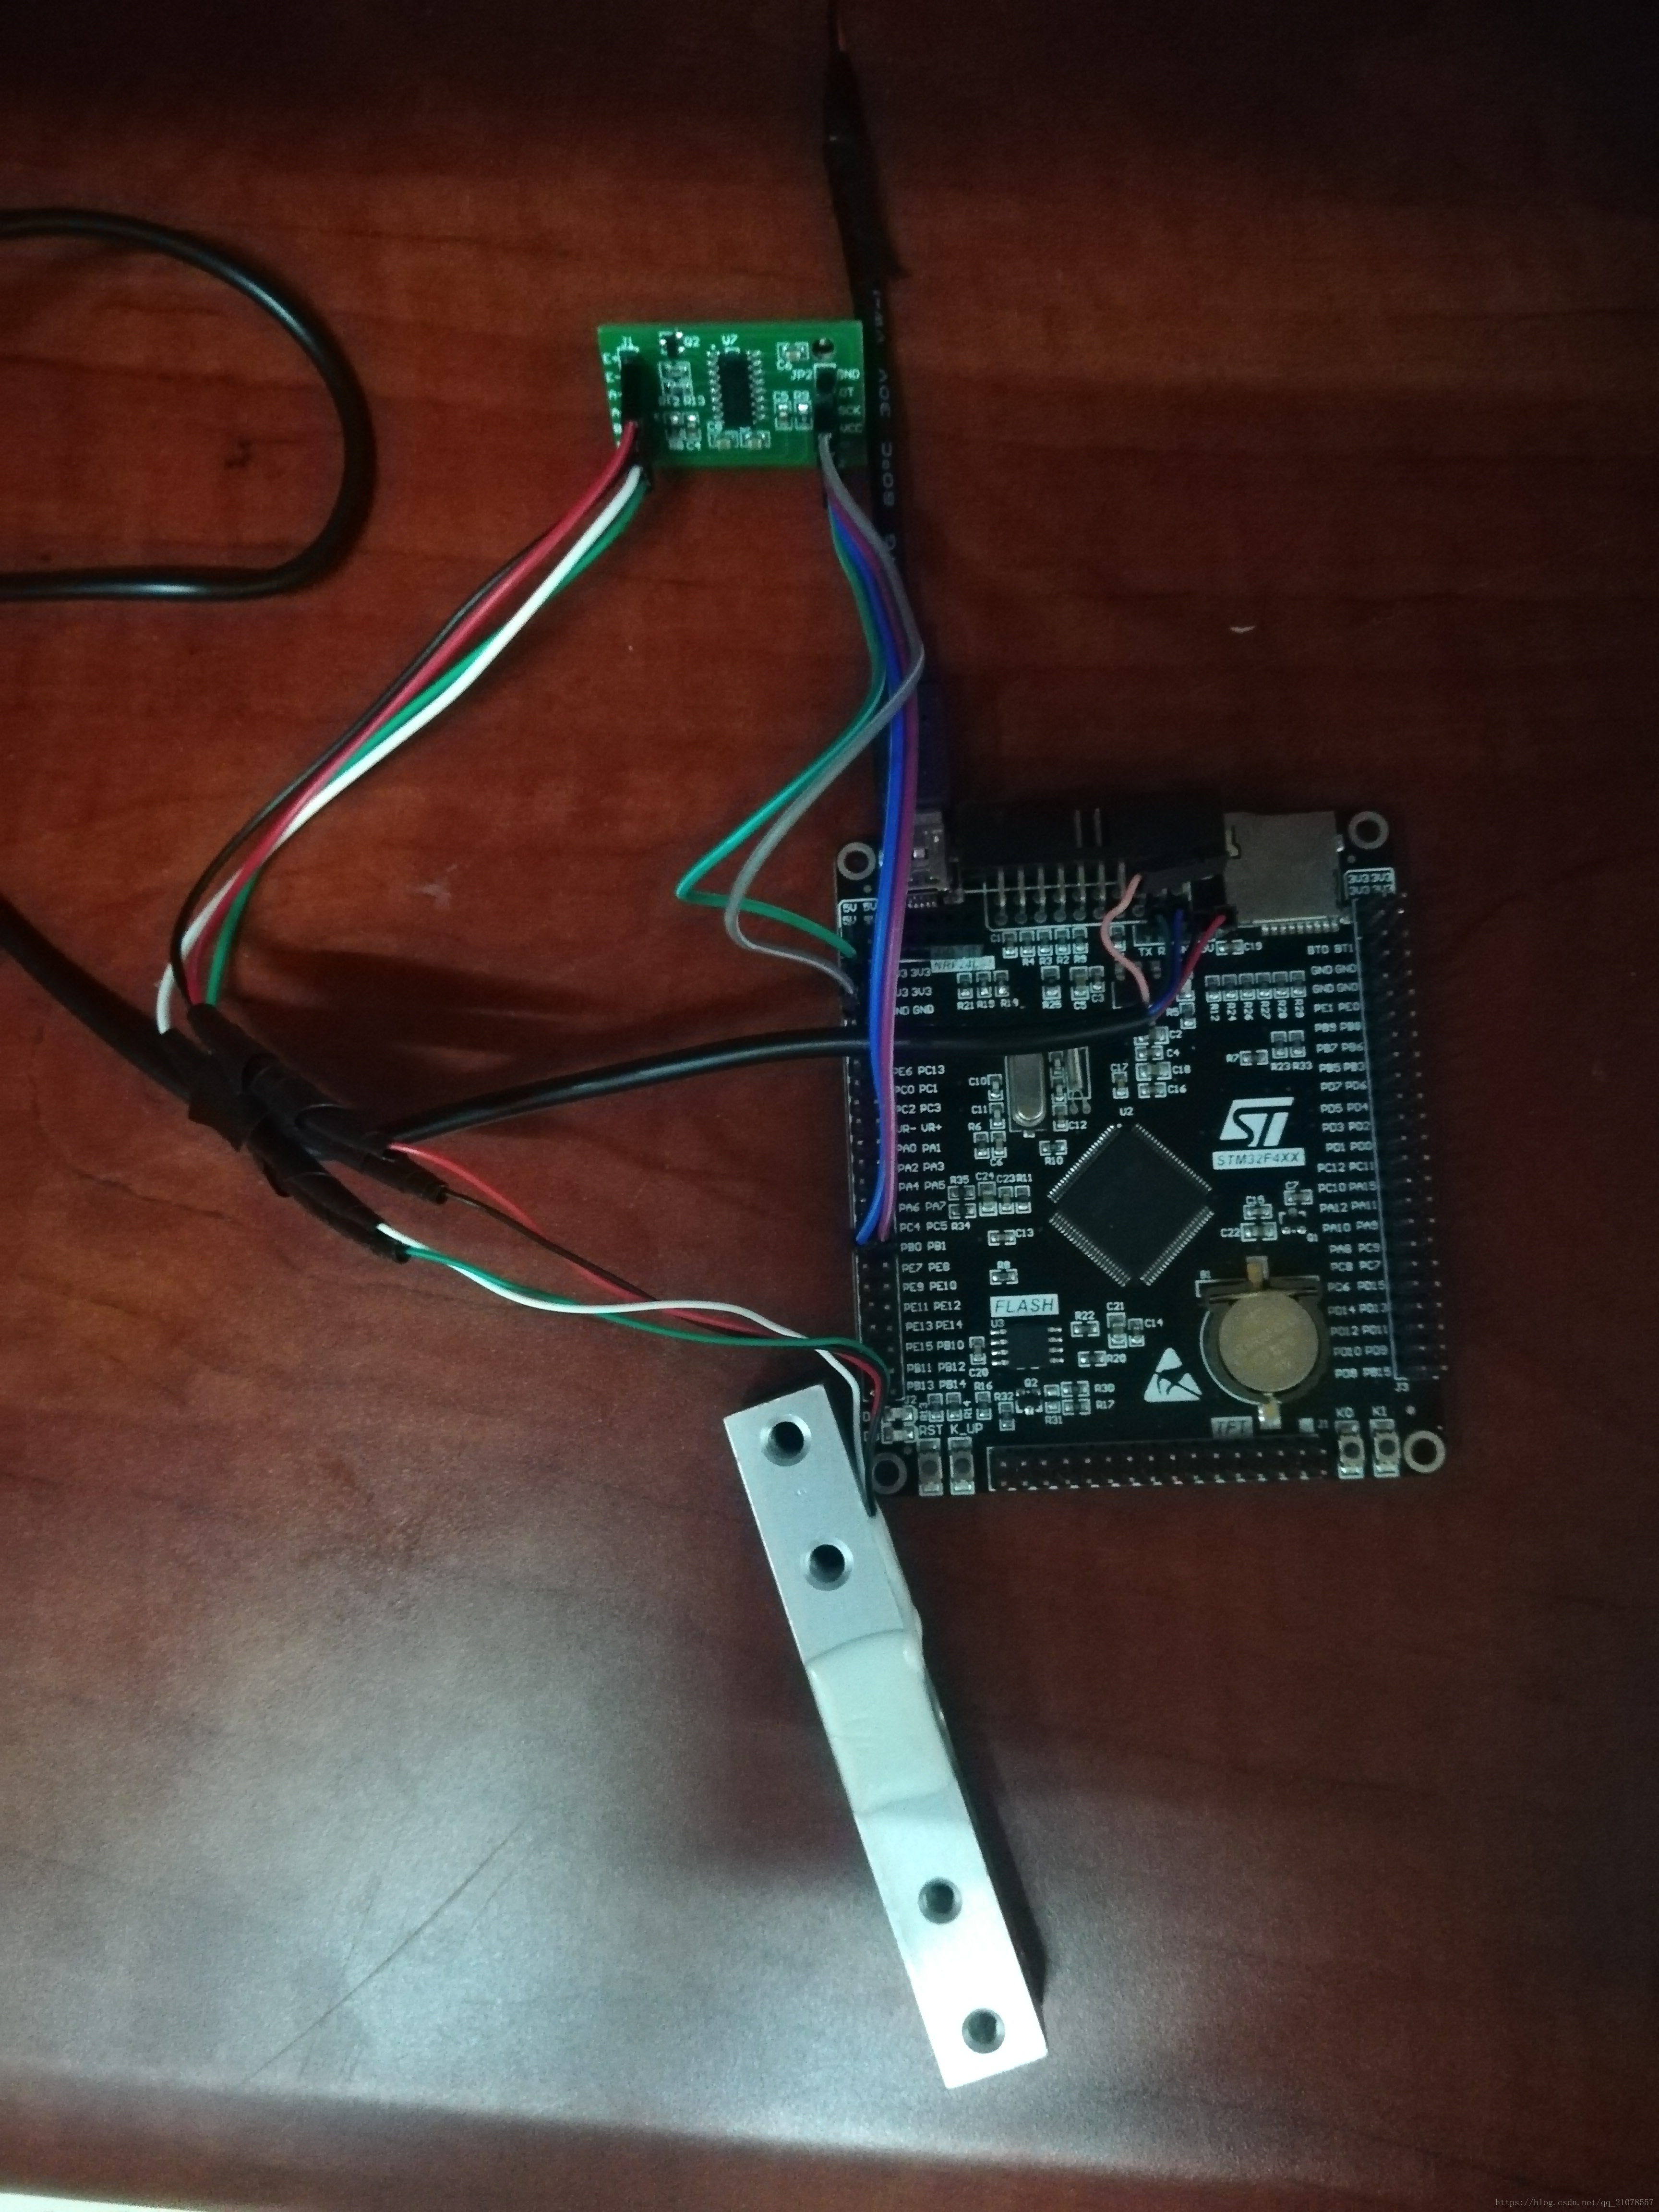
1、实物图
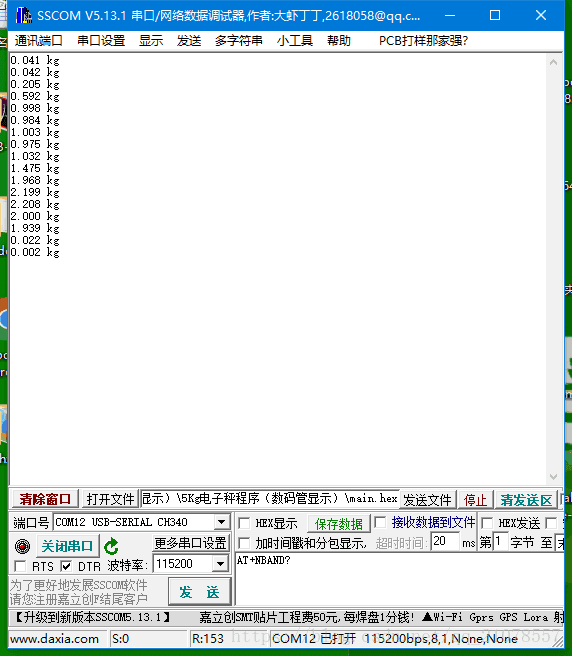
2、最后的运行效果图
三、开发环境
1、器材:stm32-f407、hx711测重模块、串口线
2、编译环境:KEIL5
四、开发流程
1、配置引脚;
2、配置串口;
3、等待模块准备;
4、读取数据;
5、发送指令;
五、开发代码(以下只提供hxx711的配置代码和逻辑操作,串口自己去配置)
1、配置hx711引脚:
long HX711_Buffer = 0;
long Weight_Maopi = 0,Weight_Shiwu = 0;

#define GapValue 430
#define HIGH 1
#define LOW  0
#define HX711_GROUP GPIOB
#define HX711_DT  GPIO_Pin_0
#define HX711_SCK GPIO_Pin_1
//****************************************************
//初始化HX711
//****************************************************
void Init_Hx711()
{
  GPIO_InitTypeDef  GPIO_InitStructure;
  RCC_AHB1PeriphClockCmd(RCC_AHB1Periph_GPIOB, ENABLE);
  //SCK
  GPIO_InitStructure.GPIO_Pin = GPIO_Pin_0 ;
  GPIO_InitStructure.GPIO_Mode = GPIO_Mode_OUT;
  GPIO_InitStructure.GPIO_OType = GPIO_OType_PP;
  GPIO_InitStructure.GPIO_Speed = GPIO_Speed_50MHz;
  GPIO_InitStructure.GPIO_PuPd = GPIO_PuPd_DOWN;
  GPIO_Init(GPIOB, &GPIO_InitStructure);
  GPIO_InitTypeDef  GPIO_InitStructure1;
  RCC_AHB1PeriphClockCmd(RCC_AHB1Periph_GPIOB, ENABLE);

  //DOUT
  GPIO_InitStructure1.GPIO_Pin = GPIO_Pin_1 ;
  GPIO_InitStructure1.GPIO_Mode = GPIO_Mode_IN;
  //GPIO_InitStructure1.GPIO_OType = GPIO_OType_OD;
  GPIO_InitStructure1.GPIO_Speed = GPIO_Speed_50MHz;
  GPIO_InitStructure1.GPIO_PuPd = GPIO_PuPd_NOPULL;
  GPIO_Init(GPIOB, &GPIO_InitStructure1);
  RCC_AHB1PeriphClockCmd(RCC_AHB1Periph_GPIOB, ENABLE);
}
2、编写hx711初始化去毛坯代码
//****************************************************
//获取毛皮重量
//****************************************************
void Get_Maopi()
{
    Weight_Maopi = HX711_Read();
}
3、编写hx711读取数据函数代码
//****************************************************
//读取HX711
//****************************************************
unsigned long HX711_Read(void)  //增益128
{
    unsigned long val = 0;
    unsigned char i = 0;

    //判断模块是否准备好
    while(GPIO_ReadInputDataBit(GPIOB,GPIO_Pin_1));
    delay_us(1);
    //sck 拉低
    GPIO_ResetBits(GPIOB,GPIO_Pin_0);
    //再次判断是否准备好
    while(!GPIO_ReadInputDataBit(GPIOB,GPIO_Pin_1));

    for(i=0;i<24;i++)
    {
        delay_us(100);
        GPIO_SetBits(GPIOB,GPIO_Pin_0);
        val=val<<1;
        delay_us(1);
        GPIO_ResetBits(GPIOB,GPIO_Pin_0);
        if(GPIO_ReadInputDataBit(GPIOB,GPIO_Pin_1))
        val++;
        delay_us(1);
    }
    GPIO_SetBits(GPIOB,GPIO_Pin_0);
    val = val^0x800000;
    delay_us(1);
    GPIO_ResetBits(GPIOB,GPIO_Pin_0);
    delay_us(1);
    return val;
}
4、获取重量计算代码
//****************************************************
//称重
//****************************************************
long Get_Weight()
{
    HX711_Buffer = HX711_Read();
    Weight_Shiwu = HX711_Buffer;
    Weight_Shiwu = Weight_Shiwu - Weight_Maopi;             //获取实物的AD采样数值。
    Weight_Shiwu = (long)((float)Weight_Shiwu/GapValue);
    return Weight_Shiwu;
}
5、这些做好了后,就是最后的主函数的调用
#include "sys.h"
#include "usart.h"
#include "key.h"
#include "HX711.h"
#include "delay.h"

float Weight = 0;

int main(void)
{

    NVIC_PriorityGroupConfig(NVIC_PriorityGroup_2);
    delay_init(168);
    uart_init(115200);
    Init_Hx711();
    delay_ms(2000);
    Get_Maopi();
    delay_ms(100);

    while(1)
    {
    Weight = Get_Weight();
    Weight = (float)Weight/1000.0;
    printf("%0.3f kg\n",Weight);
    delay_ms(1000);
    }
}最后我把整个项目工程打包了,可以在这里[下载我的源代码](https://download.csdn.net/download/qq_21078557/10444935)。