版权声明:欢迎转载,转载请附上链接。 https://blog.csdn.net/qq_41571056/article/details/83012443
环境:Centos7.x 64位,选择7.x是因为7版本以上的PHP版本为5.4,不需要升级PHP版本。
1、安装Apache
[root@localhost ~]# yum install httpd2、安装MySQL的源和Zabbix的源
[root@localhost ~]#rpm -vhi http://repo.zabbix.com/zabbix/3.0/rhel/7/x86_64/zabbix-release-3.0-1.el7.noarch.rpm
[root@localhost ~]#rpm -vhi http://repo.mysql.com/yum/mysql-5.6-community/el/6/x86_64/mysql-community-release-el6-5.noarch.rpm
3、安装Zabbix-Server和Zabbix-Agent
[root@localhost ~]#yum install zabbix-server-mysql zabbix-web-mysql zabbix-agent
4、安装MySQL
[root@localhost ~]# yum install -y mysql-community-server
5、启动Apache、zabbix和MySQL
[root@localhost ~]# systemctl start mysqld.service
[root@localhost ~]# systemctl start zabbix-server.service
[root@localhost ~]# systemctl start httpd.service
[root@localhost ~]# systemctl start zabbix-agent.service
6、设置开机启动
[root@localhost ~]# /sbin/chkconfig mysqld on
[root@localhost ~]# /sbin/chkconfig zabbix-server on
[root@localhost ~]# /sbin/chkconfig httpd on
7、初始化MySQL数据库
[root@localhost ~]# mysql_secure_installation


NOTE: RUNNING ALL PARTS OF THIS SCRIPT IS RECOMMENDED FOR ALL MySQL
      SERVERS IN PRODUCTION USE!  PLEASE READ EACH STEP CAREFULLY!

In order to log into MySQL to secure it, we'll need the current
password for the root user.  If you've just installed MySQL, and
you haven't set the root password yet, the password will be blank,
so you should just press enter here.

Enter current password for root (enter for none):
OK, successfully used password, moving on...

Setting the root password ensures that nobody can log into the MySQL
root user without the proper authorisation.

Set root password? [Y/n] y
New password:
Re-enter new password:
Password updated successfully!
Reloading privilege tables..
 ... Success!


By default, a MySQL installation has an anonymous user, allowing anyone
to log into MySQL without having to have a user account created for
them.  This is intended only for testing, and to make the installation
go a bit smoother.  You should remove them before moving into a
production environment.

Remove anonymous users? [Y/n] y
 ... Success!

Normally, root should only be allowed to connect from 'localhost'.  This
ensures that someone cannot guess at the root password from the network.

Disallow root login remotely? [Y/n] y
 ... Success!

By default, MySQL comes with a database named 'test' that anyone can
access.  This is also intended only for testing, and should be removed
before moving into a production environment.

Remove test database and access to it? [Y/n] y
 - Dropping test database...
ERROR 1008 (HY000) at line 1: Can't drop database 'test'; database doesn't exist
 ... Failed!  Not critical, keep moving...
 - Removing privileges on test database...
 ... Success!

Reloading the privilege tables will ensure that all changes made so far
will take effect immediately.

Reload privilege tables now? [Y/n] y
 ... Success!


All done!  If you've completed all of the above steps, your MySQL
installation should now be secure.

Thanks for using MySQL!


Cleaning up...
创建zabbix数据库,创建zabbix账户
[root@linux-node2 ~]# mysql -uroot -p
...
mysql>  create database zabbix character set utf8 collate utf8_bin;
Query OK, 1 row affected (0.00 sec)

mysql> grant all privileges on zabbix.* to 'zabbix'@'localhost' identified by 'zabbix';
Query OK, 0 rows affected (0.00 sec)

mysql> flush privileges;
Query OK, 0 rows affected (0.01 sec)
8、导入默认的Zabbix数据库信息
[root@localhost ~]#  zcat /usr/share/doc/zabbix-server-mysql-3.0.22/create.sql.gz | mysql zabbix -uzabbix -pzabbix
Warning: Using a password on the command line interface can be insecure.
9、修改Zabbix_server.conf的配置文件
[root@localhost ~]#  grep ^DB /etc/zabbix/zabbix_server.conf
DBHost=localhost
DBName=zabbix
DBUser=root
DBPassword=zabbix
10、修改配置文件/etc/httpd/conf.d/zabbix.conf,时区改成Asia/Shanghai
[root@localhost ~]# vim /etc/httpd/conf.d/zabbix.conf
#
# Zabbix monitoring system php web frontend
#

  ias /zabbix /usr/share/zabbix
▽
<Directory "/usr/share/zabbix">
    Options FollowSymLinks
    AllowOverride None
    Require all granted

    <IfModule mod_php5.c>
        php_value max_execution_time 300
        php_value memory_limit 128M
        php_value post_max_size 16M
        php_value upload_max_filesize 2M
        php_value max_input_time 300
        php_value max_input_vars 10000
        php_value always_populate_raw_post_data -1
        php_value date.timezone Asia/Shanghai
11、关闭SELinux和Firewall
[root@localhost zabbix]# systemctl stop firewalld.service
[root@localhost zabbix]# setenforce 0
[root@localhost ~]# vim /etc/selinux/config

# This file controls the state of SELinux on the system.
# SELINUX= can take one of these three values:
#     enforcing - SELinux security policy is enforced.
#     permissive - SELinux prints warnings instead of enforcing.
#     disabled - No SELinux policy is loaded.
SELINUX=disabled
# SELINUXTYPE= can take one of three two values:
#     targeted - Targeted processes are protected,
#     minimum - Modification of targeted policy. Only selected processes are protected.
#     mls - Multi Level Security protection.
SELINUXTYPE=targeted
12、将Apache的默认目录改为zabbix的默认目录
[root@localhost zabbix]# vim /etc/httpd/conf/httpd.conf
#
# ServerAdmin: Your address, where problems with the server should be
# e-mailed.  This address appears on some server-generated pages, such
# as error documents.  e.g. [email protected]
#
ServerAdmin root@localhost

#
# ServerName gives the name and port that the server uses to identify itself.
# This can often be determined automatically, but we recommend you specify
# it explicitly to prevent problems during startup.
#
# If your host doesn't have a registered DNS name, enter its IP address here.
#
#ServerName www.example.com:80

#
# Deny access to the entirety of your server's filesystem. You must
# explicitly permit access to web content directories in other
# <Directory> blocks below.
#
<Directory />
    AllowOverride none
    Require all denied
</Directory>

#
# Note that from this point forward you must specifically allow
# particular features to be enabled - so if something's not working as
# you might expect, make sure that you have specifically enabled it
# below.
#

#
# DocumentRoot: The directory out of which you will serve your
  documents. By default, all requests are taken from this directory, but
▽ symbolic links and aliases may be used to point to other locations.
#
DocumentRoot "/usr/share/zabbix"

#
# Relax access to content within /var/www.
#
<Directory "/usr/share/zabbix">
    AllowOverride None
    # Allow open access:
    Require all granted
</Directory>

# Further relax access to the default document root:
<Directory "/var/www/html">
    #
    # Possible values for the Options directive are "None", "All",
    # or any combination of:
    #   Indexes Includes FollowSymLinks SymLinksifOwnerMatch ExecCGI MultiViews
    #
    # Note that "MultiViews" must be named *explicitly* --- "Options All"
    # doesn't give it to you.
    #
    # The Options directive is both complicated and important.  Please see
    # http://httpd.apache.org/docs/2.4/mod/core.html#options
    # for more information.
在浏览器输入本机的ip进行访问,确保机器的80端口状态为打开
[root@localhost ~]# netstat -anp | grep 80
tcp6       0      0 :::80                   :::*                    LISTEN      26402/httpd
tcp6       0      0 192.168.10.133:80       192.168.10.1:63800      TIME_WAIT   -
tcp6       0      0 192.168.10.133:80       192.168.10.1:63941      TIME_WAIT   -
tcp6       0      0 192.168.10.133:80       192.168.10.1:63981      FIN_WAIT2   -
tcp6       0      0 192.168.10.133:80       192.168.10.1:63940      TIME_WAIT   -
tcp6       0      0 192.168.10.133:80       192.168.10.1:63912      TIME_WAIT   -
tcp6       0      0 192.168.10.133:80       192.168.10.1:63934      TIME_WAIT   -
tcp6       0      0 192.168.10.133:80       192.168.10.1:63942      TIME_WAIT   -
tcp6       0      0 192.168.10.133:80       192.168.10.1:63847      TIME_WAIT   -
tcp6       0      0 192.168.10.133:80       192.168.10.1:63882      TIME_WAIT   -
unix  2      [ ]         DGRAM                    23331    2802/rsyslogd
unix  3      [ ]         STREAM     CONNECTED     19804    665/dbus-daemon      /run/dbus/system_bus_socket
unix  3      [ ]         STREAM     CONNECTED     50280    26221/mysqld         /var/lib/mysql/mysql.sock
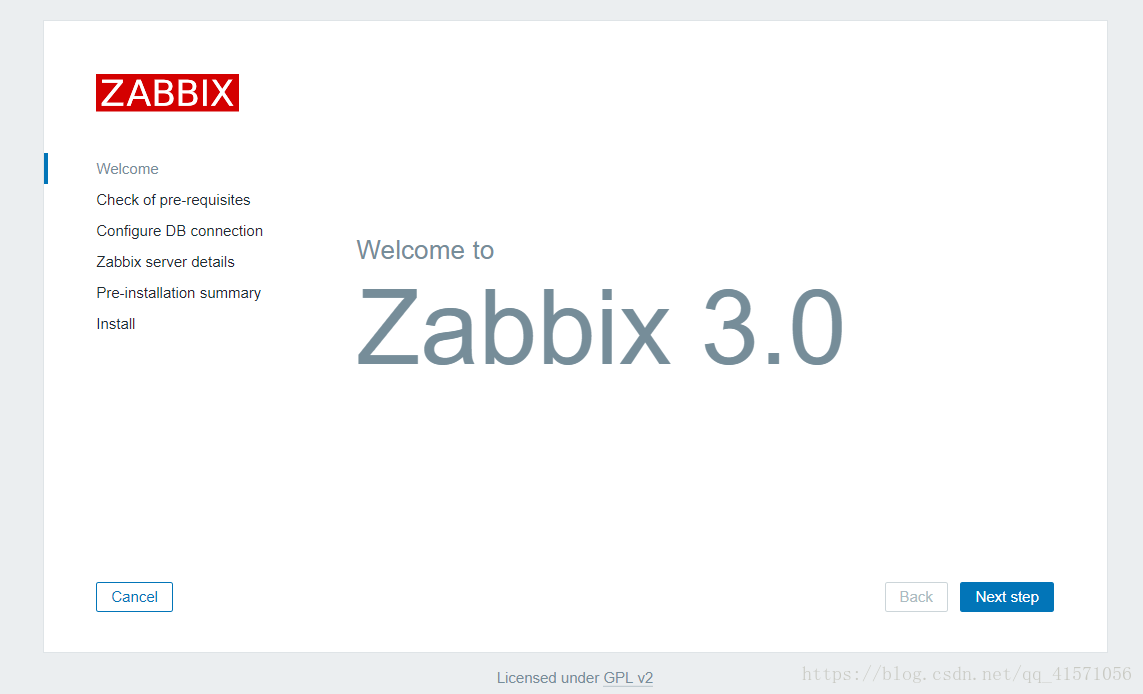
点击Next step,进行下一步操作。
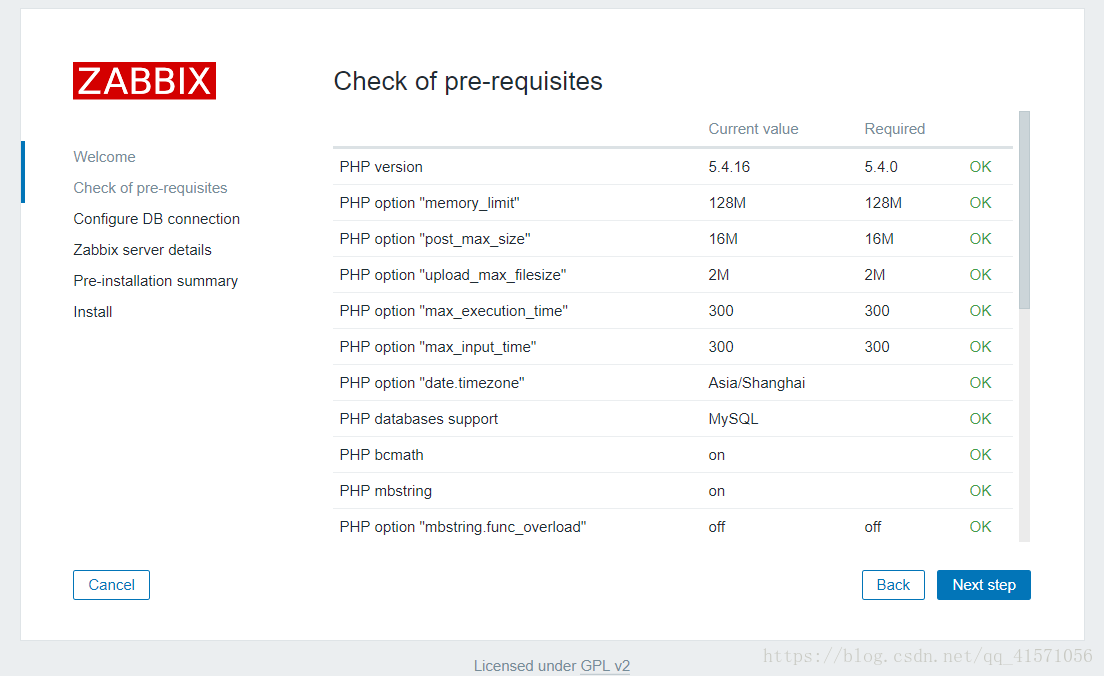
如果这里的PHP版本不对,请自行升级PHP版本。
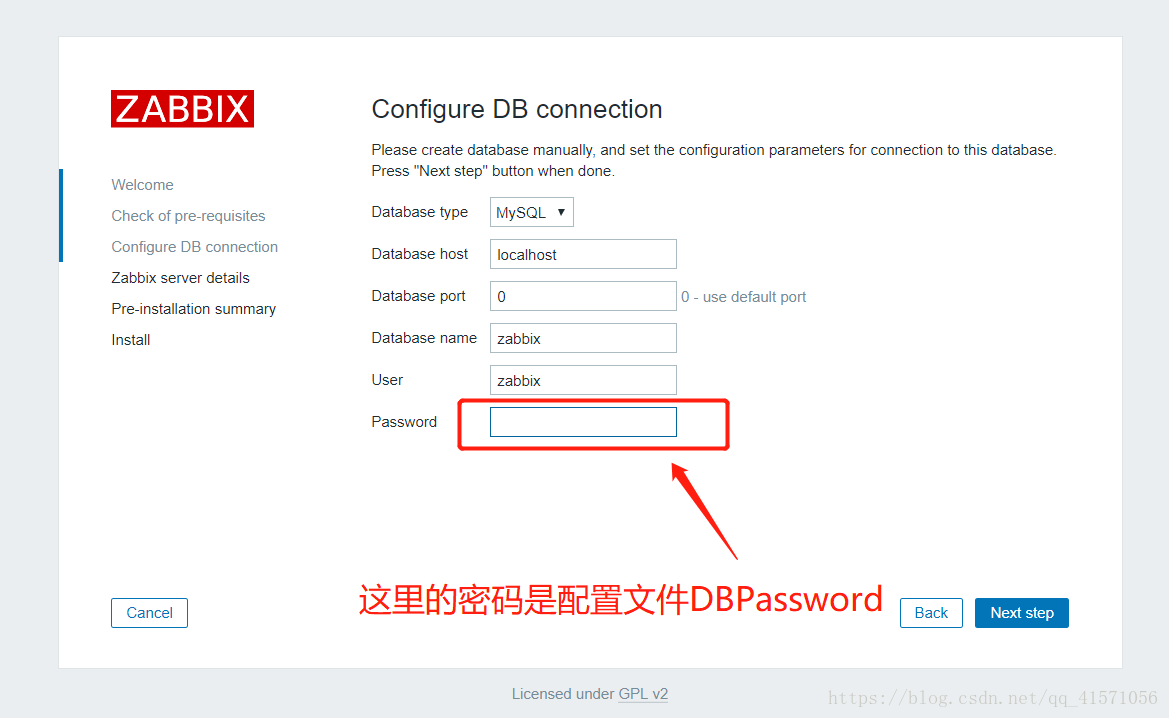
保持默认,点击Next step

成功安装Zabbix

默认管理员账号为Admin,密码为zabbix。注意大小写
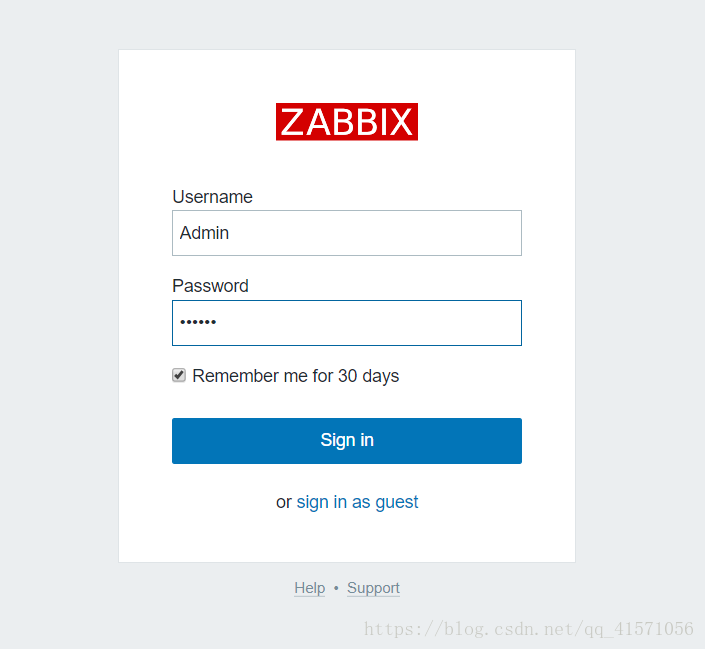
注意:请登录成功后马上修改zabbix的密码,并且移除web目录内的setup.php文件
[root@localhost ~]# mv /usr/share/zabbix/setup.php /usr/share/zabbix/setup.php.bak