前情提要:
要是想搭建多个博客,需要多个邮箱,以注册多个Github账号(一个GitHub账号只能建一个与账号名相同的仓库)。
并且在一个电脑上默认生成的ssh密匙名为id_rsa,想要给每个博客申请一个ssh密匙,需要进行重命名密匙等配置操作。
本教程可以解决以上问题,小伙伴们要是想在一个电脑上操作多个博客,可配合另一个Hexo+Github搭建教程使用。
地址为https://blog.csdn.net/qq_41979043/article/details/83046278
本教程举例生成两个ssh密匙,(生成多个与此原理相同)。
1.多个Github账号的注册和博客其他配置
参见教程:https://blog.csdn.net/qq_41979043/article/details/83046278
2.生成两个ssh密匙
    ssh-keygen -t rsa -C "邮箱号[email protected]"

    ssh-keygen -t rsa -C "邮箱号[email protected]"
①如下图操作:
ps:要在~/.ssh路径下运行命令行。
添加第1个密匙:重命名为id_rsa_messi1002。
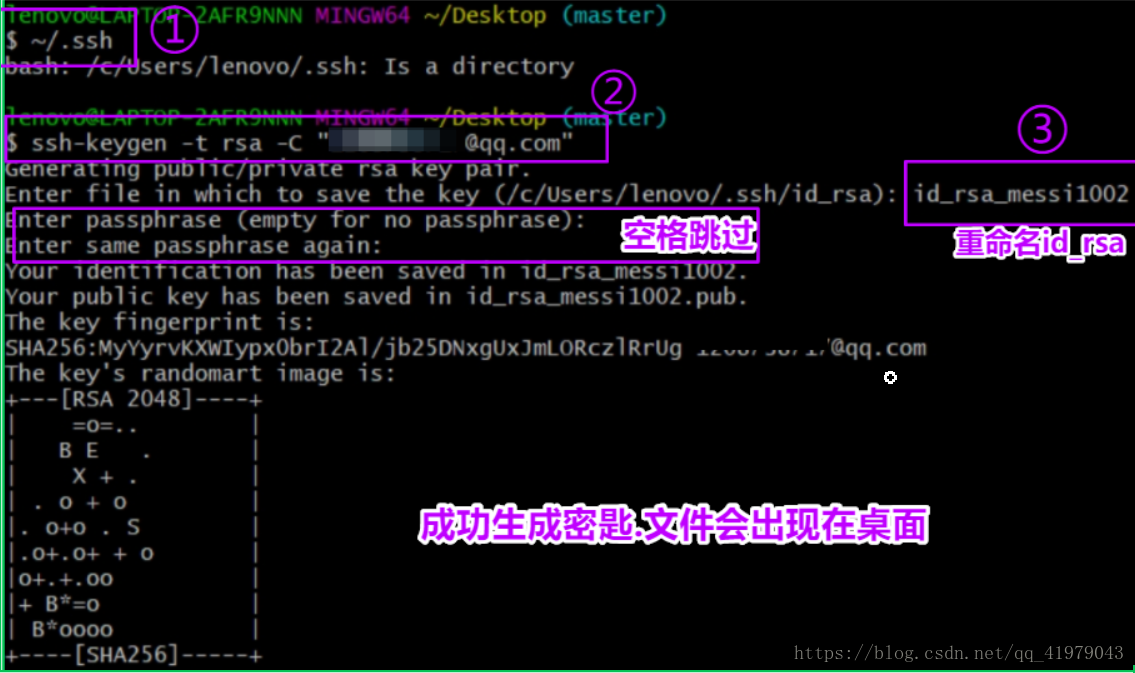
添加第2个ssh密匙:重命名为id_rsa_read1002。


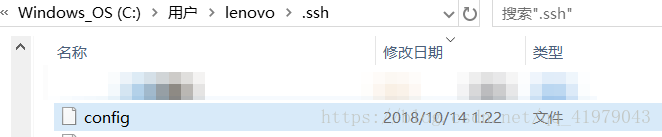
②将生成的4个文件放在C盘的.ssh文件夹下,并应只包含这四个文件。

3.添加私匙
①打开ssh-agent:
        ssh-agent bash
        ssh-agent -s
如右图:

4.配置config文件
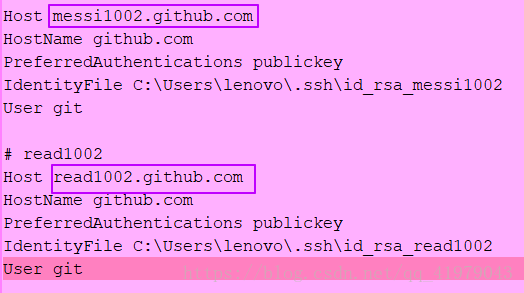
①在.ssh文件中手动创建名为config的文件,并按自己的信息修改模板、填入文件。
        模板如下:
        # 注释1
        Host 第一个Github账号的仓库名
        HostName github.com
        PreferredAuthentications publickey
        IdentityFile 1私匙所在文件路径\1私匙名
        User git

        # 注释2
        Host 第二个Github账号的仓库名
        HostName github.com
        PreferredAuthentications publickey
        IdentityFile 2私匙所在文件路径\2私匙名
        User git
以下是我的文件内容:
5.New ssh key
将两个Github账号的公匙分别添加到其Github账号----Settings----SSH and GPG keys中。
https://blog.csdn.net/qq_41979043/article/details/83046278此博客的----3----⑤中有具体过程。
6.远程测试
ssh -T 仓库名
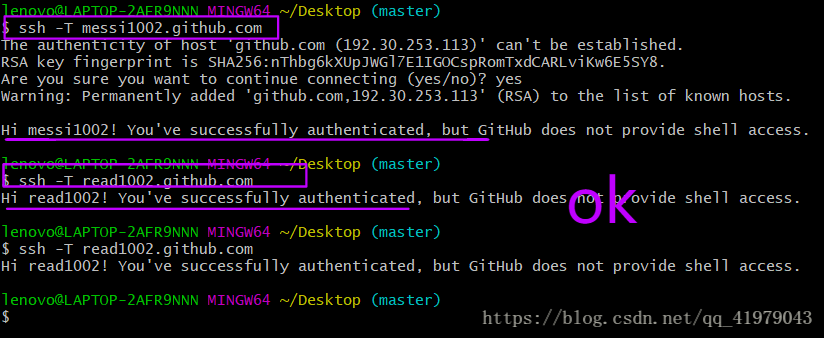
最后:钥匙变亮,说明配置成功!!

注意:此时ssh [email protected]命令变为ssh git@账号名.github.com。
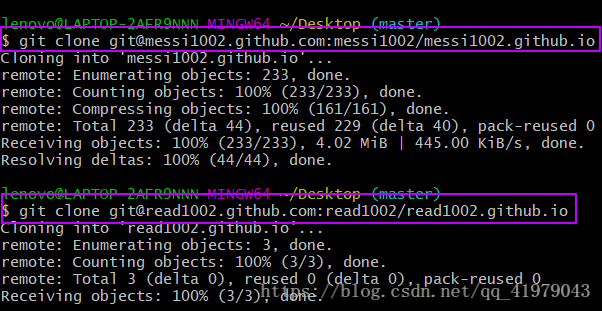
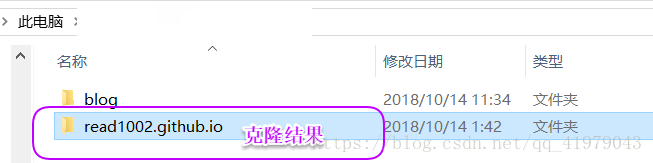
附加:将Github仓库克隆到本地。
注意此时与只有一个密匙时的输入不同。
原来输入:
    git clone [email protected]: Github账号用户名/仓库名
    如:git clone [email protected]: read1002/read1002.github.io
现在输入:
    git clone [email protected]: read1002/read1002.github.io
    如:git clone [email protected]: read1002/read1002.github.io