版权声明:本文为博主原创文章,未经博主允许不得转载。 https://blog.csdn.net/Dan_2017/article/details/78675280
注:这篇博客接着Angular4学习笔记(二)
(一)子路由:(直接举例子)
创建prdouctDesc和sellerInfo组件
app-routing.module.ts
const routes: Routes = [
//路由重定向:当''路由过来时先重定向到/home然后在到home
{path:'',redirectTo:'/home',pathMatch:'full'},
//path:指路由的路径。component:指路由的目标组件
{ path:'home' , component:HomeComponent},
//配置productComponent的子路由
{ path:'product/:id', component:ProductComponent,
children:[
{path:'',component:ProductDescComponent},
{path:'productSeller',component:SellerInfoComponent}
]
},
//这里配置的是一个页面不存在的路由
{ path:'**' , component:Code404Component},
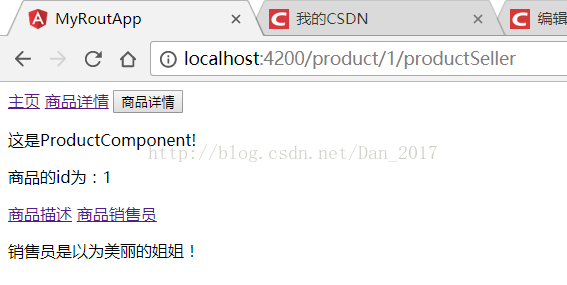
];product.component.html
<!-- 当点击商品详情的时候直接显示商品描述 。注意:这里写路径的时候前面要加 ' . ',代表当前连接指向当前组件的子路由-->
<a [routerLink]="['./']" >商品描述</a>
<a [routerLink]="['./productSeller']" >商品销售员</a>
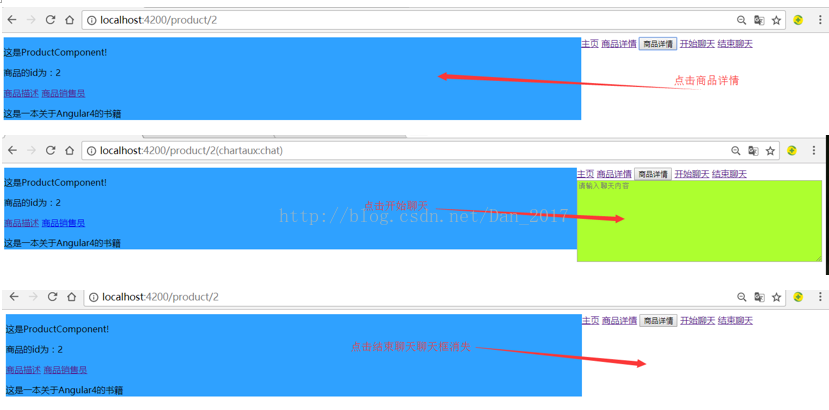
<router-outlet></router-outlet>(二)辅助路由(实现以下功能:同一个页面由两个路由组成,当主路由改变是辅助路由不变,当product组件路由变化是,chat路由不变)
1:创建chat组件
app.component.html (再添加一个name为chartaux的插座)
<!-- 再定义一个router-outlet显示chat组件 -->
<!-- 当点击开始聊天时,名为chartaux的路由 的连接为chat-->
<a [routerLink]="[{outlets:{chartaux:'chat'}}]">开始聊天</a>
<!-- 当点击开始聊天时,名为chartaux的路由 的连接为null-->

<a [routerLink]="[{outlets:{chartaux:null}}]" >结束聊天</a>

<router-outlet name="chartaux"></router-outlet>
app-routing.module.ts (在配置一个路由)
{ path:'chat' , component:ChatComponent,outlet:'chartaux'},<textarea class="chat" placeholder="请输入聊天内容"></textarea>
chat.component.css
.chat{
    background:greenyellow;
    height: 150px;
    width: 30%;
    float: left;
    box-sizing: border-box;
}
同时设置product.component.css和home.component.css的css,在chat.component.css基础上修改width:70%,其他就是改变颜色。
CanActivate:处理导航到某路由的情况。
CanDeactivate:处理从当前路由离开的情况。
Resolve:在路由激活之前获取路由数据。