版权声明:本文为博主许佳佳原创文章,转载请务必注明出处。 https://blog.csdn.net/Double2hao/article/details/78533447
本篇文章记录为主
主要参考WebPack官网:http://webpack.github.io/docs/
WebPack常用流程
1、安装WebPack
2、准备要打包的文件
3、安装loader
4、配置文件
5、生成文件并运行
示例
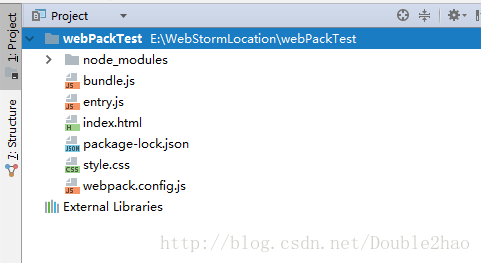
文件目录(WebStorm)
安装WebPack
npm install webpack -g准备要打包的文件
entry.js
require("./style.css");
document.write('It works.');
index.js
<html>
<head>
    <meta charset="utf-8">
</head>
<body>
<script type="text/javascript" src="bundle.js" charset="utf-8"></script>
</body>
</html>
style.css
body {
    background: yellow;
}
安装loader
npm install css-loader style-loader配置文件
webpack.config.js
module.exports = {
    entry: "./entry.js",
    output: {
        path: __dirname,
        filename: "bundle.js"
    },
    module: {
        loaders: [
            { test: /\.css$/, loader:'style-loader!css-loader' }
        ]
    }
};
生成文件并运行
直接在终端输入
webpack然后运行index.html,最终效果如下: