版权声明:本文为博主原创文章,未经博主允许不得转载。 https://blog.csdn.net/github_39533414/article/details/82959492
前面我写了一篇关于如何在eclipse安装Spring的文章
现在开始第一个spring项目Hello world
准备工作
下载架包
Spring-Framework:
https://repo.spring.io/libs-release-local/org/springframework/spring/4.2.4.RELEASE/spring-framework-4.2.4.RELEASE-dist.zip
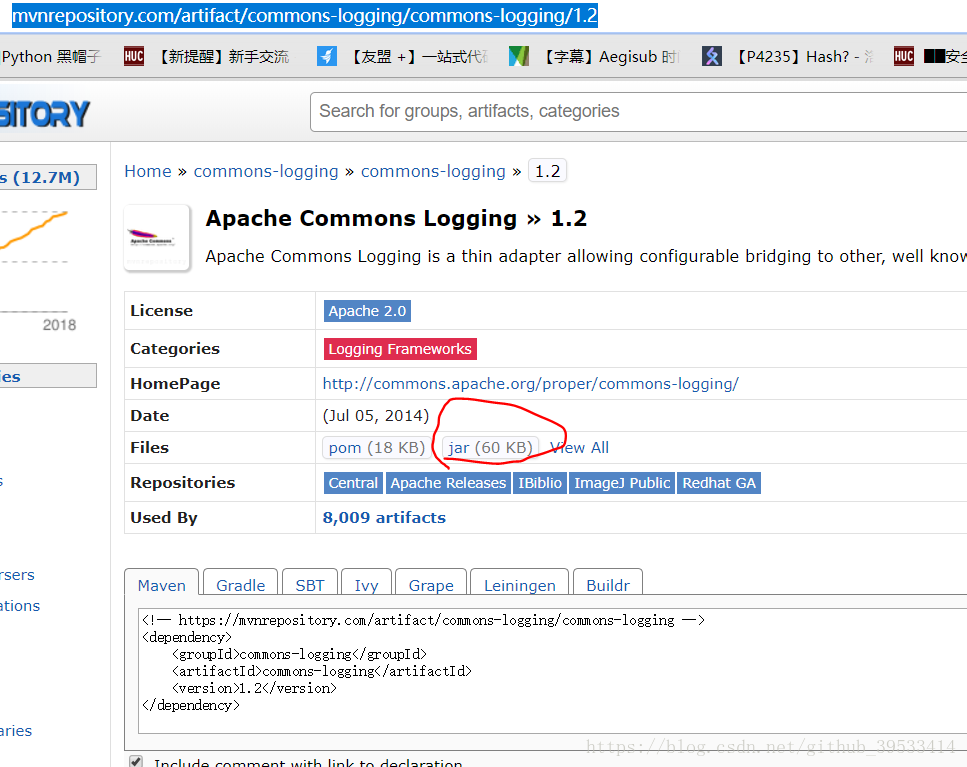
commons-logging:
https://mvnrepository.com/artifact/commons-logging/commons-logging/1.2
把上面的文件解压到同一个目录下
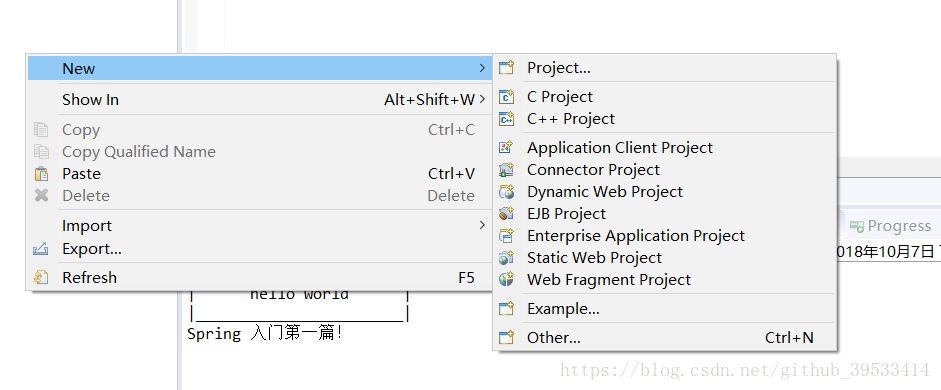
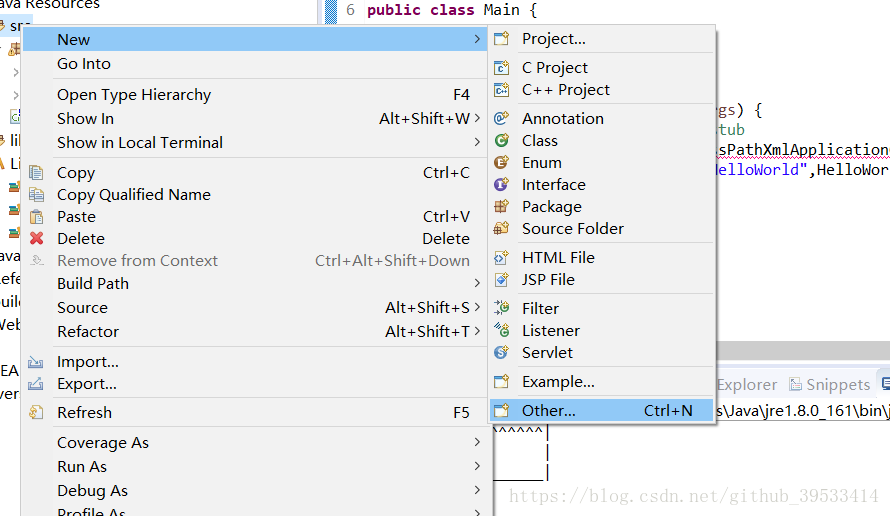
新建一个Java 项目,右键New–>Project
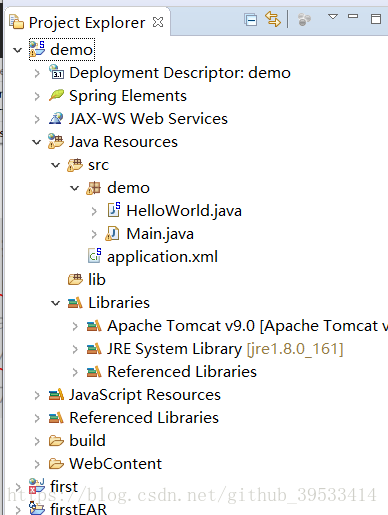
在项目目录下一个文件夹lib
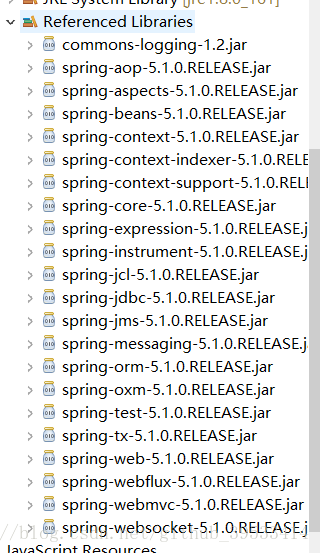
将spring-framework-4.2.4.RELEASE\libs下的这几个文件和commons-logging-1.2下的commons-logging-1.2.jar拷到我们新建的lib里面
加入build path,右键点击项目——properties——java build path,在libraries标签下点——add JARs…
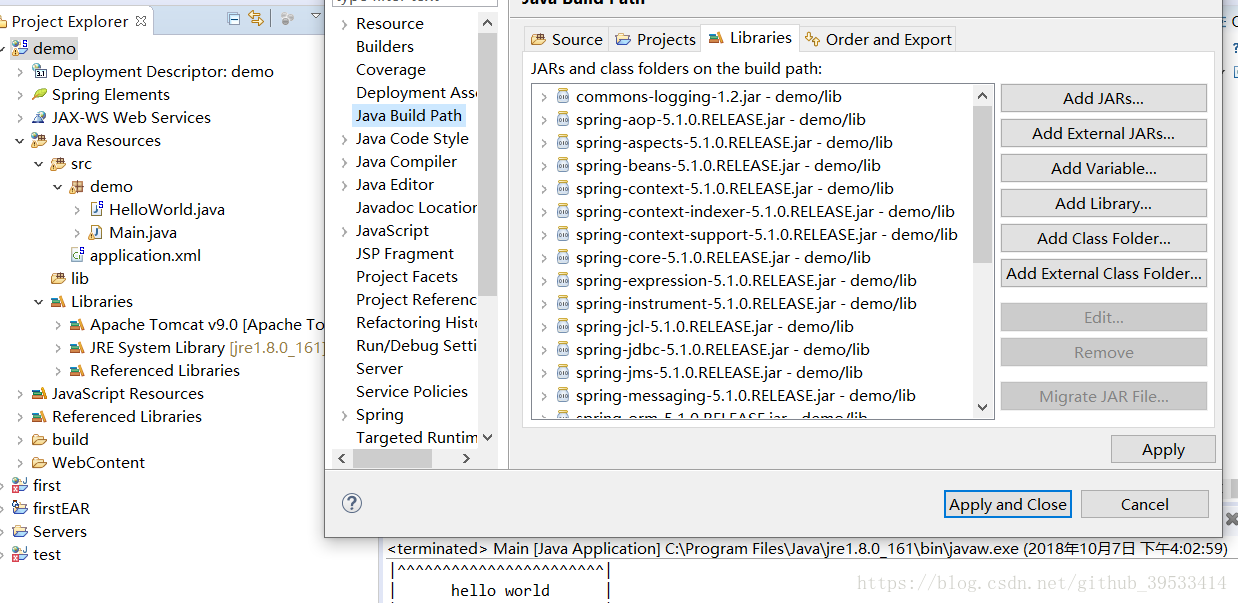
添加demo\lib里面的jar包
然后点Apply and close
建立文件
在src下建立一个包
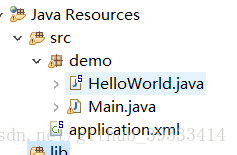
新建HelloWorld.java
package demo;
public class HelloWorld {
public void say(){
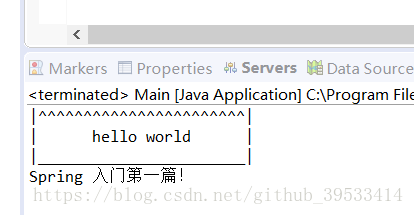
System.out.println("|^^^^^^^^^^^^^^^^^^^^^^^|");
System.out.println("| hello world |");
System.out.println("|_______________________|");
System.out.println("Spring 入门第一篇!");
}
}
新建Main.java
package demo;
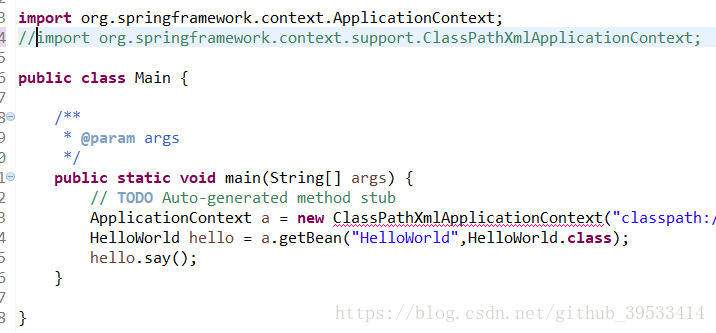
import org.springframework.context.ApplicationContext;
import org.springframework.context.support.ClassPathXmlApplicationContext;
public class Main {
/**
* @param args
*/
public static void main(String[] args) {
// TODO Auto-generated method stub
ApplicationContext a = new ClassPathXmlApplicationContext("classpath:/application.xml");
HelloWorld hello = a.getBean("HelloWorld",HelloWorld.class);
hello.say();
}
}
- 注意:需要手动导入两个包
- import org.springframework.context.ApplicationContext;
import org.springframework.context.support.ClassPathXmlApplicationContext;
不然会报错:
然后在src下建立application.xml

选择Spring Bean Configuration File
<?xml version="1.0" encoding="UTF-8"?>
<beans xmlns="http://www.springframework.org/schema/beans"
	xmlns:xsi="http://www.w3.org/2001/XMLSchema-instance"
	xsi:schemaLocation="http://www.springframework.org/schema/beans http://www.springframework.org/schema/beans/spring-beans.xsd">

<bean id="HelloWorld" class="demo.HelloWorld"></bean>
</beans>
添加bean这一行
然后在Main下点击application
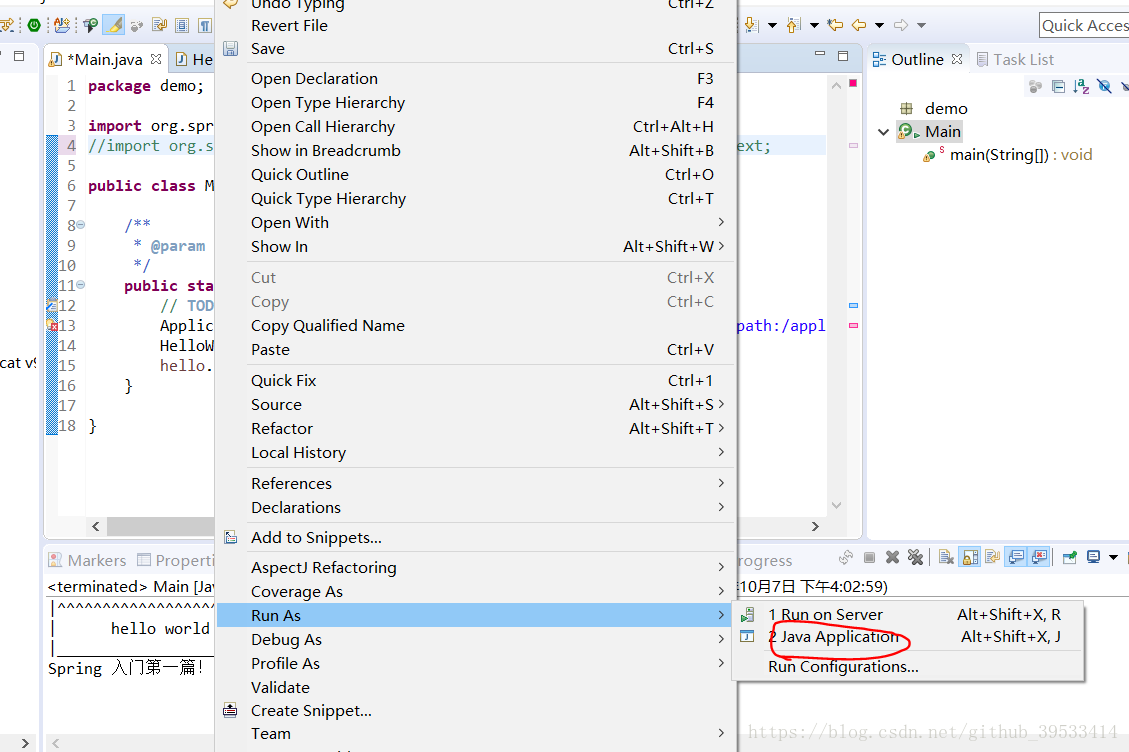
结果如下: