今天在博客上看到一遍有关于:mybatis-generator 代码自动生成工具怎么用mybatis-gennerator插件自动生成mybatis所需要的dao、bean、mapper xml文件,这样我们可以节省一部分精力,把精力放在业务逻辑上,但我发现其实有很多的不足,对于刚接触的新手来来说还是蛮难理解的,就比如博主我,诶!天赋太低了。
那么好我借来来就来演示下我的步骤希望大家可以学到
首先我们来看看他是什么样子的吧!

结构还是非常简单的。
如果有需要的可以到这下载:http://download.csdn.net/detail/m0_37862829/9850229
结构弄好以后接下来我们就来看看怎么用mybatis-gennerator插件自动生成mybatis所需要的dao、bean、mapper xml文件,这样我们可以节省一部分精力,把精力放在业务逻辑上。
1、在D盘新建一个文件夹,命名:generator(或者其他盘其他名字也可以,之所以用这个,是为了copy下面代码后,不用再做修改路径)
2、准备需要的jar包:mybatis-generator-core-1.3.2.jar、MySQL-connector-Java-5.1.34.jar
3、新建一个文件,命名:generator.xml
复制以下代码,并修改对应内容:
<?xml version="1.0" encoding="UTF-8"?>
<!DOCTYPE generatorConfiguration PUBLIC "-//mybatis.org//DTD MyBatis Generator Configuration 1.0//EN" "http://mybatis.org/dtd/mybatis-generator-config_1_0.dtd">
<generatorConfiguration>
	<!-- 数据库驱动包位置 -->
	<classPathEntry location="D:\generator\mysql-connector-java-5.1.34.jar" />
	<!-- <classPathEntry location="C:\oracle\product\10.2.0\db_1\jdbc\lib\ojdbc14.jar" />-->
	<context id="DB2Tables" targetRuntime="MyBatis3">
		<commentGenerator>
			<property name="suppressAllComments" value="true" />
		</commentGenerator>
		<!-- 数据库链接URL、用户名、密码 -->
		 <jdbcConnection driverClass="com.mysql.jdbc.Driver" connectionURL="jdbc:mysql://localhost:3306/db_blog3?characterEncoding=utf8" userId="root" password="123456">
		<!--<jdbcConnection driverClass="oracle.jdbc.driver.OracleDriver" connectionURL="jdbc:oracle:thin:@localhost:1521:orcl" userId="msa" password="msa">-->
		</jdbcConnection>
		<javaTypeResolver>
			<property name="forceBigDecimals" value="false" />
		</javaTypeResolver>
		<!-- 生成模型的包名和位置 -->
		<javaModelGenerator targetPackage="andy.model" targetProject="D:\generator\src">
			<property name="enableSubPackages" value="true" />
			<property name="trimStrings" value="true" />
		</javaModelGenerator>
		<!-- 生成的映射文件包名和位置 -->
		<sqlMapGenerator targetPackage="andy.mapping" targetProject="D:\generator\src">
			<property name="enableSubPackages" value="true" />
		</sqlMapGenerator>
		<!-- 生成DAO的包名和位置 -->
		<javaClientGenerator type="XMLMAPPER" targetPackage="andy.dao" targetProject="D:\generator\src">
			<property name="enableSubPackages" value="true" />
		</javaClientGenerator>
		<!-- 要生成那些表(更改tableName和domainObjectName就可以) -->
		<table tableName="t_blog" domainObjectName="t_blog" enableCountByExample="false" enableUpdateByExample="false" enableDeleteByExample="false" enableSelectByExample="false" selectByExampleQueryId="false" />
		<table tableName="t_blogger" domainObjectName="t_blogger" enableCountByExample="false" enableUpdateByExample="false" enableDeleteByExample="false" enableSelectByExample="false" selectByExampleQueryId="false" />
		<table tableName="t_blogtype" domainObjectName="t_blogtype" enableCountByExample="false" enableUpdateByExample="false" enableDeleteByExample="false" enableSelectByExample="false" selectByExampleQueryId="false" />
		<table tableName="t_comment" domainObjectName="t_comment" enableCountByExample="false" enableUpdateByExample="false" enableDeleteByExample="false" enableSelectByExample="false" selectByExampleQueryId="false" />
		<table tableName="t_link" domainObjectName="t_link" enableCountByExample="false" enableUpdateByExample="false" enableDeleteByExample="false" enableSelectByExample="false" selectByExampleQueryId="false" />
		<!-- <table tableName="course_info" domainObjectName="CourseInfo" enableCountByExample="false" enableUpdateByExample="false" enableDeleteByExample="false" enableSelectByExample="false" selectByExampleQueryId="false" />
		<table tableName="course_user_info" domainObjectName="CourseUserInfo" enableCountByExample="false" enableUpdateByExample="false" enableDeleteByExample="false" enableSelectByExample="false" selectByExampleQueryId="false" /> -->
	</context>
</generatorConfiguration>
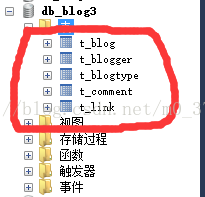
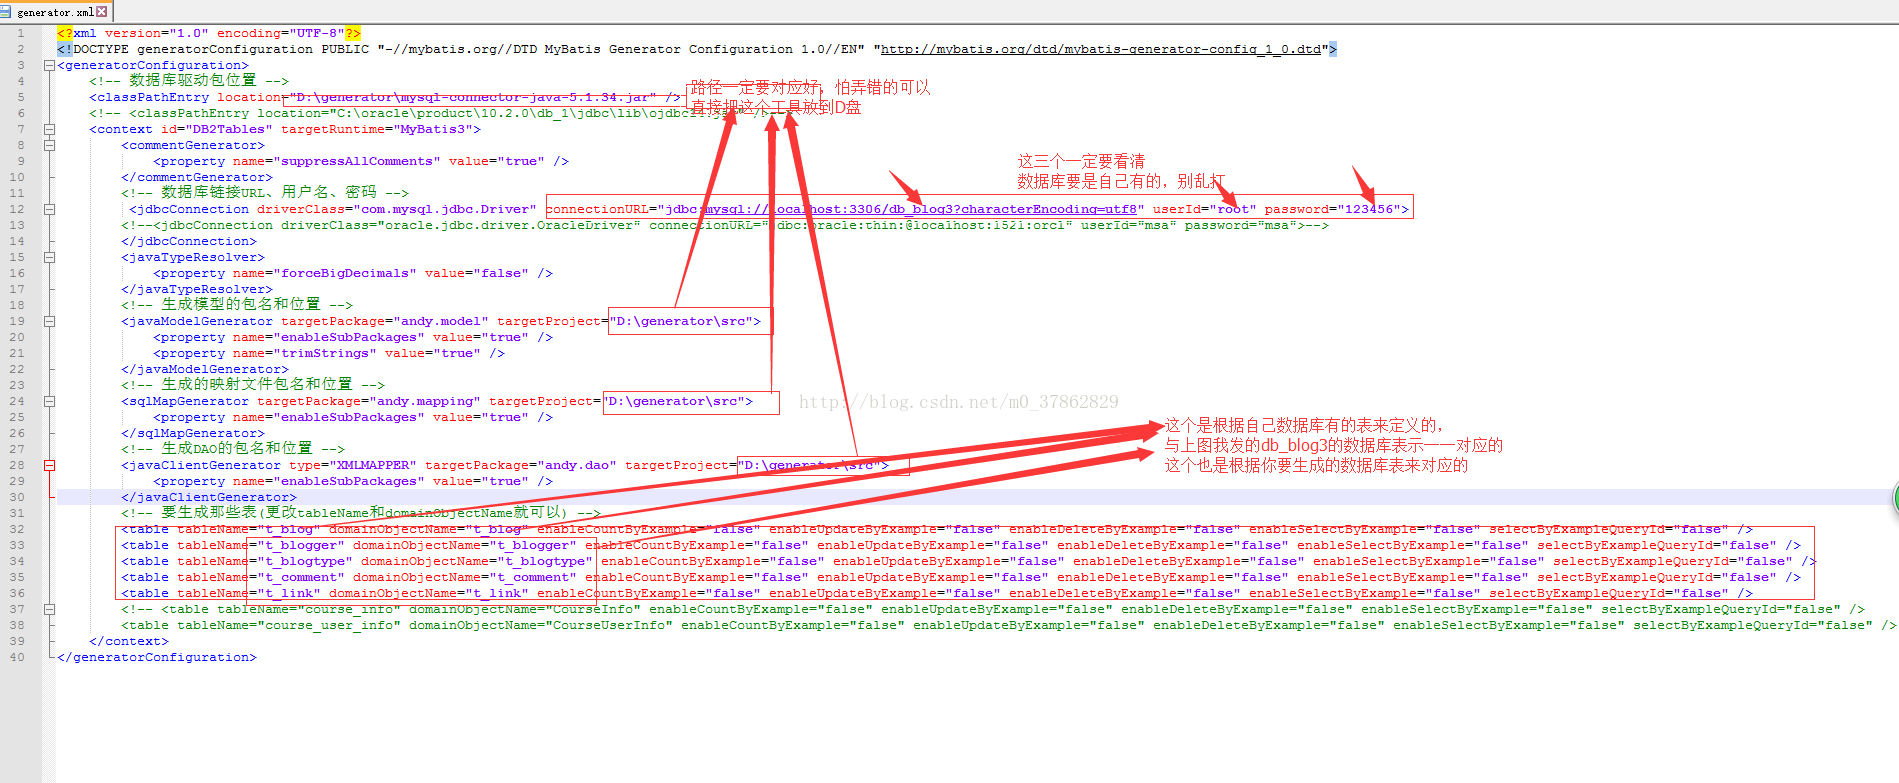
到这我要非常注意二点:
先来看看我数据库的结构:
再来看看我的generator.xml文件:
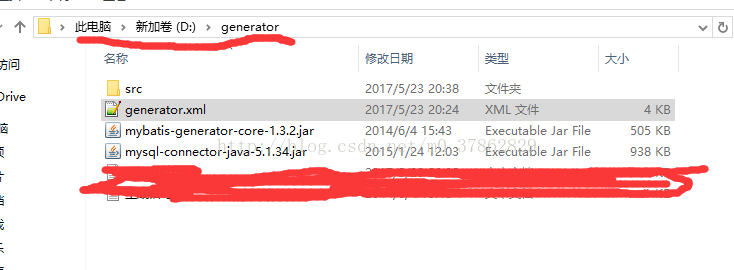
上述的问题没有的情况下我们就可以来生成代码了:
我们来到工具的存放位置 D:\generator
把鼠标放在空白处按住Shift点击鼠标右键然后有个选项在此处打开命令窗口点击或则直接cmd运行窗口进入到D:\generator如图:
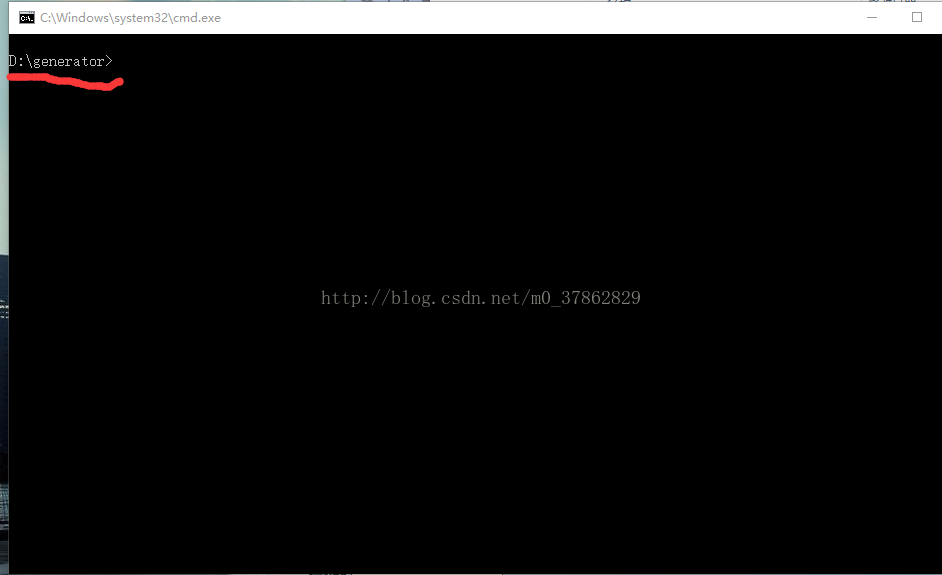
输入命令:java -jar mybatis-generator-core-1.3.2.jar -configfile generator.xml -overwrite
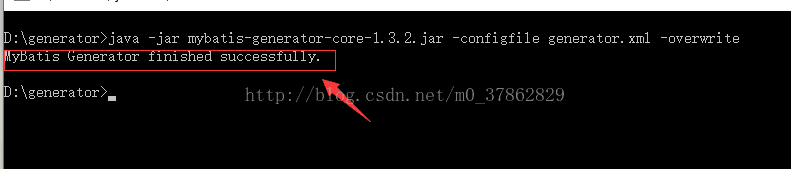
当出现如上图的情况表示你已经生成好了代码,接下来就到数据库去看看吧,你会有补一样的惊喜
这时,你可以看到,dao、model、mapper xml文件已经生成了
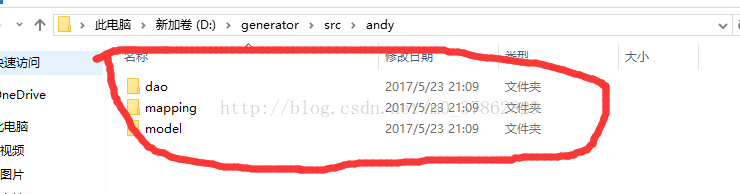
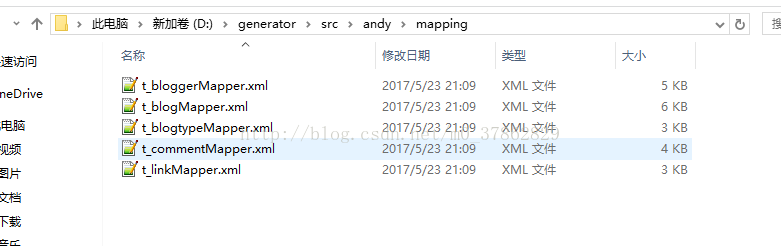
是不是就得非常方便有了它就可以把它复制到项目中去了再也不用自己写实体,dao接口,和基本的mapper映射了。
还有不懂得可以文博主