OpenCV版本YOLO3
首先需要配置目前最新的opencv3.4.2以及contrib模块
1.编译最新版的OpenCV+Contrib
如果你也用的是VS2017,那么恭喜你,可以用我编译好的最新版opencv,并跳过第一步,地址:
VS2017_x64_debug&release_opencv4.0+contrib
-------------编译步骤---------------------
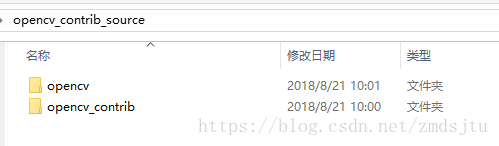
从github上pull最新代码
git clone https://github.com/opencv/opencv_contrib
git clone https://github.com/opencv/opencv

用Cmake生成项目
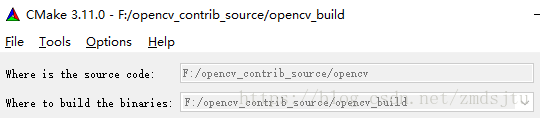
Config后添加contrib目录
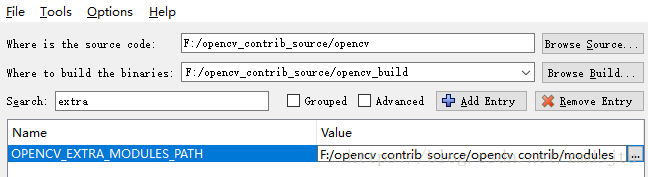
再次Config

再次Generate生成VS项目,打开项目
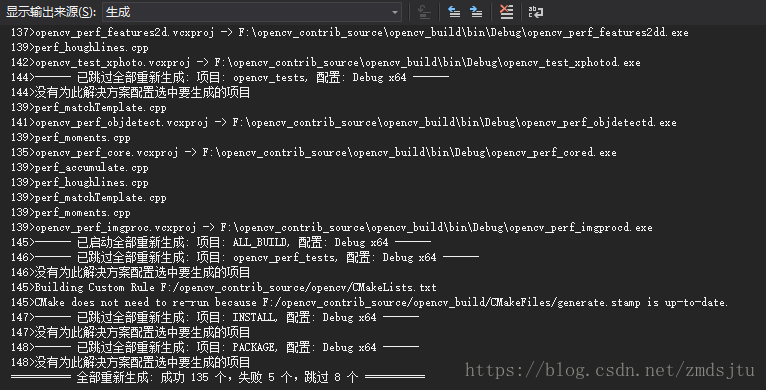
重新生成解决方案
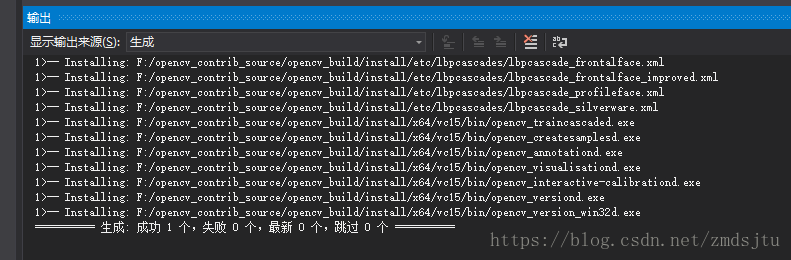
install--->仅生成install
然后配置下openCV环境,如果提示找不到DNN_BACKEND_OPENCV,那恭喜,OpenCV版本太低了,23333(
2.下载相关文件
下载一下Wget 下载地址: https://eternallybored.org/misc/wget/
wget.exe直接放到系统环境变量的某个目录或者CMD工作目录即可
在cmd控制台里下载下面三个文件
wget https://pjreddie.com/media/files/yolov3.weights
wget https://github.com/pjreddie/darknet/blob/master/cfg/yolov3.cfg?raw=true -O ./yolov3.cfg
wget https://github.com/pjreddie/darknet/blob/master/data/coco.names?raw=true -O ./coco.names
三个文件放到执行程序可以访问的目录即可(当然现在你可能还没有可执行程序,233,别急)
3.简单粗暴的代码
参考: 地址
只需要把“run.mp4”换成自己的即可
// This code is written at BigVision LLC.
//It is subject to the license terms in the LICENSE file found in this distribution and at http://opencv.org/license.html

#include <fstream>
#include <sstream>
#include <iostream>
#include <opencv2/dnn.hpp>
#include <opencv2/imgproc.hpp>
#include <opencv2/highgui.hpp>


using namespace cv;
using namespace dnn;
using namespace std;

// Initialize the parameters
float confThreshold = 0.5; // Confidence threshold
float nmsThreshold = 0.4;  // Non-maximum suppression threshold
int inpWidth = 416;  // Width of network's input image
int inpHeight = 416; // Height of network's input image
vector<string> classes;

// Remove the bounding boxes with low confidence using non-maxima suppression
void postprocess(Mat& frame, const vector<Mat>& out);

// Draw the predicted bounding box
void drawPred(int classId, float conf, int left, int top, int right, int bottom, Mat& frame);

// Get the names of the output layers
vector<String> getOutputsNames(const Net& net);

int main(int argc, char** argv)
{


	string classesFile = "coco.names";
	ifstream ifs(classesFile.c_str());
	string line;
	while (getline(ifs, line)) classes.push_back(line);

	// Give the configuration and weight files for the model
	String modelConfiguration = "yolov3.cfg";
	String modelWeights = "yolov3.weights";

	// Load the network
	Net net = readNetFromDarknet(modelConfiguration, modelWeights);
	net.setPreferableBackend(DNN_BACKEND_OPENCV);
	net.setPreferableTarget(DNN_TARGET_CPU);

	// Open a video file or an image file or a camera stream.
	string str, outputFile;
	VideoCapture cap("run.mp4");
	VideoWriter video;
	Mat frame, blob;


	// Create a window
	static const string kWinName = "Deep learning object detection in OpenCV";
	namedWindow(kWinName, WINDOW_NORMAL);

	// Process frames.
	while (waitKey(1) !=27)
	{
		// get frame from the video
		cap >> frame;

		// Stop the program if reached end of video
		if (frame.empty()) {
			//waitKey(3000);
			break;
		}
		// Create a 4D blob from a frame.

		blobFromImage(frame, blob, 1 / 255.0, cv::Size(inpWidth, inpHeight), Scalar(0, 0, 0), true, false);

		//Sets the input to the network
		net.setInput(blob);

		// Runs the forward pass to get output of the output layers
		vector<Mat> outs;
		net.forward(outs, getOutputsNames(net));

		// Remove the bounding boxes with low confidence
		postprocess(frame, outs);

		// Put efficiency information. The function getPerfProfile returns the overall time for inference(t) and the timings for each of the layers(in layersTimes)
		vector<double> layersTimes;
		double freq = getTickFrequency() / 1000;
		double t = net.getPerfProfile(layersTimes) / freq;
		string label = format("Inference time for a frame : %.2f ms", t);
		putText(frame, label, Point(0, 15), FONT_HERSHEY_SIMPLEX, 0.5, Scalar(0, 0, 255));

		// Write the frame with the detection boxes
		Mat detectedFrame;
		frame.convertTo(detectedFrame, CV_8U);

		imshow(kWinName, frame);

	}

	cap.release();

	return 0;
}

// Remove the bounding boxes with low confidence using non-maxima suppression
void postprocess(Mat& frame, const vector<Mat>& outs)
{
	vector<int> classIds;
	vector<float> confidences;
	vector<Rect> boxes;

	for (size_t i = 0; i < outs.size(); ++i)
	{
		// Scan through all the bounding boxes output from the network and keep only the
		// ones with high confidence scores. Assign the box's class label as the class
		// with the highest score for the box.
		float* data = (float*)outs[i].data;
		for (int j = 0; j < outs[i].rows; ++j, data += outs[i].cols)
		{
			Mat scores = outs[i].row(j).colRange(5, outs[i].cols);
			Point classIdPoint;
			double confidence;
			// Get the value and location of the maximum score
			minMaxLoc(scores, 0, &confidence, 0, &classIdPoint);
			if (confidence > confThreshold)
			{
				int centerX = (int)(data[0] * frame.cols);
				int centerY = (int)(data[1] * frame.rows);
				int width = (int)(data[2] * frame.cols);
				int height = (int)(data[3] * frame.rows);
				int left = centerX - width / 2;
				int top = centerY - height / 2;

				classIds.push_back(classIdPoint.x);
				confidences.push_back((float)confidence);
				boxes.push_back(Rect(left, top, width, height));
			}
		}
	}

	// Perform non maximum suppression to eliminate redundant overlapping boxes with
	// lower confidences
	vector<int> indices;
	NMSBoxes(boxes, confidences, confThreshold, nmsThreshold, indices);
	for (size_t i = 0; i < indices.size(); ++i)
	{
		int idx = indices[i];
		Rect box = boxes[idx];
		drawPred(classIds[idx], confidences[idx], box.x, box.y,
			box.x + box.width, box.y + box.height, frame);
	}
}

// Draw the predicted bounding box
void drawPred(int classId, float conf, int left, int top, int right, int bottom, Mat& frame)
{
	//Draw a rectangle displaying the bounding box
	rectangle(frame, Point(left, top), Point(right, bottom), Scalar(255, 178, 50), 3);

	//Get the label for the class name and its confidence
	string label = format("%.2f", conf);
	if (!classes.empty())
	{
		CV_Assert(classId < (int)classes.size());
		label = classes[classId] + ":" + label;
	}

	//Display the label at the top of the bounding box
	int baseLine;
	Size labelSize = getTextSize(label, FONT_HERSHEY_SIMPLEX, 0.5, 1, &baseLine);
	top = max(top, labelSize.height);
	rectangle(frame, Point(left, top - round(1.5*labelSize.height)), Point(left + round(1.5*labelSize.width), top + baseLine), Scalar(255, 255, 255), FILLED);
	putText(frame, label, Point(left, top), FONT_HERSHEY_SIMPLEX, 0.75, Scalar(0, 0, 0), 1);
}

// Get the names of the output layers
vector<String> getOutputsNames(const Net& net)
{
	static vector<String> names;
	if (names.empty())
	{
		//Get the indices of the output layers, i.e. the layers with unconnected outputs
		vector<int> outLayers = net.getUnconnectedOutLayers();

		//get the names of all the layers in the network
		vector<String> layersNames = net.getLayerNames();

		// Get the names of the output layers in names
		names.resize(outLayers.size());
		for (size_t i = 0; i < outLayers.size(); ++i)
			names[i] = layersNames[outLayers[i] - 1];
	}
	return names;
}
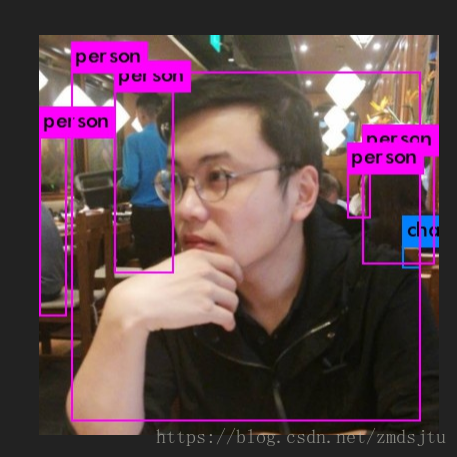
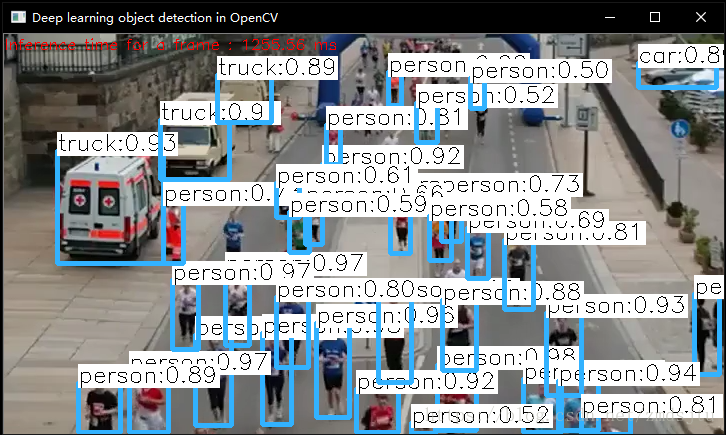
效果如图所示(假装是个视频,233):
============================
Darknet版本
下载一下项目
如果有git的话 git clone https://github.com/AlexeyAB/darknet
没有的话打开 https://github.com/AlexeyAB/darknet 下载一样
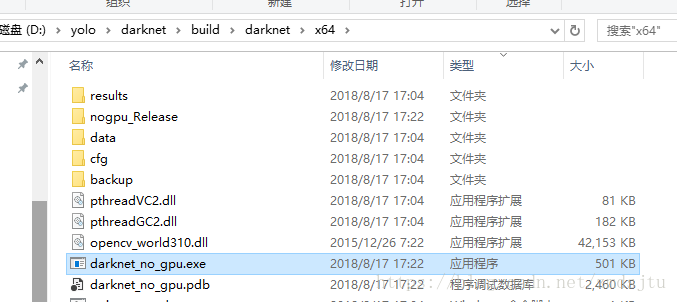
打开如图所示目录的工程

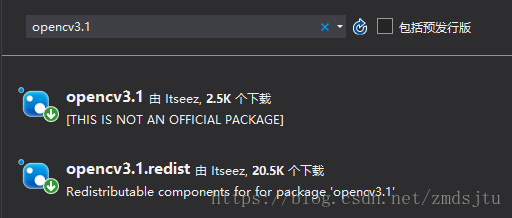
配置一下opencv路径,要3以上的,这里用的VS2015所以直接用的Nuget包
然后生成,可以看到目录下的EXE执行程序
然后自然是下载大佬们训练好的数据咯
https://pjreddie.com/media/files/yolov3.weights
放到EXE同目录下,并把EXE名称改为darknet.exe
接着双击运行
darknet_yolo_v3.cmd
本质上是:
darknet.exe detector test data/coco.data yolov3.cfg yolov3.weights -i 0 -thresh 0.25 dog.jpg -ext_output
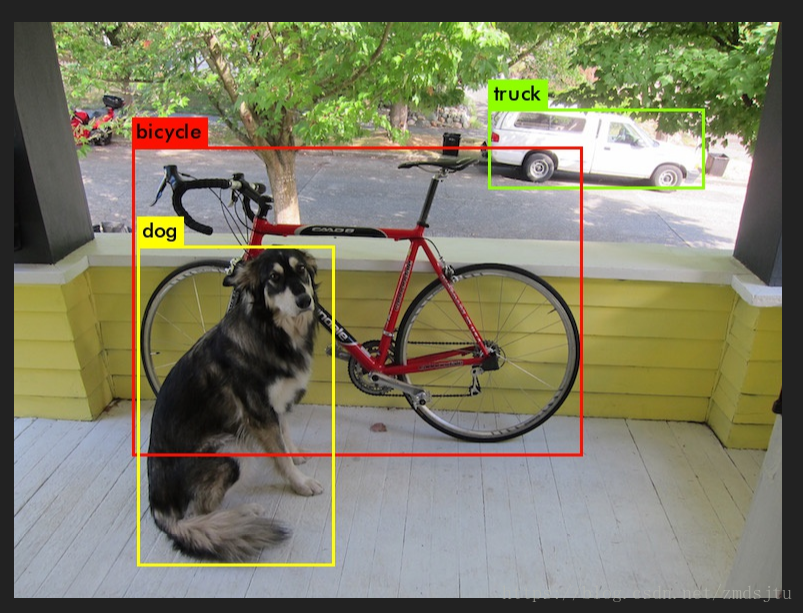
打开CMD控制台,cd到EXE目录,换下自己图片的路径
darknet.exe detector test data/coco.data yolov3.cfg yolov3.weights -i 0 -thresh 0.25 me.jpg -ext_output
换一张图片试了试,这很yolo