cnpmjc和sinopia搭建私有仓库
文章目录
nrm基本使用
nrm是npm registry manager的缩写,是单独管理npm镜像地址的模块,注意它是管理镜像地址,列表的都是名字对应的镜像地址,可以使用nrm命令快捷切换npm镜像地址。
安装
npm install nrm -g
使用
查看命名nrm --help或nrm -h
Commands:

  ls                           List all the registries
  current                      Show current registry name
  use <registry>               Change registry to registry
  add <registry> <url> [home]  Add one custom registry
  del <registry>               Delete one custom registry
  home <registry> [browser]    Open the homepage of registry with optional browser
  test [registry]              Show response time for specific or all registries
  help                         Print this help
有查询,增加和删除,测试命令
nrm ls
结果
 npm ---- https://registry.npmjs.org/
  cnpm --- http://r.cnpmjs.org/
* taobao - https://registry.npm.taobao.org/
  nj ----- https://registry.nodejitsu.com/
  rednpm - http://registry.mirror.cqupt.edu.cn/
  npmMirror  https://skimdb.npmjs.com/registry/
  edunpm - http://registry.enpmjs.org/
  local -- http://192.168.1.243:7001/
上面是name-value关键,是name和镜像地址数值,name仅仅是名字,并不是说cnpm对应的镜像地址就是cnpm命令对应的地址。而是nrm提供了这么多镜像地址供npm使用。*号表示当前使用的镜像地址。比如对应镜像名local的操作。
切换地址:nrm use local
增加地址:nrm add local http://192.168.1.243:7001
删除地址:nrm del local
npm、cnpm设置镜像
以设置淘宝镜像为例https://registry.npm.taobao.org/
npm config set registry https://registry.npm.taobao.org/
cnpm config set registry https://registry.npm.taobao.org/
上面命名设置对应模块的注册镜像地址。如果这时候使用nrm ls全神奇的发现结果如下:
 npm ---- https://registry.npmjs.org/
  cnpm --- http://r.cnpmjs.org/
* taobao - https://registry.npm.taobao.org/
  nj ----- https://registry.nodejitsu.com/
  rednpm - http://registry.mirror.cqupt.edu.cn/
  npmMirror  https://skimdb.npmjs.com/registry/
  edunpm - http://registry.enpmjs.org/
  local -- http://192.168.1.243:7001/
当前(*号指向)使用了名字为taobao镜像地址。
所以我们可以使用nrm模块在各个不同的镜像之间切换,也可以直接用命名设置npm和cnpm的注册镜像地址。
cnpmjs.org 服务器安装步骤
克隆代码
cd D:\cnpmjs(没有就创建)
git clone https://github.com/cnpm/cnpmjs.org.git
cd cnpmjs.org
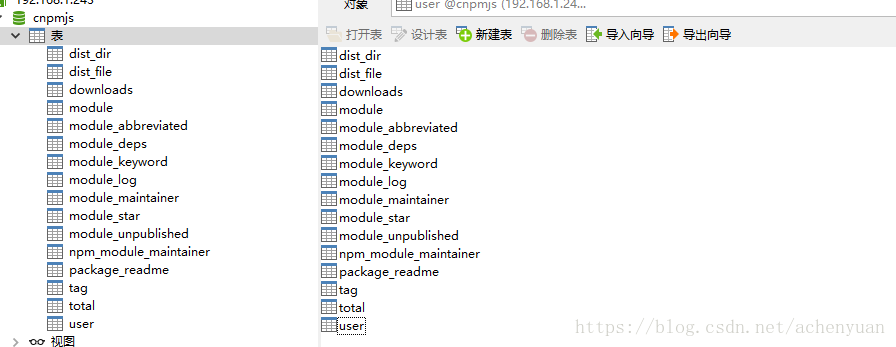
安装mysql数据库
在本地新建一个数据库cnpmjs,在源码的docs目录找db.sql,在cpmjs下执行sql文件,结果如下:
配置config/index
备份一份index.js
打开index.js
数据库配置
 database: {
    db: 'cnpmjs',
    username: 'root',
    password: 'root',

    // the sql dialect of the database
    // - currently supported: 'mysql', 'sqlite', 'postgres', 'mariadb'
    dialect: 'mysql',

    // custom host; default: 127.0.0.1
    host: '127.0.0.1',

    // custom port; default: 3306
    port: 3306,

    // use pooling in order to reduce db connection overload and to increase speed
    // currently only for mysql and postgresql (since v1.5.0)
    pool: {
      maxConnections: 10,
      minConnections: 0,
      maxIdleTime: 30000
    },

    // the storage engine for 'sqlite'
    // default store into ~/.cnpmjs.org/data.sqlite
    storage: path.join(dataDir, 'data.sqlite'),

    logging: !!process.env.SQL_DEBUG,
  },
其它配置
支持外网访问
将bindingHost: '127.0.0.1'改成bindingHost: '0.0.0.0',
增加管理员帐号
admins: {
    // name: email
    fengmk2: '[email protected]',
    admin: '[email protected]',
    dead_horse: '[email protected]',
	chenyuan:'[email protected]',
	cy:'[email protected]'
  },
registryHost: '127.0.0.1:7001',
注意,上面只要求name和邮箱并没有要求密码,而密码是在初次登陆时设置的。也就是说cnpm login提示输入密码时,第一次输入的密码就是最张的密码。
只有管理员能才publish包
将enablePrivate: false改成enablePrivate: true,
启动
cnpm提供两个端口:7001和7002,其中7001用于NPM的注册服务,7002用于Web访问
node dispatch.js
验证
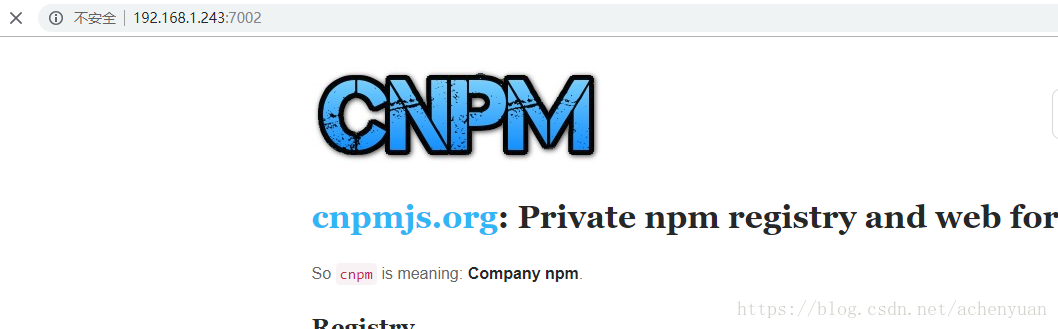
至此服务器配置好了
cnpmjs.org客户端
配置npm的registry
- 方法一
npm set registry http://localhost:4873
- 方法二
使用nrm,上面有介绍使用方法
nrm add local http://127.0.0.1:4873
nrm use local
发布
npm login
...输入用户名和密码,成功后...
npm publish
结果如下:
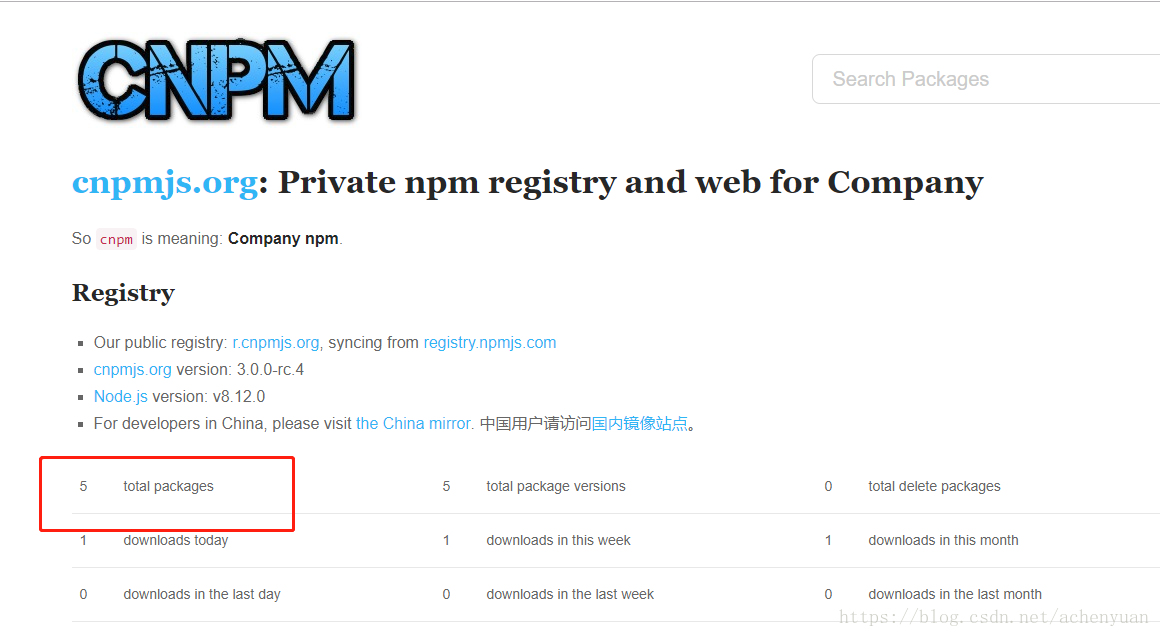
只能通过搜索框查找指定的模块。不能全部浏览,这点不好。
sinopia搭建私有仓库
github地址
用sinopia搭建内部npm服务
搭建私有缓存npm服务器,不需要数据库,0配置。
使用文件系统作为存储,仅保存用户需要的包,如果本地仓库没有对应的包,则从指定的registry下载,默认为npmjs.org,可以改成淘宝的镜像。
python安装
sinopia需要python支持
安装步骤
安装和启动
安装:npm i sinopia -g
启动:sinopia
会在c盘生成config.yaml文件目录如下
C:\Users\Administrator\AppData\Roaming\sinopia
文件列表如下:
storage: 仓库保存的路径
htpasswd: 保存密码信息 只有新建用户后才 有这个文件
config.yaml: 这个是本地的 配置文件 信息(改这个)
修改配置
让局域网内能访问
修改C:\Users\Administrator\AppData\Roaming\sinopia\config.yaml添加如下:
listen: 0.0.0.0:4873
完整配置如下
#
# This is the default config file. It allows all users to do anything,
# so don't use it on production systems.
#
# Look here for more config file examples:
# https://github.com/rlidwka/sinopia/tree/master/conf
#

# path to a directory with all packages
storage: ./storage    # npm包存放的路径

auth:
  htpasswd:
    file: ./htpasswd
    # Maximum amount of users allowed to register, defaults to "+inf".
    # You can set this to -1 to disable registration.
    # max_users: 1000
    max_users: 1000     # 默认为1000,改为-1,禁止注册

# a list of other known repositories we can talk to
uplinks:
  npmjs:
    url: http://registry.npm.taobao.org/  # 默认为npm的官网,由于国情,修改 url 让sinopia使用 淘宝的npm镜像地址

packages:
  '@*/*':
    # scoped packages
    access: $all
    publish: $authenticated

  '*':
    # allow all users (including non-authenticated users) to read and
    # publish all packages
    #
    # you can specify usernames/groupnames (depending on your auth plugin)
    # and three keywords: "$all", "$anonymous", "$authenticated"
    access: $all

    # allow all known users to publish packages
    # (anyone can register by default, remember?)
    publish: $authenticated

    # if package is not available locally, proxy requests to 'npmjs' registry
    # proxy: npmjs   #这个去掉的话,sinopia 将不去下载依赖包   如果只是要放自己资源仓库的话就去掉
    #

# log settings
logs:
  - {type: stdout, format: pretty, level: http}
  #- {type: file, path: sinopia.log, level: info}

# you can specify listen address (or simply a port)
listen: 0.0.0.0:4873  # 默认没有,只能在本机访问,添加后可以通过外网访问。
新建用户
npm adduser
Username: test
Password: test
Email: (this IS public) xxx@xxxx
配置npm的registry
- 方法一
npm set registry http://localhost:4873
- 方法二
使用nrm,上面有介绍使用方法
nrm add local http://127.0.0.1:4873
nrm use local
注意这只能切换npm工作,不能切换cnpm,如果想修改cnpm,只能通过cnpm set registry http://localhost:4873切换
发布
npm publish // 在自己要发布的包 路径打这个命令
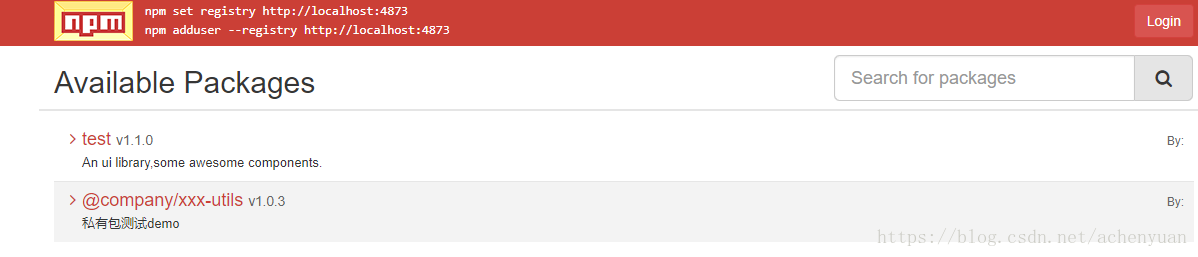
结果如下
能直接浏览有什么包,不像cnpmjs只能看到总包数,必需查询才能看到。
发布模块和取消/卸载模块
发布模块:npm publish
取消模块:npm unpublish
废弃模块:npm deprecate [@]
取消废弃模块:npm deprecate [@] ‘’,取消作废操作,就是为message 参数指定一个空字符串("")
取消发布包可能并不像你想象得那么容易,这种操作是受到诸多限制的,撤销发布的包被认为是一种不好的行为
1 根据规范,只有在发包的24小时内才允许撤销发布的包( unpublish is only allowed with versions published in the last 24 hours)
2 即使你撤销了发布的包,发包的时候也不能再和被撤销的包的名称和版本重复了(即不能名称相同,版本相同,因为这两者构成的唯一标识已经被“占用”了)
npm unpublish的推荐替代命令:npm deprecate [@]
使用这个命令,并不会在社区里撤销你已有的包,但会在任何人尝试安装这个包的时候得到警告
更新版本
比如已经在npm中发布了一个1.0.0版本的包
1、本地更新版本号
比如我想来个1.0.1版本,注意,是最后一位修改了增1,那么命令:npm version patch 回车就可以了;
比如我想来个1.1.0版本,注意,是第二位修改了增1,那么命令 :npm version minor 回车就可以了;
比如我想来个2.0.0版本,注意,是第一位修改了增1,那么命令:npm version major 回车就可以了;
2、修改远端的版本,提交到远端npm中:
npm publish
升级
由于sinopia已经断更,所以现在使用另一个人维护的verdaccio替代sinopia,它是基于sinopia基础上维护,功能类似。
安装方式和sinopia类似,详见github-verdaccio地址