版权声明:本文为博主原创文章,未经博主允许不得转载。 https://blog.csdn.net/gcxzflgl/article/details/82931722
本章基于SpringCloud Ribbon负载均衡配置案例说明
步骤一:新建maven module端口8547
<dependencies>
		<!-- zuul路由网关 -->
		<dependency>
			<groupId>org.springframework.cloud</groupId>
			<artifactId>spring-cloud-starter-zuul</artifactId>
		</dependency>
		<dependency>
			<groupId>org.springframework.cloud</groupId>
			<artifactId>spring-cloud-starter-eureka</artifactId>
		</dependency>
		<!-- actuator监控 -->
		<dependency>
			<groupId>org.springframework.boot</groupId>
			<artifactId>spring-boot-starter-actuator</artifactId>
		</dependency>
		<!-- hystrix容错 -->
		<dependency>
			<groupId>org.springframework.cloud</groupId>
			<artifactId>spring-cloud-starter-hystrix</artifactId>
		</dependency>
		<dependency>
			<groupId>org.springframework.cloud</groupId>
			<artifactId>spring-cloud-starter-config</artifactId>
		</dependency>
		<!-- 日常标配 -->
		<dependency>
			<groupId>com.gcxzflgl.spring</groupId>
			<artifactId>springCloud-api</artifactId>
			<version>${project.version}</version>
		</dependency>
		<dependency>
			<groupId>org.springframework.boot</groupId>
			<artifactId>spring-boot-starter-jetty</artifactId>
		</dependency>
		<dependency>
			<groupId>org.springframework.boot</groupId>
			<artifactId>spring-boot-starter-web</artifactId>
		</dependency>
		<dependency>
			<groupId>org.springframework.boot</groupId>
			<artifactId>spring-boot-starter-test</artifactId>
		</dependency>
		<!-- 热部署插件 -->
		<dependency>
			<groupId>org.springframework</groupId>
			<artifactId>springloaded</artifactId>
		</dependency>
		<dependency>
			<groupId>org.springframework.boot</groupId>
			<artifactId>spring-boot-devtools</artifactId>
		</dependency>
	</dependencies>
步骤二:在resources下新、建application.yml
server:
  port: 8547

spring:
  application:
    name: springCloud-zuul-gateway

eureka:
  client:
    service-url:
      defaultZone: http://eureka7001:7001/eureka,http://eureka7002:7002/eureka,http://eureka7003:7003/eureka
  instance:
    instance-id: gateway
    prefer-ip-address: true


info:
  app.name: springCloud
  company.name: www.gcxzflgl.com
  build.artifactId: $project.artifactId$
  build.version: $project.version$
步骤三:hosts映射
127.0.0.1 gateway步骤四:编写主类,测试
package com.gcxzflgl.springCloud;

import org.springframework.boot.SpringApplication;
import org.springframework.boot.autoconfigure.SpringBootApplication;
import org.springframework.cloud.netflix.zuul.EnableZuulProxy;

@SpringBootApplication
@EnableZuulProxy
public class Zuul_8547_StartSpringCloudApp
{
	public static void main(String[] args)
	{
		SpringApplication.run(Zuul_8547_StartSpringCloudApp.class, args);
	}
}

添加代理方式访问,修改application.yml
zuul:
  routes:
    mydept.serviceId: microservicecloud-dept
    mydept.path: /mydept/**
通过服务名称获取服务应用

虚拟服务名访问

原微服务名忽略掉访问。修改application.yml
zuul:
  ignored-services: "*"
  routes:
    mydept.serviceId: microservicecloud-dept
    mydept.path: /mydept/**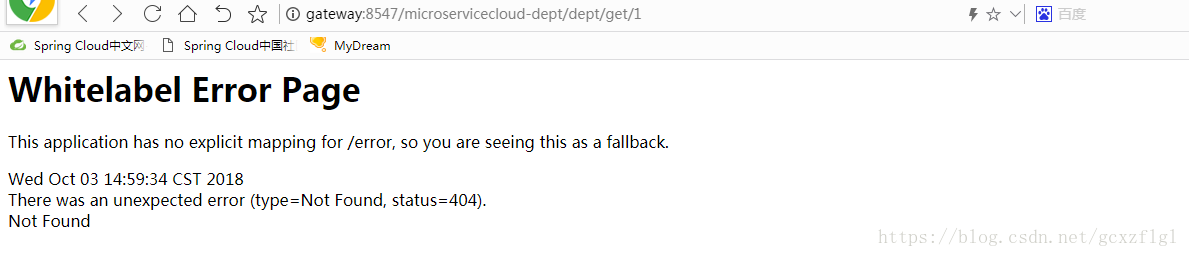

设置统一公共前缀,修改application.yml
zuul:
  prefix: /gcxzflgl
  ignored-services: "*"
  routes:
    mydept.serviceId: microservicecloud-dept
    mydept.path: /mydept/**