版权声明:本文为博主原创文章,可以随意转载,但是必须在开头标明出处。 https://blog.csdn.net/qq_29951983/article/details/82431674
一 创建JNI方法
public class JniUtils {
static {
//生成的SO文件名
System.loadLibrary("JNISample");
}
public native String getJniString();
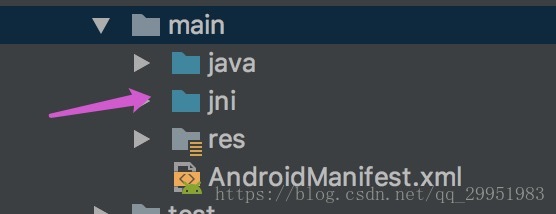
}二 创建JNI目录
在main下面创建jni目录
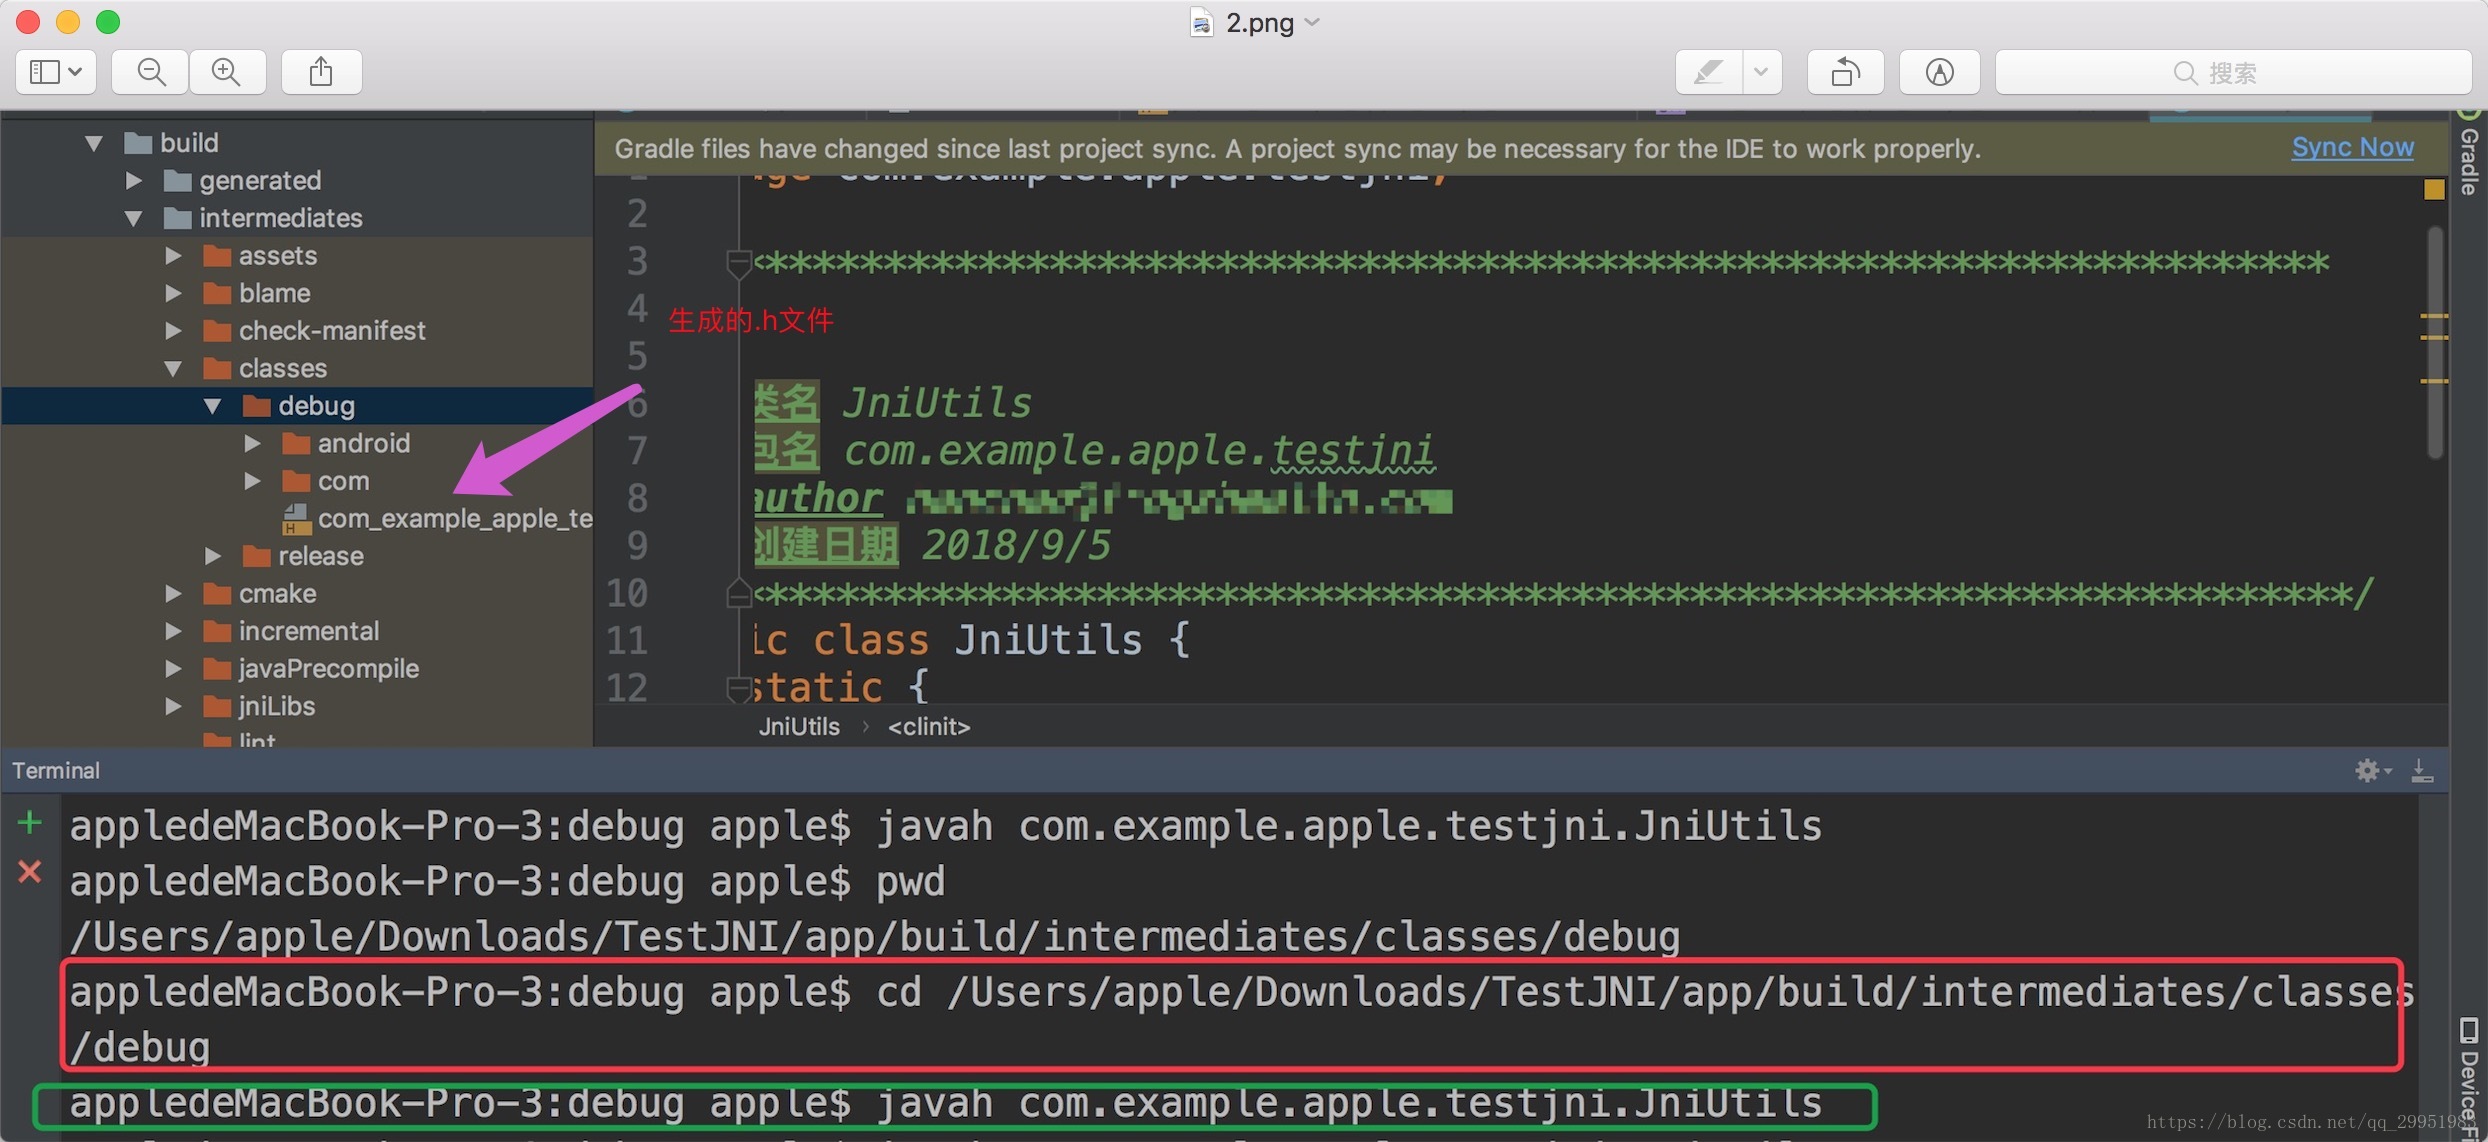
三 生成.h头文件
在Terminal窗口中,使用cd命令进入到该
/Users/apple/Downloads/TestJNI/app/build/intermediates/classes/debug 目录下;
使用javah com.example.apple.testjni.JniUtils即可生成.h文件;
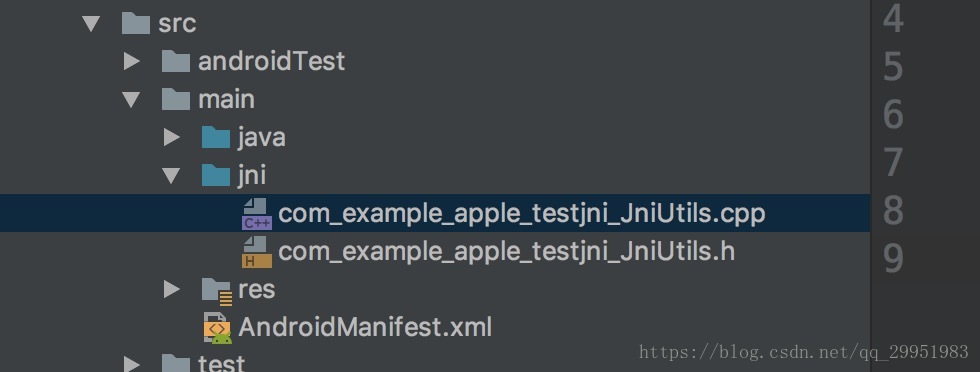
四 拷贝生成的.h文件到jni目录下
五 编写.cpp文件
创建一个.cpp文件,名字和.h文件同名即可
#include "com_example_apple_testjni_JniUtils.h"

JNIEXPORT jstring JNICALL Java_com_example_apple_testjni_JniUtils_getJniString
        (JNIEnv *env, jobject jclass) {
    // new 一个字符串,返回Hello World
    return env -> NewStringUTF("yaoyan");
}
六 配置build.gradle
android {
compileSdkVersion 27
defaultConfig {
applicationId "com.example.apple.testjni"
minSdkVersion 15
targetSdkVersion 27
versionCode 1
versionName "1.0"
testInstrumentationRunner "android.support.test.runner.AndroidJUnitRunner"
//添加externalNativeBuild字段
externalNativeBuild {
cmake {
cppFlags "-frtti -fexceptions"
}
}
}
buildTypes {
release {
minifyEnabled false
proguardFiles getDefaultProguardFile('proguard-android.txt'), 'proguard-rules.pro'
}
}
sourceSets { main { jni.srcDirs = ['src/main/jni', 'src/main/jni/'] } }
externalNativeBuild {
cmake {
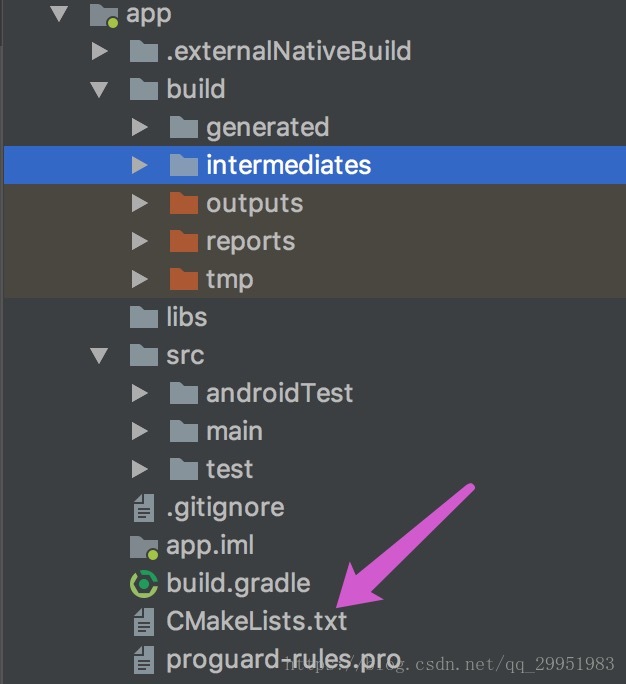
//在gradle同级别目录下创建该文件
path "CMakeLists.txt"
}
}
}七 创建cmake文件
八 编写cmake文件
注意
# For more information about using CMake with Android Studio, read the
# documentation: https://d.android.com/studio/projects/add-native-code.html
# Sets the minimum version of CMake required to build the native library.
#CMakeLists.txt
cmake_minimum_required(VERSION 3.4.1)
# Creates and names a library, sets it as either STATIC
# or SHARED, and provides the relative paths to its source code.
# You can define multiple libraries, and CMake builds them for you.
# Gradle automatically packages shared libraries with your APK.
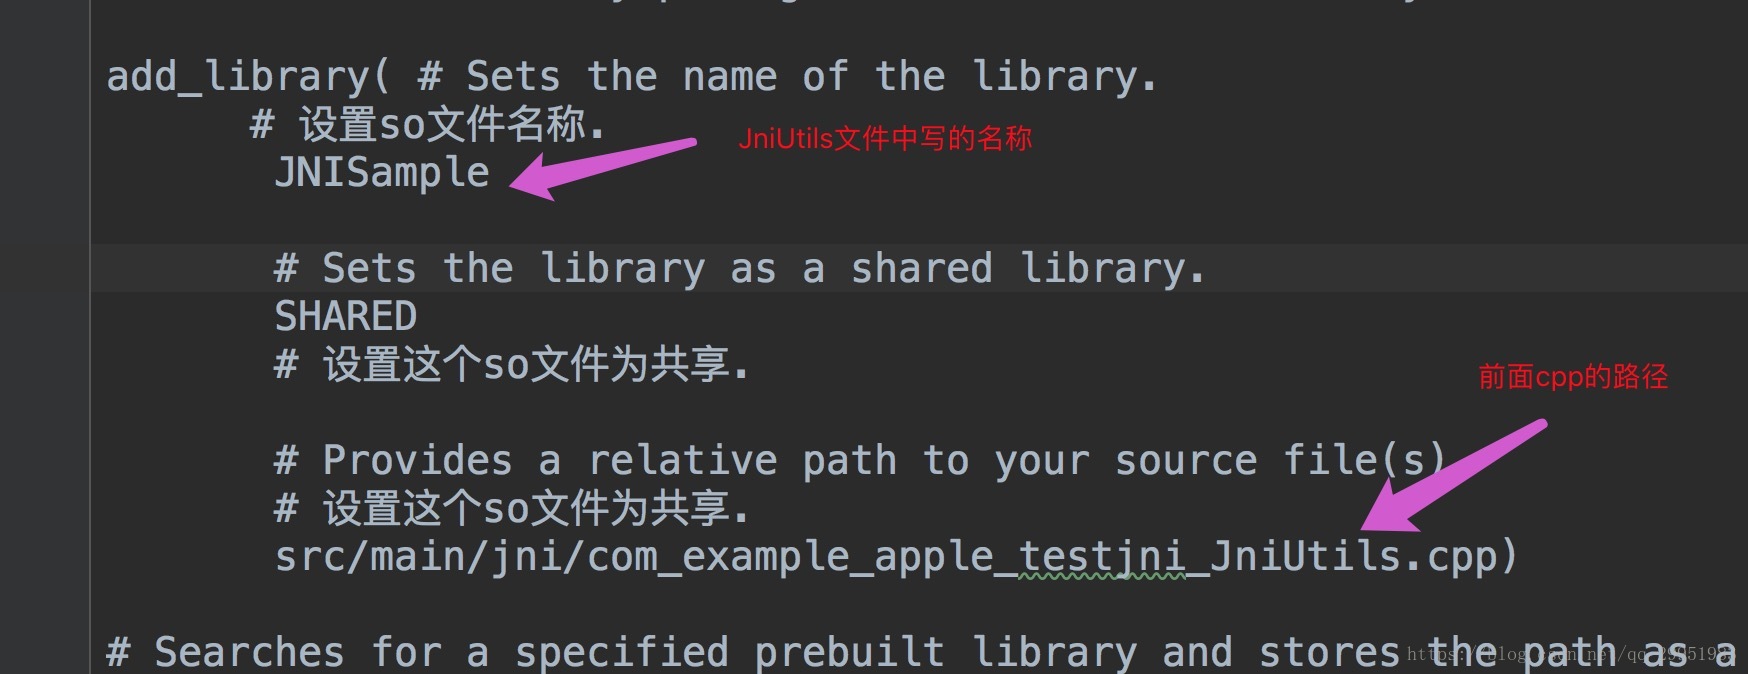
add_library( # Sets the name of the library.
# 设置so文件名称.
JNISample
# Sets the library as a shared library.
SHARED
# 设置这个so文件为共享.
# Provides a relative path to your source file(s).
# 设置这个so文件为共享.
src/main/jni/com_example_apple_testjni_JniUtils.cpp)
# Searches for a specified prebuilt library and stores the path as a
# variable. Because CMake includes system libraries in the search path by
# default, you only need to specify the name of the public NDK library
# you want to add. CMake verifies that the library exists before
# completing its build.
find_library( # Sets the name of the path variable.
log-lib
# Specifies the name of the NDK library that
# you want CMake to locate.
log )
# Specifies libraries CMake should link to your target library. You
# can link multiple libraries, such as libraries you define in this
# build script, prebuilt third-party libraries, or system libraries.
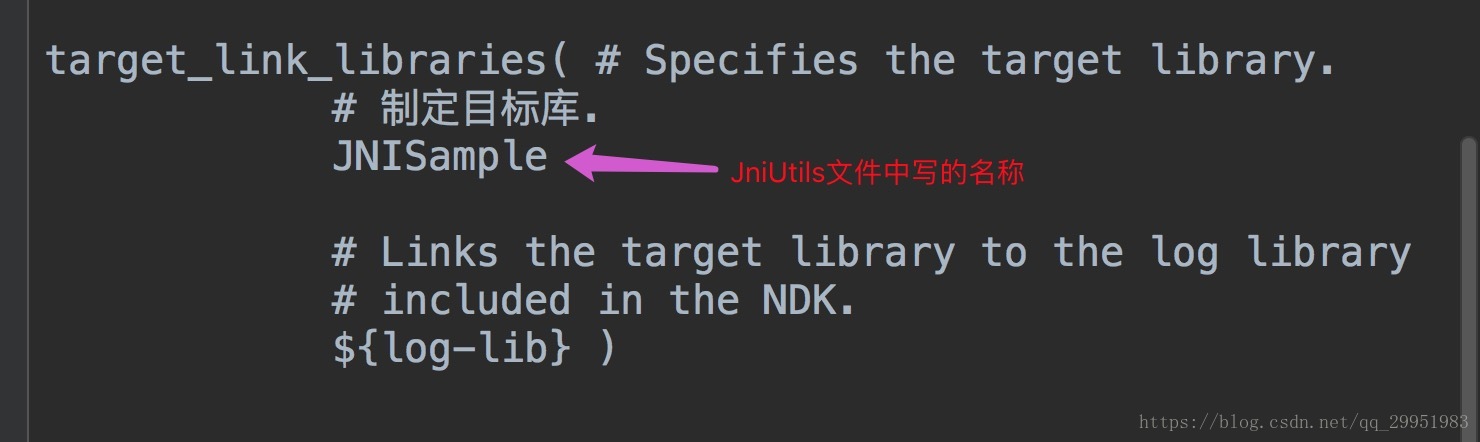
target_link_libraries( # Specifies the target library.
# 制定目标库.
JNISample
# Links the target library to the log library
# included in the NDK.
${log-lib} )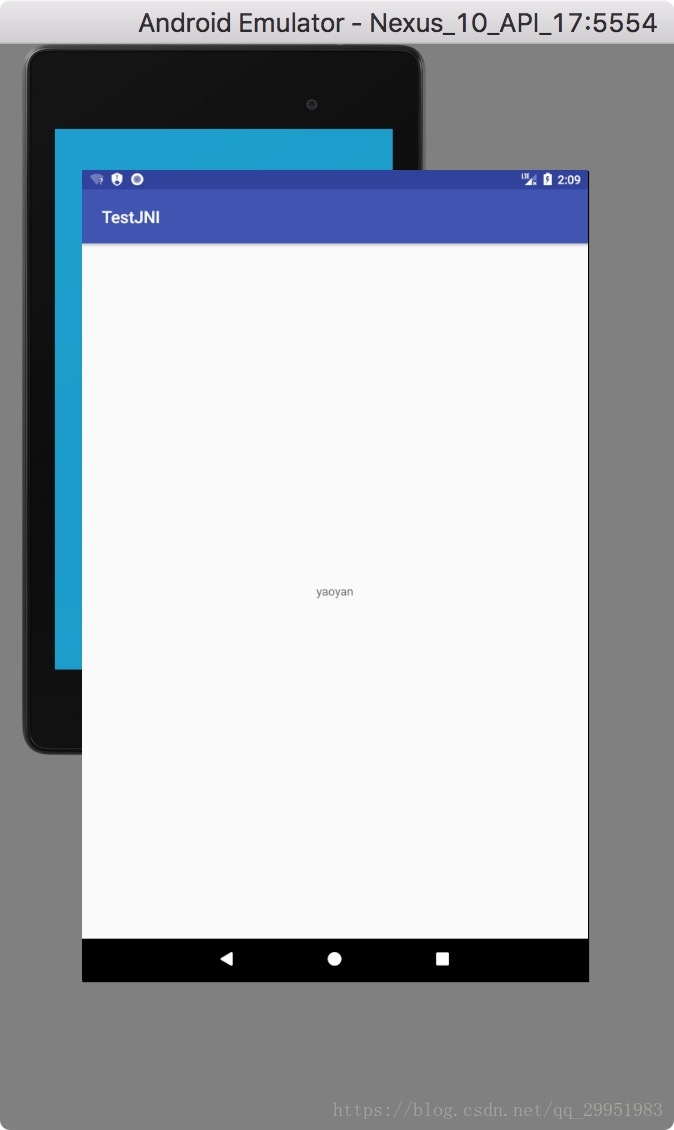
参考链接
Android Studio jni开发入门——看我就够了!
但是这位作者大佬,好像不是gradle3.0以上,按照他操作报错了。