Fedora构建Nginx
1、Fedora
Fedora 怎样设置终端快捷键
https://jingyan.baidu.com/article/cb5d61053598ed005d2fe05c.html
设置root 登录进入终端,直接输入 sudo passwd root
输入普通用户密码
输入你要设置的root密码
重复root密码
[lym@bogon ~]$ su - root
密码:
[root@bogon ~]#
使用su命令,需要输入密码,此时在root 下“$”变成“#”。此时可以使用exit命令注销root,进入普通用户。
root用户切换普通用户
[root@bogon ~]# su - lym
[lym@bogon ~]$
2.构建Nginx
[root@localhost src]# wget http://nginx.org/download/nginx-1.12.2.tar.gz
[root@localhost src]# wget http://www.openssl.org/source/openssl-fips-2.0.10.tar.gz
[root@localhost src]# wget http://zlib.net/zlib-1.2.11.tar.gz
[root@localhost src]# wget ftp://ftp.csx.cam.ac.uk/pub/software/programming/pcre/pcre-8.40.tar.gz
安装c++编译环境,如已安装可略过
[root@localhost src]# yum install gcc-c++
省略安装内容...
期间会有确认提示输入y回车
Is this ok [y/N]:y
省略安装内容...
openssl安装
[root@localhost src]# tar zxvf openssl-fips-2.0.10.tar.gz
省略安装内容...
[root@localhost src]# cd openssl-fips-2.0.10
[root@localhost openssl-fips-2.0.10]# ./config && make && make install
省略安装内容..
pcre安装
[root@localhost src]# tar zxvf pcre-8.40.tar.gz
省略安装内容...
[root@localhost src]# cd pcre-8.40
[root@localhost pcre-8.40]# ./configure && make && make install
省略安装内容...
zlib安装
[root@localhost src]# tar zxvf zlib-1.2.11.tar.gz
省略安装内容...
[root@localhost src]# cd zlib-1.2.11
[root@localhost zlib-1.2.11]# ./configure && make && make install
省略安装内容...
nginx安装
[root@localhost src]# tar zxvf nginx-1.12.2.tar.gz
省略安装内容...
[root@localhost src]# cd nginx-1.12.2
[root@localhost nginx-1.12.2]# ./configure && make && make install
省略安装内容...
安装报错
c/core -I src/event -I src/event/modules -I src/os/unix -I objs \
	-o objs/src/os/unix/ngx_user.o \
	src/os/unix/ngx_user.c
src/os/unix/ngx_user.c: 在函数‘ngx_libc_crypt’中:
src/os/unix/ngx_user.c:36:7: 错误:‘struct crypt_data’没有名为‘current_salt’的成员
     cd.current_salt[0] = ~salt[0];
       ^
make[1]: *** [objs/Makefile:777:objs/src/os/unix/ngx_user.o] 错误 1
make[1]: 离开目录“/home/gumu/nginx-1.12.2”
make: *** [Makefile:8:build] 错误 2
直接用dnf安装
sudo dnf install nginx
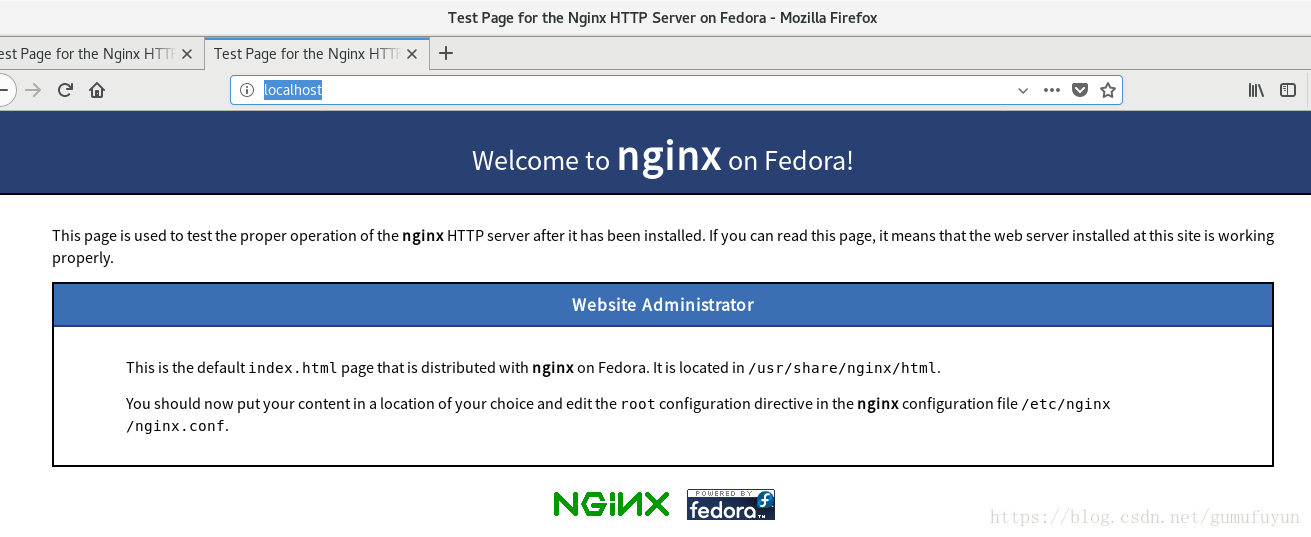
3启动Nginx
whereis nginx
systemctl enable nginx.service //创建启动链接
systemctl start nginx.service //启动nginx
cp /etc/nginx/nginx.conf    nginx_2018_09_20.conf //先备份默认配置
vim  /etc/nginx/nginx.conf 修改以下内容(只贴出有改的代码的相关部分):
4设置Nginx
可以创建 Nginx 运行使用的用户
[root@bogon conf]# /usr/sbin/groupadd www
[root@bogon conf]# /usr/sbin/useradd -g www www
配置conf
cp /etc/nginx/nginx.conf    nginx_2018_09_20.conf
vim  /etc/nginx/nginx.conf


# For more information on configuration, see:
#   * Official English Documentation: http://nginx.org/en/docs/
#   * Official Russian Documentation: http://nginx.org/ru/docs/

user nginx;#可以创建 Nginx 运行使用的用户
worker_processes auto;#设置值和CPU核心数一致
error_log /var/log/nginx/error.log;#日志位置和日志级别
pid /run/nginx.pid;

# Load dynamic modules. See /usr/share/doc/nginx/README.dynamic.
include /usr/share/nginx/modules/*.conf;

events {
    worker_connections 1024;
}

http {
    log_format  main  '$remote_addr - $remote_user [$time_local] "$request" '
                      '$status $body_bytes_sent "$http_referer" '
                      '"$http_user_agent" "$http_x_forwarded_for"';

    access_log  /var/log/nginx/access.log  main;

-- 插入 --                                                    1,1          顶端

...........
    sendfile            on;
    tcp_nopush          on;
    tcp_nodelay         on;
    keepalive_timeout   65;
    types_hash_max_size 2048;

    include             /etc/nginx/mime.types;
    default_type        application/octet-stream;

    # Load modular configuration files from the /etc/nginx/conf.d directory.
    # See http://nginx.org/en/docs/ngx_core_module.html#include
    # for more information.
    include /etc/nginx/conf.d/*.conf;

#下面是server虚拟主机的配置
    server {
        listen       80 default_server;#监听端口
        listen       [::]:80 default_server;
        server_name  _;#域名
        root         /usr/share/nginx/html;#站点目录

        # Load configuration files for the default server block.
-- 插入 --                                                    28,1          32%
注:vim (1):wq #保存 (2) i #插入 (3):q! #不保存退出
5运行
http://127.0.0.1/
http://localhost/