版权声明:版权所有 © 侵权必究 https://blog.csdn.net/m0_38075425/article/details/80914356
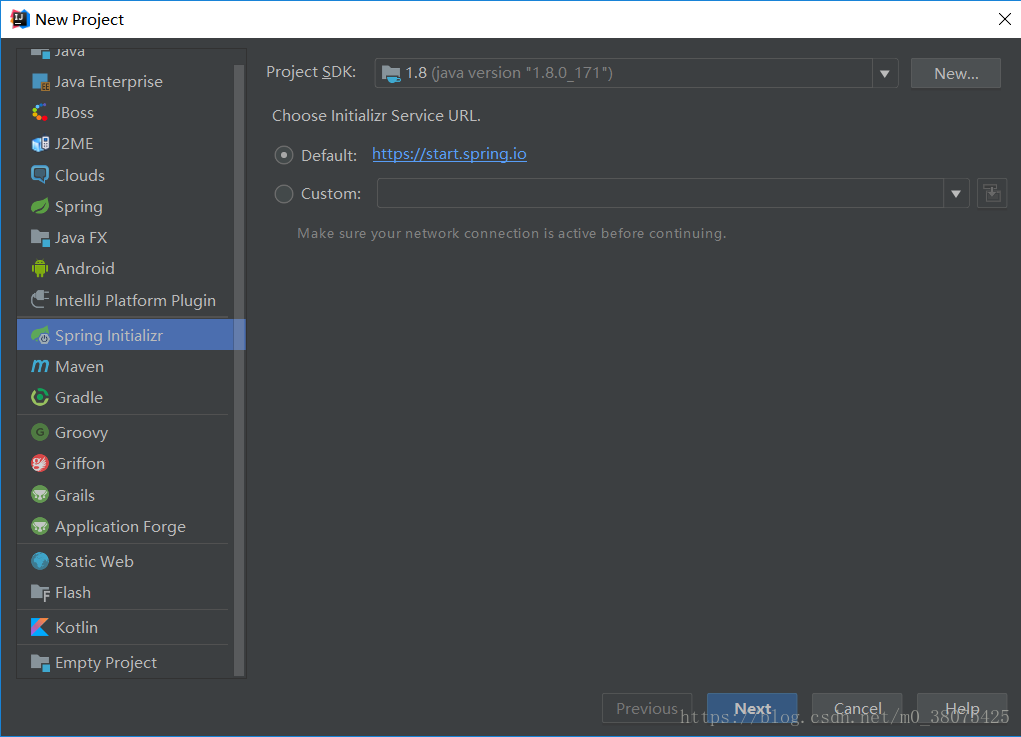
1.新建项目,选择Spring Initializr(其实选择Maven也可以,只不过选择Spring Initializr会自动导入SpringBoot pom依赖)。如图所示:
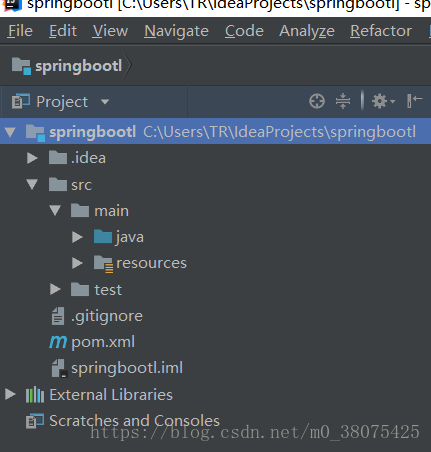
2.项目目录结构如下(我把mvn等文件删了):
3.pom.xml代码如下:
<parent>
        <groupId>org.springframework.boot</groupId>
        <artifactId>spring-boot-starter-parent</artifactId>
        <version>2.0.3.RELEASE</version>
        <relativePath/> <!-- lookup parent from repository -->
    </parent>

    <properties>
        <project.build.sourceEncoding>UTF-8</project.build.sourceEncoding>
        <project.reporting.outputEncoding>UTF-8</project.reporting.outputEncoding>
        <java.version>1.8</java.version>
    </properties>

    <dependencies>
        <dependency>
            <groupId>org.springframework.boot</groupId>
            <artifactId>spring-boot-starter</artifactId>
        </dependency>
        <dependency>
			<groupId>org.springframework.boot</groupId>
			<artifactId>spring-boot-starter-web</artifactId>
		</dependency>
        <dependency>
            <groupId>org.springframework.boot</groupId>
            <artifactId>spring-boot-starter-test</artifactId>
            <scope>test</scope>
        </dependency>
    </dependencies>
4.在java文件夹下新建一个com.xxx.controller包,在此包下新建一个TestController类,TestController代码如下:
@RestController
public class TestController {
    @RequestMapping("/hello")
    public Map<String,String> hello(){
        Map<String,String> map = new HashMap<String,String>();
        map.put("code","1");
        map.put("msg","hello world");
        return map;
    }
}
5.启动类Main代码如下:
@SpringBootApplication
@ComponentScan("com.yxc.*")
public class SpringbootlApplication {

    public static void main(String[] args) {
        SpringApplication.run(SpringbootlApplication.class, args);
    }
}
6.打开浏览器,输入url 127.0.0.1:8080。得到返回json数据测试成功。

7.注意点:启动类main类默认扫描该类目录及以下spring对象,因此在扫描范围外需要加@ComponentScan("xxx")注解;springboot会默认将Map、List、POJO对象转化为json对象。