版权声明:出于感谢(如果有收获)或对知识的尊重,未经允许禁止转载 https://blog.csdn.net/bendan50/article/details/81083634
本文仅做记录,不分析。
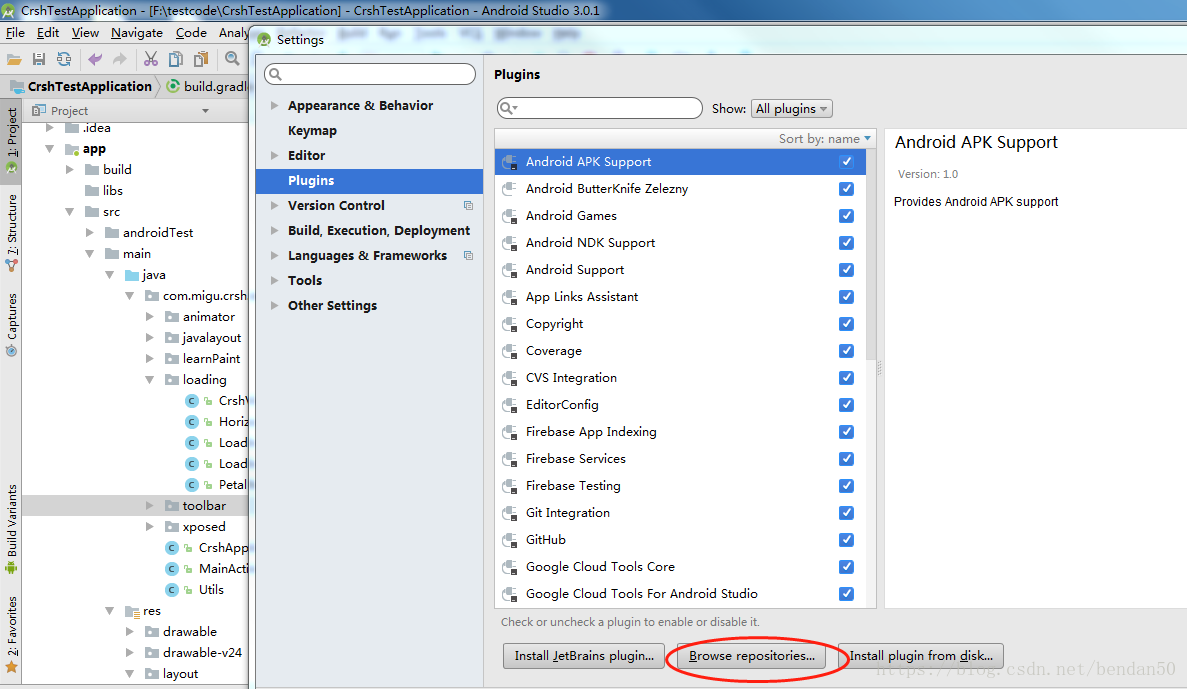
1、下载安装。
file-->settings-->plugins-->butterknife。如果没有则进行下载。
2、建立依赖 添加butterknife

3、如果搜索不到,需要手动写build.gradle文件。
项目的gradle,添加mavenCentral()、、、classpath...
// Top-level build file where you can add configuration options common to all sub-projects/modules.

buildscript {

    //资源库
    repositories {
        google()
        jcenter()
        mavenCentral()      //for butterknife
    }
    dependencies {
        classpath 'com.android.tools.build:gradle:3.0.1'

        classpath 'com.jakewharton:butterknife-gradle-plugin:8.4.0'

        // NOTE: Do not place your application dependencies here; they belong
        // in the individual module build.gradle files
    }
}

allprojects {
    repositories {
        google()
        jcenter()
    }
}

task clean(type: Delete) {
    delete rootProject.buildDir
}
app的gradle下的操作
apply plugin: 'com.jakewharton.butterknife'dependencies {
//ButterKnife依赖
implementation 'com.jakewharton:butterknife:8.4.0'
annotationProcessor 'com.jakewharton:butterknife-compiler:8.4.0'然后就可以使用了。
测试:在Activity中,使用注解@BindView。如果出现自动提示,则表示成功。
混淆:
-keep class butterknife.** { *; }
-dontwarn butterknife.internal.**
-keep class **$$ViewBinder { *; }

-keepclasseswithmembernames class * {
    @butterknife.* <fields>;
}

-keepclasseswithmembernames class * {
    @butterknife.* <methods>;
}