Centos7下JDK+Tomcat的部署:
1.安装JDK
1.1 通过以下命令获得java JDK列表
yum -y list java
1.2 通过yum安装JDK
yum -y install java-1.8.0-openjdk*
等待安装完成
****通过yum默认安装的路径为/usr/lib/jvm/java-版本号(如/usr/lib/jvm/java-1.8.0)****
2.安装Tomcat
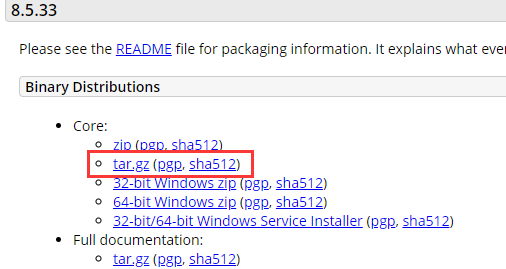
2.1.在Tomcat官网下载Tomcat8的gz压缩包(附:https://tomcat.apache.org/download-80.cgi)
下载得到的压缩包上传到centos的/usr/local/目录
2.2 通过ls查看压缩包
[root@VM_0_9_centos jvm]# cd /usr/local/
[root@VM_0_9_centos local]# ls
apache-tomcat-8.5.33.tar.gz  etc    include  lib64    qcloud  share  tomcat
bin                          games  lib      libexec  sbin    src
2.3 解压并通过mv移动到tomcat文件夹
[root@VM_0_9_centos local]# tar xvf apache-tomcat-8.5.33.tar.gz

[root@VM_0_9_centos local]# mv apache-tomcat-8.5.33 /usr/local/tomcat/
2.4 配置jdk到tomcat
[root@VM_0_9_centos local]# vim /usr/local/tomcat/bin/startup.sh
[root@VM_0_9_centos local]# vim /usr/local/tomcat/bin/shutdown.sh
通过vim将以下代码插入到startup.sh和shutdown.sh
export JAVA_HOME=/usr/lib/jvm/java-1.8.0
export TOMCAT_HOME=/usr/local/tomcat
export CATALINA_HOME=/usr/local/tomcat
export CLASS_PATH=$JAVA_HOME/bin/lib:$JAVA_HOME/jre/lib:$JAVA_HOME/lib/tool.jar
export PATH=$PATH:/usr/lib/jvm/java-1.8.0/bin:/usr/local/tomcat/bin
完成之后是这样的
#!/bin/sh

# Licensed to the Apache Software Foundation (ASF) under one or more
# contributor license agreements.  See the NOTICE file distributed with
# this work for additional information regarding copyright ownership.
# The ASF licenses this file to You under the Apache License, Version 2.0
# (the "License"); you may not use this file except in compliance with
# the License.  You may obtain a copy of the License at
#
#     http://www.apache.org/licenses/LICENSE-2.0
#
# Unless required by applicable law or agreed to in writing, software
# distributed under the License is distributed on an "AS IS" BASIS,
# WITHOUT WARRANTIES OR CONDITIONS OF ANY KIND, either express or implied.
# See the License for the specific language governing permissions and
# limitations under the License.

# -----------------------------------------------------------------------------
# Start Script for the CATALINA Server
# -----------------------------------------------------------------------------

# Better OS/400 detection: see Bugzilla 31132
export JAVA_HOME=/usr/lib/jvm/java-1.8.0
export TOMCAT_HOME=/usr/local/tomcat
export CATALINA_HOME=/usr/local/tomcat
export CLASS_PATH=$JAVA_HOME/bin/lib:$JAVA_HOME/jre/lib:$JAVA_HOME/lib/tool.jar
export PATH=$PATH:/usr/lib/jvm/java-1.8.0/bin:/usr/local/tomcat/bin

os400=false
case "`uname`" in
OS400*) os400=true;;
esac

# resolve links - $0 may be a softlink
PRG="$0"
2.5 这时候就已经配置好了,最后将tomcat的8080端口号修改为tcp/ip默认的80端口
[root@VM_0_9_centos local]# vim /usr/local/tomcat/conf/server.xml
    <Connector port="8080" protocol="HTTP/1.1"
               connectionTimeout="20000"
               redirectPort="8443" />

改为

    <Connector port="80" protocol="HTTP/1.1"
               connectionTimeout="20000"
               redirectPort="8443" />
2.6 启动tomcat
[root@VM_0_9_centos local]# /usr/local/tomcat/bin/startup.sh
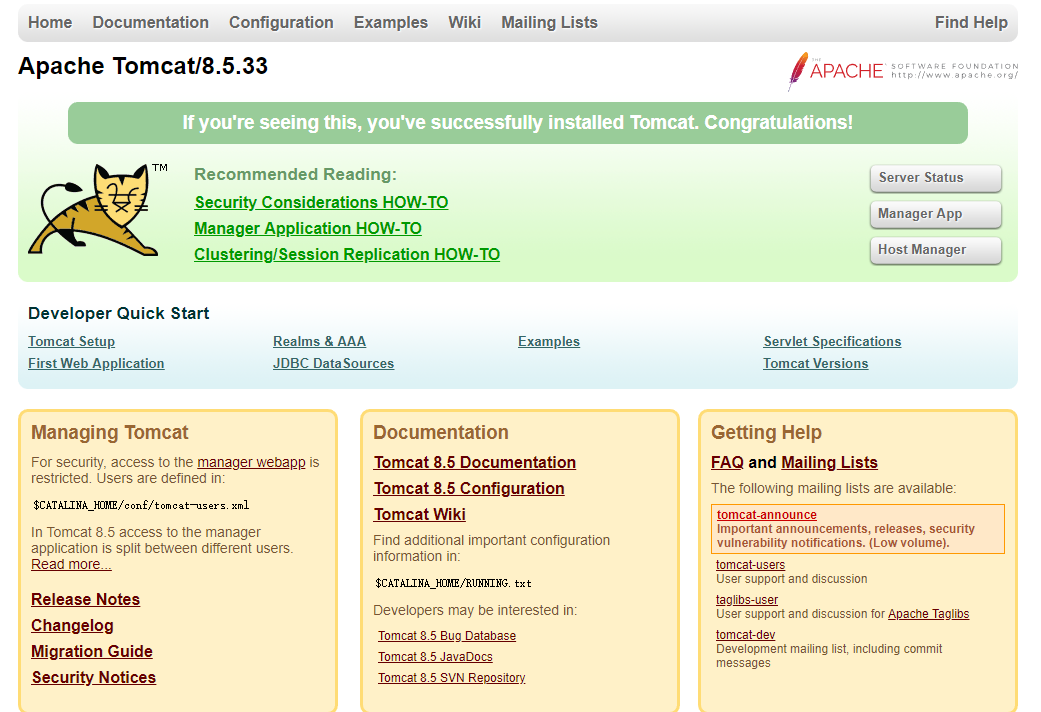
完成后,直接输入ip/域名就能访问tomcat了