随着传统项目最早起的servlet,jdbc到后面的spring framework出现到spring各个版本的出现,hibernate和ibatis、mybatis的ORM框架,Struts、springmvc框架的出现及使用,各种企业级的Java开发日渐轻量化。
最近几年越来越多的提起的高并发中,出现了各种开源的分布式架构,如阿里的dubbo,新浪的motan等,此类架构还是依赖于传统的spring项目,因为公司需要和个人兴趣上,最近准备开始入手学习springboot框架架构,及后面的spring cloud微服务框架,此篇文章为开始学习的博文。此类文章主要是学习交流所用,因为本人也是个菜鸟,所以在过程中有什么不足之处请各位看客指出,共同进步。
创建springboot项目。
一:eclipse创建
1、项目创建
eclipse->右键new->other
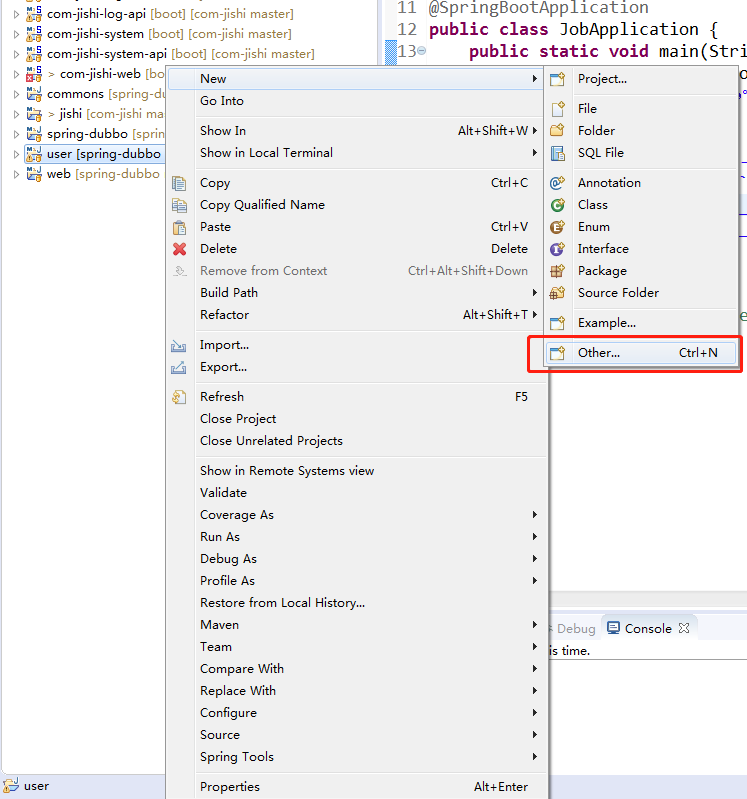
在弹出窗口输入maven->选择maven project点击next

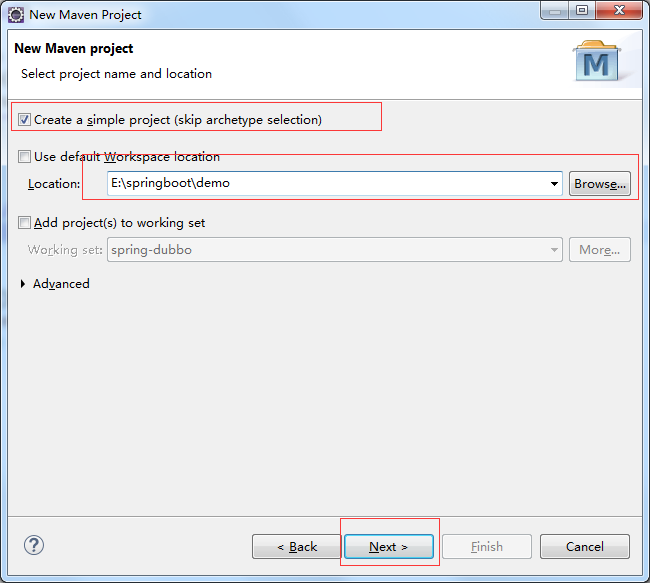
选择创建一个普通的项目,输入项目的地址跟项目名称,点击next
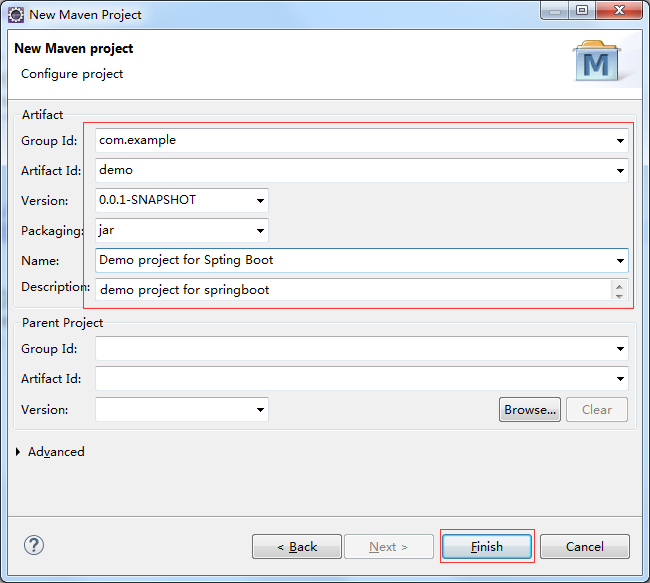
输入maven项目的各项数据点击finish
2、编写pom文件引入springboot项目依赖
添加springboot项目父工程依赖,它提供了dependency-management部分。
<!-- 添加springboot父工程依赖 -->
	<parent>
		<groupId>org.springframework.boot</groupId>
		<artifactId>spring-boot-starter-parent</artifactId>
		<version>1.5.9.RELEASE</version>
	</parent>
添加springboot web、test、aop相关依赖
<!-- 添加springboot test、aop依赖 -->
		<dependency>
			<groupId>org.springframework.boot</groupId>
			<artifactId>spring-boot-starter-test</artifactId>
			<scope>test</scope>
		</dependency>
		<dependency>
			<groupId>org.springframework.boot</groupId>
			<artifactId>spring-boot-starter-aop</artifactId>
		</dependency>
		<!-- 添加springboot web相关依赖 -->
		<dependency>
			<groupId>org.springframework.boot</groupId>
			<artifactId>spring-boot-starter-web</artifactId>
		</dependency>
		<dependency>
			<groupId>org.springframework.boot</groupId>
			<artifactId>spring-boot-starter-thymeleaf</artifactId>
		</dependency>
		<dependency>
			<groupId>net.sourceforge.nekohtml</groupId>
			<artifactId>nekohtml</artifactId>
		</dependency>
3、测试springboot项目
package demo;

import java.applet.AppletContext;

import org.springframework.boot.SpringApplication;
import org.springframework.boot.autoconfigure.EnableAutoConfiguration;
import org.springframework.boot.autoconfigure.SpringBootApplication;
import org.springframework.web.bind.annotation.RequestMapping;
import org.springframework.web.bind.annotation.RestController;

/**
 * description: springbootDemo
 * @author sp
 * @date 2018年4月24日
 *
 * 			佛祖坐镇·				·代码无bug
 *                    _ooOoo_
 *                   o8888888o
 *                   88" . "88
 *                   (| -_- |)
 *                    O\ = /O
 *                ____/`---'\____
 *              .   ' \\| |// `.
 *               / \\||| : |||// \
 *             / _||||| -:- |||||- \
 *               | | \\\ - /// | |
 *             | \_| ''\---/'' | |
 *              \ .-\__ `-` ___/-. /
 *           ___`. .' /--.--\ `. . __
 *        ."" '< `.___\_<|>_/___.' >'"".
 *       | | : `- \`.;`\ _ /`;.`/ - ` : | |
 *         \ \ `-. \_ __\ /__ _/ .-` / /
 * ======`-.____`-.___\_____/___.-`____.-'======
 *                    `=---='
 *
 */
@RestController
@EnableAutoConfiguration
public class DemoApplication {

	@RequestMapping("/")
	public String Hello() {
		return "hello springboot";
	}

	public static void main(String[] args) {
		SpringApplication.run(DemoApplication.class, args);
	}
}启动报错,因为我的项目中已经有项目使用了8080端口所以报:Address already in use: bind
创建spring配置文件application.yml(或者properties)修改端口。“记住在冒号后面要加空格,不加好像会报错,不知道是不是eclipse插件还是本来springboot就是这样子配置的,后面再确定原因。”
server:
  port: 8010
访问页面

二、Intellij Idea创建
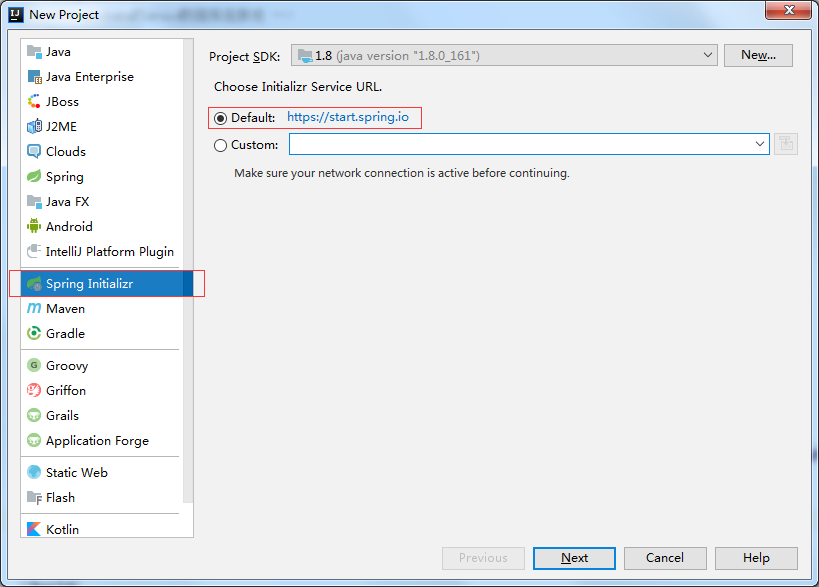
再菜单栏点击file->new->project打开创建项目窗口
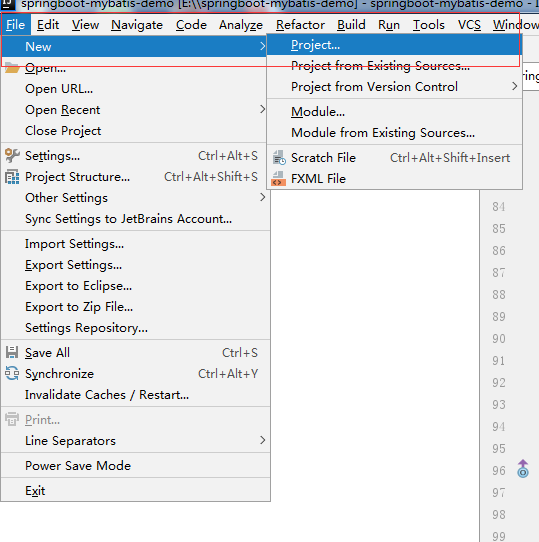
新版本的intellj会有默认指向springboot官网的创建地址,旧版本的需要自己填写Initial Service Url,根据自己的版本来选择就行,点击next
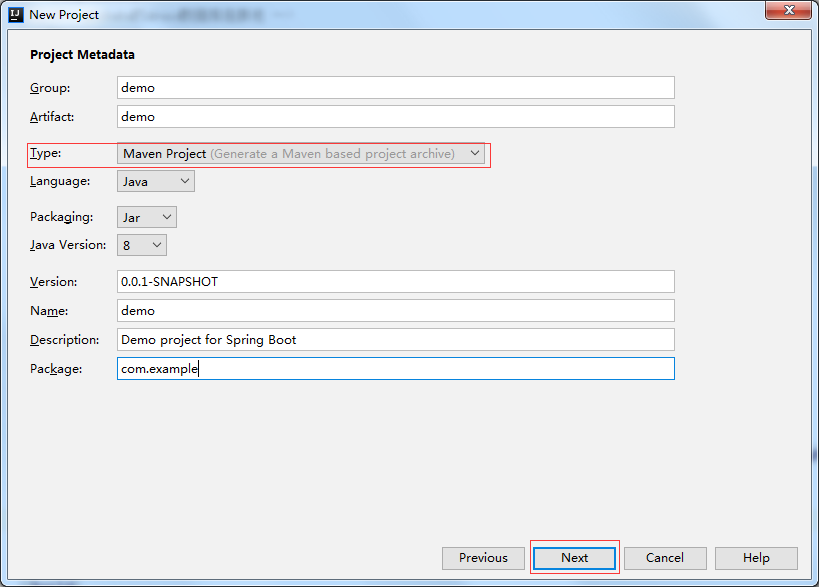
在此窗口中选择创建maven项目,填写好对应信息后点击next进入项目依赖管理选择
此窗口中包括了springboot的版本选择及相关的intellij提供的maven依赖,其中就包括有cloud相关的依赖,后面学习到cloud的时候再详细讲解。
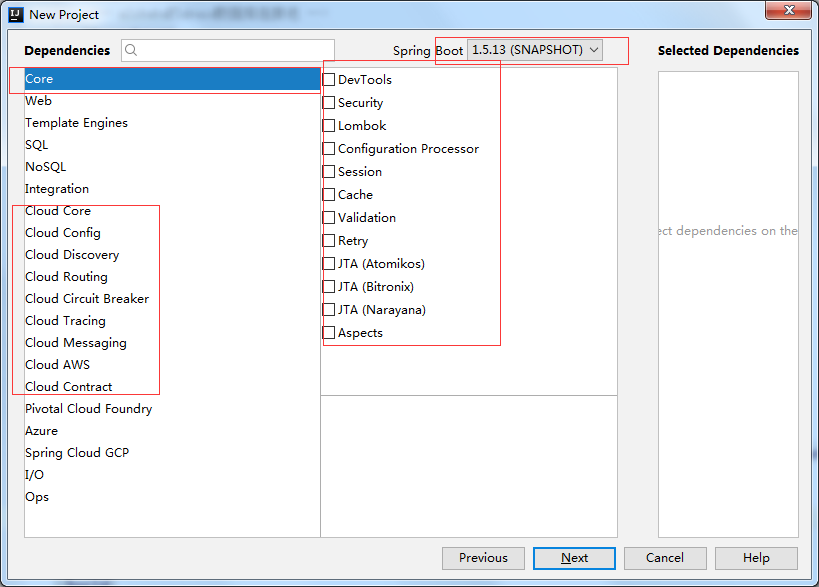
点击next 进入下一个确定窗口点击finish。
至此,springboot项目就创建完成了。