这篇文章可以作为MySQL源码初学者的入门指导,如有雷同,纯属意外。
第一步,获取MySQL源代码
有如下几种方法获取MySQL源代码
官方下载,以5.7.23为例,见如下链接https://dev.mysql.com/downloads/mysql/

或者直接执行wget https://cdn.mysql.com//Downloads/MySQL-5.7/mysql-boost-5.7.23.tar.gzgithub下载,如下
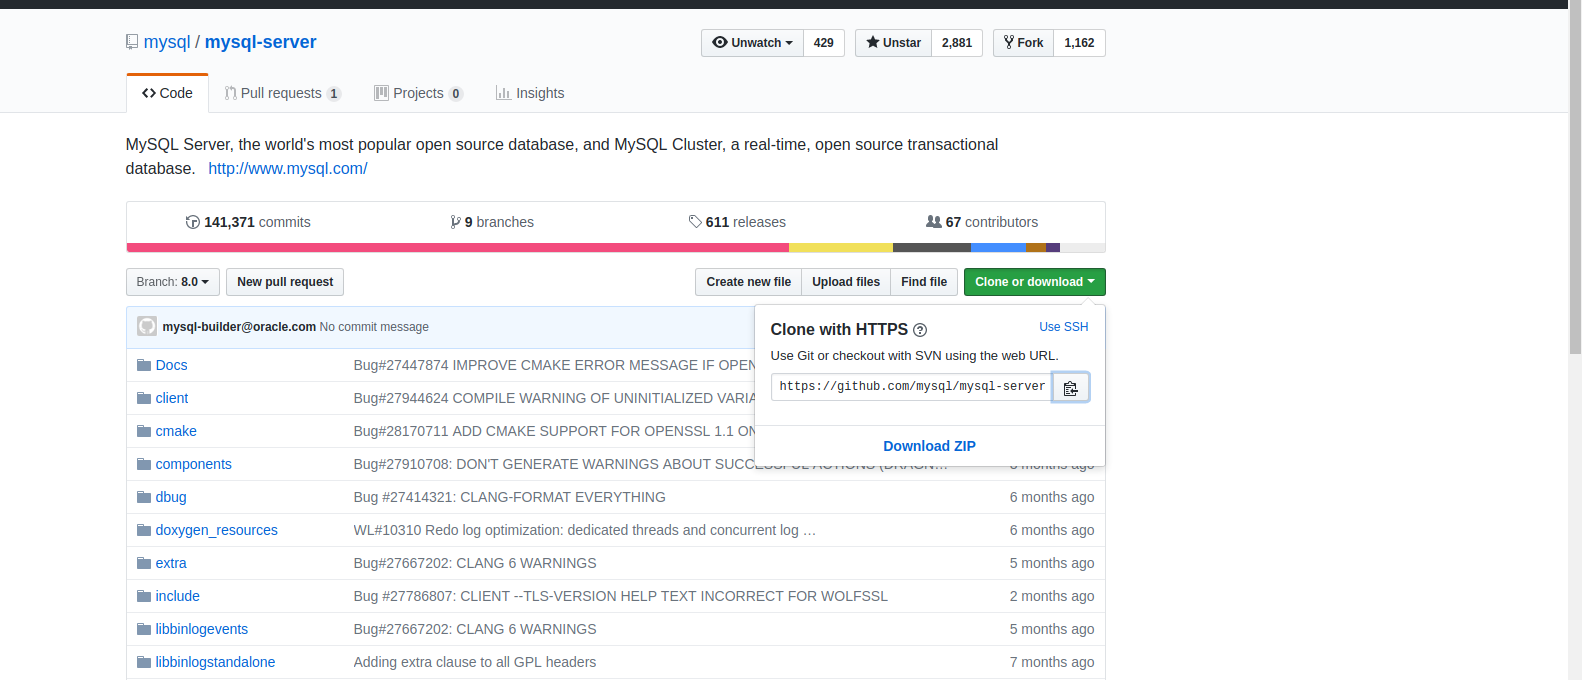
可以直接执行git clone https://github.com/mysql/mysql-server.git,通过github下载的源码包含了各个不同的版本,所以时间会比较久。
第二步,源码编译安装mysqld
cmake生成各个目录的makefile
sudo apt install -f libncurses5-dev bison

    cmake -DCMAKE_INSTALL_PREFIX=/data/mysql/base \
    -DDEFAULT_CHARSET=utf8 -DDEFAULT_COLLATION=utf8_general_ci \
    -DWITH_MYISAM_STORAGE_ENGINE=1 \
    -DCMAKE_C_FLAGS_RELWITHDEBINFO="-O2 -g" -DWITH_INNOBASE_STORAGE_ENGINE=1 \
    -DWITH_ARCHIVE_STORAGE_ENGINE=1 -DWITH_BLACKHOLE_STORAGE_ENGINE=1 \
    -DCMAKE_CXX_FLAGS_RELWITHDEBINFO="-O2 -g" \
    -DDOWNLOAD_BOOST=1 \
    -DWITH_BOOST=./boost \
    -DWITH_DEBUG=1
make进行编译
make -jn n代表多少个线程进行并发编译。
make install
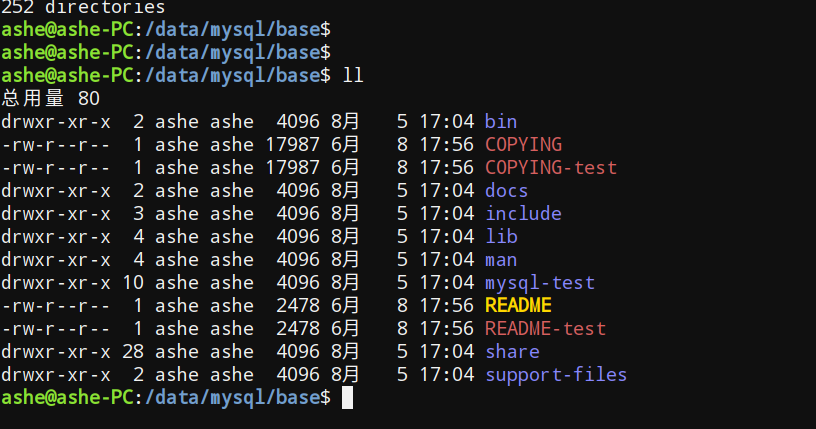
指定安装目录为/data/mysql/base
如下
第二步,初始化数据库
ashe@ashe-PC:/data/mysql/base$ ./bin/mysqld --initialize-insecure --basedir=./ --datadir=/data/mysql/data/13307 --user=ashe
2018-08-05T09:59:41.415214Z 0 [Warning] TIMESTAMP with implicit DEFAULT value is deprecated. Please use --explicit_defaults_for_timestamp server option (see documentation for more details).
2018-08-05T09:59:41.916781Z 0 [Warning] InnoDB: New log files created, LSN=45790
2018-08-05T09:59:42.082761Z 0 [Warning] InnoDB: Creating foreign key constraint system tables.
2018-08-05T09:59:42.179336Z 0 [Warning] No existing UUID has been found, so we assume that this is the first time that this server has been started. Generating a new UUID: 46011714-9896-11e8-98fb-a402b9cb499f.
2018-08-05T09:59:42.187613Z 0 [Warning] Gtid table is not ready to be used. Table 'mysql.gtid_executed' cannot be opened.
2018-08-05T09:59:42.188280Z 1 [Warning] root@localhost is created with an empty password ! Please consider switching off the --initialize-insecure option.
这样生成的数据库是没有初始化密码的,账号为root@localhost,可以使用本地socket方式进行登录。
第三步,尝试启动数据库
编辑my.cnf
个人习惯为将MySQL的配置文件命名为my.cnf.13307这种格式,其中后面的数字为使用此配置文件启动数据库时的占用端口号。配置如下
[mysql]
# DO NOT CHANGE
port = 13307
default-character-set = utf8mb4
[mysqld]
# DO NOT CHANGE
server_id = 12713307
basedir = /data/mysql/base
datadir = /data/mysql/data/13307
socket = /tmp/mysql_13307.sock
port = 13307
log-bin = mysql-bin
tmpdir = /tmp
启动数据库
ashe@ashe-PC:/data/mysql/base$ ./bin/mysqld_safe --defaults-file=../my.cnf.13307 --user=ashe &
[1] 11614
ashe@ashe-PC:/data/mysql/base$ 2018-08-05T10:16:23.026576Z mysqld_safe Logging to '/data/mysql/data/13307/mysql-error.log'.
2018-08-05T10:16:23.042088Z mysqld_safe Starting mysqld daemon with databases from /data/mysql/data/13307

ashe@ashe-PC:/data/mysql/base$
ashe@ashe-PC:/data/mysql/base$
ashe@ashe-PC:/data/mysql/base$ ps -ef|grep mysqld
ashe     11614 17811  0 18:16 pts/2    00:00:00 /bin/sh ./bin/mysqld_safe --defaults-file=../my.cnf.13307 --user=ashe
ashe     12984 11614 41 18:16 pts/2    00:00:01 /data/mysql/base/bin/mysqld --defaults-file=../my.cnf.13307 --basedir=/data/mysql/base --datadir=/data/mysql/data/13307 --plugin-dir=/data/mysql/base/lib/plugin --log-error=mysql-error.log --open-files-limit=65535 --pid-file=ashe-PC.pid --socket=/tmp/mysql_13307.sock --port=13307
ashe     13022 17811  0 18:16 pts/2    00:00:00 grep mysqld
ashe@ashe-PC:/data/mysql/base$
ashe@ashe-PC:/data/mysql/base$
ashe@ashe-PC:/data/mysql/base$ mysql --version
mysql  Ver 14.14 Distrib 5.7.18, for Linux (x86_64) using  EditLine wrapper
ashe@ashe-PC:/data/mysql/base$ mysql -S /tmp/mysql_13307.sock -uroot
Welcome to the MySQL monitor.  Commands end with ; or \g.
Your MySQL connection id is 2
Server version: 5.7.23-debug-log Source distribution

Copyright (c) 2000, 2017, Oracle and/or its affiliates. All rights reserved.

Oracle is a registered trademark of Oracle Corporation and/or its
affiliates. Other names may be trademarks of their respective
owners.

Type 'help;' or '\h' for help. Type '\c' to clear the current input statement.

mysql> show databases;
+--------------------+
| Database           |
+--------------------+
| information_schema |
| mysql              |
| performance_schema |
| sys                |
+--------------------+
4 rows in set (0.00 sec)

mysql>
第四步,进行调试
centos/redhat/ubuntu/deepin等系统可以使用gdb进行调试
sudo apt install gdb
yum install gdb
mac系统请使用lldb吧
从mysqld_main开始调试
如果想从main函数入手,可以如下操作

ashe@ubuntu:~$ sudo gdb /data/mysql/base/bin/mysqld
[sudo] password for ashe:
GNU gdb (Ubuntu 7.11.1-0ubuntu1~16.5) 7.11.1
Copyright (C) 2016 Free Software Foundation, Inc.
License GPLv3+: GNU GPL version 3 or later <http://gnu.org/licenses/gpl.html>
This is free software: you are free to change and redistribute it.
There is NO WARRANTY, to the extent permitted by law.  Type "show copying"
and "show warranty" for details.
This GDB was configured as "x86_64-linux-gnu".
Type "show configuration" for configuration details.
For bug reporting instructions, please see:
<http://www.gnu.org/software/gdb/bugs/>.
Find the GDB manual and other documentation resources online at:
<http://www.gnu.org/software/gdb/documentation/>.
For help, type "help".
Type "apropos word" to search for commands related to "word"...
Reading symbols from /data/mysql/base/bin/mysqld...done.
(gdb) b mysqld_main             //断点在mysqld_main
Breakpoint 1 at 0xf19731: file /data/mysql-server-explain_ddl/sql/mysqld.cc, line 4368.
(gdb) run                       //运行mysqld
Starting program: /data/mysql/base/bin/mysqld
[Thread debugging using libthread_db enabled]
Using host libthread_db library "/lib/x86_64-linux-gnu/libthread_db.so.1".

Breakpoint 1, mysqld_main (argc=1, argv=0x7fffffffe6d8) at     //触发断点 /data/mysql-server-explain_ddl/sql/mysqld.cc:4368
4368    {
(gdb)
然后就是gdb语法,进行各种操作
调试正在运行的mysqld
ashe@ubuntu:~$ sudo gdb -p 12984 //mysqld进程pid
GNU gdb (Ubuntu 7.11.1-0ubuntu1~16.5) 7.11.1
Copyright (C) 2016 Free Software Foundation, Inc.
License GPLv3+: GNU GPL version 3 or later http://gnu.org/licenses/gpl.html
This is free software: you are free to change and redistribute it.
There is NO WARRANTY, to the extent permitted by law. Type “show copying”
and “show warranty” for details.
This GDB was configured as “x86_64-linux-gnu”.
Type “show configuration” for configuration details.
For bug reporting instructions, please see:
http://www.gnu.org/software/gdb/bugs/.
Find the GDB manual and other documentation resources online at:
http://www.gnu.org/software/gdb/documentation/.
For help, type “help”.
Type “apropos word” to search for commands related to “word”.
Attaching to process 12984
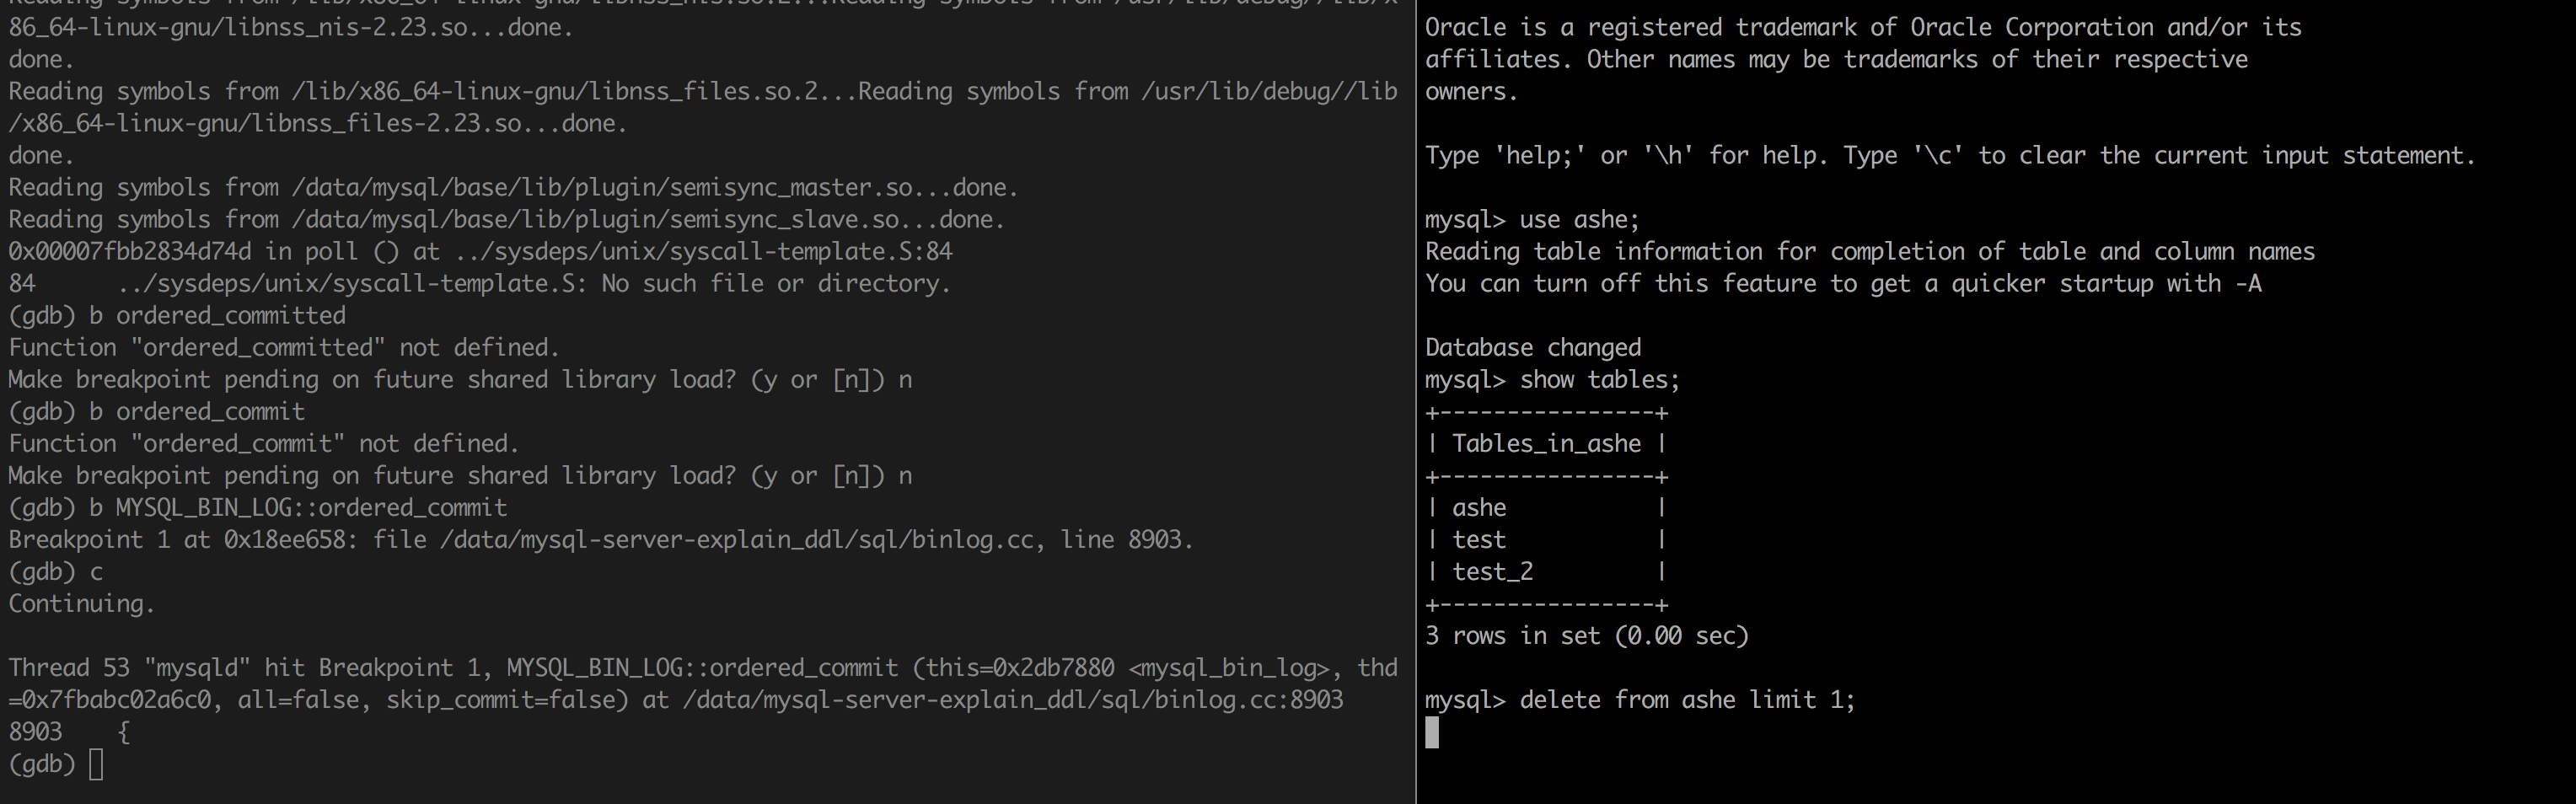
比如说事务提交时最关键的函数MYSQL_BIN_LOG::ordered_commit,如下所示,触发断点后,就可以跟踪这个函数了
结束语
通过如上介绍应该可以完成对MySQL的初步调试,更多的就是对mysqld本身更多的了解,以及对gdb调试工具的使用了,有任何疑问,欢迎下方留言,或者直接向我提问。