大家好,我是一个爱举铁的程序员Shr。
本文介绍Spring Boot以及搭建第一个Spring Boot项目。
入坑之前先思考这几个问题:
-
Spring Boot是什么?
-
为什么要使用Spring Boot?
一、Spring Boot是什么?
Spring Boot是基于Spring的框架。
二、为什么要使用Spring Boot?
参考以下文章
https://blog.csdn.net/xlgen157387/article/details/52830071
http://www.sohu.com/a/212136259_100090656
得知Java EE项目整合各种第三方类库和配置各种文件使得项目越来越复杂,即时使用Maven,项目中也有很多Maven的配置,维护起来也不方便。自己在开发中也深深体会到繁琐的配置带来的困扰。
这个时候Spring Boot应运而生。
Spring Boot的特性有:
-
创建独立的Spring应用程序
-
内嵌Tomcat,不需要部署WAR
-
提供“starter”简化配置
-
尽可能自动配置Spring和第三方类库
-
提供健康检查等
-
不需要配置XML
三、Spring Boot的安装
3.1 环境要求
-
JDK 1.8或以上
-
Maven 3.2或以上
3.2 用Maven安装
pom.xml文件的内容如下:
<project xmlns="http://maven.apache.org/POM/4.0.0"
    xmlns:xsi="http://www.w3.org/2001/XMLSchema-instance"
    xsi:schemaLocation="http://maven.apache.org/POM/4.0.0 http://maven.apache.org/xsd/maven-4.0.0.xsd">
    <modelVersion>4.0.0</modelVersion>
    <parent>
        <groupId>com.shrmus</groupId>
        <artifactId>springboot_parent</artifactId>
        <version>0.0.1-SNAPSHOT</version>
    </parent>
    <groupId>com.shrmus</groupId>
    <artifactId>springboot_20180611</artifactId>
    <version>0.0.1-SNAPSHOT</version>
    <dependencies>
        <dependency>
            <groupId>org.springframework.boot</groupId>
            <artifactId>spring-boot-starter-web</artifactId>
        </dependency>
    </dependencies>
</project>
四、第一个Spring Boot项目
4.1 新建一个类Example
import org.springframework.boot.SpringApplication;
import org.springframework.boot.autoconfigure.EnableAutoConfiguration;
import org.springframework.web.bind.annotation.RequestMapping;
import org.springframework.web.bind.annotation.RestController;
@RestController
@EnableAutoConfiguration
public class Example {
    @RequestMapping("/")
    String home() {
        return "Hello World!";
    }
    public static void main(String[] args) throws Exception {
        SpringApplication.run(Example.class, args);
    }
}
@RestController注解是Spring 4中的注解,源代码如下。
 * Copyright 2002-2017 the original author or authors.
package org.springframework.web.bind.annotation;
import java.lang.annotation.Documented;
import java.lang.annotation.ElementType;
import java.lang.annotation.Retention;
import java.lang.annotation.RetentionPolicy;
import java.lang.annotation.Target;
import org.springframework.core.annotation.AliasFor;
import org.springframework.stereotype.Controller;
/**
 * A convenience annotation that is itself annotated with
 * {@link Controller @Controller} and {@link ResponseBody @ResponseBody}.
 * <p>
 * Types that carry this annotation are treated as controllers where
 * {@link RequestMapping @RequestMapping} methods assume
 * {@link ResponseBody @ResponseBody} semantics by default.
 *
 * <p><b>NOTE:</b> {@code @RestController} is processed if an appropriate
 * {@code HandlerMapping}-{@code HandlerAdapter} pair is configured such as the
 * {@code RequestMappingHandlerMapping}-{@code RequestMappingHandlerAdapter}
 * pair which are the default in the MVC Java config and the MVC namespace.
 *
 * @author Rossen Stoyanchev
 * @author Sam Brannen
 * @since 4.0
 */
@Target(ElementType.TYPE)
@Retention(RetentionPolicy.RUNTIME)
@Documented
@Controller
@ResponseBody
public @interface RestController {
    /**
     * The value may indicate a suggestion for a logical component name,
     * to be turned into a Spring bean in case of an autodetected component.
     * @return the suggested component name, if any (or empty String otherwise)
     * @since 4.0.1
     */
    @AliasFor(annotation = Controller.class)
    String value() default "";
}
它包含了@Controller和@ResponseBody,这会导致请求返回的是数据而不是视图。
@RequestMapping注解提供路由功能,任何带有/路径的HTTP请求都被映射到此方法。
以上两个注解是Spring MVC的注解。
@EnableAutoConfiguration注解告诉Spring Boot去猜测你想要怎么去配置Spring。
main方法中,调用SpringApplication类的run方法,传入当前类的Class对象和参数,参数就是当前类的路由了。
4.2 运行
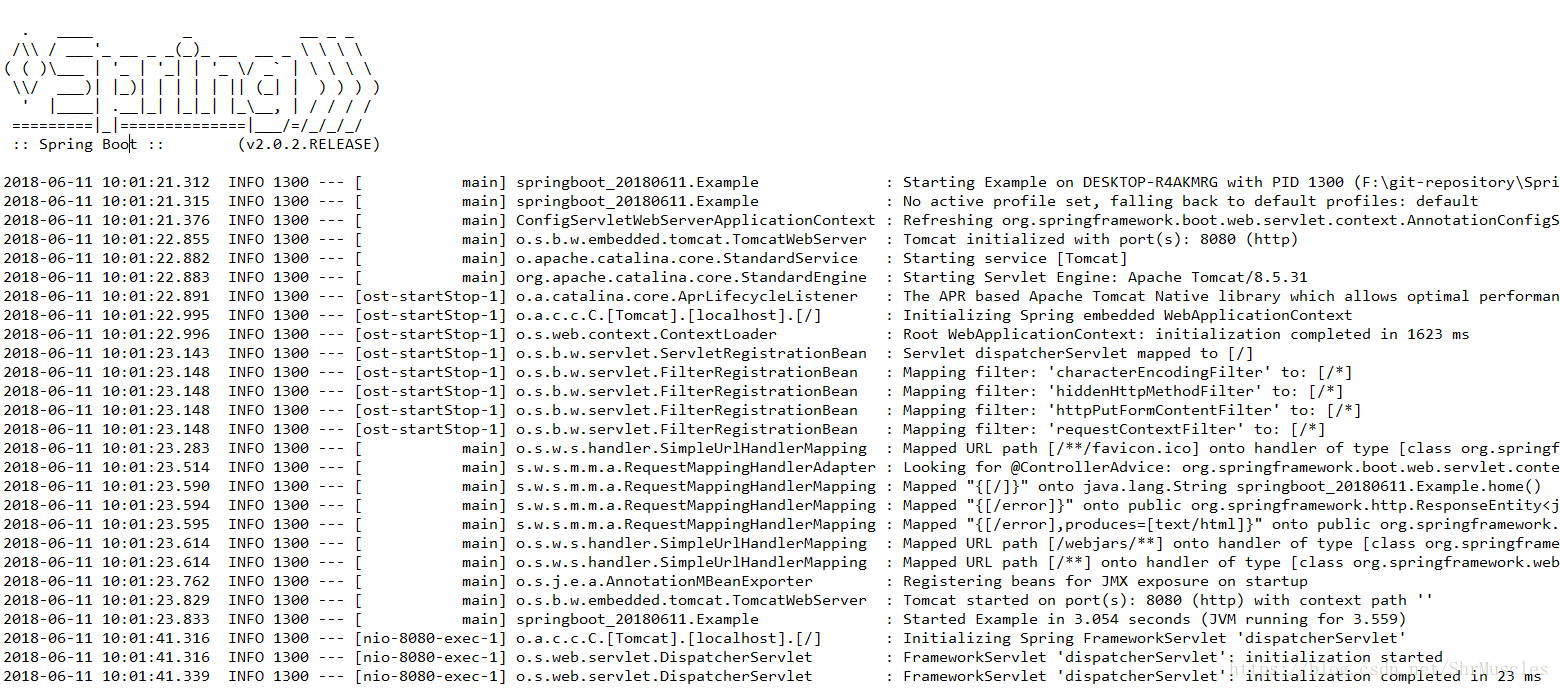
这个类中有一个main方法,不需要部署,直接运行,控制台打印的内容如下:
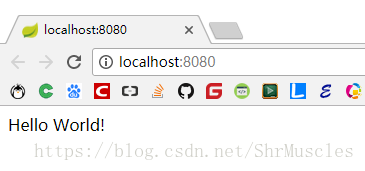
在浏览器输入http://localhost:8080/之后的情况:
一个简单的Spring Boot项目就这样搭建完成了。
总结
-
一个很大的区别就是不用配置Spring相关的文件了
-
不需要再自己部署到服务器上
-
开发很快速