前言
安卓系统中,Button是程序和用户进行交互的一个重要控件,今天我们就来简单的对Button进行学习,其中Button组件是文本按钮(继承自TextView),而ImageButton是图像按钮(继承自ImageView)。两者之间的区别在于:
- 1、Button即可显示文本也可显示图形(通过设置背景图),而ImageButton只能显示图形不能显示文本;
- 2、Button可在文本周围区域显示小图,而ImageButton无法在某个区域显示小图;
- 3、ImageButton上的图像可按比例进行拉伸,而Button上的大图会拉伸变形(因为背景图无法按比例拉伸);
从上面可以看出,Button的适应面更广,所以实际开发中基本使用Button。
使用
在界面显示
首先我们能够xml文件中加入Button,如下面代码所示:
<?xml version="1.0" encoding="utf-8"?>
<android.support.constraint.ConstraintLayout xmlns:android="http://schemas.android.com/apk/res/android"
    xmlns:app="http://schemas.android.com/apk/res-auto"
    xmlns:tools="http://schemas.android.com/tools"
    android:layout_width="match_parent"
    android:layout_height="match_parent"
    tools:context=".ButtonActivity">

    <Button
        android:id="@+id/button"
        android:layout_width="match_parent"
        android:layout_height="wrap_content"
        android:text="Hello World!"
     />

</android.support.constraint.ConstraintLayout>
加入之后显示效果如下所示:

button说明
就这样,我们就在活动中加入了一个Button控件,并且命名为
Hello World,但是有没有发现活动上现实的名称和我们输入的名称是不是不一样呢?这是由于系统会对Button控件中所有的英文字母自动进行大写转换,当然,我们肯定需要禁用这一属性,如下面代码,我们进行对这一属性进行禁用
<?xml version="1.0" encoding="utf-8"?>
<android.support.constraint.ConstraintLayout xmlns:android="http://schemas.android.com/apk/res/android"
    xmlns:app="http://schemas.android.com/apk/res-auto"
    xmlns:tools="http://schemas.android.com/tools"
    android:layout_width="match_parent"
    android:layout_height="match_parent"
    tools:context=".ButtonActivity">

    <Button
        android:id="@+id/button"
        android:layout_width="match_parent"
        android:layout_height="wrap_content"
        android:text="Hello World!"
        android:textAllCaps="false"
     />

</android.support.constraint.ConstraintLayout>上面代码中,我们使用了android:textAllCaps="false"进行对默认全部大写进行禁用,当然对于按钮控件不仅仅就这么简单的一些属性,详细信息可通过该文档详细了解。
现在我们的按钮正常显示在活动中,但是我们该怎么让他点击时能够响应,其实响应的方法有很多,下面就来说说常见的两种响应方法
添加响应事件
- 匿名内部类
第一种方法就是在ButtonActivity中为Button添加监听器,如下面代码所示:
package com.example.jkwu.uicomponent;
import android.support.v7.app.AppCompatActivity;
import android.os.Bundle;
import android.view.View;
import android.widget.Button;
import android.widget.Toast;
public class ButtonActivity extends AppCompatActivity {
    @Override
    protected void onCreate(Bundle savedInstanceState) {
        super.onCreate(savedInstanceState);
        setContentView(R.layout.activity_button);
        Button button = findViewById(R.id.button);
        button.setOnClickListener(new View.OnClickListener() {
            @Override
            public void onClick(View v) {
                // 在这里实现响应
                // 我们在这里就进行Toast
                Toast.makeText(ButtonActivity.this, "点击响应,通过匿名内部类实现", Toast.LENGTH_SHORT).show();
            }
        });
    }
}
效果如下所示:
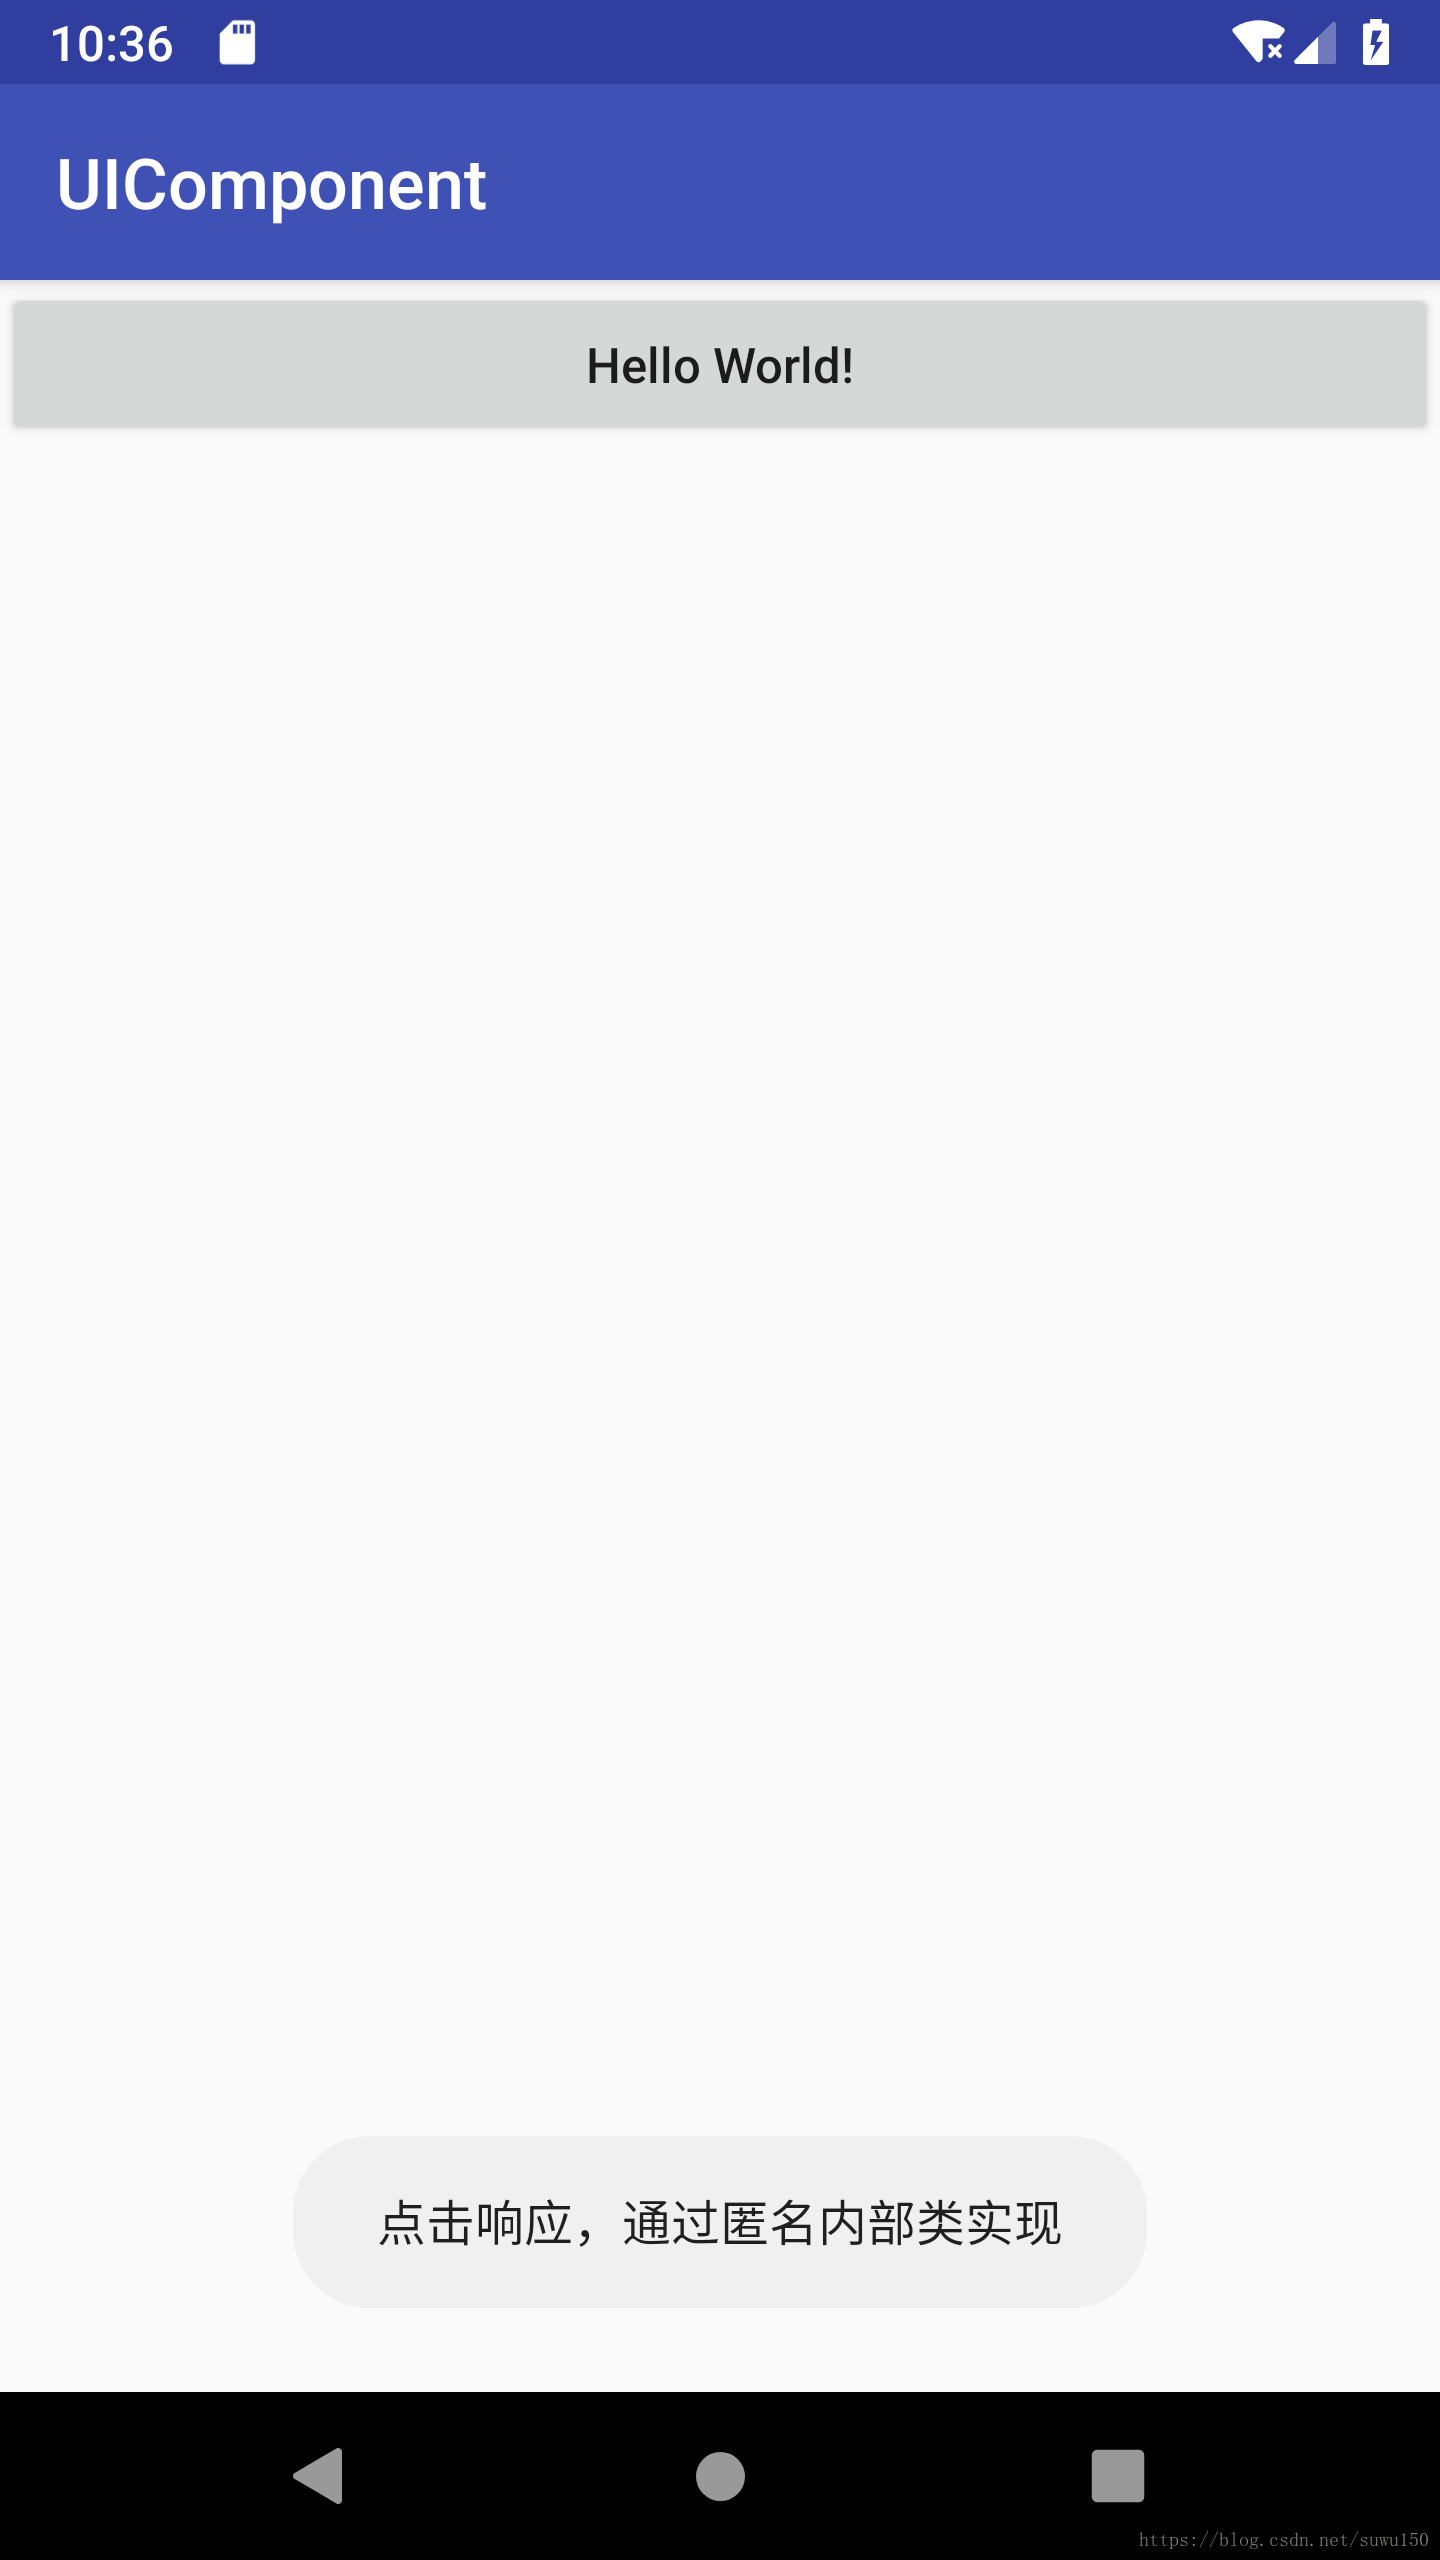
button点击响应说明
这样,每当点击按钮的时候,就会执行监听器中onClick()方法,我们只需要在这个方法中加入我们需要处理的逻辑就好。
- 实现接口
第二种方法就是使用实现接口的方法进行实现注册监听器的功能,代码如下所示:
package com.example.jkwu.uicomponent;
import android.support.v7.app.AppCompatActivity;
import android.os.Bundle;
import android.view.View;
import android.widget.Button;
import android.widget.Toast;
public class ButtonActivity extends AppCompatActivity implements View.OnClickListener {
    @Override
    protected void onCreate(Bundle savedInstanceState) {
        super.onCreate(savedInstanceState);
        setContentView(R.layout.activity_button);
        Button button = findViewById(R.id.button);
        button.setOnClickListener(this);
    }
    @Override
    public void onClick(View v) {
        switch (v.getId()) {
            case R.id.button:
                // 实现处理逻辑
                Toast.makeText(ButtonActivity.this, "点击响应,通过实现接口实现", Toast.LENGTH_SHORT).show();
                break;
            default:
                break;
        }
    }
}
实现效果如下所示:
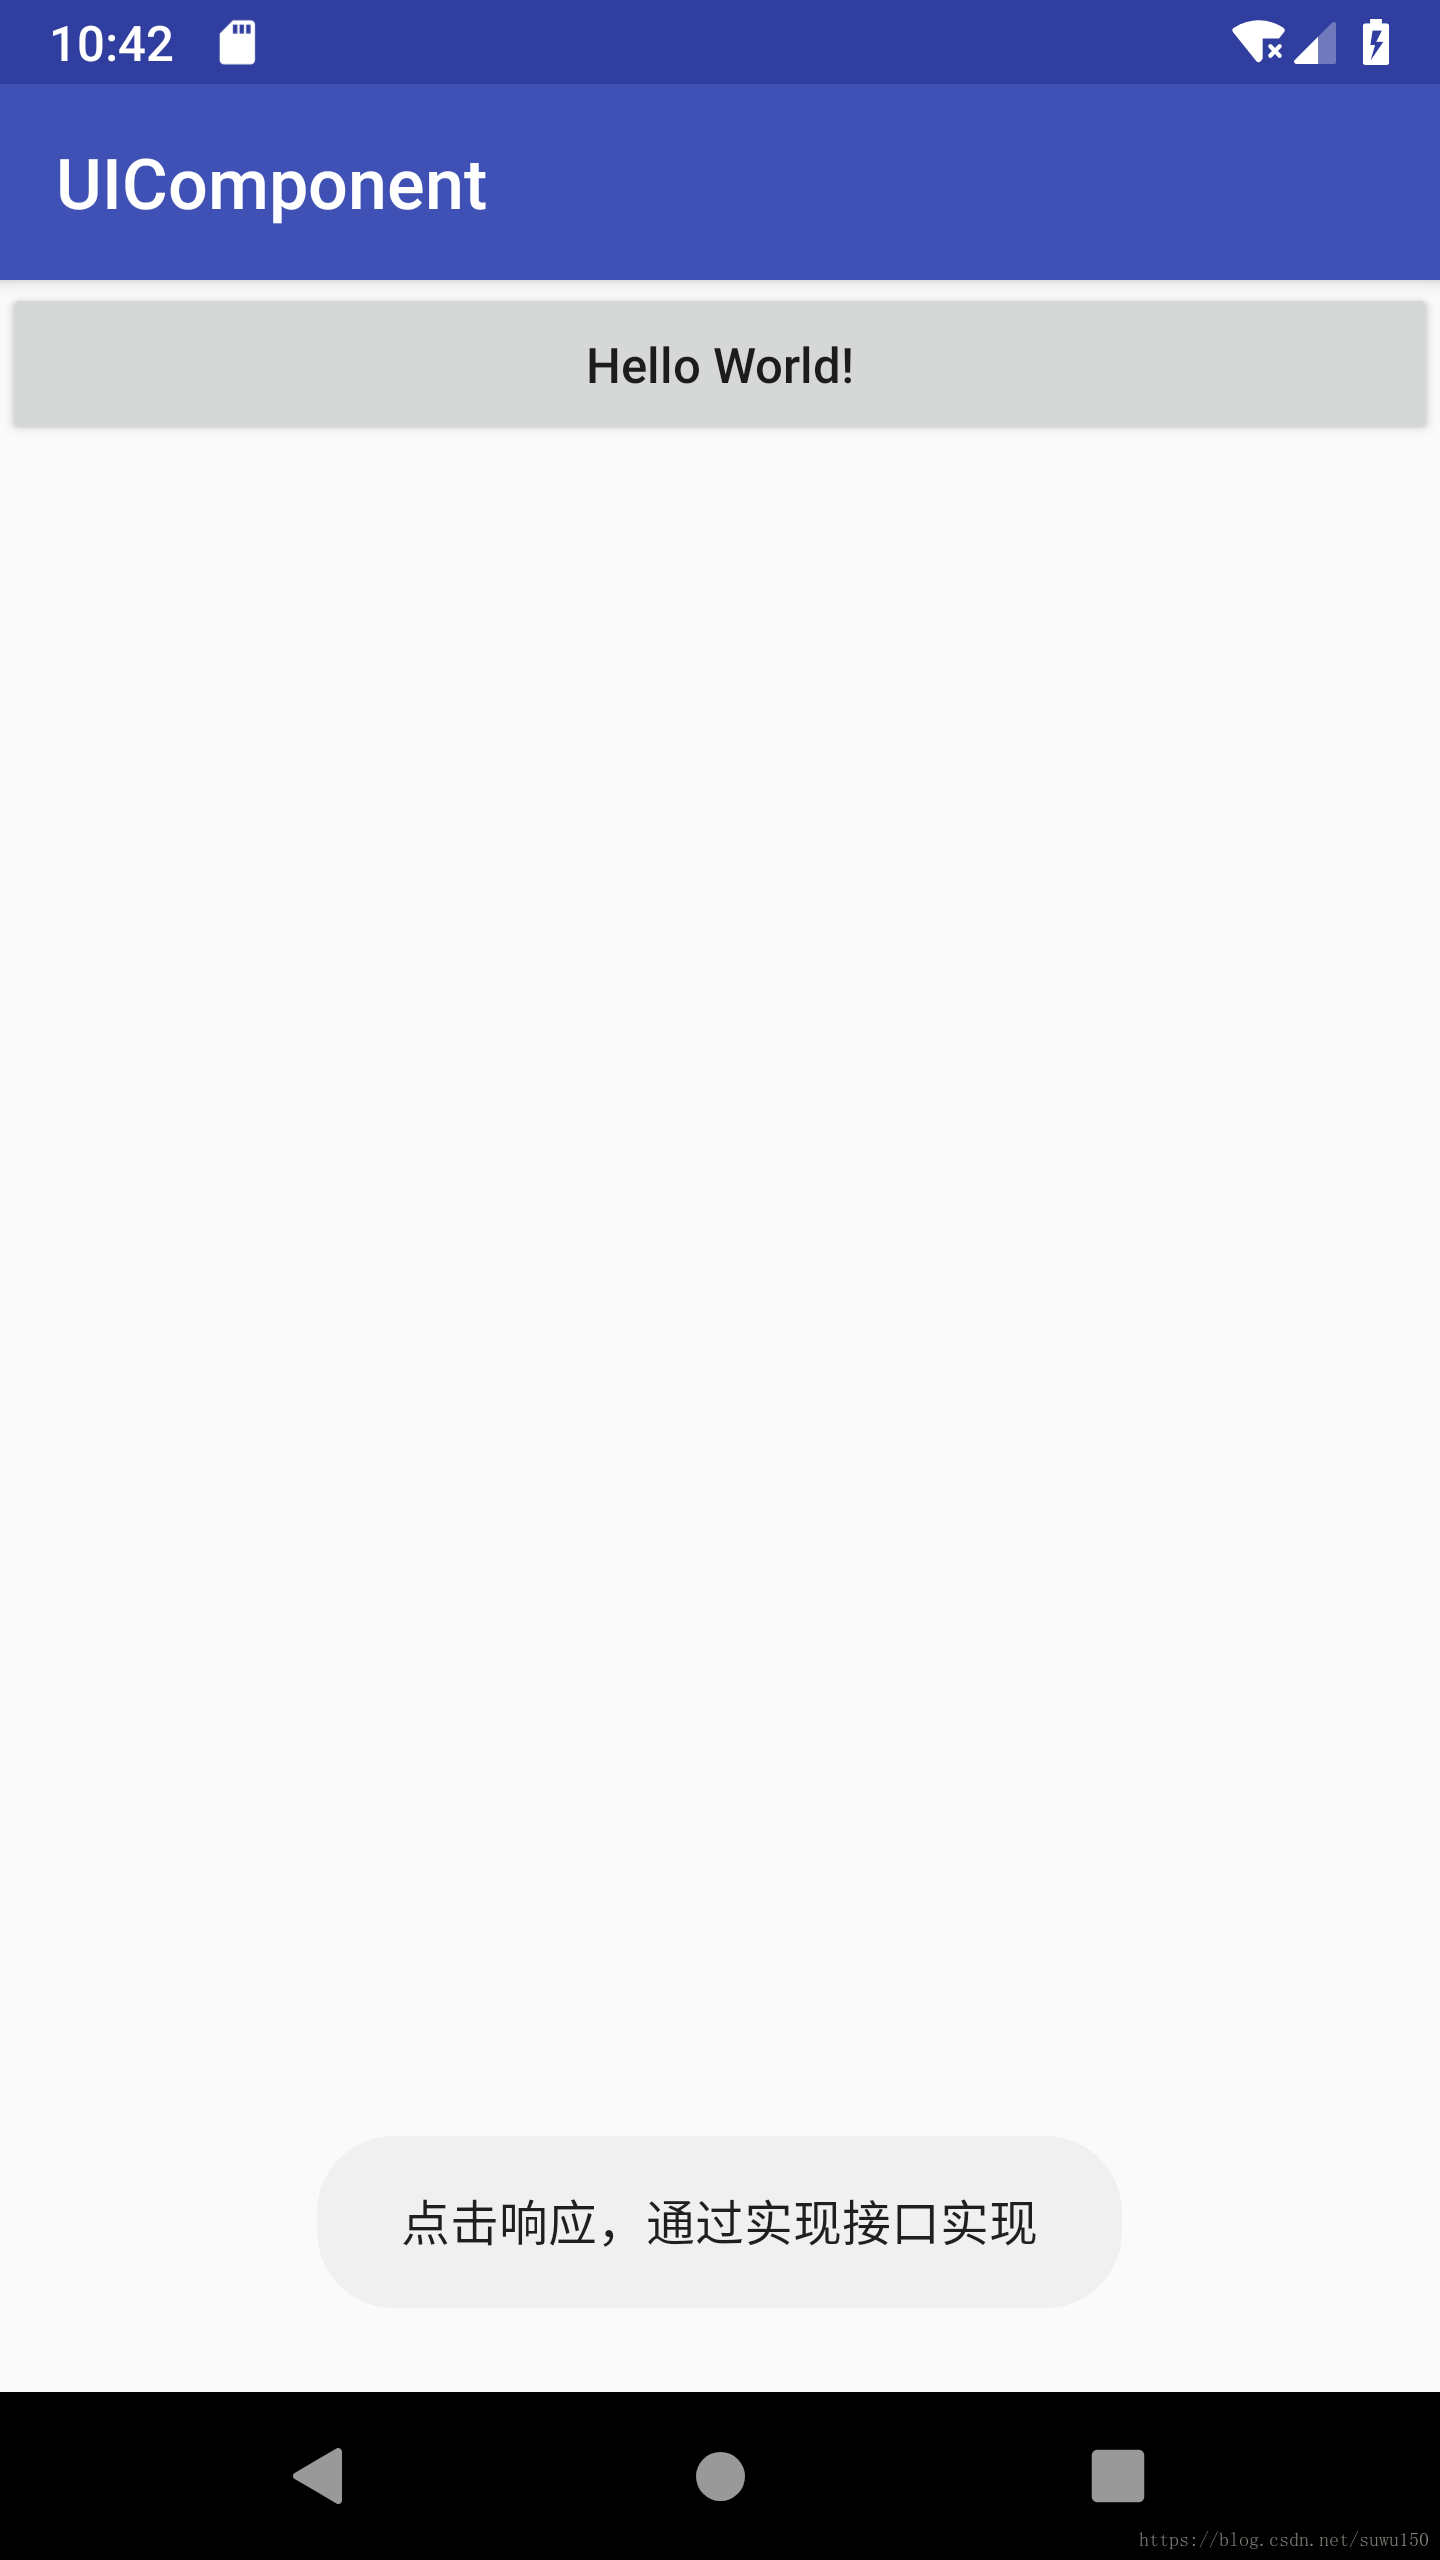
button点击响应说明
上面两种方法是最常用的响应点击事件的方法