第一次接触服务器,由于vue项目build之后需要nginx起服务才能通过ip访问,所以需要在服务器上安装nginx。安装过程参考了许多别人的文章,也出现了一些问题。网上对各种问题的解决方法多种多样,鲜有真正适用的,特此记录一下自己安装过程中遇到的问题及成功解决问题的方法。
一、服务器
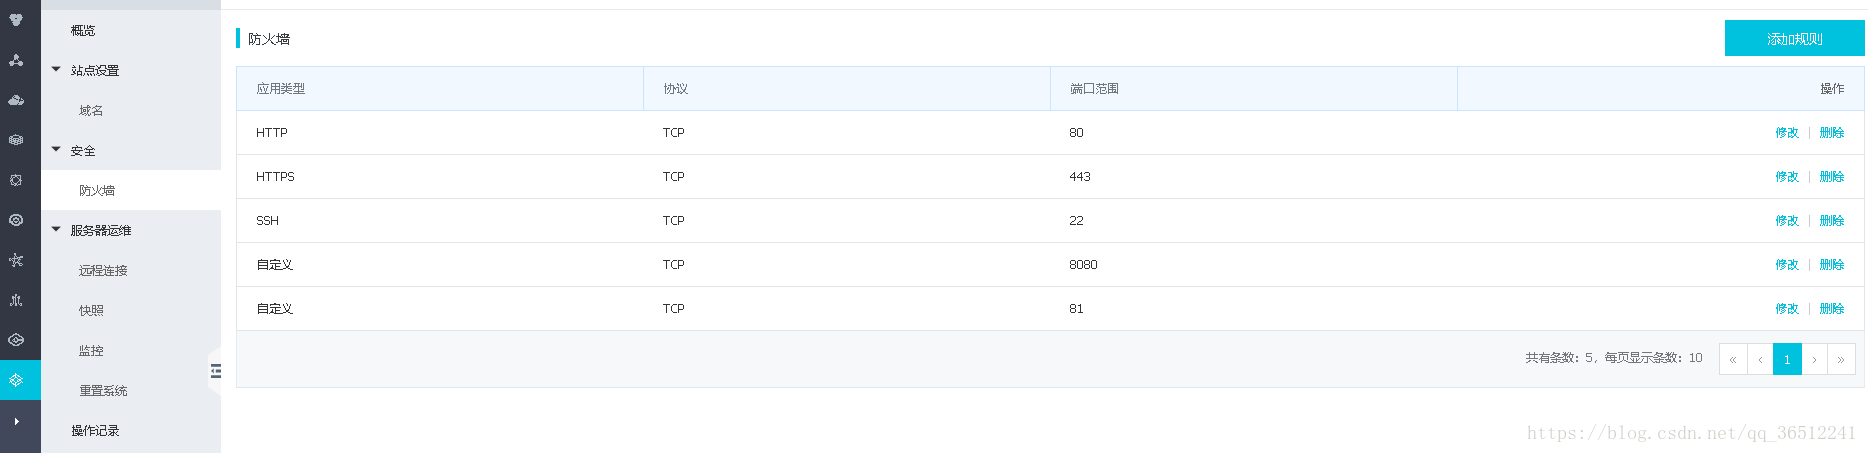
阿里云服务器通过学生认证后每月只需9.5元所以选择购买,被推荐使用了ubuntu的系统镜像,然后发现服务器是轻量应用服务器,网上对于安全组(个人理解为一个安全组就是开放某个端口,否则无法从某个特定端口访问到服务器)的配置全是关于ECS服务器的,有点迷茫,最后发现轻量应用服务器中的防火墙相当于ECS中的安全组。不同与ECS,它已经默认开放了80端口,若无额外需求我们无需再添加端口。折腾了很长时间一直错以为是服务器的原因,就我个人经历来说,轻量应用服务器不用任何操作,ECS服务器估计添加个80端口的安全组就可以了。
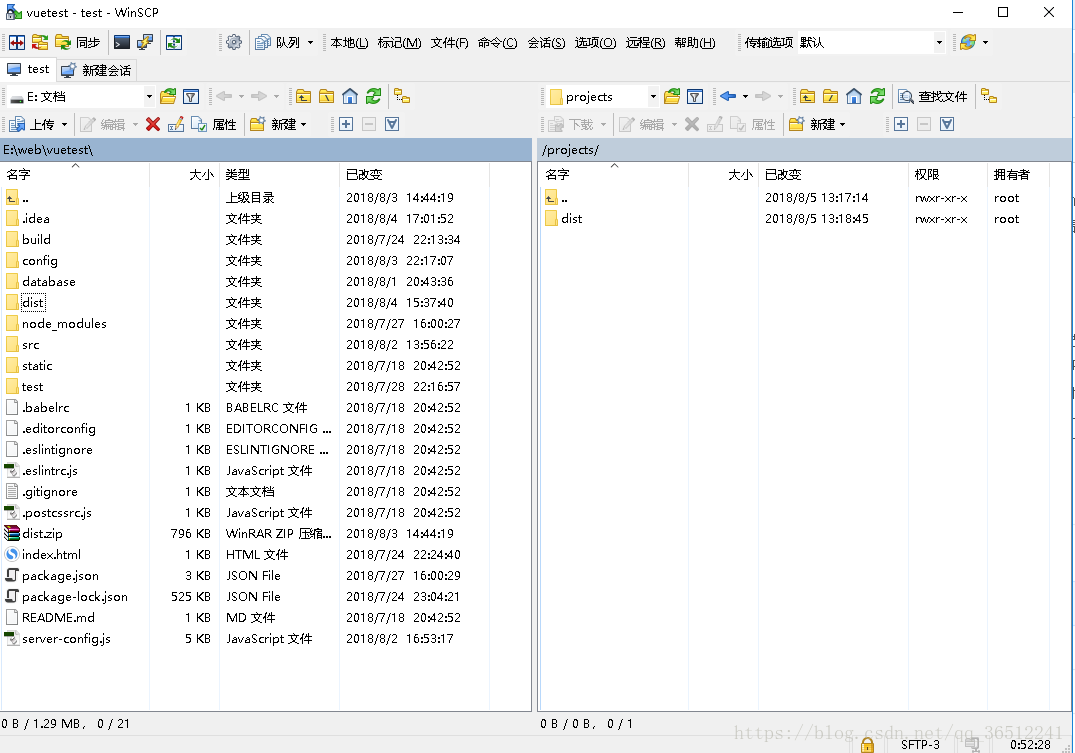
额外说一句,向服务器上传文件以及管理服务器上的文件推荐使用WinScp,界面直观,无需使用命令行上传文件。还有一个用命令行操作服务器的putty,只用下载一个putty.exe即可使用,相当于阿里云数据库管理界面的远程连接。一开始不了解的情况下被网上的各种服务器操作工具弄混淆了,其实很多都是功能相同的,个人目前使用这两款工具就足够了。
二、nginx的安装
一开始试着在本地电脑上下载.tar.gz压缩包传到服务器上解压再安装,但是解压后没有对应的文件,无法cd进目录,所以均通过命令行安装。
安装nginx前需安装:
1.gcc
2.pcre
3.zlib
4.OpenSSL
具体下载解压编译的过程可以参考链接:https://blog.csdn.net/sinat_34344123/article/details/79094003(我自己安装的时候没有发现这篇文章,做记录的时候看到了觉得挺完整的,安装OpenSSL的时候遇到了问题后面讲)
完成后安装nginx(参考链接:https://www.cnblogs.com/AlanLee/p/9044644.html):
1.下载压缩包
# wget http://nginx.org/download/nginx-1.6.2.tar.gz2.解压安装包
# tar zxvf nginx-1.6.2.tar.gz3.进入安装包目录
# cd nginx-1.6.24.编译安装
[root@bogon nginx-1.6.2]# ./configure --prefix=/usr/local/nginx --with-http_stub_status_module --with-http_ssl_module --with-pcre=/usr/local/src/pcre-8.35
[root@bogon nginx-1.6.2]# make
[root@bogon nginx-1.6.2]# make install
在这一步中遇到了几个问题,原文中nginx目录为/usr/local/webserver/nginx,我在安装中没用webserver这一目录,所以将./configure --prefix=后面的路径中的webserver去掉了。
./configure 结束后会有这样一段信息:
Configuration summary
+ using system PCRE library
+ OpenSSL library is not used
+ using builtin md5 code
+ sha1 library is not found
+ using system zlib library
若直接执行make会报错:
./configure: error: SSL modules require the OpenSSL library.
You can either do not enable the modules, or install the OpenSSL library
into the system, or build the OpenSSL library statically from the source
with nginx by using --with-openssl=<path> option.
是因为不仅需要安装openssl还要安装libssl-dev。我检查OpenSSL版本发现已经安装成功,于是安装libssl-dev。但是直接通过命令行安装,在下载的过程中会出现404 NOT FOUND的错误导致下载失败。尝试了各种方法都无效后终于找到了一种可行的方法即先执行update更新源然后再安装(参考链接:https://blog.csdn.net/jisuanji198509/article/details/79901075):
- Update the package index:
# sudo apt-get update
- Install libssl-dev deb package:
# sudo apt-get install libssl-dev
完成后再在nginx安装包目录中重新执行第四步安装编译的过程,若通过nginx -v成功查看到版本说明安装成功。然后通过命令行启动nginx:
# /usr/local/nginx/sbin/nginx启动成功没有任何提示信息,未结束原有nginx的情况下多次启动会出现nginx默认端口80被占用的情况,报错:
nginx: [emerg] bind() to 0.0.0.0:80 failed (98: Address already in use)
nginx: [emerg] bind() to 0.0.0.0:80 failed (98: Address already in use)
nginx: [emerg] bind() to 0.0.0.0:80 failed (98: Address already in use)
nginx: [emerg] bind() to 0.0.0.0:80 failed (98: Address already in use)
nginx: [emerg] bind() to 0.0.0.0:80 failed (98: Address already in use)
nginx: [emerg] still could not bind()
除此种情况外,其他80端口被占用的情况均可通过命令行(参考链接:https://blog.csdn.net/mtm2012/article/details/42775647):
# fuser -n tcp 80查找到占用80端口的command的PID(例如:80/tcp 1116 后面的数字就是PID),用命令行删除对应进程,然后再启动nginx:
kill -9 PID
#例如
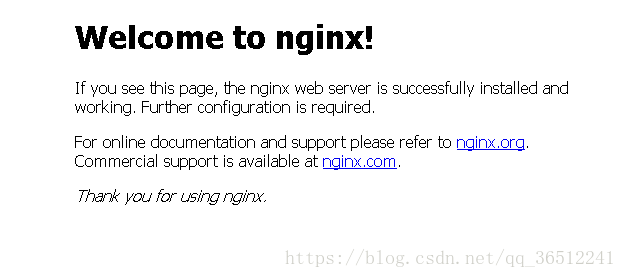
kill -9 1116之后在浏览器中输入服务器的ip就可成功访问到nginx服务启动成功的界面了。
三、Nginx服务路径的配置
同样参考安装nginx的文章,做了部分修改,没有创建使用用户,修改/usr/local/nginx/conf/nginx.conf,内容如下:
worker_processes 2; #设置值和CPU核心数一致
error_log /usr/local/nginx/logs/nginx_error.log crit; #日志位置和日志级别
pid /usr/local/nginx/nginx.pid;
#Specifies the value for maximum file descriptors that can be opened by this process.
worker_rlimit_nofile 65535;
events
{
  use epoll;
  worker_connections 65535;
}
http
{
  include mime.types;
  default_type application/octet-stream;
  log_format main  '$remote_addr - $remote_user [$time_local] "$request" '
               '$status $body_bytes_sent "$http_referer" '
               '"$http_user_agent" $http_x_forwarded_for';

#charset gb2312;

  server_names_hash_bucket_size 128;
  client_header_buffer_size 32k;
  large_client_header_buffers 4 32k;
  client_max_body_size 8m;

  sendfile on;
  tcp_nopush on;
  keepalive_timeout 60;
  tcp_nodelay on;
  fastcgi_connect_timeout 300;
  fastcgi_send_timeout 300;
  fastcgi_read_timeout 300;
  fastcgi_buffer_size 64k;
  fastcgi_buffers 4 64k;
  fastcgi_busy_buffers_size 128k;
  fastcgi_temp_file_write_size 128k;
  gzip on;
  gzip_min_length 1k;
  gzip_buffers 4 16k;
  gzip_http_version 1.0;
  gzip_comp_level 2;
  gzip_types text/plain application/x-javascript text/css application/xml;
  gzip_vary on;

  #limit_zone crawler $binary_remote_addr 10m;
 #下面是server虚拟主机的配置

    server {
        listen 81;
        server_name localhost;
        location / {
            root   /projects;
            index  index.html index.htm;
        }
    }

 server
  {
    listen 80;#监听端口
    server_name localhost;#域名
    index index.html index.htm index.php;
    location / {
        root html;
	index  index.html index.htm;
    }

    #root /usr/local/nginx/html;#站点目录
	#root /root/dist;
      location ~ .*\.(php|php5)?$
    {
      #fastcgi_pass unix:/tmp/php-cgi.sock;
      fastcgi_pass 127.0.0.1:9000;
      fastcgi_index index.php;
      include fastcgi.conf;
    }
    location ~ .*\.(gif|jpg|jpeg|png|bmp|swf|ico)$
    {
      expires 30d;
  # access_log off;
    }
    location ~ .*\.(js|css)?$
    {
      expires 15d;
   # access_log off;
    }
    access_log off;
  }

}
若要更改路径可直接按格式增加server,或将server的listen改为自己需要的端口,root改为自己需要其服务的路径,我设置为/projects,我的vue项目打包后的dist文件夹所在目录如下:
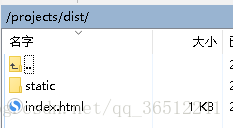
我只需在浏览器中输入 服务器ip/dist 就可以访问到dist中的index.html。
四、Nginx常用命令
/usr/local/nginx/sbin/nginx -s reload            # 重新载入配置文件
/usr/local/nginx/sbin/nginx -s reopen            # 重启 Nginx
/usr/local/nginx/sbin/nginx -s stop              # 停止 Nginx
五、总结
文章中大部分内容皆为参考,并通过自身经验得到实践结果,希望能帮到跟我一样一开始什么都不了解的人。