angular路由配置项
一般需要在index.html中head标签中加入<base href="/"> 但是由于angular-cli安装中已经加入了所以不用考虑了
Routers
路由配置,用来设置组件对应的url名称
import { Routes } from '@angular/router';
routes: Routes = [
  {
    path: 'content',
    component:ContentComponent,
    children: []
  }
];
路由配置文件下图(path为空时则在没有输入路由地址时显示)
import { NgModule } from '@angular/core';
import { Routes, RouterModule } from '@angular/router';
import {Tab2Component} from './tab2/tab2.component';
import {Tab1Component} from './tab1/tab1.component';

const routes: Routes = [
  {
    path: '',
    component:Tab1Component,
    children: []
  },
  {
    path: 'tab2',
    component:Tab2Component,
    children: []
  },
];

@NgModule({
  imports: [RouterModule.forRoot(routes)],
  exports: [RouterModule]
})
export class AppRoutingModule { }
这是路由的js然后需要在app.module中引入路由
import { AppRoutingModule } from './app-routing.module';
  imports: [
     ...
    AppRoutingModule
    ...
  ],
routerOutlet
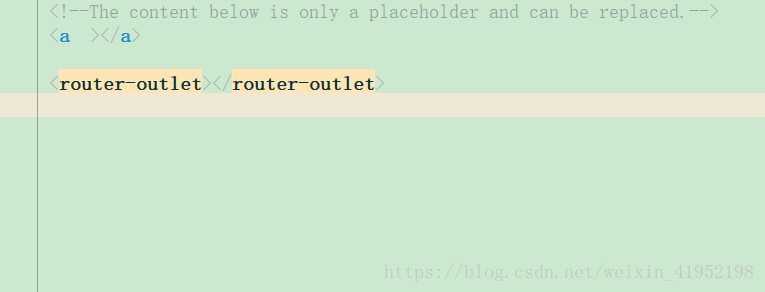
在html中标记路由内容呈现位置的占位符指令 ( 即路由的页面显示的位置 )在页面中的使用
RouterLink
在html中声明路由导航使用的指令 可以认为是a标签的href 组件中使用如下
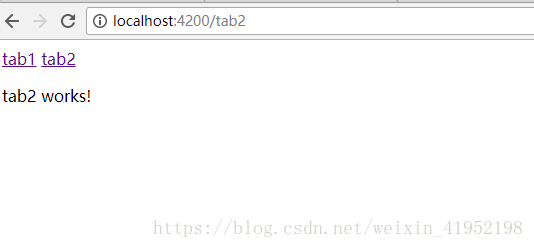
<a routerLink="/tab1" >tab1</a>
<a routerLink="/tab2" >tab2</a>

<router-outlet></router-outlet>
实际使用效果
Router
负责在运行时执行路由的对象可以通过 navigate() 和navigateByUrl() 导航到一个指定的路由
在组件中使用写入构造函数中
...
import {Router} from '@angular/router';;
...
export class AppComponent  {
  constructor(private router:Router){
  }
  tab3(){
    this.router.navigateByUrl("tab3")
    //或者是以下这种
    this.router.navigate(["tab3"])
  }
}
页面中
<button (click)="tab3()">进入tab3</button>通过事件跳转
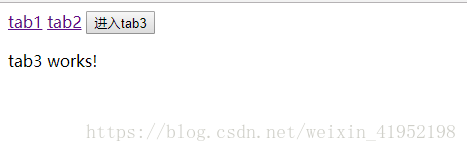
比较简单的用法就这样有点类似普通页面js中的 window.location.href 跳转
ActivatedRoute
当前激活的路由对象,保存当前路由信息,路由地址、参数等
先简单说下路由传递参数打开路由配置文件加入id大概就是这个样子
  {
    path: 'tab4/:id',
    component:Tab4Component,
    children: []
  },
就是在path加上 /:id 这个:id是个占位符 在跳转路由时写入参数如下
<a routerLink="/tab4/123" >tab4</a>这样在进入tab4时就传入了参数然后接收就用到了ActivatedRoute
tab4组件中是这样的
import {ActivatedRoute} from '@angular/router';
export class Tab4Component implements OnInit {

  constructor(private routerinfo:ActivatedRoute) { }

  ngOnInit() {
    let id=this.routerinfo.snapshot.params["id"]
    alert(id)
  }

}
ActivatedRoute同样需要在构造函数中声明我把它弹出来
实际效果图

比较简单的使用就这些