官方文档:
http://greenrobot.org/greendao/documentation/introduction/
1、GreenDao3配置
Compile 和插件
Module(app)
apply plugin: 'com.android.application'
apply plugin: 'org.greenrobot.greendao'

android {
    compileSdkVersion 23
    buildToolsVersion "23.0.3"
   ...
}
greendao{
    schemaVersion 1
    daoPackage 'com.tjstudy.greendaodemo.dao'
}

dependencies {
    compile fileTree(dir: 'libs', include: ['*.jar'])
    testCompile 'junit:junit:4.12'
    compile 'com.android.support:appcompat-v7:23.4.0'
    compile 'org.greenrobot:greendao:3.2.0'
}
SchemaVersion:数据库的版本号
DaoPackage:所生成的dao的位置,生成之后并不可见,但是真实存在。
Module(project)
buildscript {
repositories {
jcenter()
}
dependencies {
classpath ‘com.android.tools.build:gradle:2.1.0’
classpath ‘org.greenrobot:greendao-gradle-plugin:3.2.1’
}
}
…
2、创建实体,使用GreenDao
package com.tjstudy.greendaodemo.bean;

import org.greenrobot.greendao.annotation.Entity;
import org.greenrobot.greendao.annotation.Id;
import org.greenrobot.greendao.annotation.Property;

/**
 * 学生实体
 */
@Entity
public class Student {
    @Id
    private Long id;
    @Property
    private String name;
    @Property
    private int age;

}
然后 build—-make project 就能生成所需要的类了。
注意:这里的@Id 标记,只能使用Long 作为类型。
不使用时:
Caused by: java.lang.ClassCastException: java.lang.Integer cannot be cast to java.lang.Long生成成功的话,会自动添加上getter setter等一系列的方法。
3、创建Application,对数据库进行初始操作
package com.tjstudy.greendaodemo.base;

import android.app.Application;
import android.database.sqlite.SQLiteDatabase;

import com.tjstudy.greendaodemo.dao.DaoMaster;
import com.tjstudy.greendaodemo.dao.DaoSession;

/**
 * 自定义Application 由于这个类只在app开启的时候执行一次
 * 一般会在这里做一些 全局的初始化设置
 */
public class MyApplication extends Application {
    private static String DB_NAME = "College.db";
    private static DaoSession daoSession;

    @Override
    public void onCreate() {
        super.onCreate();
        initDb();
    }

    /**
     * 初始化数据库
     */
    private void initDb() {
        //创建一个 College.db的数据库
        DaoMaster.DevOpenHelper openHelper = new DaoMaster.DevOpenHelper(this, DB_NAME, null);
        SQLiteDatabase db = openHelper.getWritableDatabase();
        DaoMaster daoMaster = new DaoMaster(db);
        daoSession = daoMaster.newSession();
    }

    /**
     * 获取DaoSession 通过这个DaoSession就能获取到其他各个表的所对应的dao了
     *
     * @return
     */
    public static DaoSession getDaoSession() {
        return daoSession;
    }
}
记得将Application 设置到清单文件中去。
4、对数据库的简单操作
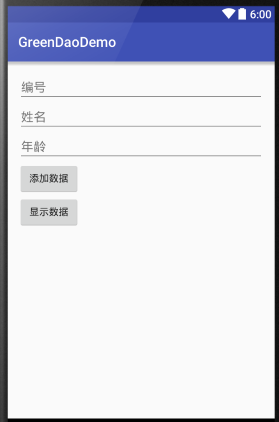
布局文件界面
Activity:
响应添加数据,显示数据的点击事件
public void addData(View view) {
    Long id = Long.parseLong(etID.getText().toString());
    String name = etName.getText().toString();
    int age = Integer.parseInt(etAge.getText().toString());

    //插入数据  未检测数据是否符合规范
    MyApplication.getDaoSession().getStudentDao()
            .insert(new Student(id,name,age));
}

public void showData(View view) {
    //显示数据
    List<Student> students = MyApplication.getDaoSession().getStudentDao()
            .loadAll();
    Log.e("MainActivity",students.toString());//在Student 实体内添加toString方法
}
结果:

差不多入门,更多操作,可以根据官方文档进行深一步学习。