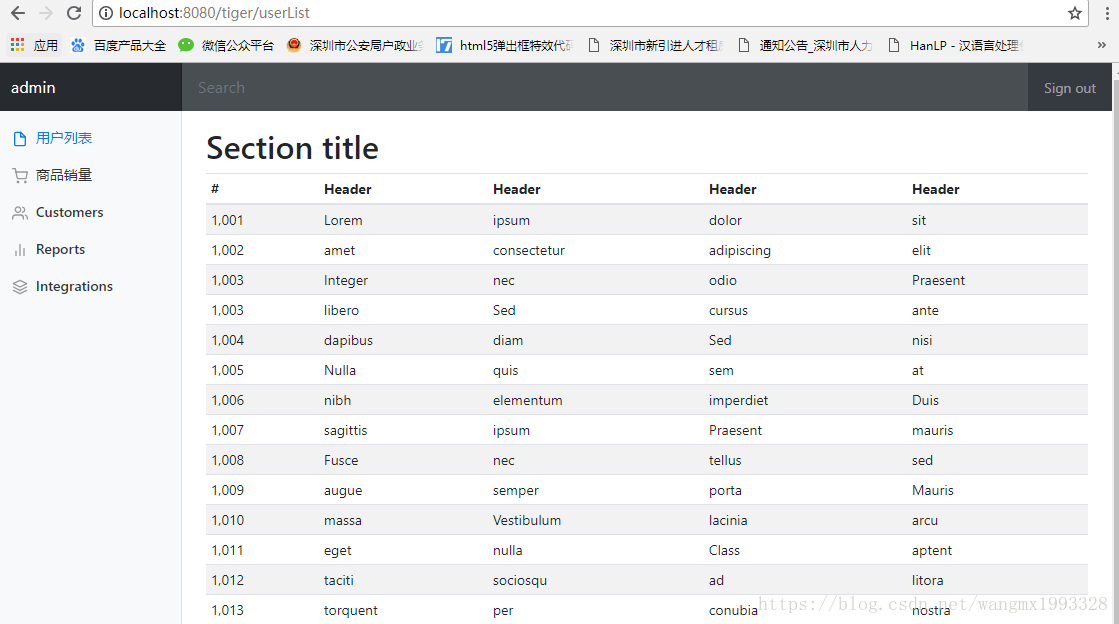
需求说明
- 现在 “用户列表” 这些数据仍然还是前端人员提供的写死的数据,现在从后台进行获取数据然后进行动态显示
- 本文的重点主要是数据在页面显示时用的是 Thymeleaf 进行操作,这是新内容,其余内容都是以前 Spring MVC 经常做的
实体类 POJO
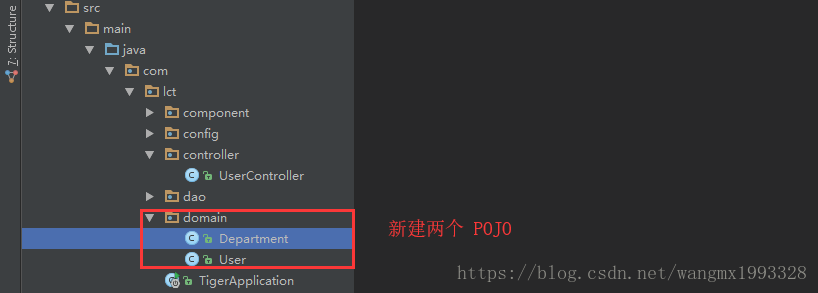
部门 Department
package com.lct.domain;

/**
 * 部门 实体 类
 */
public class Department {
    /**主键id*/
    private Integer depId;

    /**部门名称*/
    private String depName;

    public Department() {
    }
    public Department(int depId, String depName) {
        this.depId = depId;
        this.depName = depName;
    }

    public Integer getDepId() {
        return depId;
    }

    public void setDepId(Integer depId) {
        this.depId = depId;
    }

    public String getDepName() {
        return depName;
    }

    public void setDepName(String depName) {
        this.depName = depName;
    }

    @Override
    public String toString() {
        return "Department{" +
                "depId=" + depId +
                ", depName='" + depName + '\'' +
                '}';
    }
}
用户 User
package com.lct.domain;

import java.util.Date;

/**
 * 用户实体类
 */
public class User {
    /**
     * 主键id
     * 用户名称
     * 电子邮箱
     */
    private Integer uId;
    private String uName;
    private String email;
    /**
     * 用户性别:1 男, 0 女
     * 生日
     */
    private Integer gender;
    private Date birth;
    /**
     * 所在的部门
     */
    private Department department;

    public Integer getUId() {
        return uId;
    }

    public void setUId(Integer uId) {
        this.uId = uId;
    }

    public String getuName() {
        return uName;
    }

    public void setuName(String uName) {
        this.uName = uName;
    }

    public String getEmail() {
        return email;
    }

    public void setEmail(String email) {
        this.email = email;
    }

    public Integer getGender() {
        return gender;
    }

    public void setGender(Integer gender) {
        this.gender = gender;
    }

    public Department getDepartment() {
        return department;
    }

    public void setDepartment(Department department) {
        this.department = department;
    }

    public Date getBirth() {
        return birth;
    }

    public void setBirth(Date birth) {
        this.birth = birth;
    }

    public User(Integer uId, String uName, String email, Integer gender,
                Department department) {
        super();
        this.uId = uId;
        this.uName = uName;
        this.email = email;
        this.gender = gender;
        this.department = department;
        this.birth = new Date();
    }

    public User() {
    }

    @Override
    public String toString() {
        return "User{" +
                "birth=" + birth +
                ", uId=" + uId +
                ", uName='" + uName + '\'' +
                ", email='" + email + '\'' +
                ", gender=" + gender +
                ", department=" + department +
                '}';
    }
}
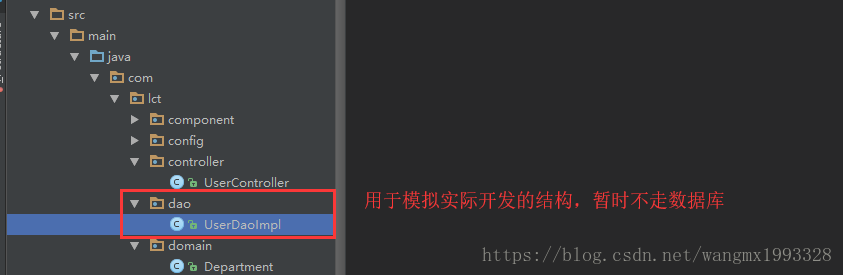
UserDao
package com.lct.dao;

import com.lct.domain.Department;
import com.lct.domain.User;
import org.springframework.stereotype.Repository;

import java.util.ArrayList;
import java.util.Collection;
import java.util.HashMap;
import java.util.List;

@Repository
public class UserDaoImpl {

    /**
     * 默认的用户列表数据,暂时就不通过数据库了,直接初始化一些数据进行模拟
     */
    private static List<User> userList = null;

    static {
        userList = new ArrayList<>();
        userList.add(new User(1001, "E-AA", "[email protected]", 1, new Department(101, "D-AA")));
        userList.add(new User(1002, "E-BB", "[email protected]", 1, new Department(102, "D-BB")));
        userList.add(new User(1003, "E-CC", "[email protected]", 0, new Department(103, "D-CC")));
        userList.add(new User(1004, "E-DD", "[email protected]", 0, new Department(104, "D-DD")));
        userList.add(new User(1005, "E-EE", "[email protected]", 1, new Department(105, "D-EE")));
        userList.add(new User(1006, "E-FF", "[email protected]", 0, new Department(101, "D-AA")));
        userList.add(new User(1007, "E-GG", "[email protected]", 1, new Department(102, "D-BB")));
        userList.add(new User(1008, "E-HH", "[email protected]", 0, new Department(103, "D-CC")));
        userList.add(new User(1009, "E-II", "[email protected]", 1, new Department(104, "D-DD")));
        userList.add(new User(10010, "E-JJ", "[email protected]", 1, new Department(105, "D-EE")));
    }

    /**
     * 模拟查询所有员工
     */
    public List<User> getAll() {
        return userList;
    }
}
UserController
package com.lct.controller;

import com.lct.dao.UserDaoImpl;
import com.lct.domain.User;
import org.springframework.stereotype.Controller;
import org.springframework.ui.Model;
import org.springframework.util.StringUtils;
import org.springframework.web.bind.annotation.GetMapping;
import org.springframework.web.bind.annotation.PostMapping;
import org.springframework.web.bind.annotation.RequestMapping;

import javax.annotation.Resource;
import javax.servlet.http.HttpSession;
import java.util.List;

/**
 * Created by Administrator on 2018/7/28 0028.
 * 用户控制器层
 */
@Controller
@RequestMapping("user")
public class UserController {

    @Resource
    private UserDaoImpl userDaoImpl;

    /**
     * 用户登录
     *
     * @param username    账号
     * @param password    密码
     * @param httpSession 设值登录的 用户session
     * @return 登录成功 重定向到 用户列表页面
     * @PostMapping ("login") 相当于 @RequestMapping(value = "login",method = RequestMethod.POST) 的简写
     * 同理还有 @GetMapping 、@PutMapping 、@DeleteMapping
     */
    @PostMapping("login")
    public String login(String username, String password, HttpSession httpSession) {
        /**
         * 当账号不为空,密码为 123456 时,模拟登录成功,否则失败时重定向返回登录页面
         */
        if (!StringUtils.isEmpty(username) && "123456".equals(password)) {
            httpSession.setAttribute("userName", username);
            return "redirect:/user/users";
        } else {
        /** 往服务器重定向时 要以 "/" 开头表示应用跟地址*/
            return "redirect:/index";
        }
    }

    /**
     * 跳转到用户列表页面
     *
     * @param model 用户设值返回页面
     * @return
     */
    @GetMapping("users")
    public String findAllUsers(Model model) {
        List<User> userList = userDaoImpl.getAll();
        model.addAttribute("userList", userList);
         /** 往前端 Thymeleaf 模板引擎时,开头不要加 "/" ,因为它默认配置的前缀就是:
         * spring.thymeleaf.prefix=classpath:/templates/
         */
        return "userList";
    }
}
userList.html
- 页面如何取值进行遍历显示才是本文的重点,后台的部分以前非 Spring Boot 时已经用的很熟了
- 如同 JSP 可以使用 JSTL 的 <c:forEach> 、<c:forTokens> 进行遍历一样,Thymeleaf 同样有自己的遍历方式
<!DOCTYPE html>
<!--xmlns写上之后 Thymeleaf就会有提示,更加方便-->
<html lang="en" xmlns:th="http://www.thymeleaf.org">

<head>
    <meta http-equiv="Content-Type" content="text/html; charset=UTF-8">
    <meta name="viewport" content="width=device-width, initial-scale=1, shrink-to-fit=no">
    <meta name="description" content="">
    <meta name="author" content="">

    <title>Dashboard Template for Bootstrap</title>
    <!-- Bootstrap core CSS -->
    <link th:href="@{/asserts/css/bootstrap.min.css}" rel="stylesheet">

    <!-- Custom styles for this template -->
    <link th:href="@{/asserts/css/dashboard.css}" rel="stylesheet">
    <style type="text/css">
        /* Chart.js */

        @-webkit-keyframes chartjs-render-animation {
            from {
                opacity: 0.99
            }
            to {
                opacity: 1
            }
        }

        @keyframes chartjs-render-animation {
            from {
                opacity: 0.99
            }
            to {
                opacity: 1
            }
        }

        .chartjs-render-monitor {
            -webkit-animation: chartjs-render-animation 0.001s;
            animation: chartjs-render-animation 0.001s;
        }
    </style>
</head>

<body>

<!--在原来的位置引用公共的头部元素,原来的 <nav元素就是在这里的
commonsHead:模板名,根据Spring Boot配置的Thymeleaf映射查找
head:是模板中公用的代码片段-->
<div th:replace="commons::head"></div>

<div class="container-fluid">
    <div class="row">

        <!-- 在原来的左侧菜单位置引用抽取好的公共左侧菜单代码
        1、这是使用的 id选择器 进行的引用
        2、引用公共代码的片段的同时传递参数值过去-->
        <div th:replace="commons::#commonsLeft(activeUri='userList')"></div>

        <main role="main" class="col-md-9 ml-sm-auto col-lg-10 pt-3 px-4">
            <h2>用户列表</h2>

            <div class="table-responsive">
                <table class="table table-striped table-sm">
                    <thead>
                    <tr>
                        <th>#</th>
                        <th>用户名</th>
                        <th>邮箱</th>
                        <th>性別</th>
                        <th>生日</th>
                        <th>所属部门</th>
                        <th>操作</th>
                    </tr>
                    </thead>
                    <tbody>
                    <!-- th:each 表示遍历,userList是后台的参数名;循环时每次的变量名为 user
                    如同 JSTL 一样,当userList为null 或者大小为0 时,不会报错-->
                    <tr th:each="user:${userList}">
                        <!-- th:text 为标签赋值-->
                        <td th:text="${user.uId}"></td>
                        <!-- 这是行内写法,写成: <td th:text="${user.uName}"></td> 也是可以的-->
                        <td>[[${user.uName}]]</td>
                        <td th:text="${user.email}"></td>
                        <!-- 三元运算符,User的gender为0则表示女生,1表示南山-->
                        <td th:text="${user.gender}==0?'女':'男'"></td>
                        <!-- 这是 Thymeleaf 的日期格式化,如同JSTL的日期格式类似;可以官方文档-->
                        <td th:text="${#dates.format(user.birth, 'yyyy-MM-dd HH:mm')}"></td>
                        <!-- 这是级联获取属性值,因为User中关联了 Department 对象-->
                        <td th:text="${user.department.depName}"></td>
                        <td>
                            <a class="btn btn-sm btn-primary">编辑</a>
                            <button class="btn btn-sm btn-danger deleteBtn">删除</button>
                        </td>
                    </tr>
                    </tbody>
                </table>
            </div>
        </main>
    </div>
</div>

<!-- Bootstrap core JavaScript
================================================== -->
<!-- Placed at the end of the document so the pages load faster -->
<script type="text/javascript" th:src="@{/asserts/js/jquery-3.2.1.slim.min.js}"></script>
<script type="text/javascript" th:src="@{/asserts/js/popper.min.js}"></script>
<script type="text/javascript" th:src="@{/asserts/js/bootstrap.min.js}"></script>

<!-- Icons -->
<script type="text/javascript" th:src="@{/asserts/js/feather.min.js}"></script>
<script>
    feather.replace()
</script>

<!-- Graphs -->
<script type="text/javascript" th:src="@{/asserts/js/Chart.min.js}"></script>
<script>
    var ctx = document.getElementById("myChart");
    var myChart = new Chart(ctx, {
        type: 'line',
        data: {
            labels: ["Sunday", "Monday", "Tuesday", "Wednesday", "Thursday", "Friday", "Saturday"],
            datasets: [{
                data: [15339, 21345, 18483, 24003, 23489, 24092, 12034],
                lineTension: 0,
                backgroundColor: 'transparent',
                borderColor: '#007bff',
                borderWidth: 4,
                pointBackgroundColor: '#007bff'
            }]
        },
        options: {
            scales: {
                yAxes: [{
                    ticks: {
                        beginAtZero: false
                    }
                }]
            },
            legend: {
                display: false,
            }
        }
    });
</script>

</body>

</html>
运行测试