参考自小灯光环
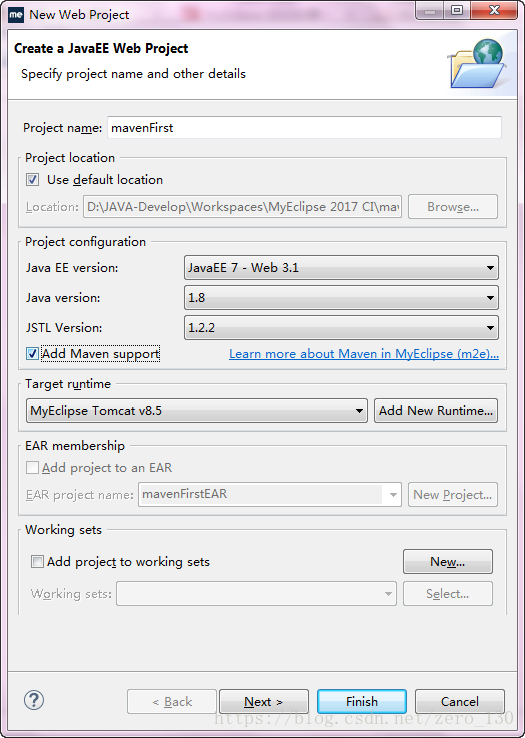
1、新建Web工程mavenFirst,勾选Add Maven Support,点击next
2、可选择是否在src下添加文件夹,点击next

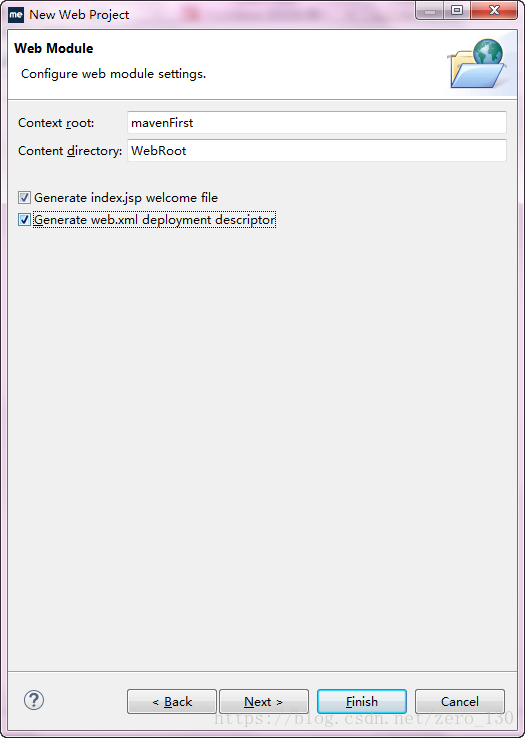
3、勾选生成web.xml文件,next
4、配置当前项目坐标,方便其他maven项目引入使用。勾选生成标准Maven项目结构,next

5、取消勾选自动导入依赖包。之后我们手动配置在pom.xml中,点击finish

6、项目报错,因为我们取消了导入依赖包。现在在pom.xml中把jar包配置回来
<project xmlns="http://maven.apache.org/POM/4.0.0" xmlns:xsi="http://www.w3.org/2001/XMLSchema-instance" xsi:schemaLocation="http://maven.apache.org/POM/4.0.0 http://maven.apache.org/xsd/maven-4.0.0.xsd">
  <modelVersion>4.0.0</modelVersion>
  <groupId>com.gan</groupId>
  <artifactId>mavenFirst</artifactId>
  <version>0.0.1-SNAPSHOT</version>
  <packaging>war</packaging>
  <name>mavenFirst</name>
  <description/>
  <properties>
    <webVersion>3.1</webVersion>
    <project.build.sourceEncoding>UTF-8</project.build.sourceEncoding>
  </properties>

  	<!-- 只需配置这一段 -->
       <dependencies>
	  	<dependency>
	  		<groupId>javax.servlet</groupId>
	  		<artifactId>javax.servlet-api</artifactId>
	  		<version>3.0.1</version>
	  	</dependency>

	  	<dependency>
	  		<groupId>javax.servlet</groupId>
	  		<artifactId>jstl</artifactId>
	  		<version>1.2</version>
	  	</dependency>
      </dependencies>

  <build>
    <plugins>
      <plugin>
        <artifactId>maven-compiler-plugin</artifactId>
        <version>2.3.2</version>
        <configuration>
          <source>1.8</source>
          <target>1.8</target>
        </configuration>
      </plugin>
      <plugin>
        <artifactId>maven-war-plugin</artifactId>
        <version>2.6</version>
        <configuration>
          <failOnMissingWebXml>false</failOnMissingWebXml>
        </configuration>
      </plugin>
    </plugins>
  </build>
</project>
7、保存刷新项目Refresh或者更新项目 右键——Maven——Update Project,异常消失,部署Tomcat运行访问浏览器
