附原网地址:https://blog.csdn.net/hbsong75/article/details/41207585
一、 软件准备
Eclipse 4.2.1
Maven 2.2.1
Spring 3.2.6
CXF 3.0.2
软件下载和Eclipse 安装 maven插件等请参考其他文章。
二、 步骤
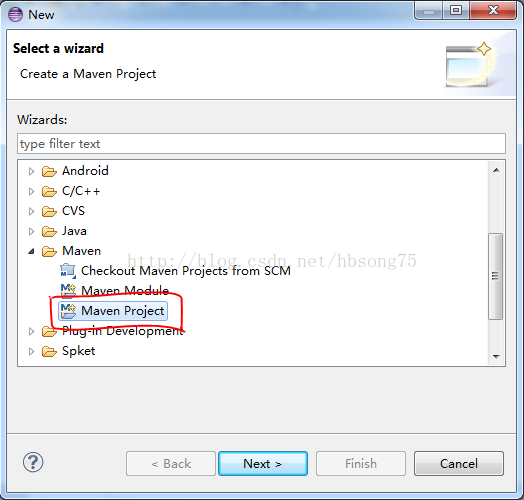
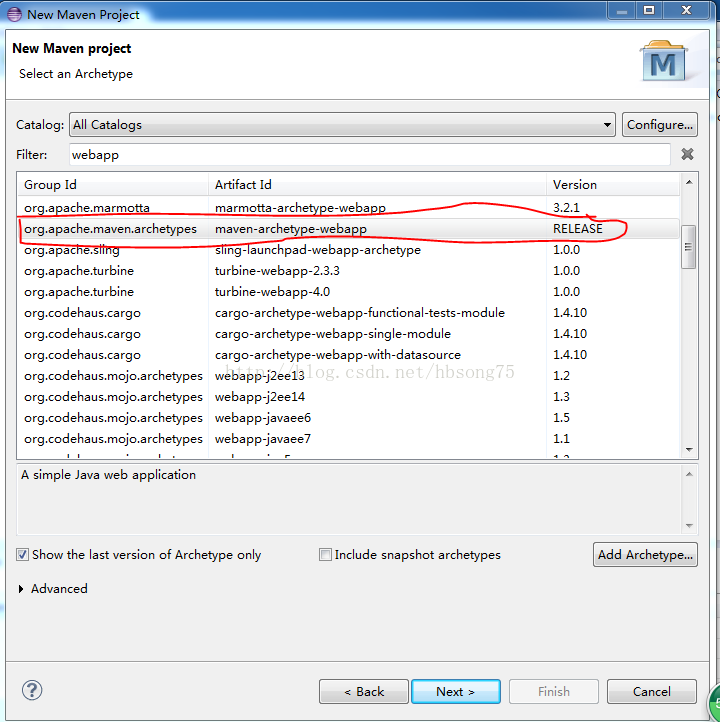
1. 新建web工程,利用maven管理,如下:
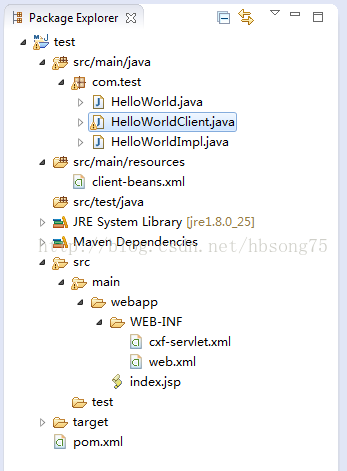
工程名为test,完成以后,项目结构如下图:
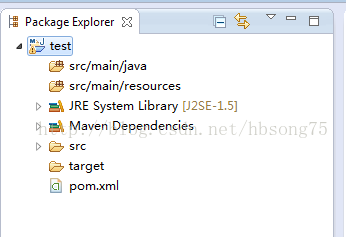
src/main/java 准备放 java 程序;
src/main/resources准备放各类资源文件。
2. 添加代码
1) 定义服务接口
-
package com.test; -
import javax.jws.WebService; -
@WebService -
public interface HelloWorld { -
public String sayHello(); -
}
因为只是一个webservice的实验程序,所以非常简单,只有一个服务方法: sayHello(),利用 @WebService注解来声明这是一个webservice的接口。
2) 实现服务类
-
package com.test; -
import javax.jws.WebService; -
@WebService -
public class HelloWorldImpl implements HelloWorld{ -
public String sayHello(){ -
return "Hello world!"; -
} -
}
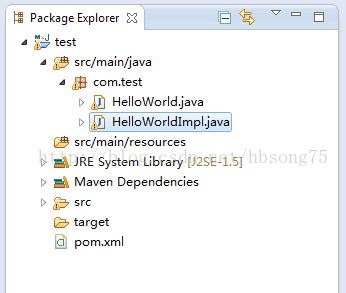
完成java代码添加后的项目结构如下:
3. 添加Spring-CXF 配置
在项目 src/main/webapp/WEB-INF 目录下新建XML定义:cxf-servlet.xml如下:
-
<?xml version="1.0" encoding="UTF-8"?> -
<!-- -
Licensed to the Apache Software Foundation (ASF) under one -
or more contributor license agreements. See the NOTICE file -
distributed with this work for additional information -
regarding copyright ownership. The ASF licenses this file -
to you under the Apache License, Version 2.0 (the -
"License"); you may not use this file except in compliance -
with the License. You may obtain a copy of the License at -
http://www.apache.org/licenses/LICENSE-2.0 -
Unless required by applicable law or agreed to in writing, -
software distributed under the License is distributed on an -
"AS IS" BASIS, WITHOUT WARRANTIES OR CONDITIONS OF ANY -
KIND, either express or implied. See the License for the -
specific language governing permissions and limitations -
under the License. -
--> -
<!-- START SNIPPET: beans --> -
<beans xmlns="http://www.springframework.org/schema/beans" -
xmlns:xsi="http://www.w3.org/2001/XMLSchema-instance" -
xmlns:jaxws="http://cxf.apache.org/jaxws" -
xsi:schemaLocation=" http://www.springframework.org/schema/beans -
http://www.springframework.org/schema/beans/spring-beans.xsd -
http://cxf.apache.org/jaxws http://cxf.apache.org/schemas/jaxws.xsd"> -
<import resource="classpath:META-INF/cxf/cxf.xml"/> -
<import resource="classpath:META-INF/cxf/cxf-servlet.xml"/> -
<jaxws:endpoint id="helloWorld" implementor="com.test.HelloWorldImpl" address="/HelloWorld"/> -
</beans> -
<!-- END SNIPPET: beans -->
该定义文件利用spring和CXF的功能,发布一个ID为helloWorld,实现类为com.test.HelloWorldImpl,发布相对路径为 /HelloWorld(对应绝对目录为: http://host:port/{WebAPPName}/HelloWorld)的 webservice。
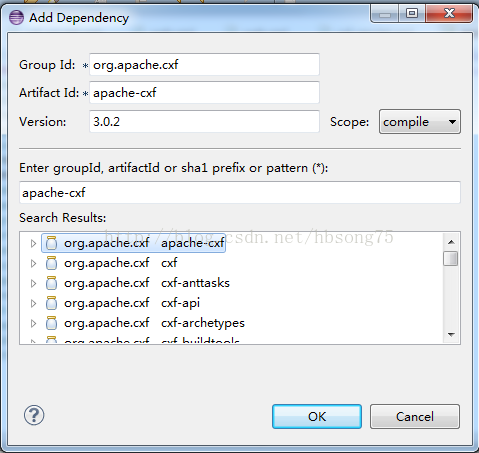
因为我们需要用到CXF来做webservice,右键点击项目中的POM.XML,添加apache-cxf依赖,如下图:
4. Web应用配置
修改 src/main/webapp/WEB-INF 目录下的web.xml文件
-
<?xml version="1.0" encoding="UTF-8"?> -
<!-- -
Licensed to the Apache Software Foundation (ASF) under one -
or more contributor license agreements. See the NOTICE file -
distributed with this work for additional information -
regarding copyright ownership. The ASF licenses this file -
to you under the Apache License, Version 2.0 (the -
"License"); you may not use this file except in compliance -
with the License. You may obtain a copy of the License at -
http://www.apache.org/licenses/LICENSE-2.0 -
Unless required by applicable law or agreed to in writing, -
software distributed under the License is distributed on an -
"AS IS" BASIS, WITHOUT WARRANTIES OR CONDITIONS OF ANY -
KIND, either express or implied. See the License for the -
specific language governing permissions and limitations -
under the License. -
--> -
<web-app xmlns="http://java.sun.com/xml/ns/javaee" xmlns:xsi="http://www.w3.org/2001/XMLSchema-instance" version="2.5" xsi:schemaLocation="http://java.sun.com/xml/ns/javaee http://java.sun.com/xml/ns/javaee/web-app_2_5.xsd"> -
<display-name>cxf</display-name> -
<servlet> -
<description>Apache CXF Endpoint</description> -
<display-name>cxf</display-name> -
<servlet-name>cxf</servlet-name> -
<servlet-class>org.apache.cxf.transport.servlet.CXFServlet</servlet-class> -
<load-on-startup>1</load-on-startup> -
</servlet> -
<servlet-mapping> -
<servlet-name>cxf</servlet-name> -
<url-pattern>/*</url-pattern> -
</servlet-mapping> -
<session-config> -
<session-timeout>60</session-timeout> -
</session-config> -
</web-app>
该文件实际上是定义了处理webservice的CXF Servlet的映射关系。
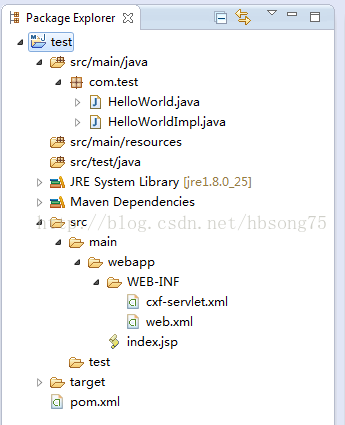
完成步骤3和4以后的工程目录如下:
5. 编译打包
利用maven(package -X)编译打包成test.war
(在Eclipse上右击工程名 Run as -> Maven build)
6. 将步骤5生成的test.war部署到tomcat服务器上
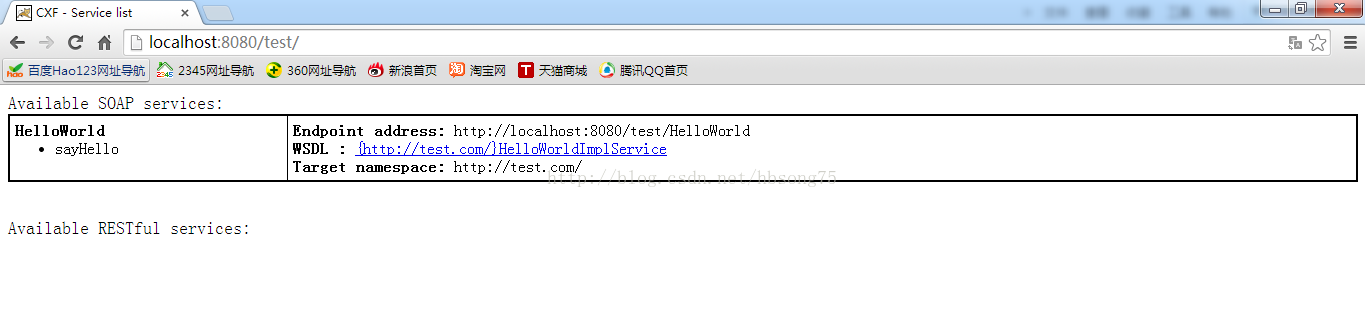
7. 访问测试:
在浏览器上输入:http://localhost:8080/test/,出现如下画面就成功了:
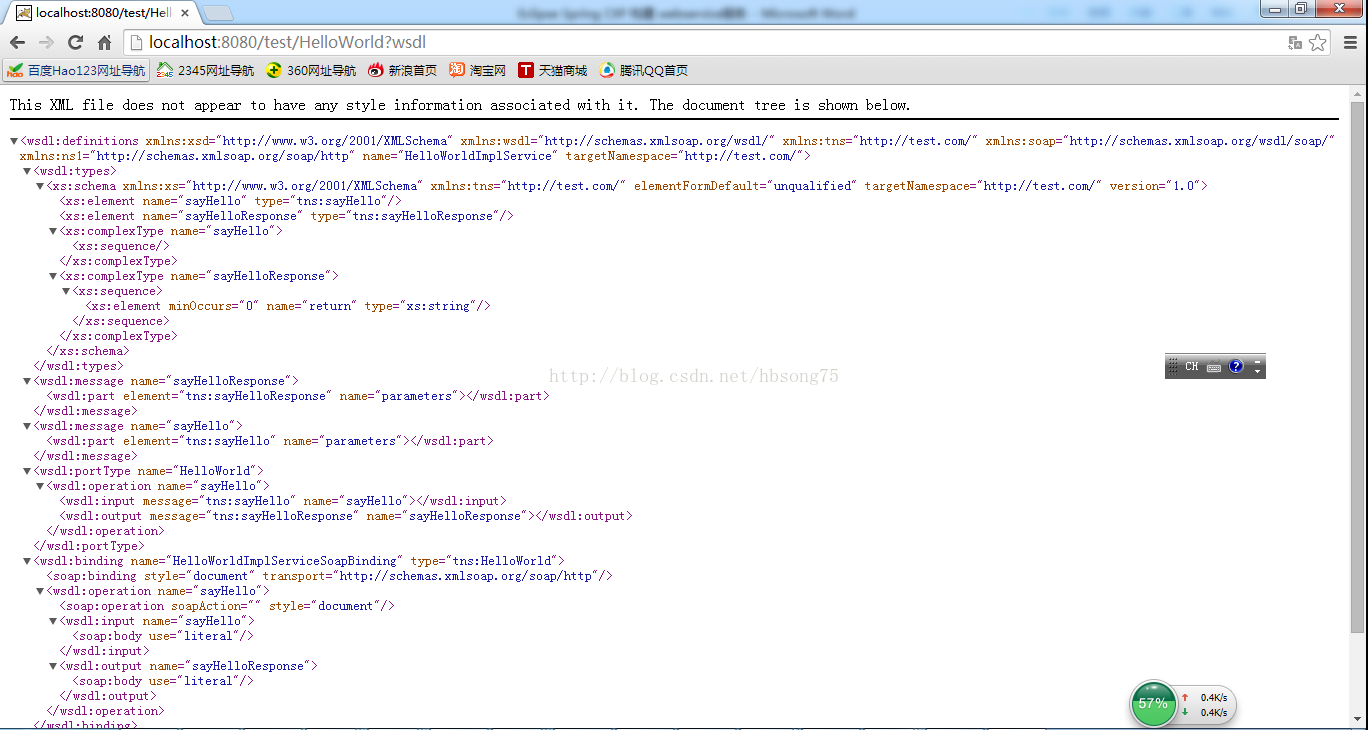
点击WSDL链接:
8. 编写webservice client端代码
1) 首先通过 Spring 与 CXF 的配置来定义 Web Service 的客户端 Bean,在 src\main\resources 目录下创建client-beans.xml 配置文件:
-
<?xml version="1.0" encoding="UTF-8"?> -
<!-- -
Licensed to the Apache Software Foundation (ASF) under one -
or more contributor license agreements. See the NOTICE file -
distributed with this work for additional information -
regarding copyright ownership. The ASF licenses this file -
to you under the Apache License, Version 2.0 (the -
"License"); you may not use this file except in compliance -
with the License. You may obtain a copy of the License at -
http://www.apache.org/licenses/LICENSE-2.0 -
Unless required by applicable law or agreed to in writing, -
software distributed under the License is distributed on an -
"AS IS" BASIS, WITHOUT WARRANTIES OR CONDITIONS OF ANY -
KIND, either express or implied. See the License for the -
specific language governing permissions and limitations -
under the License. -
--> -
<!-- START SNIPPET: beans --> -
<beans xmlns="http://www.springframework.org/schema/beans" -
xmlns:xsi="http://www.w3.org/2001/XMLSchema-instance" -
xmlns:jaxws="http://cxf.apache.org/jaxws" -
xsi:schemaLocation=" -
http://www.springframework.org/schema/beans -
http://www.springframework.org/schema/beans/spring-beans.xsd -
http://cxf.apache.org/jaxws -
http://cxf.apache.org/schema/jaxws.xsd"> -
<bean id="client" class="com.test.HelloWorld" -
factory-bean="clientFactory" factory-method="create"/> -
<bean id="clientFactory" class="org.apache.cxf.jaxws.JaxWsProxyFactoryBean"> -
<property name="serviceClass" value="com.test.HelloWorld"/> -
<property name="address" value="http://localhost:8080/test/HelloWorld"/> -
</bean> -
</beans> -
<!-- END SNIPPET: beans -->
需要注意的是,该配置文件中的 address需要写成发布服务的绝对路径。
2) 编写客户端java代码: HelloWorldClient.java
-
package com.test; -
import org.springframework.context.support.ClassPathXmlApplicationContext; -
public final class HelloWorldClient { -
private HelloWorldClient() { -
} -
public static void main(String args[]) throws Exception { -
// START SNIPPET: client -
ClassPathXmlApplicationContext context -
= new ClassPathXmlApplicationContext(new String[] {"client-beans.xml"}); -
HelloWorld client = (HelloWorld)context.getBean("client"); -
String response = client.sayHello(); -
System.out.println("Response: " + response); -
System.exit(0); -
// END SNIPPET: client -
} -
}
注意,代码中HelloWorldclient = (HelloWorld)context.getBean("client"); 的client需要与"client-beans.xml"中的 bean id一致才能找到这个服务。
现在的项目结构如下:
3) 连接测试
在eclipse中直接按HelloWorldClient运行 Run as -> Java Application:
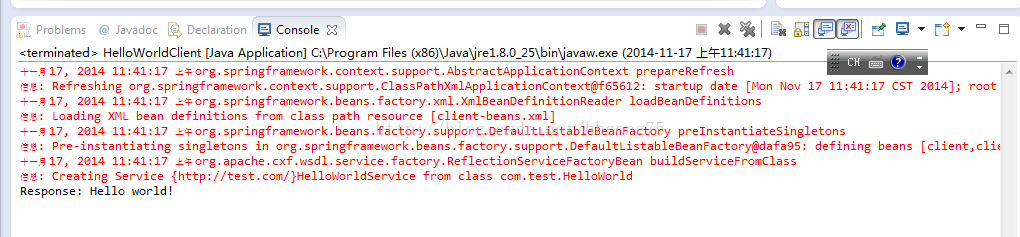
输出的Hello world! 即是我们发布的HelloWorld的方法 sayHello()的输出!这说明从服务发布到客户端连接都成功了。