目录
Tomcat
Tomcat是由Apache公司发布的一款适合于JSP程序设计和Java EE程序设计开发的轻量级Web服务器。
符合W3C标准,支持Servlet和JSP规范。由于其拥有技术先进、性能稳定和开源免费的特征,深受Java开发者的喜爱并得到了部分软件开发商的许可,成为目前比较流行的Web应用服务器。
资源下载
Apache官网:http://tomcat.apache.org/
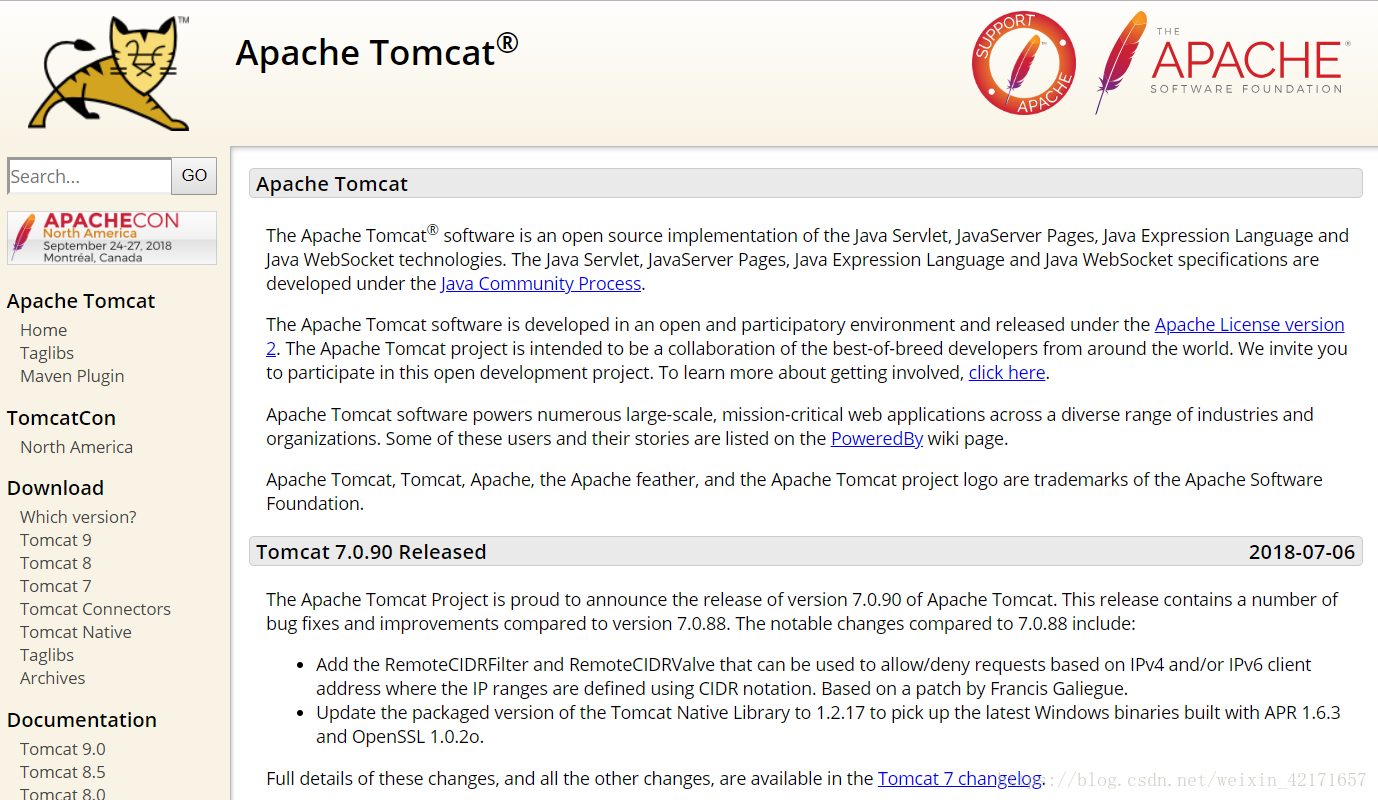
根据自己电脑的操作系统版本下载对应的Tomcat服务器。
Tomcat服务器安装
Windows端的配置安装
下载完成之后将压缩包解压,解压释放后的Tomcat放到自定义的路径。
①右键桌面上的计算机,选择属性;
②点击高级系统设置;
③弹出的窗口中点击右下侧的环境变量按钮;
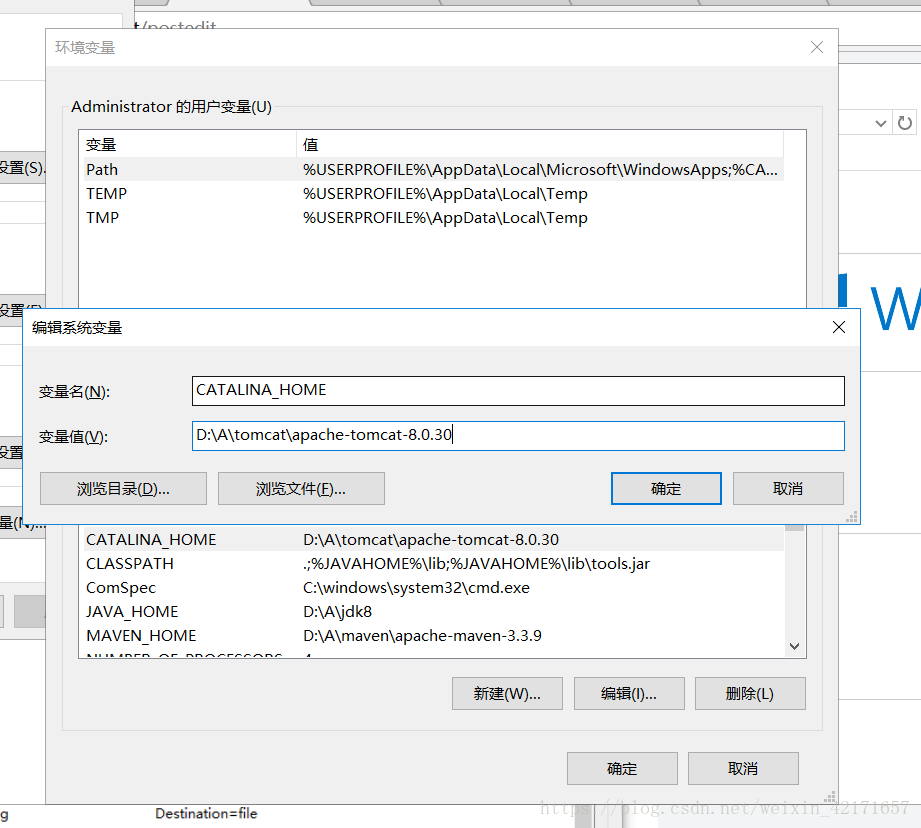
④在系统变量区点击新建按钮,填写变量名为CATALINA_HOME,变量值为自定义的Tomcat的目录的环境变量,如下图所示;
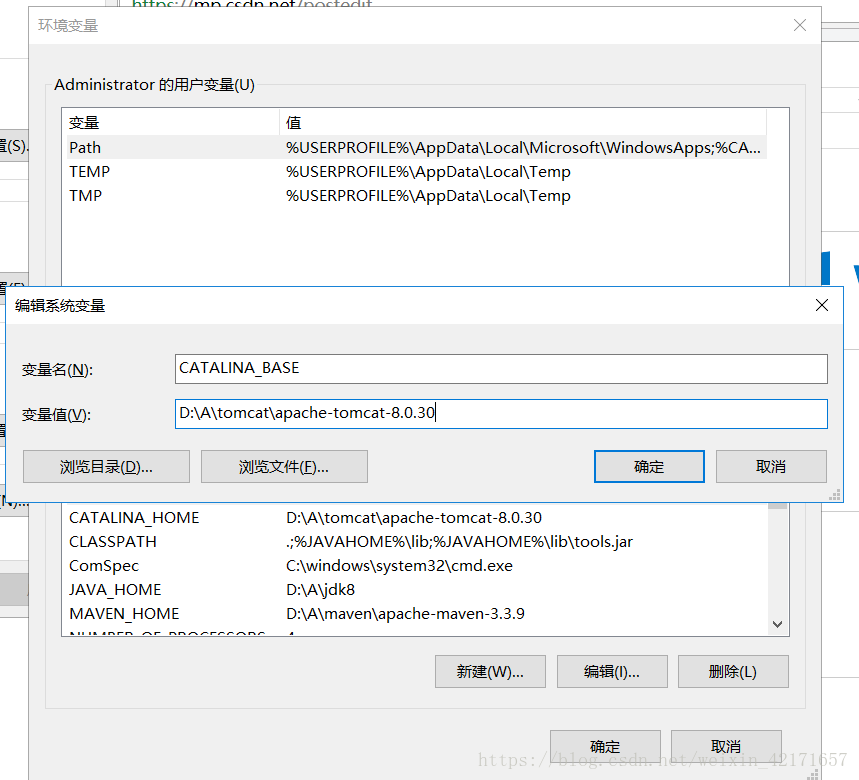
⑤在系统变量区点击新建按钮,填写变量名为CATALINA_BASE,变量值为自定义的Tomcat的目录的环境变量,如下图所示;
⑥找到系统变量中的Path,在Path中新增“%CATALINA_HOME%\lib;%CATALINA_HOME%\bin”的环境变量,注意“;”分号;
⑦到此配置完成。
①进入Tomcat目录的bin目录;
②按住shift键的同时右键,点击“在此处打开命令窗口(因为版本的原因,在Windows 10 Creator Update创意者更新之前是这么叫的,但是在创意者更新及之后,这个名称被“在此处打开Powershell窗口”所取代,其实两者都是命令行工具,只是叫法不同,而且powershell中引入了很多cmd中没有的命令行)”。
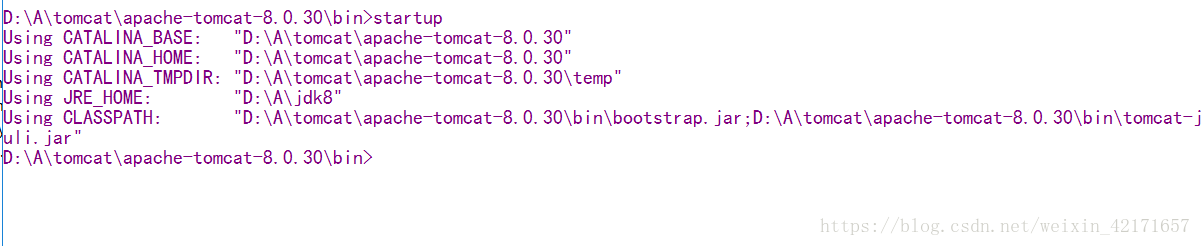
③在弹出的命令行窗口中输入“startup”命令或者“startup.bat”命令,出现下图所示情况;
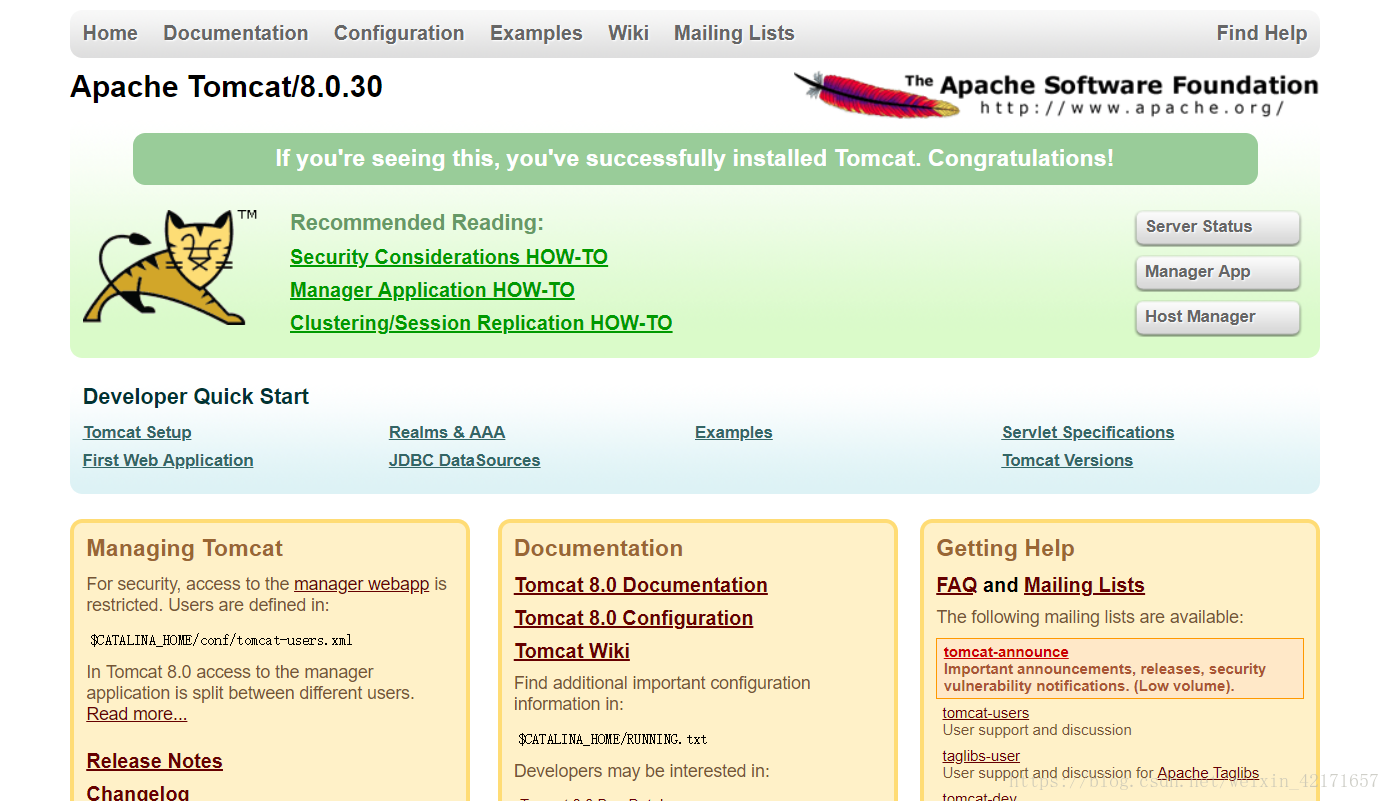
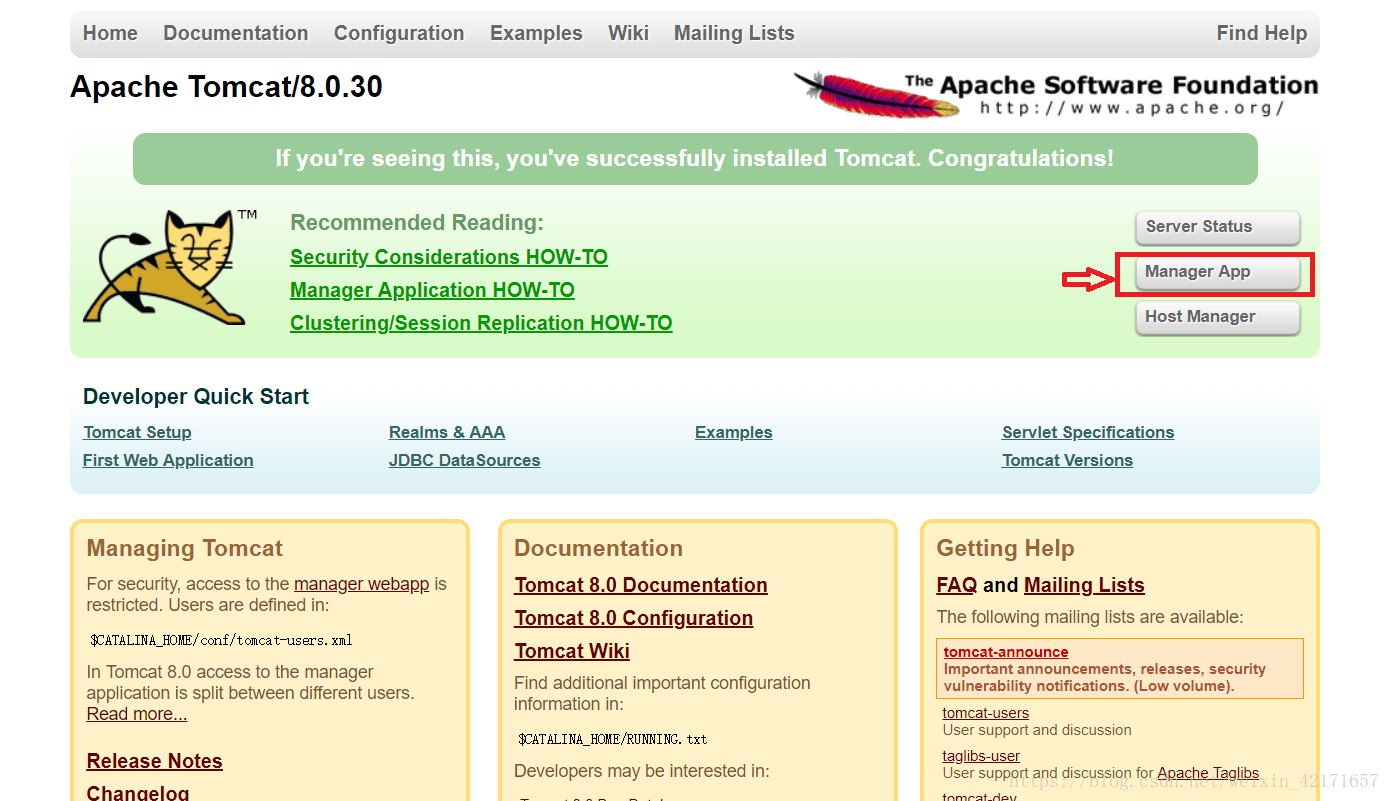
④在浏览器中输入“127.0.0.1:8080”或者“localhost:8080”,若出现下图所示有版本信息提示,则代表安装成功;
⑤验证使用完毕记得用“shutdown”或者“shutdown.bat”命令关闭Tomcat服务器,避免端口被占用。
macOS端的安装
将解压包释放后移动到自定义路径。
由于macOS内核不同于Windows,无需配置环境变量,直接进入验证安装即可。(这就是人家鄙视我们用Linux或Windows开发的资本em~~~)
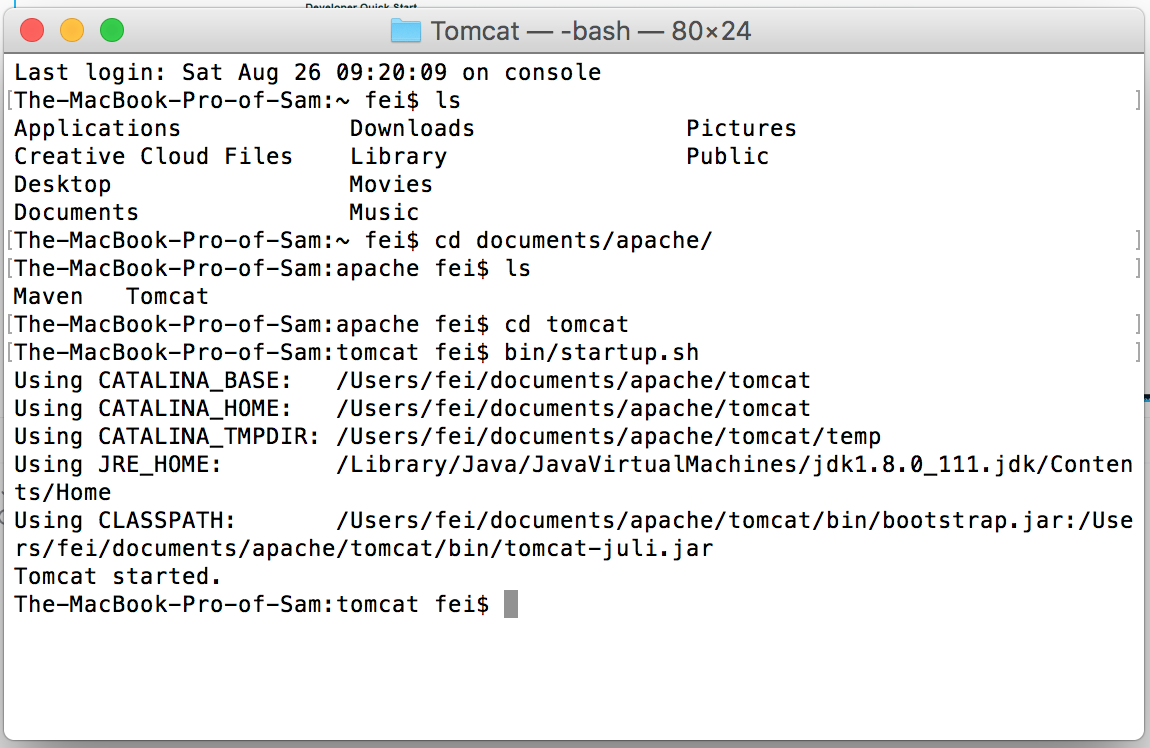
①打开终端;
②在终端中用命令行找到Tomcat的安装路径;
③在终端中输入“bin/startup.sh”命令来启动Tomcat服务器,如下图所示;
④在浏览器上查看,若出现如下图所示的情况,则代表安装成功;
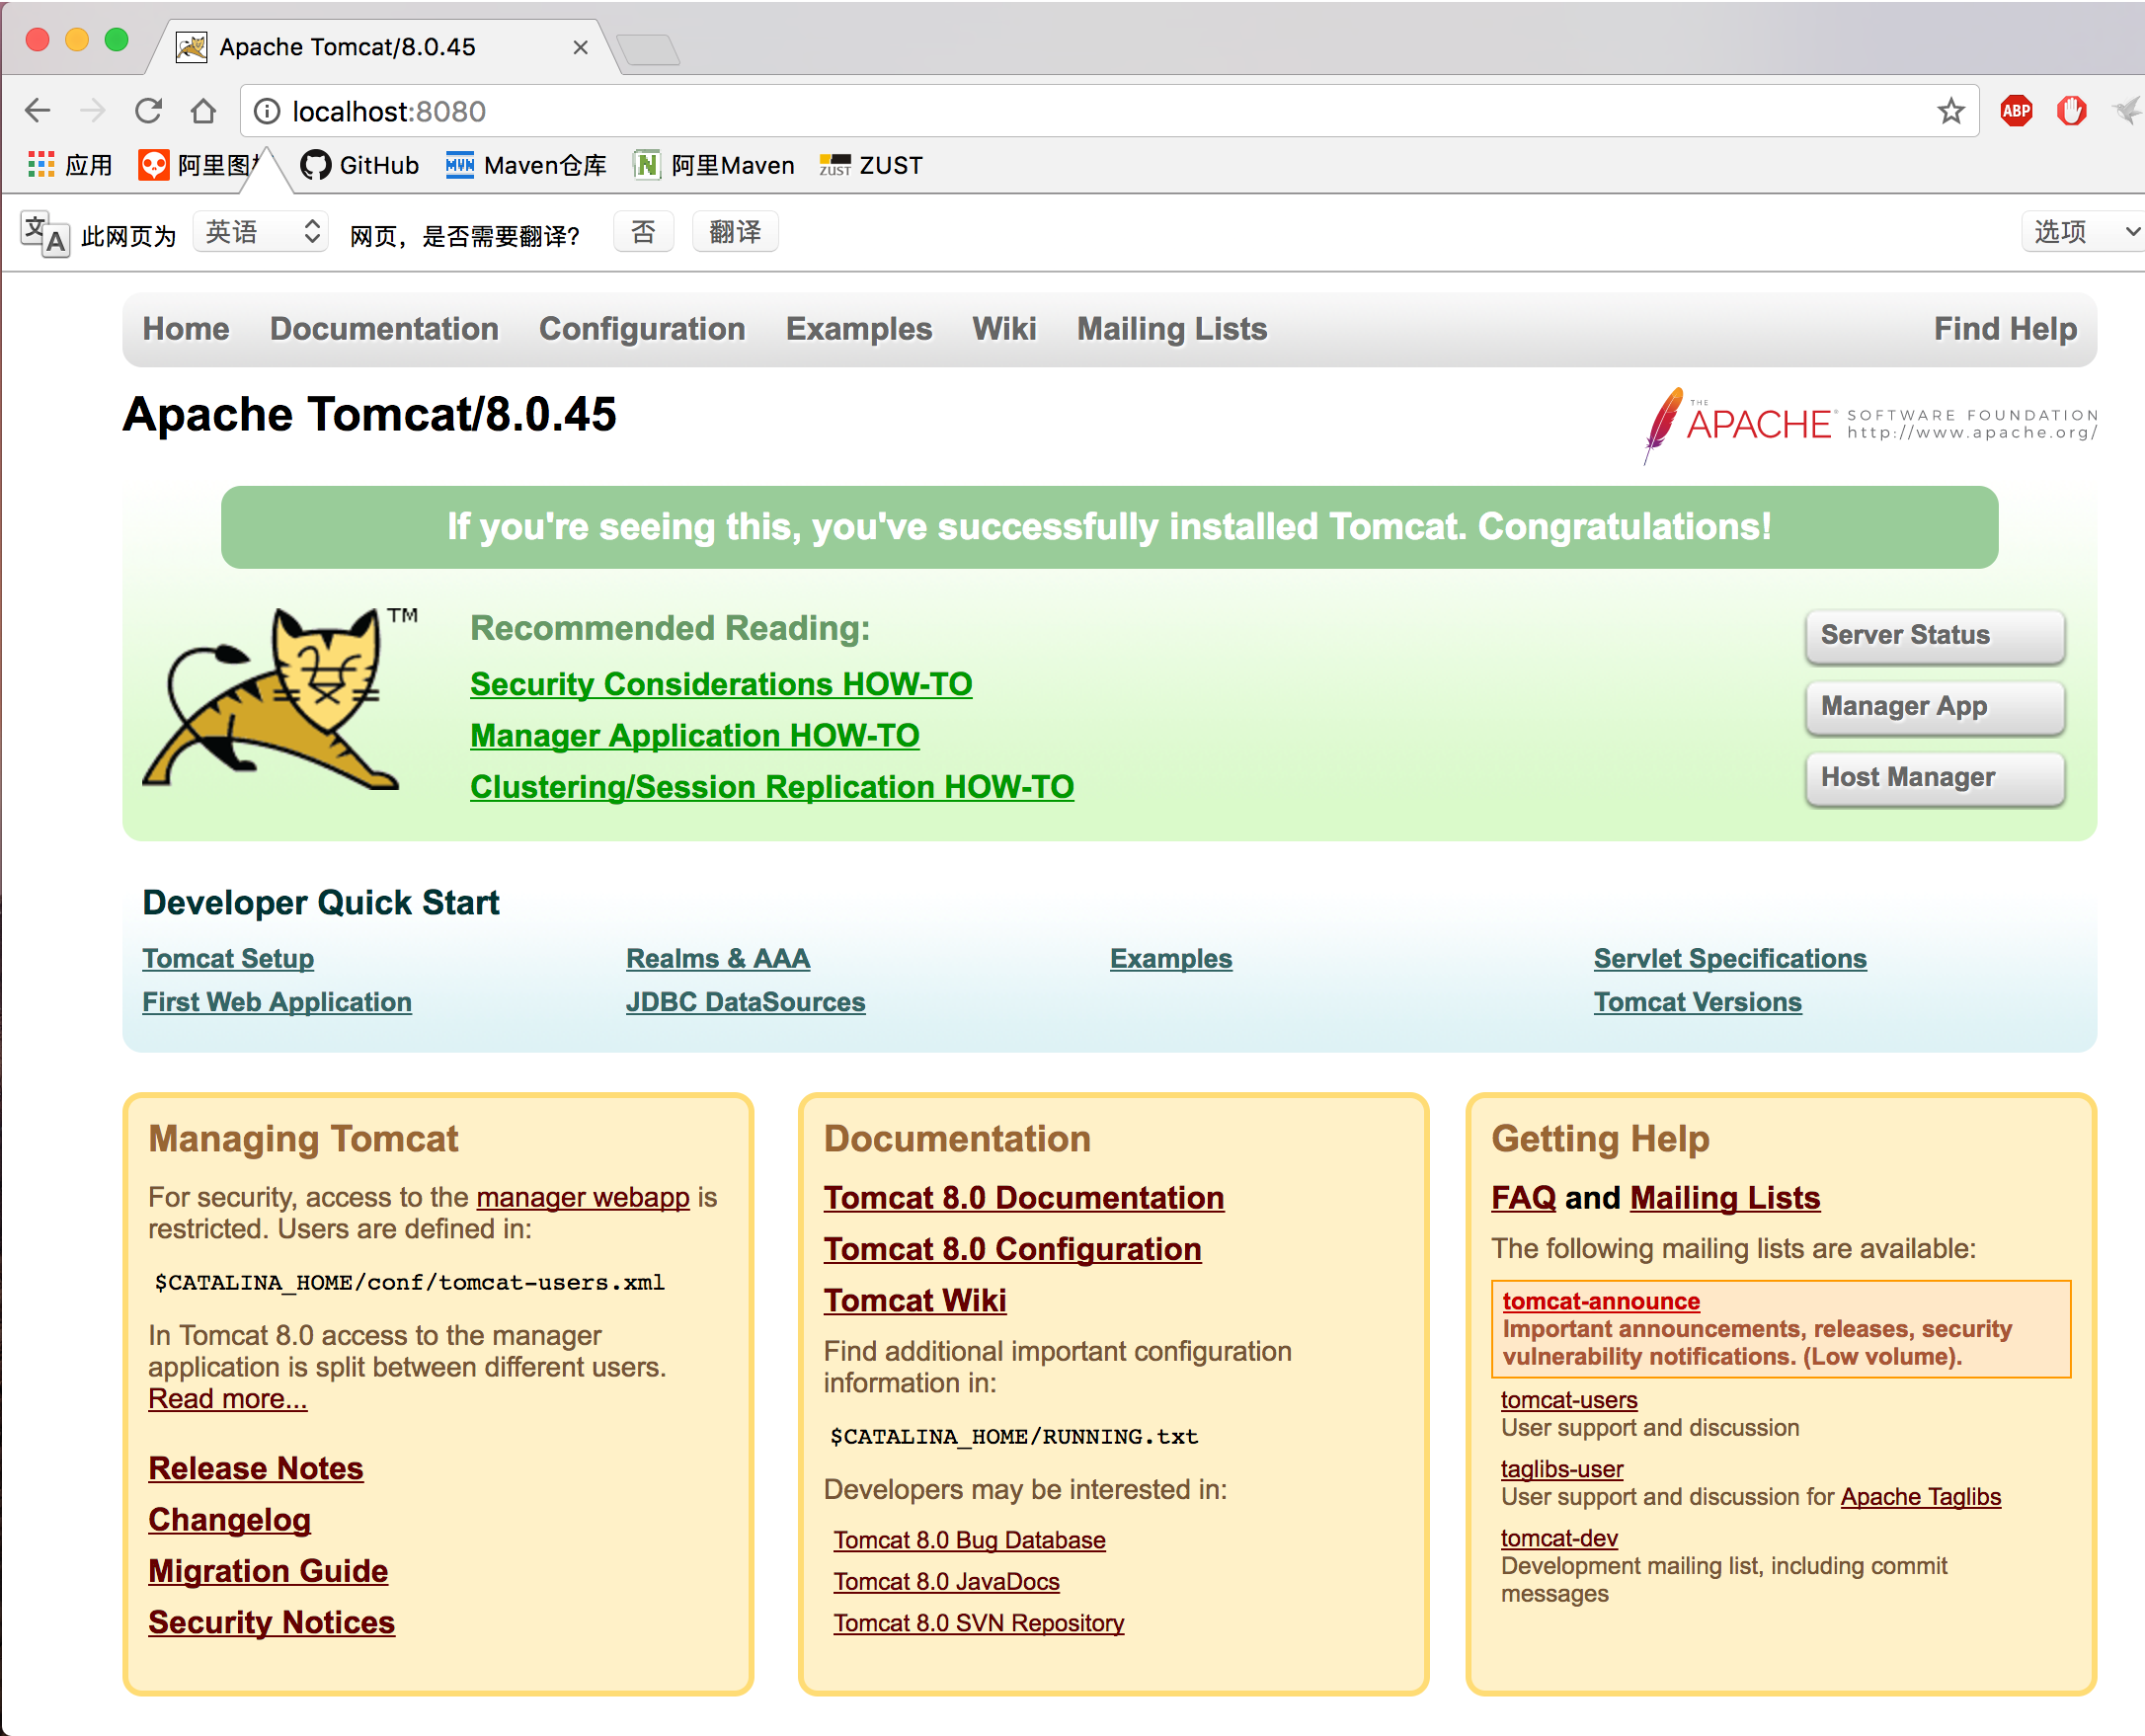
⑤在使用完毕后记得使用“bin/shutdown.sh”关闭Tomcat服务器避免端口被占用。
其他
若需要修改服务器的启动端口,则进入Tomcat目录下的conf目录中找到server.xml,用编辑器(我用的Sublime Text3)打开,通过修改以下代码段中的port的数字即可(默认8080);
<Connector port="8080" protocol="HTTP/1.1"

connectionTimeout="20000"

redirectPort="8443" />
附:
| 变量名 | 变量值 |
| CATALINA_HOME | 自定义的Tomcat安装目录 |
| CATALINA_BASE | 自定义的Tomcat安装目录 |
| Path | %CATALINA_HOME%\lib;%CATALINA_HOME%\bin |
设置用户名与密码
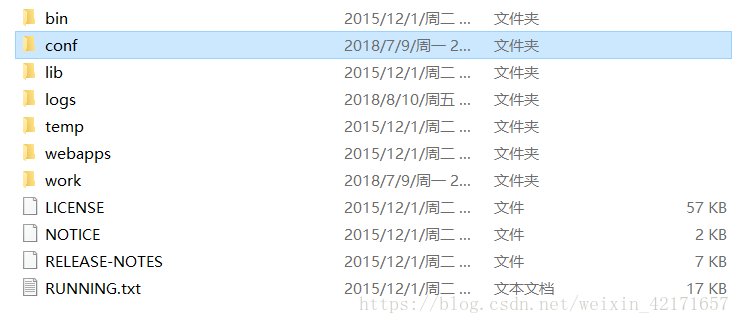
- 打开Tomcat安装目录
- 打开conf找到tomcat-users.xml,使用Sublime Text3打开。先关闭服务器,修改配置文件。
<?xml version='1.0' encoding='utf-8'?>
<!--
  Licensed to the Apache Software Foundation (ASF) under one or more
  contributor license agreements.  See the NOTICE file distributed with
  this work for additional information regarding copyright ownership.
  The ASF licenses this file to You under the Apache License, Version 2.0
  (the "License"); you may not use this file except in compliance with
  the License.  You may obtain a copy of the License at

      http://www.apache.org/licenses/LICENSE-2.0

  Unless required by applicable law or agreed to in writing, software
  distributed under the License is distributed on an "AS IS" BASIS,
  WITHOUT WARRANTIES OR CONDITIONS OF ANY KIND, either express or implied.
  See the License for the specific language governing permissions and
  limitations under the License.
-->
<tomcat-users xmlns="http://tomcat.apache.org/xml"
              xmlns:xsi="http://www.w3.org/2001/XMLSchema-instance"
              xsi:schemaLocation="http://tomcat.apache.org/xml tomcat-users.xsd"
              version="1.0">
<!--
  NOTE:  By default, no user is included in the "manager-gui" role required
  to operate the "/manager/html" web application.  If you wish to use this app,
  you must define such a user - the username and password are arbitrary.
-->
<!--
  NOTE:  The sample user and role entries below are wrapped in a comment
  and thus are ignored when reading this file. Do not forget to remove
  <!.. ..> that surrounds them.
-->
<!--
  <role rolename="tomcat"/>
  <role rolename="role1"/>
  <user username="tomcat" password="tomcat" roles="tomcat"/>
  <user username="both" password="tomcat" roles="tomcat,role1"/>
  <user username="role1" password="tomcat" roles="role1"/>
-->
  <user username="admin" password="admin" roles="manager-gui"/>
</tomcat-users>
- 增加上图倒数提二行所示的代码。用户名:admin,密码:admin
- 重启Tomcat服务器,打开浏览器输入地址http://localhost:8080或localhost:8080,并填写设置好的用户名和密码。
- 验证通过后即可进入管理页面

Over了,望猪君小娜