【原文】http://blog.csdn.net/itleaks
以下步骤都是在MacOs上操作的,但同样适合Ubuntu,只是有几个小点有所不同,我会标注出来
编译
1. Go环境搭建
Mac: (brew是一个类似ubuntu apt-get的工具,用来在终端安装软件的)
brew update && brew upgrade
brew install git
brew install mercurial
brew install go
Ubuntu:
sudo apt-get install git
sudo apt-get install golang-go
Go代码的package很多都是git项目,所以上面安装git
验证go
go
如果提示命令找不到就需要配置PATH
vim ~/.profile
加入如下配置并重新登录以让配置生效
export GOROOT=/usr/local/go
export PATH=$GOROOT/bin:$PATH
2. go-ethereum下载及编译
git clone https://github.com/ethereum/go-ethereum.git
make geth
编译完成你会在build/bin/下找到二进制执行文件geth
调试
下载visual studio code
Visual Studio Code是一个很强悍的阅读调试代码的IDE,强力推荐
https://code.visualstudio.com/Download
这个网页有mac版和ubuntu版本,选择相应的平台下载
设置GOPATH
这里需要注意,GOPATH不能设置为go-ethereum目录,而是go-ethereum/build/_workspace,为啥是这个目录,查看build/env.sh就知道了
#!/bin/sh
set -e
if [ ! -f "build/env.sh" ]; then
echo "$0 must be run from the root of the repository."
exit 2
fi
# Create fake Go workspace if it doesn't exist yet.
workspace="$PWD/build/_workspace"
root="$PWD"
ethdir="$workspace/src/github.com/ethereum"
if [ ! -L "$ethdir/go-ethereum" ]; then
mkdir -p "$ethdir"
cd "$ethdir"
ln -s ../../../../../. go-ethereum
cd "$root"
fi
# Set up the environment to use the workspace.
GOPATH="$workspace"
export GOPATH
# Run the command inside the workspace.
cd "$ethdir/go-ethereum"
PWD="$ethdir/go-ethereum"
# Launch the arguments with the configured environment.
exec "$@"
也就是说编译的时候GOPATH被临时切换到go-ethereum/build/_workspace目录了。
其实,还可以通过依赖库来验证,编译完成后查看go-ethereum/build/_workspace目录是否有依赖库
ItleaksdeMacBook-Pro:build itleaks$ pwd
/Users/itleaks/projects/go-ethereum/build/_workspace
ItleaksdeMacBook-Pro:build itleaks$ tree
.
├── bin
│ ├── dlv
│ ├── go-outline
└── src
├── github.com
│ ├── MichaelTJones
│ │ └── walk
│ │ ├── README.md
│ │ ├── path_plan9.go
│ │ ├── path_unix.go
│ │ ├── path_windows.go
│ │ ├── symlink.go
│ │ ├── symlink_windows.go
│ │ ├── walk.go
│ │ └── walk_test.go
│ ├── acroca
│ │ └── go-symbols
│ │ ├── LICENSE
│ │ ├── README.md
│ │ └── main.go
│ ├── derekparker
│ ├── ethereum
│ │ └── go-ethereum -> ../../../../../.
│ ├── golang
上面可以看出,确实存在。所以开始配置GOPATH
vim ~/.profile
添加
ItleaksdeMacBook-Pro:go-ethereum itleaks$ cat ~/.profile
export GOPATH=$HOME/projects/go-ethereum/build/_workspace
下载visual studio code go调试工具
1)下载dlv
有了这个工具才能配置go调试
go get github.com/derekparker/delve/cmd/dlv
2)安装GO插件

安装完成后点击重新加载

3)导入代码
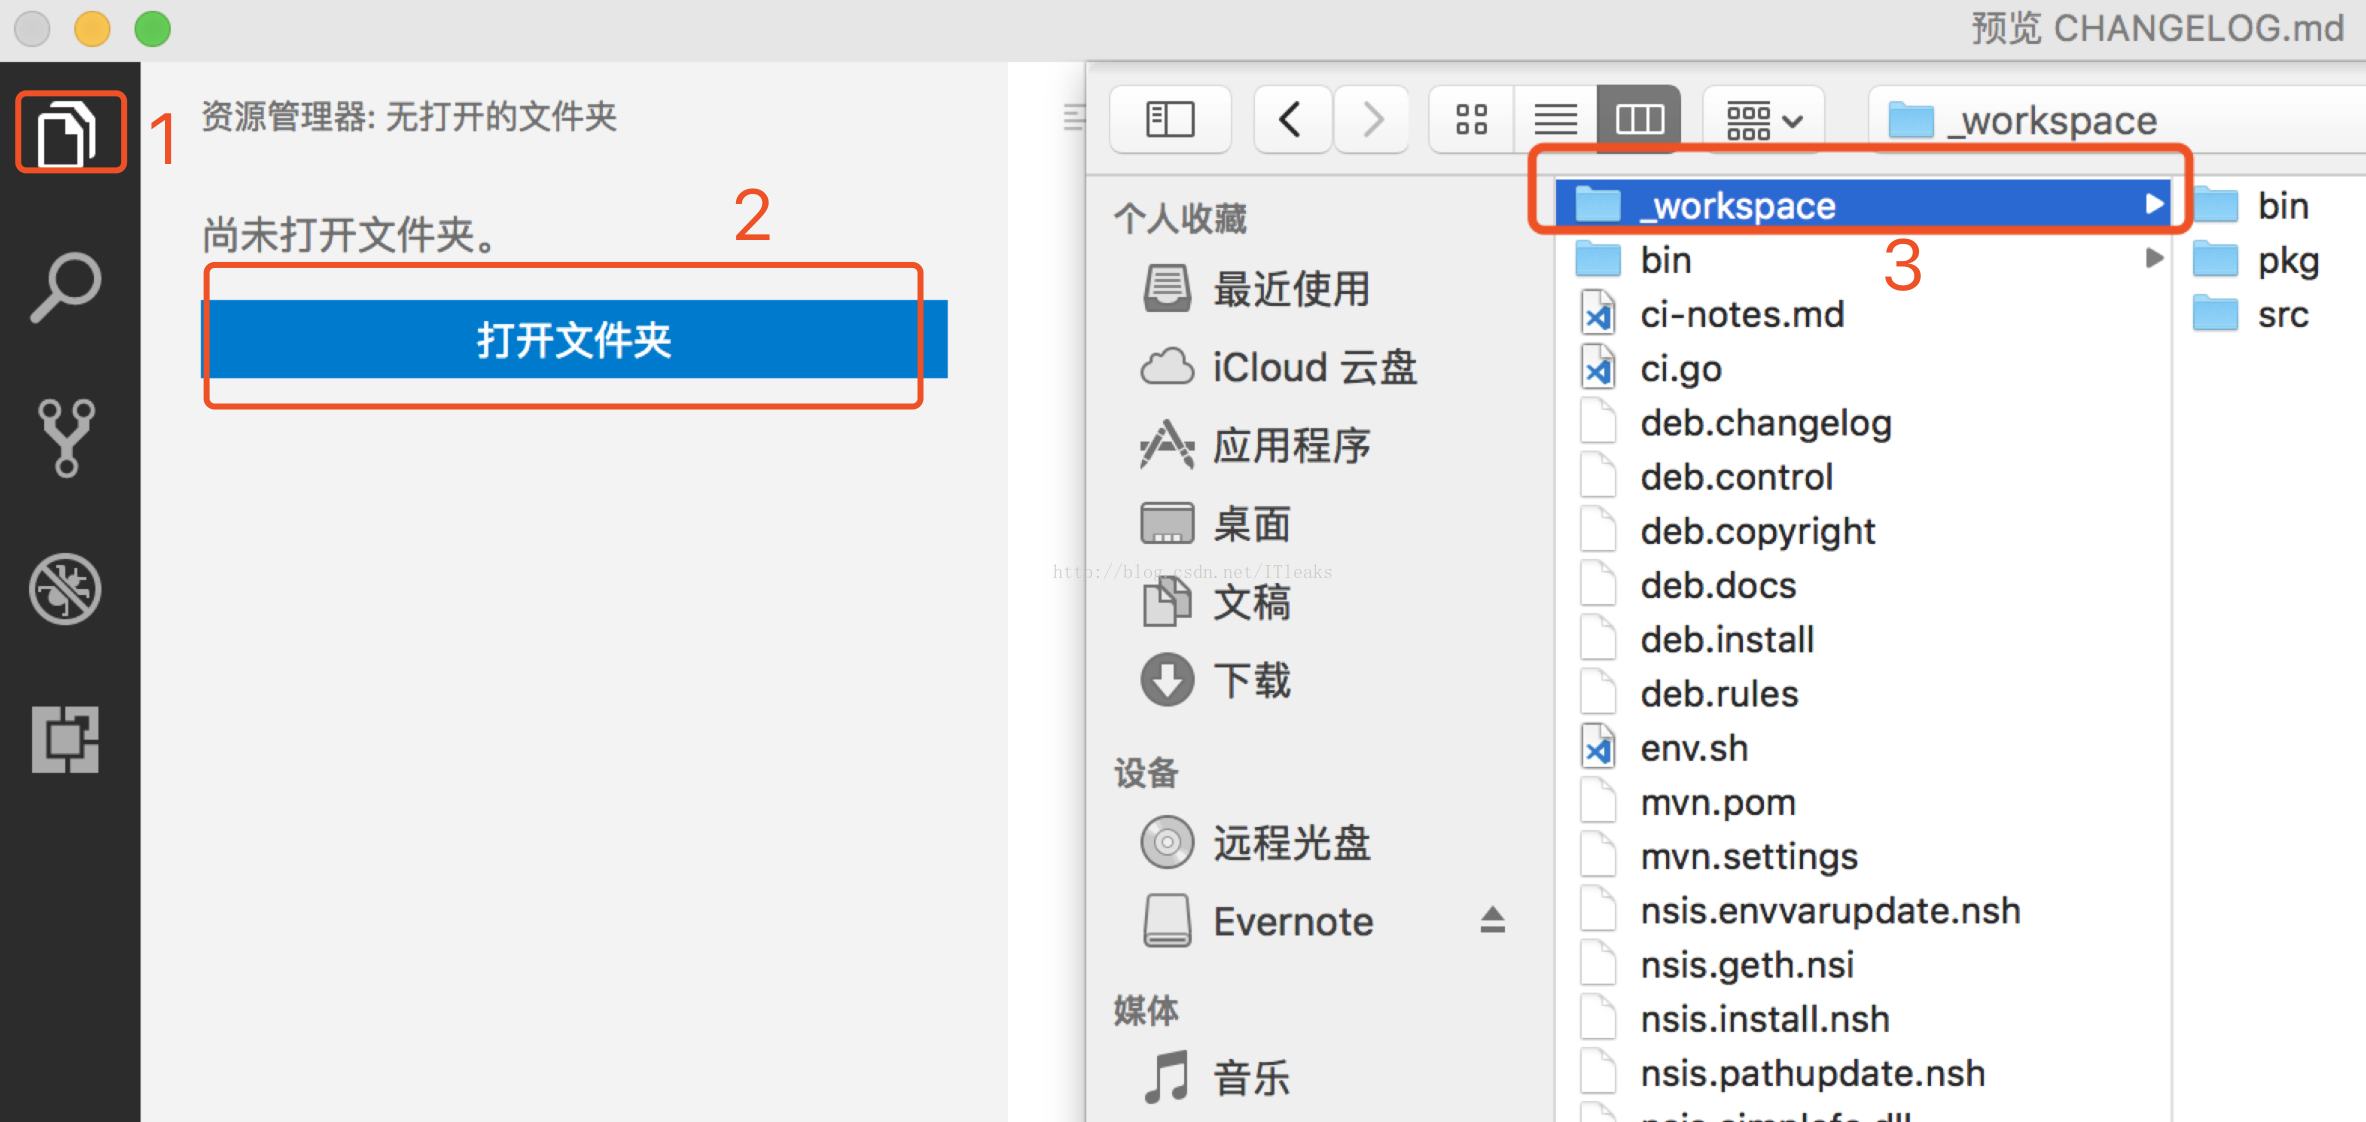
4) 配置debug
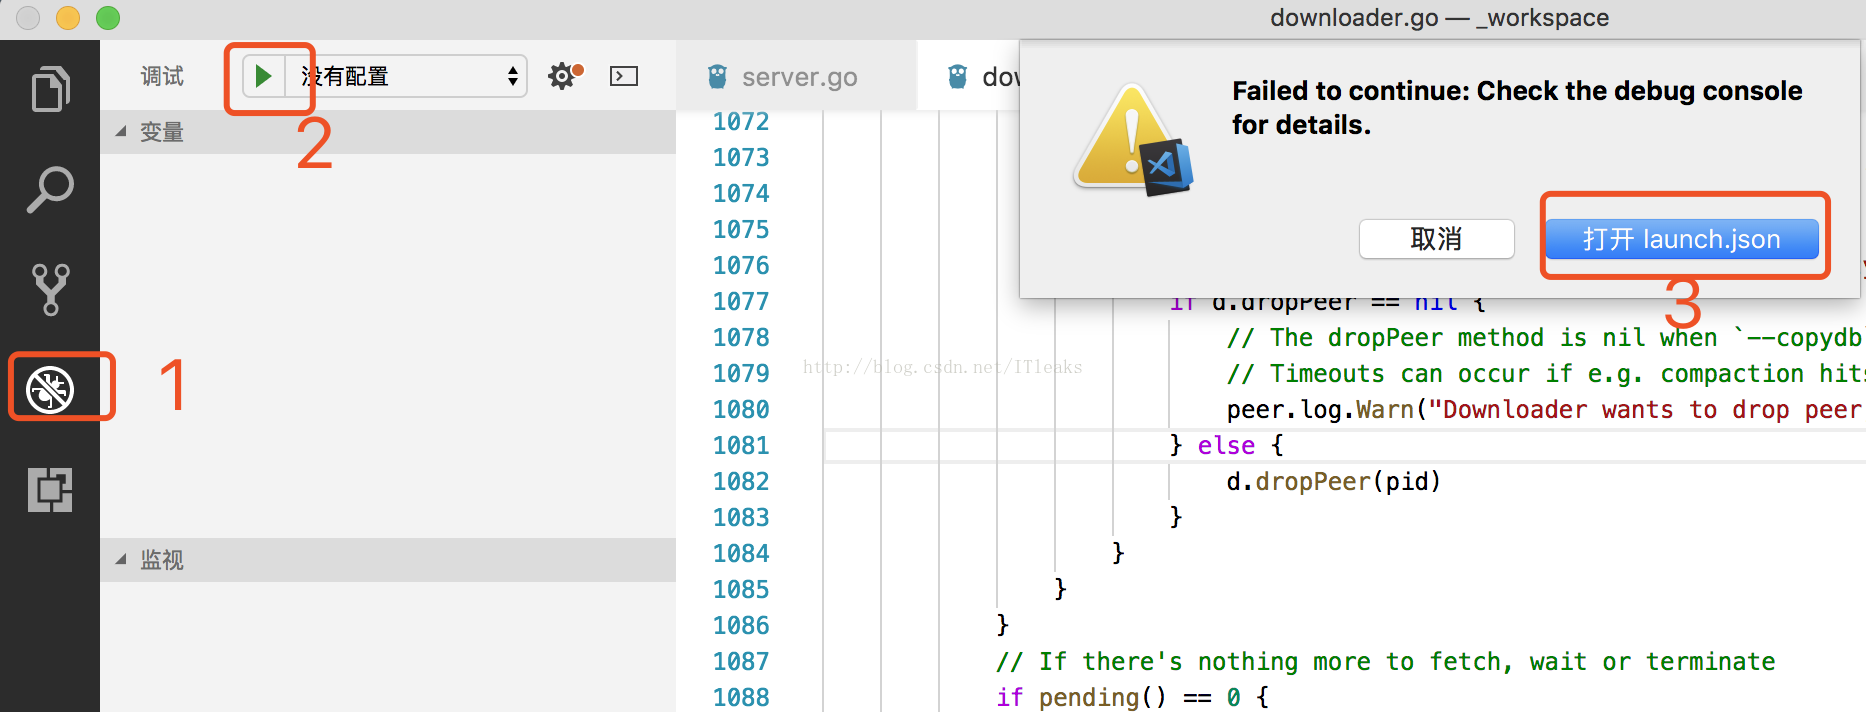
然后就会生成launch.json

5)自动安装其他调试依赖工具
关闭,重新进入该项目

这次会有以下提示,点击install后就会安装调试需要的工具

6)调试源码
进入cmd/geth/main.go添加断点,必须进入这个文件,然后按F5即可进入调试


附录:
同步主网:
geth --networkid 15 --cache=1024 --fast --rpc --rpcaddr 0.0.0.0 --rpcport 8545 --rpcapi personal,db,eth,net,web3,miner --nodiscover
--fast是指只同步区块头,不同步区块,速度很快很多
/********************************
* 本文来自CSDN博主"爱踢门"
* 转载请标明出处:http://blog.csdn.net/itleaks
******************************************/