虚拟机的封装:
由于大多数企业使用的是企业6的版本,很少使用企业7
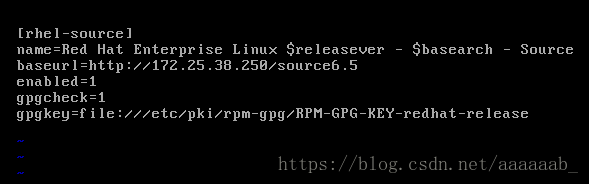
以及以上所以实验开始配置6.5的镜像挂载即可。配置6.5yum源:
[root@foundation38 kiosk]# df   查看当前挂载
Filesystem                         1K-blocks     Used Available Use% Mounted on
/dev/mapper/rhel_foundation38-root 307430744 14553232 292877512   5% /
devtmpfs                             1952032        0   1952032   0% /dev
tmpfs                                1965404      476   1964928   1% /dev/shm
tmpfs                                1965404     8940   1956464   1% /run
tmpfs                                1965404        0   1965404   0% /sys/fs/cgroup
/dev/sda1                            1038336   143460    894876  14% /boot
/dev/loop0                           3704296  3704296         0 100% /var/www/html/source7.3
/dev/loop1                           3762278  3762278         0 100% /var/www/html/source6.5
tmpfs                                 393084       24    393060   1% /run/user/1000
tmpfs                                 393084        0    393084   0% /run/user/0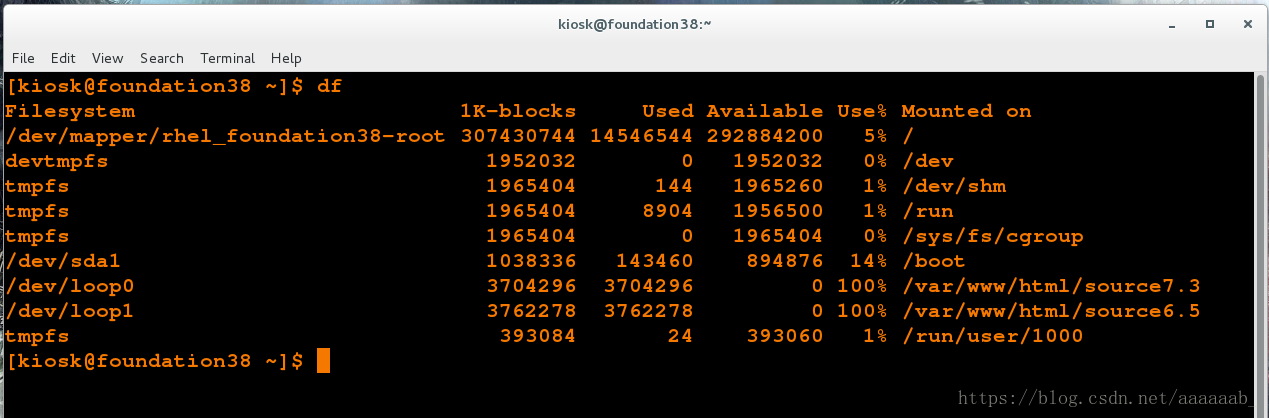
打开虚拟机管理进行母盘虚拟机的封装:
[root@foundation38 kiosk]# virt-manager 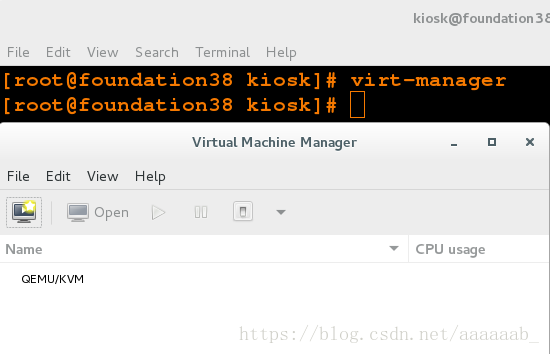
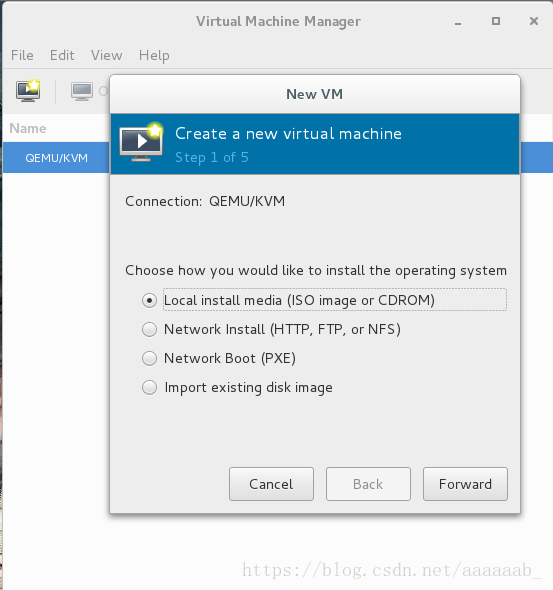
开始虚拟机的封装:
1.选取本地镜像启动安装:
2.选取6.5的镜像:
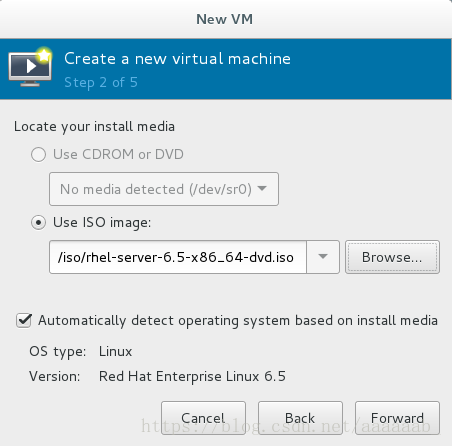
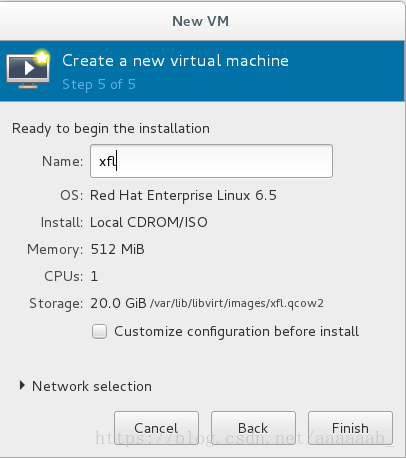
3.分配512进行无图形化安装:

4.给磁盘分配20G:

5.自己定义个名字:
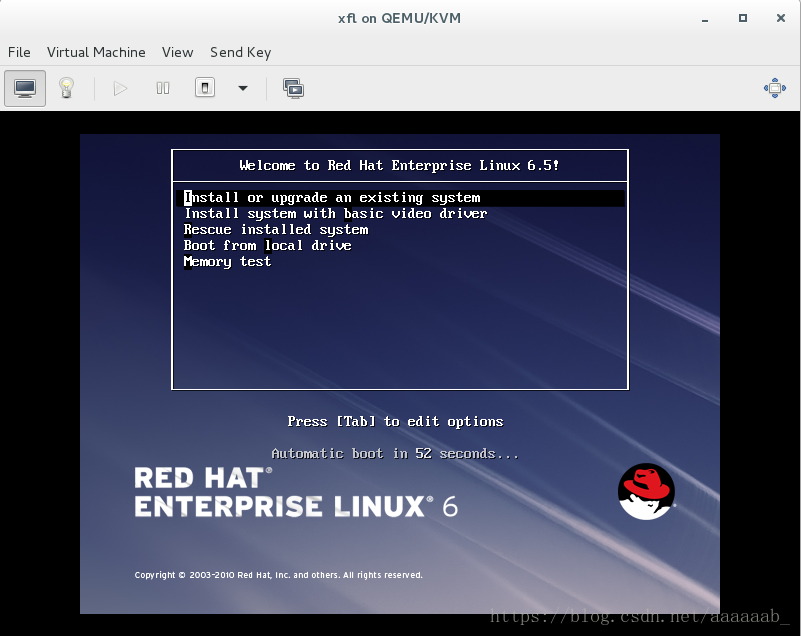
6.直接点击第一选项安装:
7.选取跳过,不进行iso的检测:
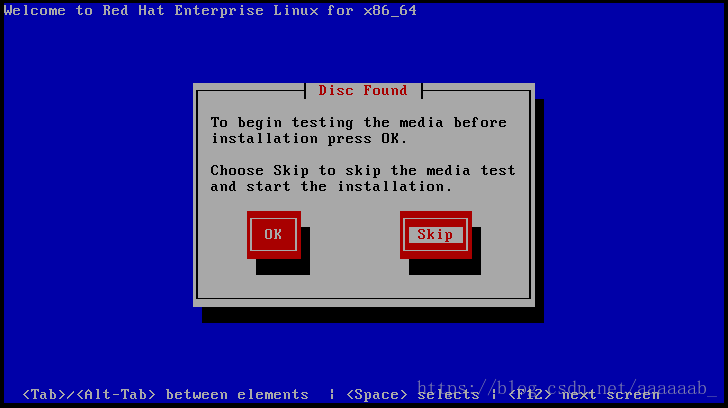
8.直接ok!
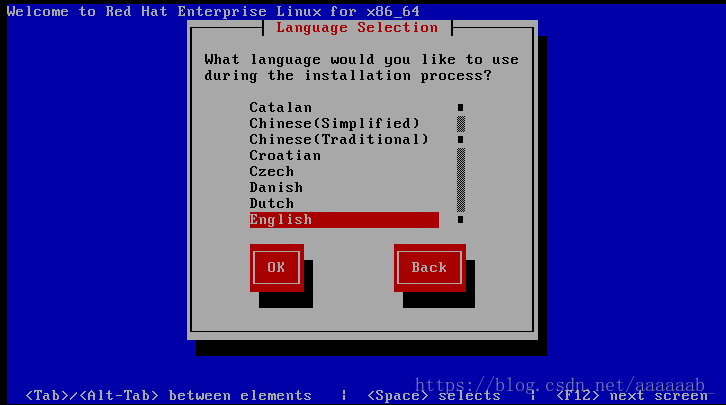
9.选取语言:
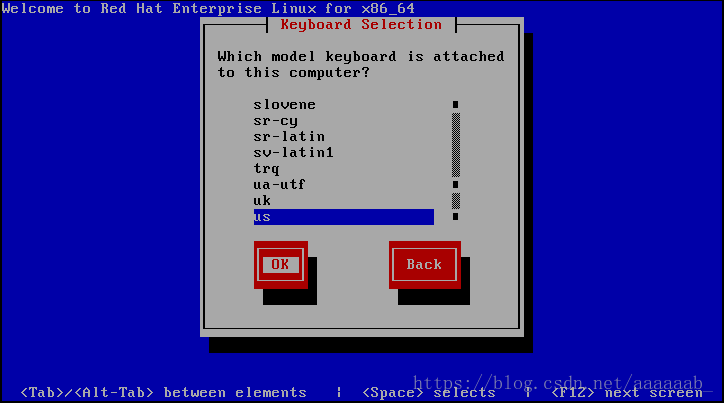
10.选取键盘语言:
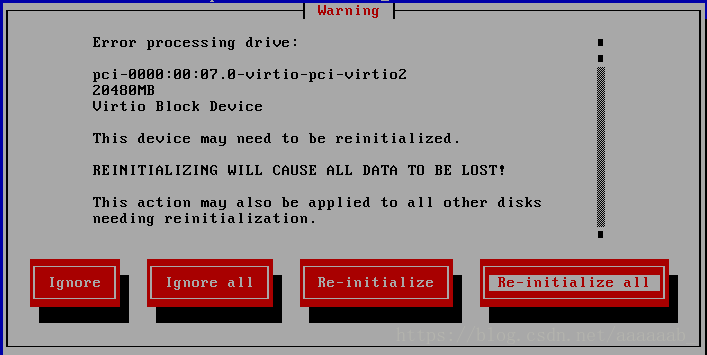
11.初始化:
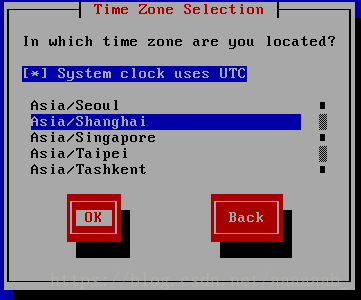
12.时区:
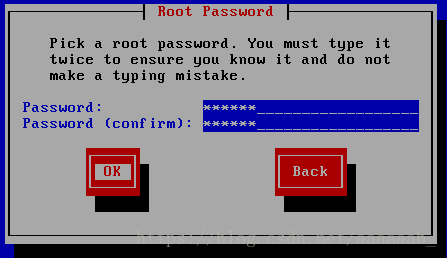
13.超级用户密码:
14.密码强弱度忽略:

15.默认即可:
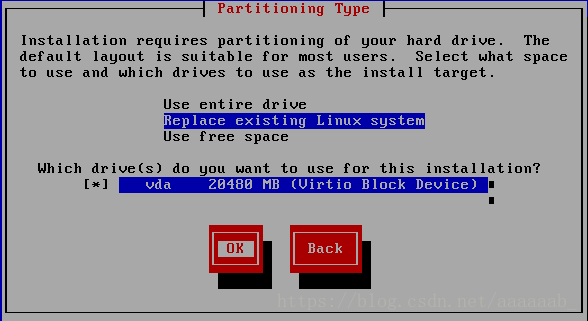
16.写入磁盘:

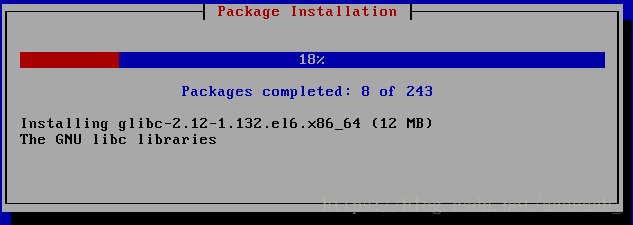
17.开始安装:
18.重启即可:
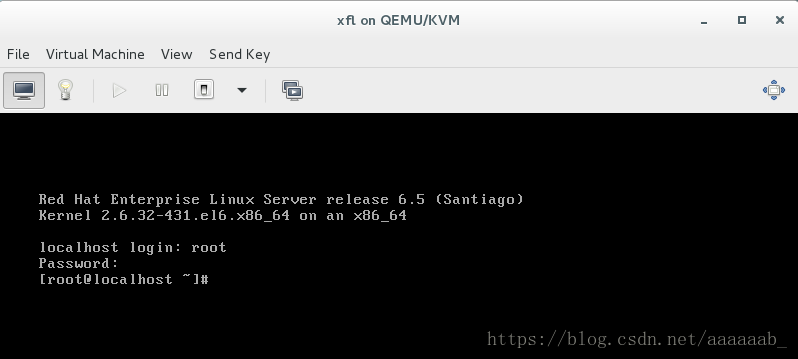
19:登陆用户密码即可进去无图形化虚拟机:
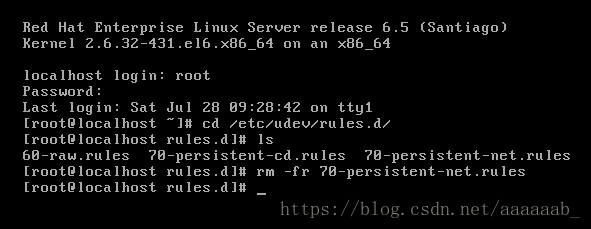
进行封装母盘的配置:
1.删除70.net,为了防止之后的建立虚拟机
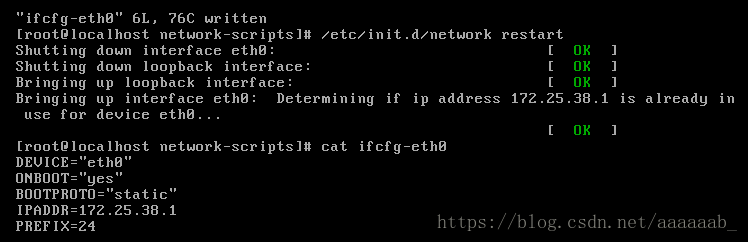
2.进行配置网络

重启网络:
3.配置yum源:有问题的话在真机打开httpd关闭防火墙
4.安装服务

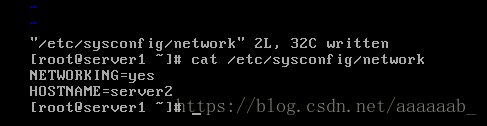
5.永久修改主机名字:

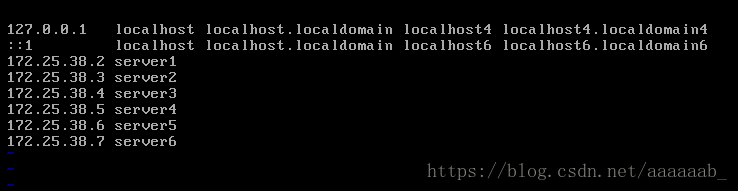
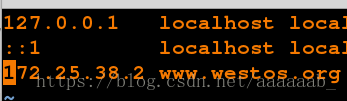
6.写入本地解析:
7.物理性关闭防火墙:
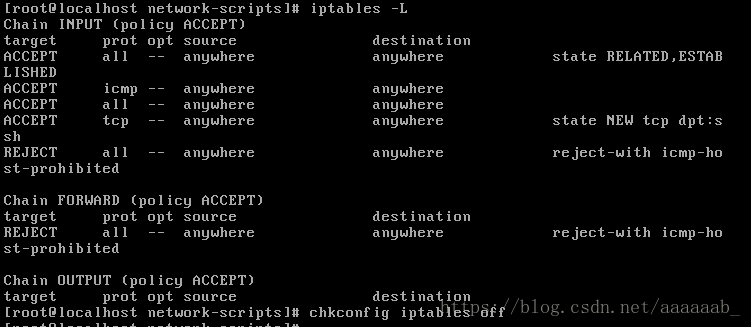
8.企业6的方式关闭防火墙:

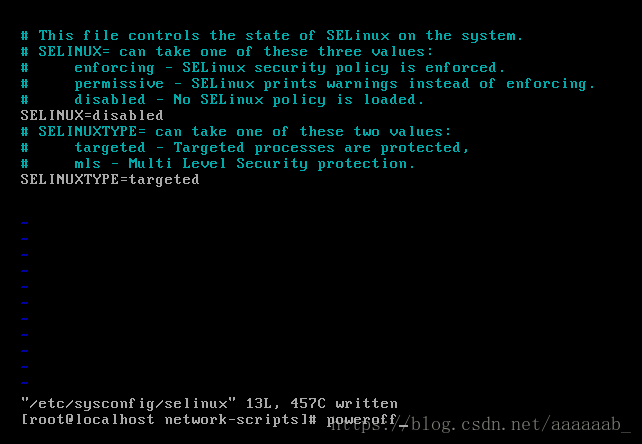
9.关闭selinux:直接关闭即可
10.为了防止不小心点开母盘,直接删除图标:
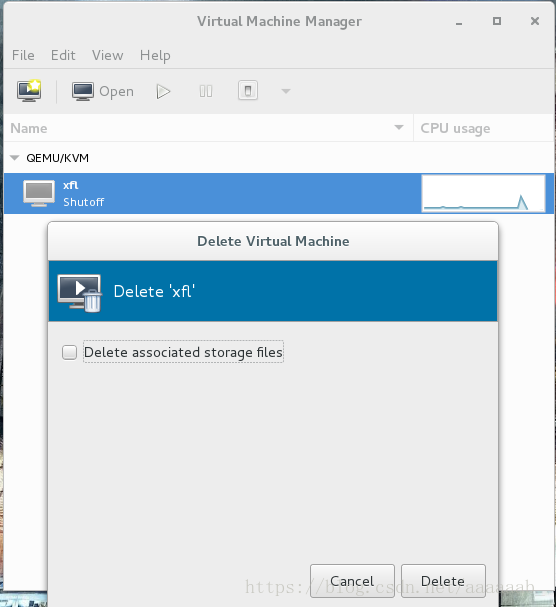
11.但是磁盘镜像还在:(母盘封装完成)

用母盘可以直接建立虚拟机:
[root@foundation38 kiosk]# cd /var/lib/libvirt/images/
[root@foundation38 images]# ls
base.qcow2 xfl.qcow2
[root@foundation38 images]# ll
total 3955696
-rw------- 1 qemu qemu 21478375424 Jul 27 12:49 base.qcow2
-rw------- 1 root root 21478375424 Jul 28 10:37 xfl.qcow2
[root@foundation38 images]# du -h xfl.qcow2 查看母盘的大小
2.0G xfl.qcow2
[root@foundation38 images]# qemu-img create -f qcow2 -b xfl.qcow2 test1
进行快照test1
Formatting 'test1', fmt=qcow2 size=21474836480 backing_file='xfl.qcow2' encryption=off cluster_size=65536 lazy_refcounts=off
[root@foundation38 images]# qemu-img create -f qcow2 -b xfl.qcow2 test2
进行快照test2
Formatting 'test2', fmt=qcow2 size=21474836480 backing_file='xfl.qcow2' encryption=off cluster_size=65536 lazy_refcounts=off
[root@foundation38 images]# du -h test1 查看快照的大小
196K test1
[root@foundation38 images]# du -h test2
196K test2
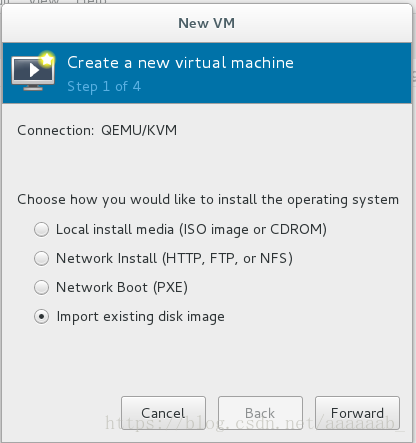
[root@foundation38 images]# virt-manager 打开虚拟机管理进行安装子盘用同样的方法可以建立多个子盘:
1.选择从快照好test1的进行导入
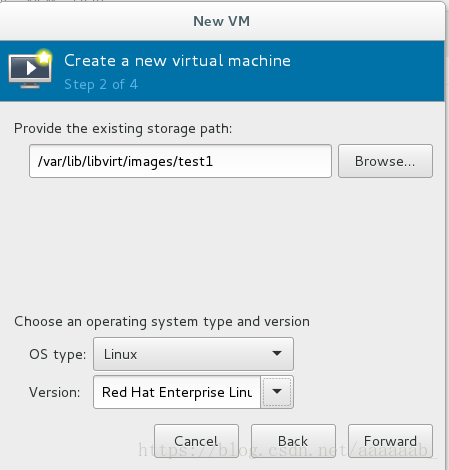
2.选择test1镜像:同时选择linux和6.5的yum源
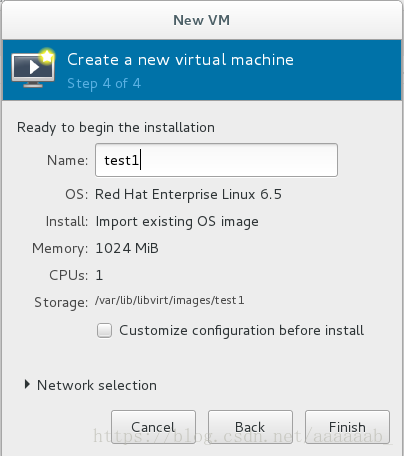
3.分配内存:

4.起名字:
5.建立好的两个虚拟机子盘:
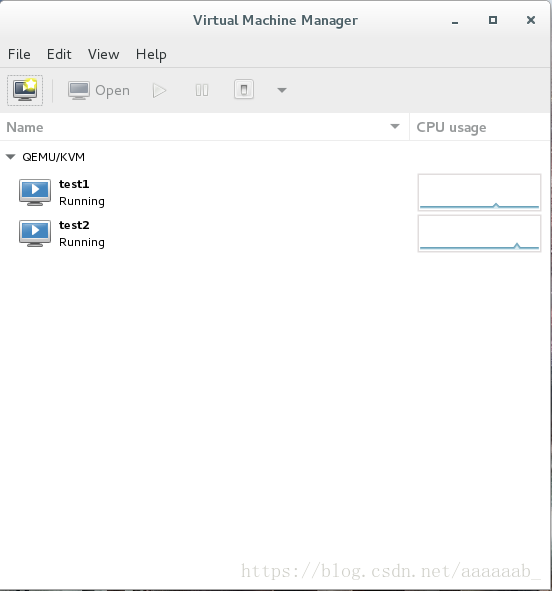
6.两个子盘均可以正常登陆:

当子盘损坏重新进行快照即可:(操作的是子盘不会对母盘进行损坏)
[root@foundation38 kiosk]# qemu-img info /var/lib/libvirt/images/test1
image: /var/lib/libvirt/images/test1
file format: qcow2
virtual size: 20G (21474836480 bytes)
disk size: 3.9M
cluster_size: 65536
backing file: xfl.qcow2 (actual path: /var/lib/libvirt/images/xfl.qcow2) 母盘
Format specific information:
    compat: 1.1
    lazy refcounts: false
[root@foundation38 kiosk]# qemu-img info /var/lib/libvirt/images/test2
image: /var/lib/libvirt/images/test2
file format: qcow2
virtual size: 20G (21474836480 bytes)
disk size: 3.9M
cluster_size: 65536
backing file: xfl.qcow2 (actual path: /var/lib/libvirt/images/xfl.qcow2)
Format specific information:
    compat: 1.1
    lazy refcounts: false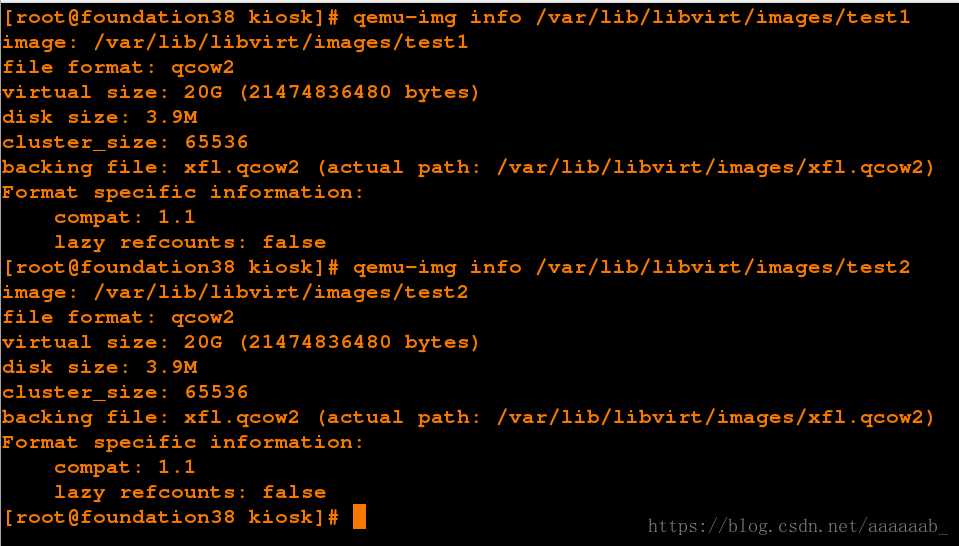
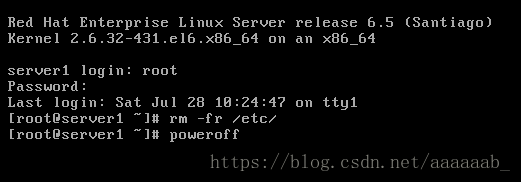
模拟子盘损坏环境:
1.删除/etc/

2.无法关机:
3.无法正常启动:
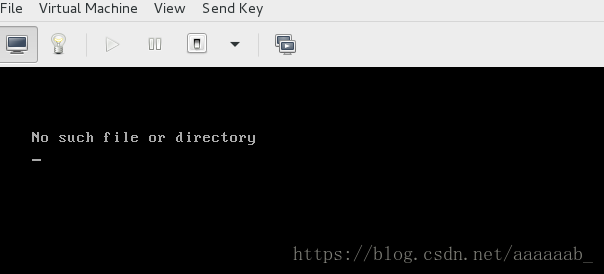
4.重新生成快照:

5.可以正常启动:
CDN的简介:
CDN的全称是Content Delivery Network,即内容分发网络。
其基本思路是尽可能避开互联网上有可能影响数据传输速度和稳
定性的瓶颈和环节,使内容传输得更快、更稳定。通过在网络
各处放置节点服务器所构成的在现有的互联网基础之上的一层
智能虚拟网络,CDN系统能够实时地根据网络流量和各节点的
连接、负载状况以及到用户的距离和响应时间等综合信息将用
户的请求重新导向离用户最近的服务节点上。其目的是使用户
可就近取得所需内容,解决 Internet网络拥挤的状况,提高
用户访问网站的响应速度。
使用CDN的好处:
1. 不用担心自己网站访客,在任何时间,任何地点,任何网络运营商,都能快速打开网站。
2. 各种服务器虚拟主机带宽等采购成本,包括后期运维成本都会大大减少。
3. 给网站直接带来的好处就是:流量,咨询量,客户量,成单量,都会得到大幅度提升。
varnish的简介:
Varnish 是一款高性能且开源的反向代理服务器和 HTTP 加速器,其采用全新的软件体系机构,和现在的硬件体系紧密配合,与传统的squid 相比,varnish 具有性能更高、速度更快、管理更加方便等诸多优点,很多大型的网站都开始尝试使用 varnish 来替换 squid,这些都促进varnish 迅速发展起来。用varnish实现cdn:
  在当前主流的Web架构中,Cache担任着越来越重要的作用。
资源的关键。而最近几年由FreeBSD创始人之一Kamp开发的
varnish更是一个不可多得的Web Cache Server。严格意
义上说,Varnish是一个高性能的反向代理软件,只不过与
其出色的缓存功能相比,企业更愿意使用其搭建缓存服务器。
同时,由于其工作在Web Server的前端,有一部分企业已经
在生产环境中使用其作为旧版本的squid的替代方案,以在相
同的服务器成本下提供更好的缓存效果,Varnish更是作为
CDN缓存服务器的可选服务之一。
varnish—vcl语法
VCL是varnish配置语言:
varnish是一个专门用于描述varnish请求处理和文件缓存
策略规则的语言。当一个新的配置加载后,varnishd管理
进程将会将其转换为C代码并编译,然后加载到服务器进程中。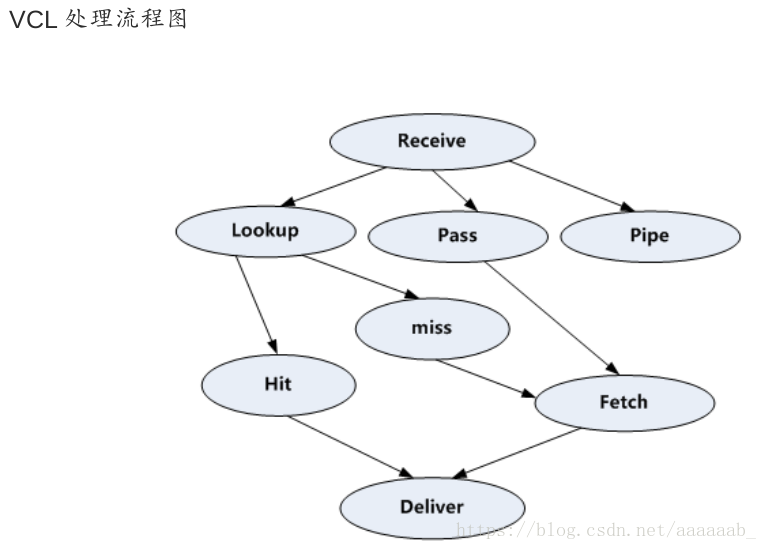
VCL语法格式:
处理过程大致分为如下几个步骤:
(1)Receive 状态,也就是请求处理的入口状态,根据 VCL 规则判断该请求
应该是 Pass 或
Pipe,或者进入 Lookup(本地查询)。
(2)Lookup 状态,进入此状态后,会在 hash 表中查找数据,若找到,则进入
Hit 状态,否则进入 miss 状态。
(3)Pass 状态,在此状态下,会进入后端请求,即进入 fetch 状态。
(4)Fetch 状态,在 Fetch 状态下,对请求进行后端的获取,发送请求,
获得数据,并进行本地的存储。
(5)Deliver 状态, 将获取到的数据发送给客户端,然后完成本次请求。
实验1:查看缓存命中情况:
1.准备安装包:
varnish-3.0.5-1.el6.x86_64.rpm  varnish安装包
varnish-libs-3.0.5-1.el6.x86_64.rpm
这个yum源必须开启阿帕奇这是个很容易忽略:
[root@foundation38 yum.repos.d]# netstat -antlp |grep :802.在server1虚拟机安装scp命令:
[root@server1 yum.repos.d]# yum whatprovides */scp  查找安装包
Loaded plugins: product-id, subscription-manager
This system is not registered to Red Hat Subscription Management. You can use subscription-manager to register.
rhel-source/filelists_db                                                        | 3.8 MB     00:00
openssh-clients-5.3p1-94.el6.x86_64 : An open source SSH client applications
Repo        : rhel-source
Matched from:
Filename    : /usr/bin/scp

[root@server1 yum.repos.d]# yum install openssh-clients-5.3p1-94.el6.x86_64 安装
3.从真机导入varnish安装包:
[root@foundation38 企业第一天]# scp varnish-3.0.5-1.el6.x86_64.rpm [email protected]:/root
root@172.25.38.2's password:
varnish-3.0.5-1.el6.x86_64.rpm                                       100%  444KB 443.8KB/s   00:00
[root@foundation38 企业第一天]# scp varnish-libs-3.0.5-1.el6.x86_64.rpm [email protected]:/root
[email protected]'s password:
varnish-libs-3.0.5-1.el6.x86_64.rpm                                  100%   42KB  41.6KB/s   00:00
4.安装varnish:
[root@server1 ~]# ls
anaconda-ks.cfg  install.log.syslog              varnish-libs-3.0.5-1.el6.x86_64.rpm
install.log      varnish-3.0.5-1.el6.x86_64.rpm
[root@server1 ~]# yum install * -y 安装varnish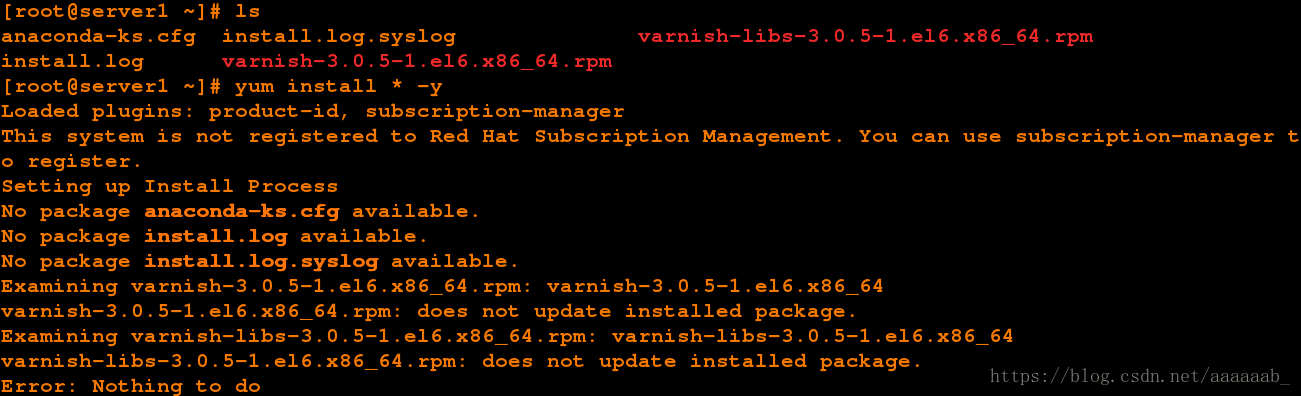
5.配置 varnish 服务端口:
[root@server1 ~]# vim /etc/sysconfig/varnish   更改为80端口
[root@server1 ~]# /etc/init.d/varnish reload
6.编辑限制cpu最大处理文件:
[root@server1 ~]# vim /etc/security/limits.conf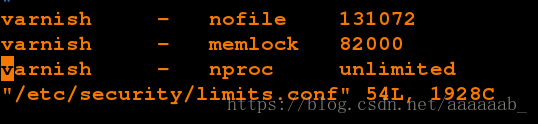
7.在/etc/varnish/default.vcl建立一个后端IP
[root@server1 ~]# vim /etc/varnish/default.vcl
[root@server1 ~]# /etc/init.d/varnish restart
Stopping Varnish Cache:                                    [  OK  ]
Starting Varnish Cache:                                    [  OK  ]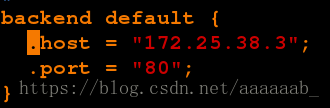
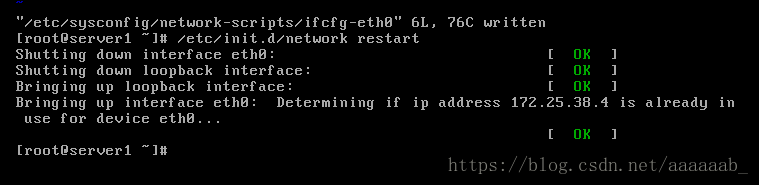
6.配置一个后端服务器server2:
配置IP地址,重启网络:

永久更改主机名字:临时更改直接hostname server2
安装httpd服务:

打开阿帕其服务:

建立默认访问目录:

在真机添加解析,写入的是varnish端:
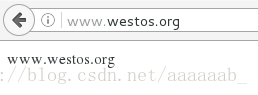
在浏览器访问用IP和域名访问均可以访问默认发布目录:
如果访问不到在server2重启httpd服务,真机关闭防火墙开启httpd服务,server1重启varnish服务
企业6的服务配置/etc/init.d/服务 状态即可
在varnish端添加查看缓存命中情况:
[root@server1 ~]# vim /etc/varnish/default.vcl
[root@server1 ~]# /etc/init.d/varnish restart
Stopping Varnish Cache:                                    [  OK  ]
Starting Varnish Cache:                                    [  OK  ]
[root@server1 ~]# 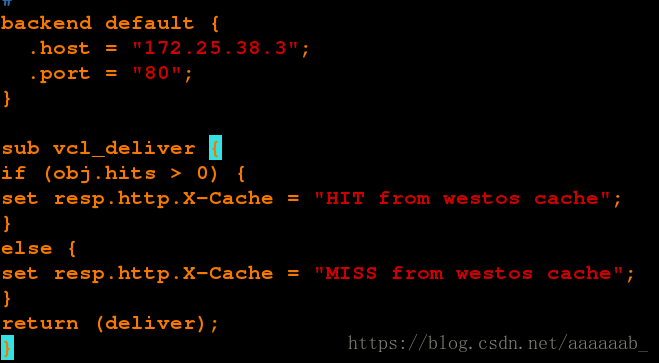
在真机测试:
[root@foundation38 企业第一天]# curl www.westos.org -I
HTTP/1.1 200 OK
Server: Apache/2.2.15 (Red Hat)
Last-Modified: Sat, 28 Jul 2018 05:20:49 GMT
ETag: "ff417-f-572086431c749"
Content-Type: text/html; charset=UTF-8
Content-Length: 15
Accept-Ranges: bytes
Date: Sat, 28 Jul 2018 07:13:15 GMT
X-Varnish: 1390114403
Age: 0
Via: 1.1 varnish
Connection: keep-alive
X-Cache: MISS from westos cache   未命中

[root@foundation38 企业第一天]# curl www.westos.org -I
HTTP/1.1 200 OK
Server: Apache/2.2.15 (Red Hat)
Last-Modified: Sat, 28 Jul 2018 05:20:49 GMT
ETag: "ff417-f-572086431c749"
Content-Type: text/html; charset=UTF-8
Content-Length: 15
Accept-Ranges: bytes
Date: Sat, 28 Jul 2018 07:13:17 GMT
X-Varnish: 1390114404 1390114403
Age: 1
Via: 1.1 varnish
Connection: keep-alive
X-Cache: HIT from westos cache
命中之后等到Age到了120周期之后会自动变成未命中
Age是缓存周期时间就是varnish里面的age到了120就会改变一次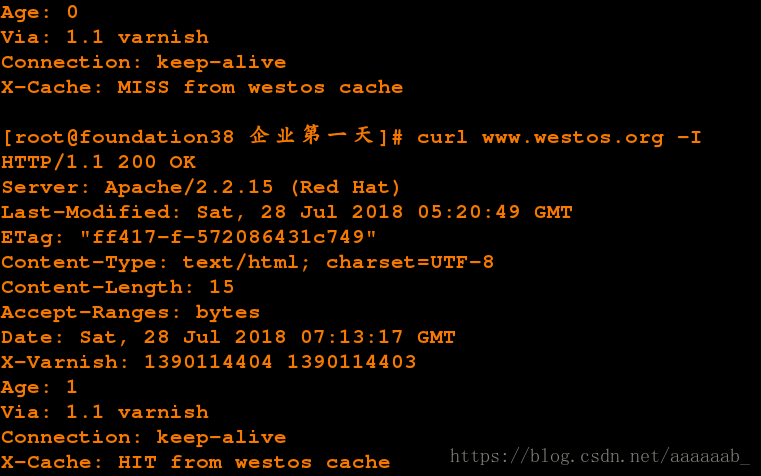
实验2:定义多个不同域名站点的后端服务器:
配置server3虚拟机:(同样方法进行配置)
[root@foundation38 images]# qemu-img create -f qcow2 -b xfl.qcow2 test3
Formatting 'test3', fmt=qcow2 size=21474836480 backing_file='xfl.qcow2' encryption=off cluster_size=65536 lazy_refcounts=off 
1.配置server3的网络:
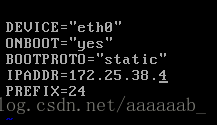
2.重新启动网络:
3.永久更改名字:
4.安装httpd:

5.打开httpd:

6.建立默认发布目录:
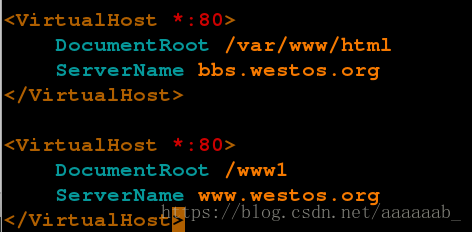
当访问 www.westos.org 域名时从 web1 上取数据,访问 bbs.westos.org 域名时到 web2 取数据, 访问其他页面报错。
1.更改配置文件:
[root@server1 ~]# vim /etc/varnish/default.vcl
[root@server1 ~]# /etc/init.d/varnish restart
Stopping Varnish Cache:                                    [  OK  ]
Starting Varnish Cache:                                    [  OK  ]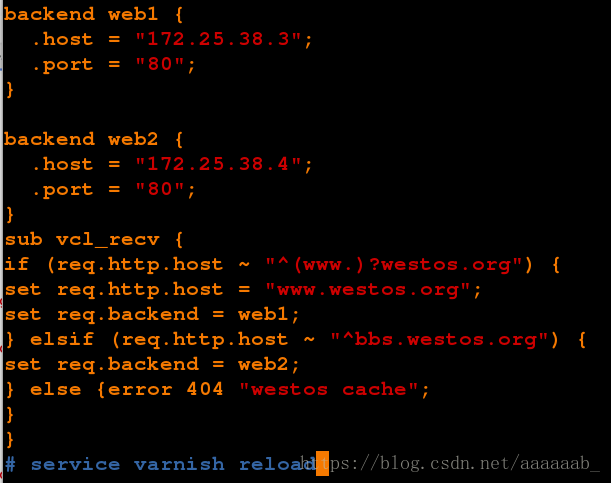
在真机添加解析:

在真机测试:
[root@foundation38 ~]# curl 172.25.38.2/index.html -I
HTTP/1.1 404 westos cache
Server: Varnish
Content-Type: text/html; charset=utf-8
Retry-After: 5
Content-Length: 397
Accept-Ranges: bytes
Date: Sat, 28 Jul 2018 07:32:49 GMT
X-Varnish: 926380693
Age: 0
Via: 1.1 varnish
Connection: close
X-Cache: MISS from westos cache
全部都是未命中,因为配置文件中不识别其他IP,只有域名

[root@foundation38 ~]# curl 172.25.38.2/index.html -I
HTTP/1.1 404 westos cache
Server: Varnish
Content-Type: text/html; charset=utf-8
Retry-After: 5
Content-Length: 397
Accept-Ranges: bytes
Date: Sat, 28 Jul 2018 07:32:52 GMT
X-Varnish: 926380694
Age: 0
Via: 1.1 varnish
Connection: close
X-Cache: MISS from westos cache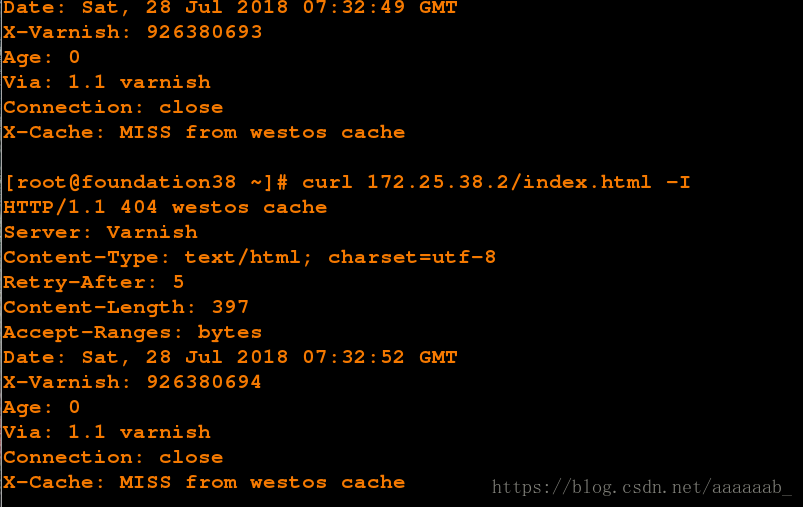
[root@foundation38 ~]# curl www.westos.org/index.html -I
HTTP/1.1 200 OK
Server: Apache/2.2.15 (Red Hat)
Last-Modified: Sat, 28 Jul 2018 05:20:49 GMT
ETag: "ff417-f-572086431c749"
Content-Type: text/html; charset=UTF-8
Content-Length: 15
Accept-Ranges: bytes
Date: Sat, 28 Jul 2018 07:33:09 GMT
X-Varnish: 926380695
Age: 0
Via: 1.1 varnish
Connection: keep-alive
X-Cache: MISS from westos cache
可以识别www.westos.org,会自动从命中变成未命中
[root@foundation38 ~]# curl www.westos.org/index.html -I
HTTP/1.1 200 OK
Server: Apache/2.2.15 (Red Hat)
Last-Modified: Sat, 28 Jul 2018 05:20:49 GMT
ETag: "ff417-f-572086431c749"
Content-Type: text/html; charset=UTF-8
Content-Length: 15
Accept-Ranges: bytes
Date: Sat, 28 Jul 2018 07:33:10 GMT
X-Varnish: 926380696 926380695
Age: 1
Via: 1.1 varnish
Connection: keep-alive
X-Cache: HIT from westos cache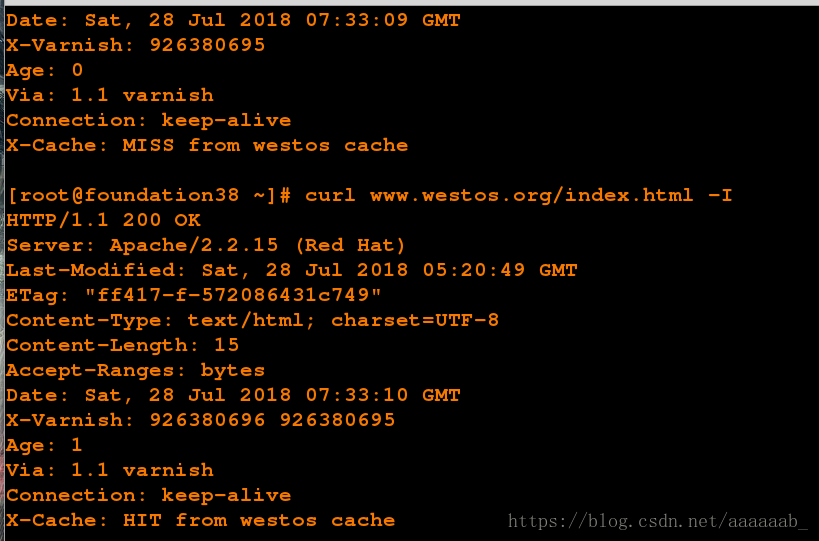
[root@foundation38 ~]# curl bbs.westos.org/index.html -I
HTTP/1.1 200 OK
Server: Apache/2.2.15 (Red Hat)
Last-Modified: Sat, 28 Jul 2018 07:28:43 GMT
ETag: "ff417-10-5720a2d98d357"
Content-Type: text/html; charset=UTF-8
Content-Length: 16
Accept-Ranges: bytes
Date: Sat, 28 Jul 2018 07:34:42 GMT
X-Varnish: 926380697
Age: 0
Via: 1.1 varnish
Connection: keep-alive
X-Cache: MISS from westos cache
可以识别bbs.westos.org,会自动从命中变成未命中
[root@foundation38 ~]# curl bbs.westos.org/index.html -I
HTTP/1.1 200 OK
Server: Apache/2.2.15 (Red Hat)
Last-Modified: Sat, 28 Jul 2018 07:28:43 GMT
ETag: "ff417-10-5720a2d98d357"
Content-Type: text/html; charset=UTF-8
Content-Length: 16
Accept-Ranges: bytes
Date: Sat, 28 Jul 2018 07:34:43 GMT
X-Varnish: 926380698 926380697
Age: 1
Via: 1.1 varnish
Connection: keep-alive
X-Cache: HIT from westos cache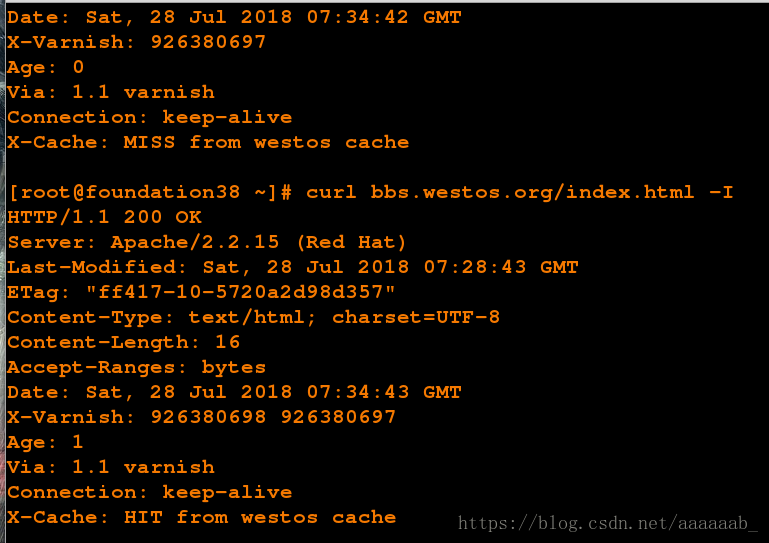
实验3:定义负载均衡:
在server3后端服务器配置阿帕奇配置文件:
[root@server3 html]# vim /etc/httpd/conf/httpd.conf 更改配置文件
[root@server3 html]# /etc/init.d/httpd restart
Stopping httpd:                                            [  OK  ]
Starting httpd: Warning: DocumentRoot [/www1] does not exist
httpd: Could not reliably determine the server's fully qualified domain name, using 172.25.38.4 for ServerName
                                                           [  OK  ]
[root@server3 html]# mkdir /www1
[root@server3 html]# cd /www1/
[root@server3 www1]# ls
[root@server3 www1]# vim index.html
[root@server3 www1]# cat index.html
www.westos.org ->server3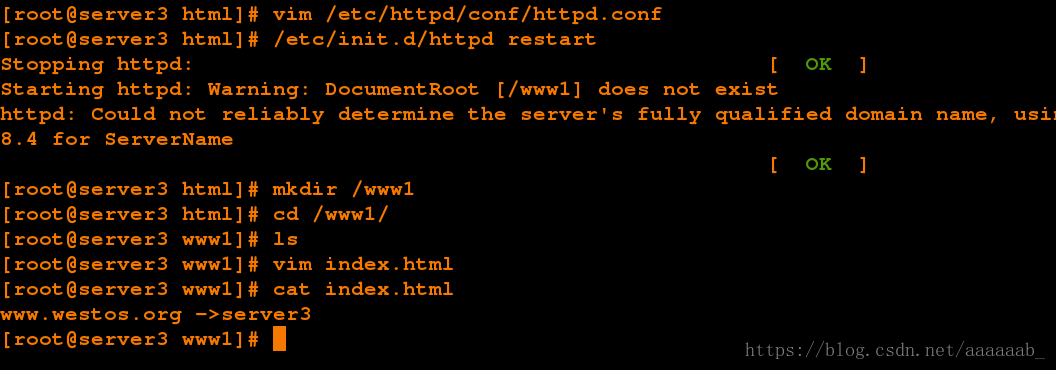
[root@server3 www1]# vim /etc/hosts 添加本地解析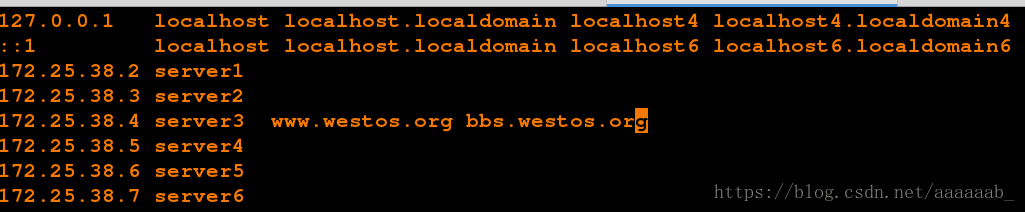
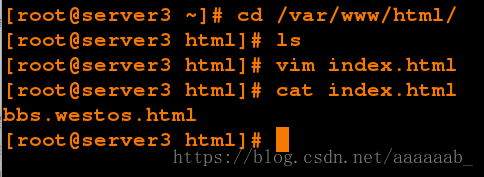
[root@server3 www1]# curl bbs.westos.org  在本机可以查看发布目录中的文件
bbs.westos.html
[root@server3 www1]# curl www.westos.org
www.westos.org ->server3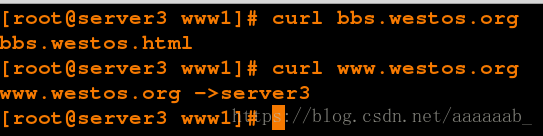
在server1把多个后端聚合为一个组并检查健康情况:
[root@server1 ~]# vim /etc/varnish/default.vcl
[root@server1 ~]# /etc/init.d/varnish restart
Stopping Varnish Cache:                                    [  OK  ]
Starting Varnish Cache:                                    [  OK  ]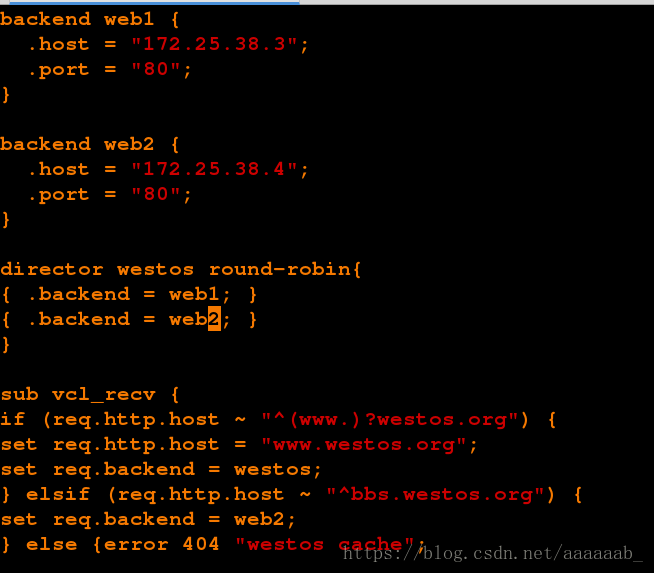
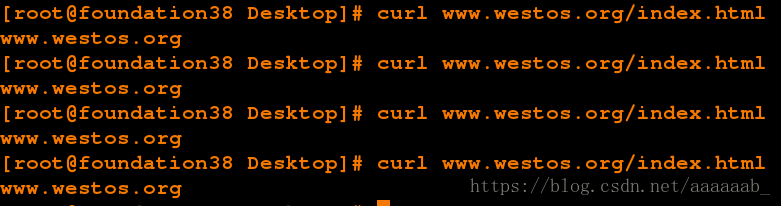
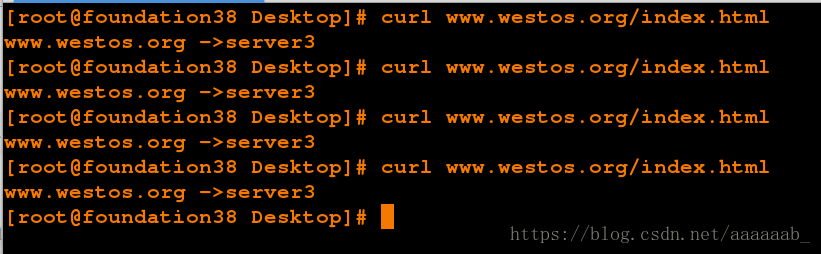
在真机测试一直是www.westos.org:因为已经进行了缓存
[root@foundation38 ~]# curl www.westos.org
www.westos.org
[root@foundation38 ~]# curl www.westos.org
www.westos.org
[root@foundation38 ~]# curl www.westos.org
www.westos.org
[root@foundation38 ~]# curl www.westos.org
www.westos.org
[root@foundation38 ~]# curl www.westos.org
www.westos.org ->server3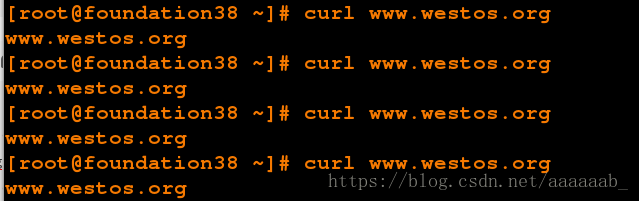
在server1清理缓存:
通过 varnishadm 手动清除缓存
varnishadm ban.url .*$      清除所有
varnishadm ban.url /index.html  清除 index.html 页面缓存
varnishadm ban.url /admin/$   清除 admin 目录缓存
[root@server1 ~]# varnishadm ban.url /index.html
在真机测试会改变因为已经清理了缓存
[root@foundation38 ~]# curl www.westos.org
www.westos.org ->server3
[root@foundation38 ~]# curl www.westos.org
www.westos.org ->server3
为了测试方便,不进行缓存,在server1加入return (pass);意思是不经过缓存直接到后端取数据
[root@server1 ~]# vim /etc/varnish/default.vcl
[root@server1 ~]# /etc/init.d/varnish restart
Stopping Varnish Cache:                                    [  OK  ]
Starting Varnish Cache:                                    [  OK  ]
[root@server1 ~]# 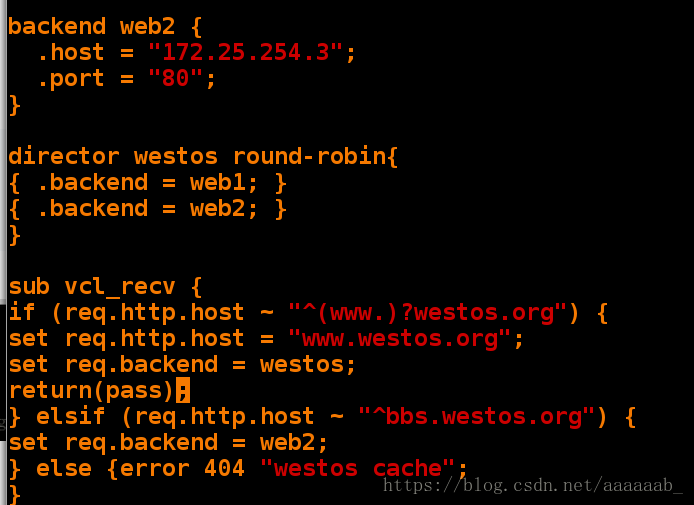

在真机测试会进行一直转换因为没有进行缓存:
[root@foundation38 ~]# curl www.westos.org
www.westos.org
[root@foundation38 ~]# curl www.westos.org
www.westos.org ->server3
[root@foundation38 ~]# curl www.westos.org
www.westos.org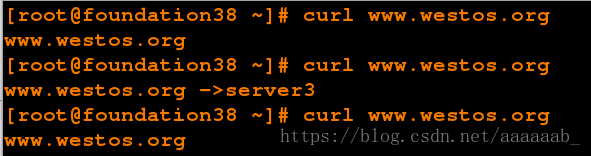
varnish 推送平台搭建:
保证上一个实验负载均衡可以实现,将server2,server3和主机开启httpd关闭防火墙。server1重启varnish。
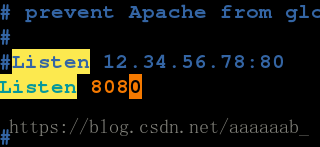
1.在server1安装httpd并更改端口为8080,不然会端口冲突:
[root@server1 ~]# yum install httpd -y 安装阿帕奇
[root@server1 ~]# vim /etc/httpd/conf/httpd.conf   编辑配置文件
[root@server1 ~]# /etc/init.d/httpd restart 重启服务
Stopping httpd:                                            [FAILED]
Starting httpd: httpd: Could not reliably determine the server's fully qualified domain name, using 172.25.38.2 for ServerName
                                                           [  OK  ]
[root@server1 ~]# /etc/init.d/httpd restart
Stopping httpd:                                            [  OK  ]
Starting httpd: httpd: Could not reliably determine the server's fully qualified domain name, using 172.25.38.2 for ServerName
                                                           [  OK  ]

更改8080端口:
2.需要安装php支持才可以:
[root@server1 ~]# yum install -y php 
3.下载bansys.zip的压缩包并解压到http的默认发布目录下 :
[root@server1 ~]# ls
anaconda-ks.cfg  install.log         varnish-3.0.5-1.el6.x86_64.rpm       :wq
bansys.zip       install.log.syslog  varnish-libs-3.0.5-1.el6.x86_64.rpm
[root@server1 ~]# yum install -y unzip 安装解压文件
[root@server1 ~]# unzip bansys.zip -d /var/www/html/  解压到指定目录
[root@server1 ~]# cd /var/www/html/
[root@server1 html]# ls
bansys
[root@server1 html]# cd bansys/
[root@server1 bansys]# ls
class_socket.php  config.php  index.php  purge_action.php  static
[root@server1 bansys]# mv * ..  将所有文件移动到阿帕奇默认发布目录下才可以被访问到
[root@server1 bansys]# ls
[root@server1 bansys]# cd ..
[root@server1 html]# ls
bansys  class_socket.php  config.php  index.php  purge_action.php  static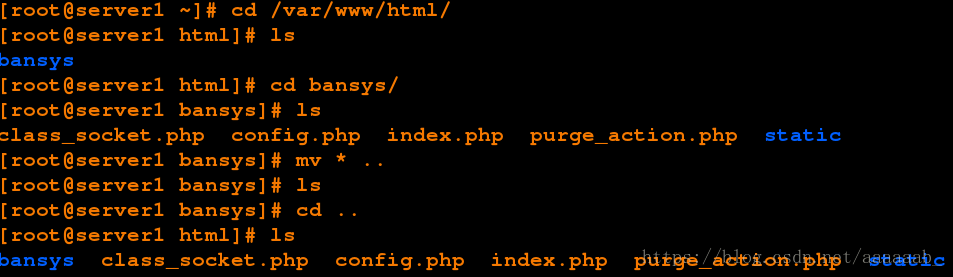
4.配置解压后的config.php 文件:
[root@server1 html]# vim config.php  编辑php配置文件
[root@server1 html]# ls
bansys  class_socket.php  config.php  index.php  purge_action.php  static
[root@server1 html]# /etc/init.d/httpd restart 重启服务
Stopping httpd:                                            [  OK  ]
Starting httpd: httpd: Could not reliably determine the server's fully qualified domain name, using 172.25.38.2 for ServerName
                                                           [  OK  ]
[root@server1 html]# netstat -antlp  可以看到8080端口
Active Internet connections (servers and established)
Proto Recv-Q Send-Q Local Address               Foreign Address             State       PID/Program name
tcp        0      0 0.0.0.0:80                  0.0.0.0:*                   LISTEN      1232/varnishd
tcp        0      0 0.0.0.0:22                  0.0.0.0:*                   LISTEN      909/sshd
tcp        0      0 127.0.0.1:25                0.0.0.0:*                   LISTEN      985/master
tcp        0      0 127.0.0.1:6082              0.0.0.0:*                   LISTEN      1231/varnishd
tcp        0      0 172.25.38.2:22              172.25.38.250:42018         ESTABLISHED 1034/sshd
tcp        0      0 :::8080                     :::*                        LISTEN      1474/httpd
tcp        0      0 :::80                       :::*                        LISTEN      1232/varnishd
tcp        0      0 :::22                       :::*                        LISTEN      909/sshd
tcp 0 0 ::1:25 :::* LISTEN 985/master 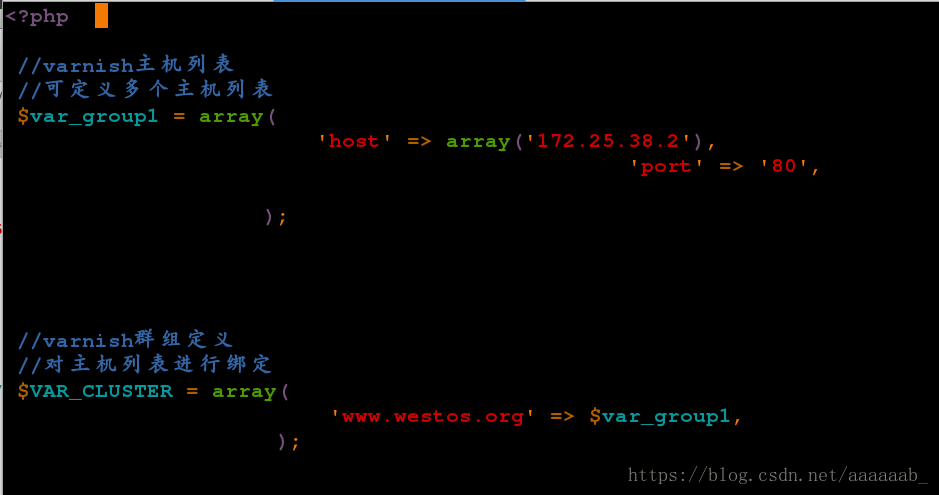
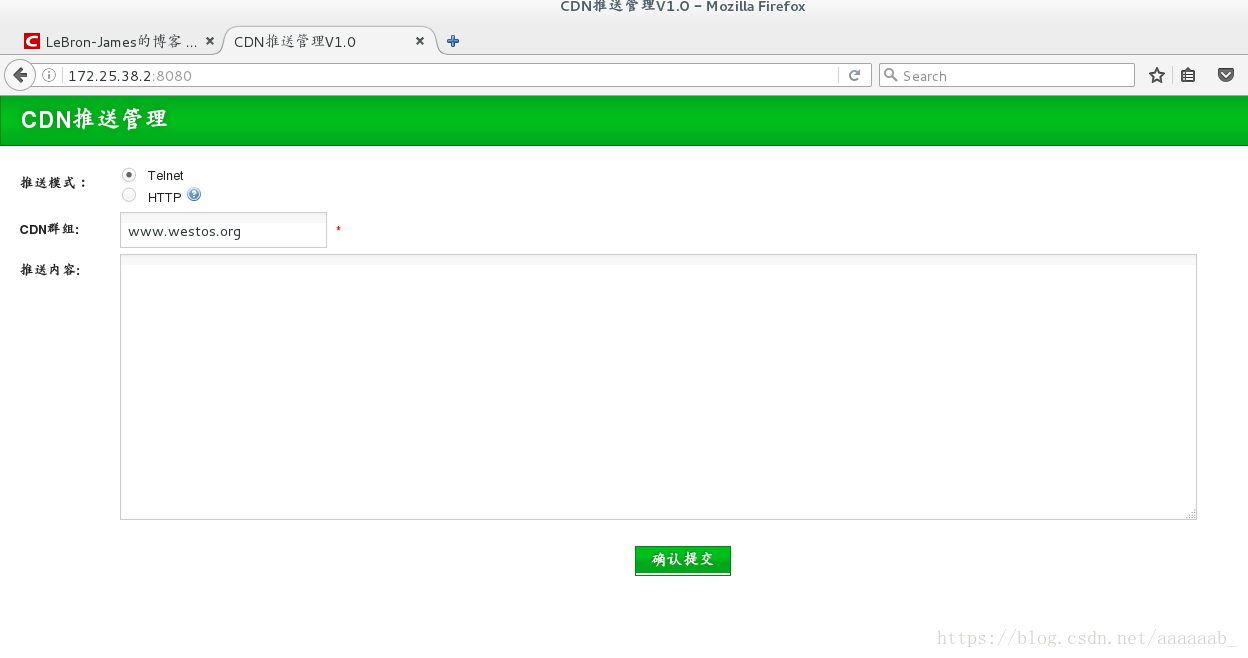
5.在网页可以访问:
6.编辑varnish端配置文件:
[root@server1 html]# cd /etc/varnish/
[root@server1 varnish]# ls
default.vcl  secret
[root@server1 varnish]# vim default.vcl  编辑配置文件
[root@server1 varnish]# /etc/init.d/varnish restart
Stopping Varnish Cache:                                    [  OK  ]
Starting Varnish Cache:                                    [  OK  ]
设置访问控制:
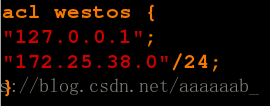
#bansys 有两种工作模式,分别是:telnet 和 http 模式。
#telnet 模式需要关闭 varnish 服务管理端口的验证,注释掉/etc/sysconfig/varnish 文件中的 “ -S $
{VARNISH_SECRET_FILE}”这行,重启 varnish 服务即可。
#如果是 http 模式需要对 varnish 做以下设置: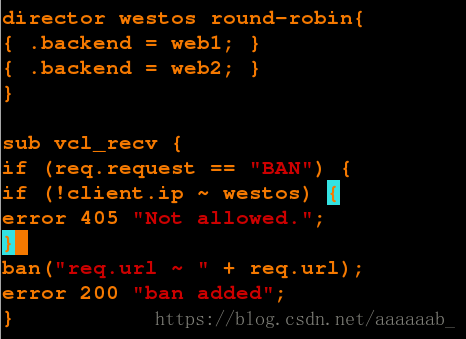
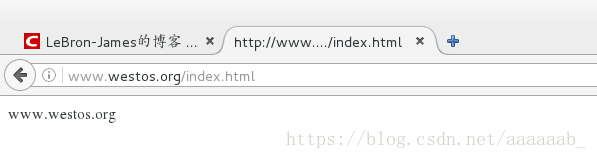
7.在网页访问域名:
8.在真机进行测试只有到达TTL值才会清理缓存:
curl可以避免浏览器缓存的影响进行实验的测试
9.通过HTTP模式CDN推送缓存:
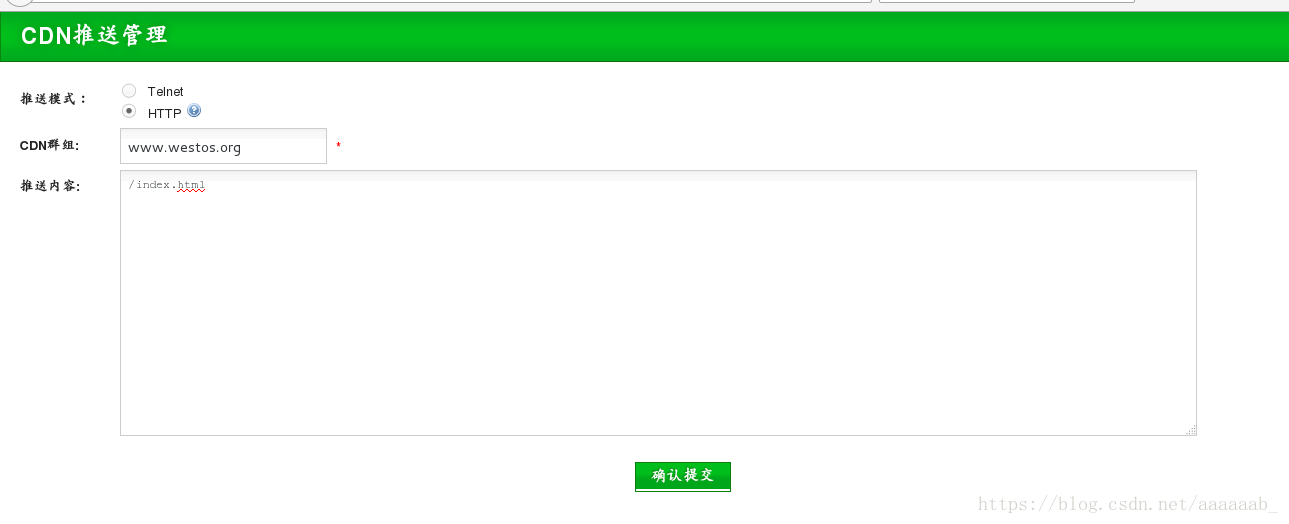
/表示从网站根开始