没事搭个gitlab玩玩。
步骤:
1.配置yum源
vim /etc/yum.repos.d/gitlab-ce.repo
复制以下的内容:
| [gitlab-ce] name=Gitlab CE Repository baseurl=https://mirrors.tuna.tsinghua.edu.cn/gitlab-ce/yum/el$releasever/ gpgcheck=0 enabled=1 |
2.更新本地yum缓存 yum makecache
3.安装gitlab社区版
yum install gitlab-ce
4.修改配置信息:
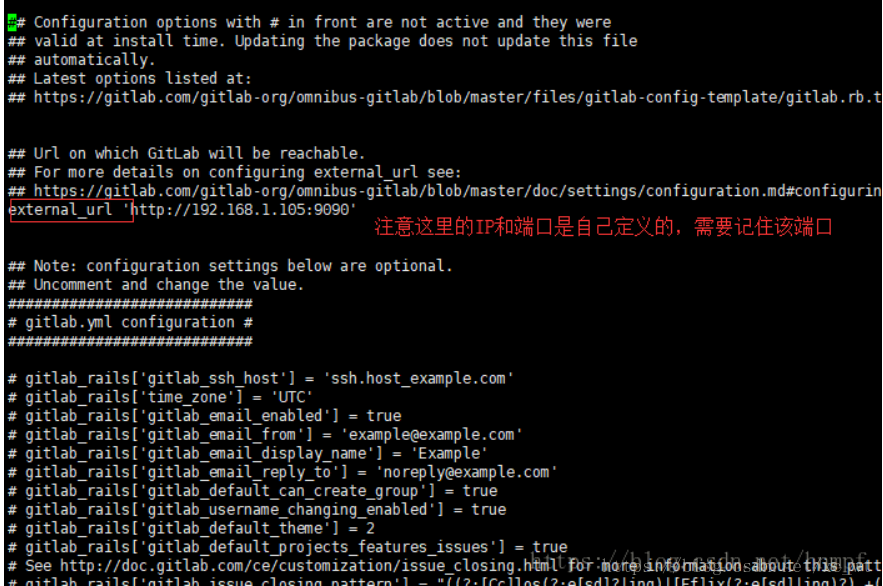
① vim /etc/gitlab/gitlab.rb
修改external_url的地址:(external_url 'http://192.168.45.130:9090')
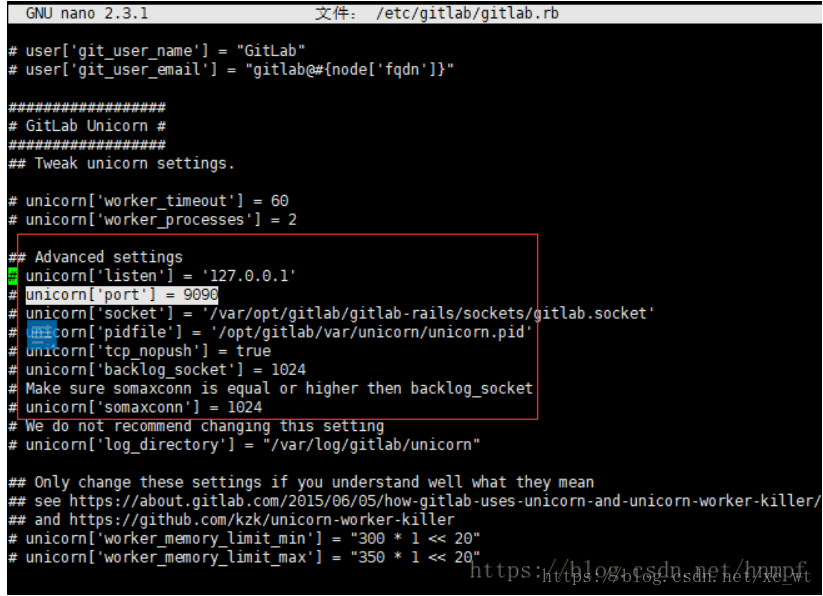
② unicorn['port'] = 9090
5.执行gitlab-ctl reconfigure 进行更新配置(只要修改了该文件,必须执行该命令才能生效)
6.执行gitlab-ctl start启动服务
7.服务启动成功后即可通过http://IP:9090去访问
8.切换目录:cd /opt/gitlab/bin
执行 :gitlab-rails console production 命令 开始初始化密码

在irb(main):001:0> 后面通过 u=User.where(id:1).first 来查找与切换账号(User.all 可以查看所有用户)
通过u.password='12345678'设置密码为12345678(这里的密码看自己喜欢):
通过u.password_confirmation='12345678' 再次确认密码
通过 u.save!进行保存(切记切记 后面的 !)
然后是执行exit退出当前设置流程即可
然后重新启动服务,访问地址,账号登录即可 root/12345678

之后的操作:
1,安装git工具linux:yum instal git
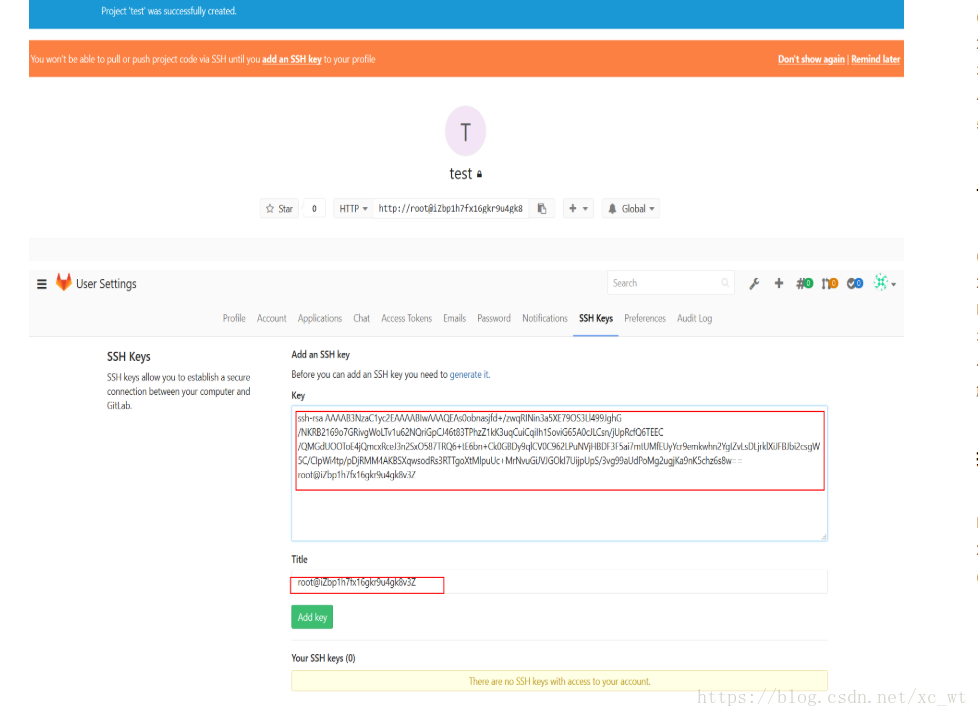
2.生成秘钥文件:使用ssh-keygen生成秘钥文件.ssh/id_rsa.pub

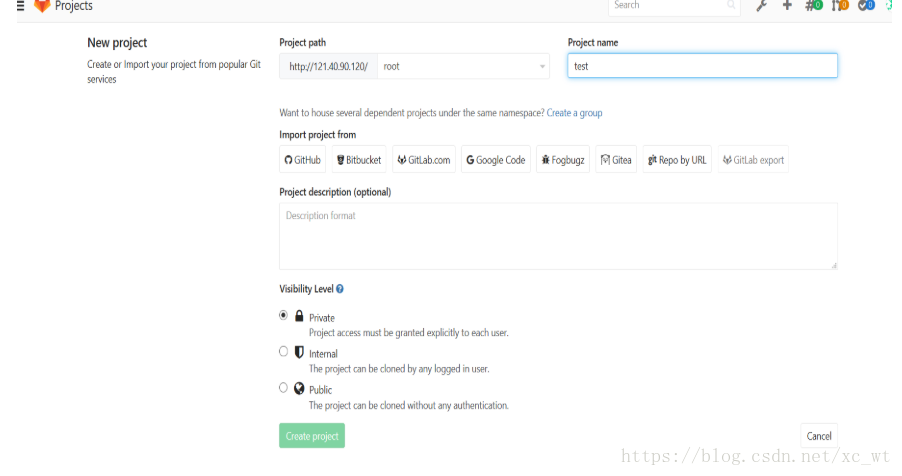
3.在gitlab的主页中新建一个Project
4.添加ssh key 导入上面中生成的秘钥文件内容:
简单配置
1.配置使用Git仓库的人员姓名
git config --global user.name "sss"
2.配置使用Git仓库的人员email,填写自己的公司邮箱
git config --global user.email "[email protected]"
3.克隆项目,在本地生成同名目录,并且目录中会有所有的项目文件
git clone git@xxxxx:root/test.git
这些命令跟git操作是一致的。