Spring Boot makes it easy to create stand-alone, production-grade Spring based Applications that you can "just run".
We take an opinionated view of the Spring platform and third-party libraries so you can get started with minimum fuss. Most Spring Boot applications need very little Spring configuration.
我们就从创建项目开始
工具为idea 、jdk1.8
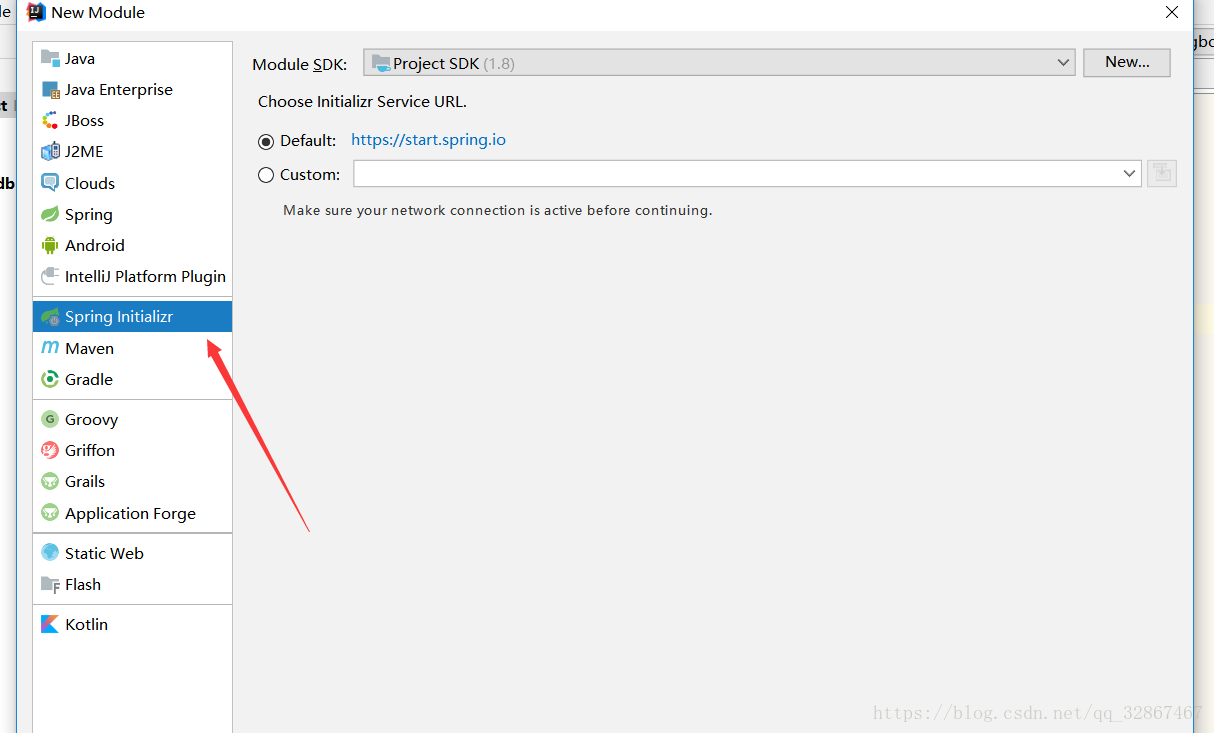
idea新建项目注意 默认访问的网址是https://start.spring.io 如果部分小伙伴的点击下一步加载不出来的话在Custom中把请求协议改为http (如果实在加载不出来,要学会科学上网)

填写对应的 group 和 artifact
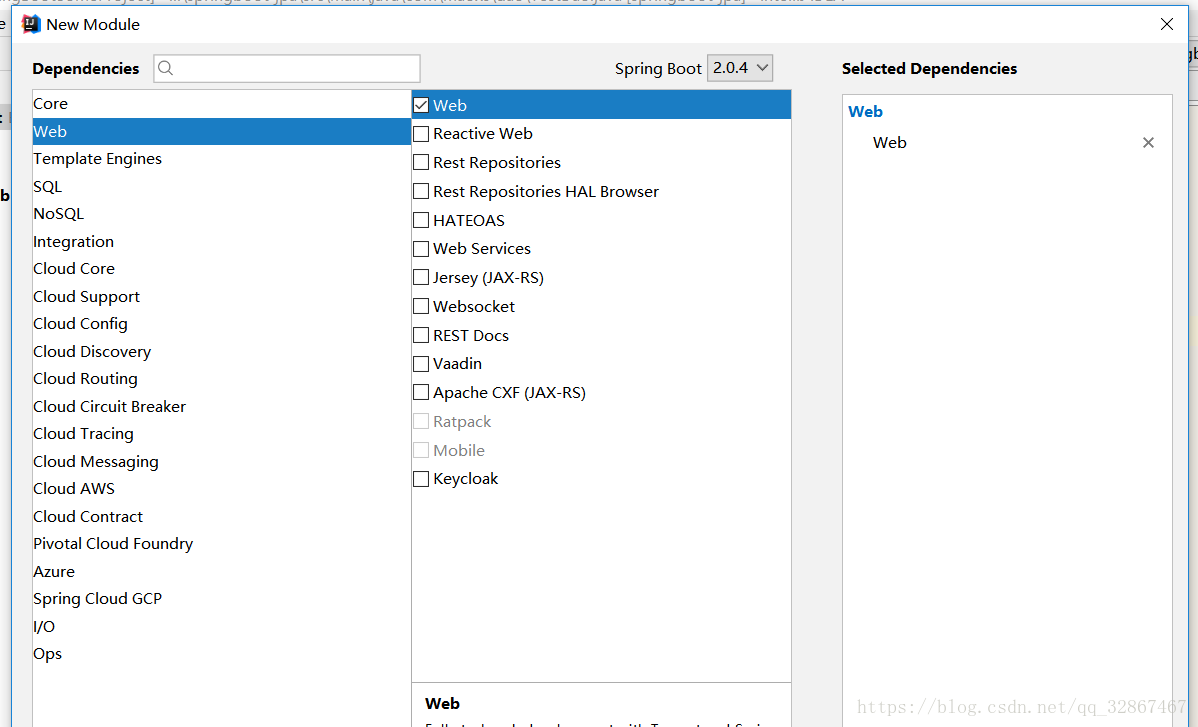
这里有SpringBoot 集成的很多依赖,需要什么就选择什么
next 下就创建了一个SpringBoot项目
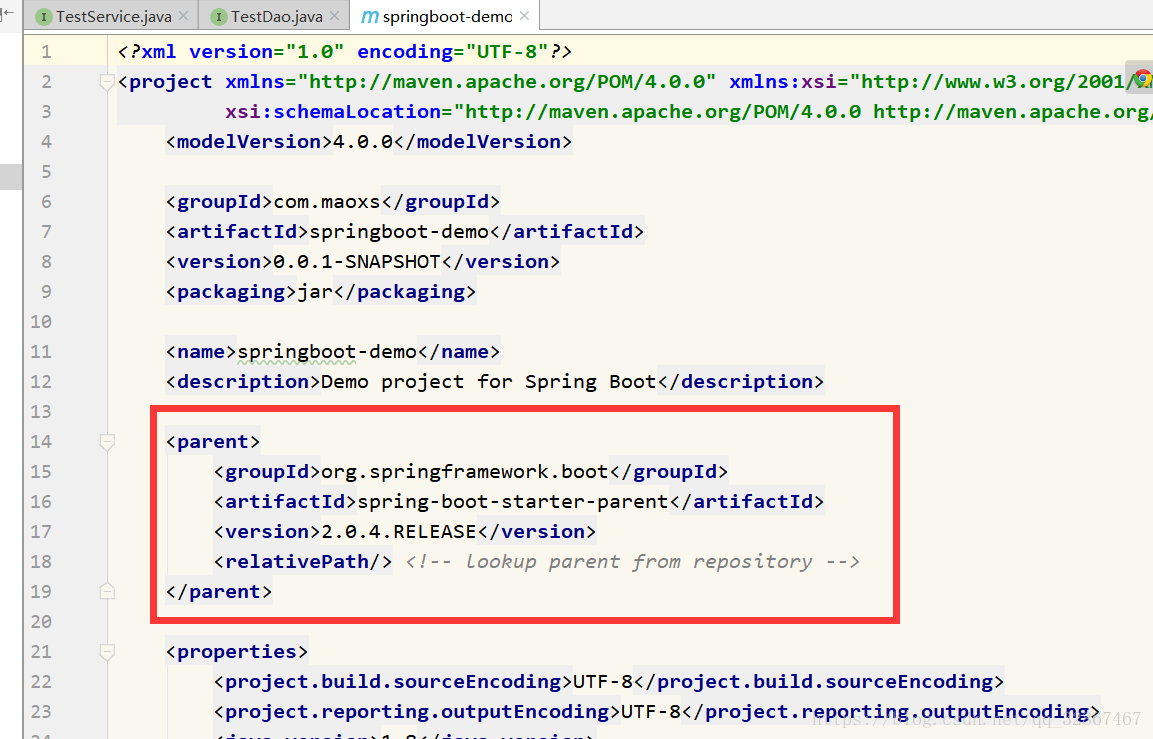
需要注意下 SpringBoot pom的 parent 或者 祖宗 parent 必须是 spring-boot-starter-parent
看下项目的结构
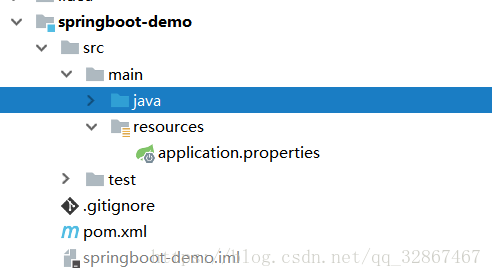
application.properties 是SpringBoot的 配置文件, 这里我推荐使用yml格式的
这里编写一个随便创建一个包 建一个测试的demo
package com.maoxs.controller;

import org.springframework.web.bind.annotation.RequestMapping;
import org.springframework.web.bind.annotation.RestController;

@RestController
public class HelloController {

    @RequestMapping("/hello")
    public String Hello() {
        return "hello";
    }
}
这里需要说明 SpringBoot是内嵌了容器,可以直接main方法当作媒介直接启动项目
不过需要添加@SpringBootAppliaction 注解才可以启动项目
这里需要注意SpringBoot 推荐吧启动类放在子包的外边,因为这样他会扫描自己同级目录和同级目录下的子包的所有的类,
当然如果特殊可以添加 @ComponentScan() 里面填写包的路径即可,多个","隔开

然后启动方法即可 SpringBoot启动默认的端口是 8080
访问刚才写的接口
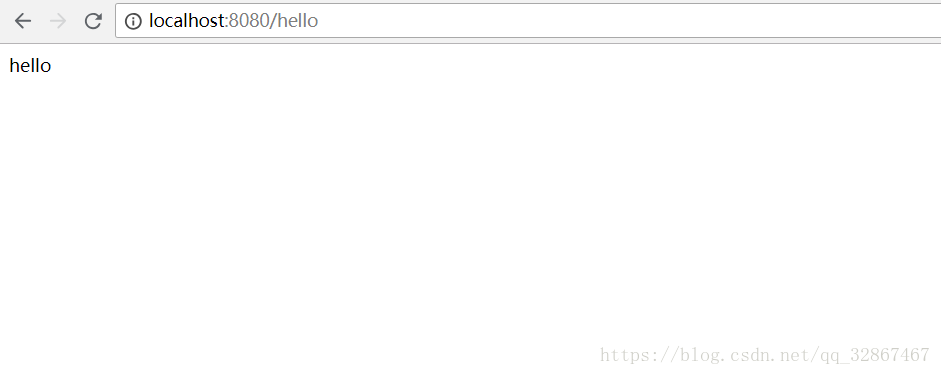
成功既可以 如果想设置端口可以在yml设置响应的server.port
如果不太懂配置的小伙伴
注:如果不对联系本宝宝及时改正 ~
~