https://blog.csdn.net/boonya/article/details/52210576
https://www.nihaoshijie.com.cn/index.php/archives/615
RTMP
RTMP是Real Time Messaging Protocol(实时消息传输协议)
RTMP是一种设计用来进行实时数据通信的网络协议,主要用来在Flash/AIR平台和支持RTMP协议的流媒体/交互服务器之间进行音视频和数据通信。支持该协议的软件包括Adobe Media Server/Ultrant Media Server/red5等。
nginx
毛子开发的服务器,很强,很轻
nginx-rtmp-module
相关文档:
https://github.com/arut/nginx-rtmp-module/wiki/
1、下载nginx rtmp模块
wget https://codeload.github.com/arut/nginx-rtmp-module/zip/master2、解压zip包
unzip master.zip3、找到nginx源码包,添加 rtmp模块
./configure --add-module=/home/likang/package/nginx-rtmp-module
4、编译 编译安装
-
make -
make install
5、添加配置
-
rtmp { -
server { -
listen 2018; #监听的端口 -
chunk_size 4000; #块大小 -
application hls { #rtmp推流请求路径 -
live on; -
hls on; -
hls_path /var/www/html/zhibo_rtmp; -
hls_fragment 5s; -
} -
} -
}
-
server { -
listen 81; -
server_name _; -
root /var/www/html/zhibo_rtmp; -
#charset koi8-r; -
access_log logs/81.access.log main; -
error_log logs/81.error.log; -
location / { -
index index.html index.htm index.php; -
autoindex on; -
} -
#error_page 404 /404.html; -
# redirect server error pages to the static page /50x.html -
# -
error_page 500 502 503 504 /50x.html; -
location = /50x.html { -
} -
# proxy the PHP scripts to Apache listening on 127.0.0.1:80 -
# -
#location ~ \.php$ { -
# proxy_pass http://127.0.0.1; -
#} -
# pass the PHP scripts to FastCGI server listening on 127.0.0.1:9000 -
# -
location ~ \.php$ { -
fastcgi_pass 127.0.0.1:9000; -
fastcgi_index index.php; -
fastcgi_param SCRIPT_FILENAME $document_root$fastcgi_script_name; -
include fastcgi_params; -
} -
# deny access to .htaccess files, if Apache's document root -
# concurs with nginx's one -
# -
#location ~ /\.ht { -
# deny all; -
#} -
}
6、下载obs,用obs软件进行推流
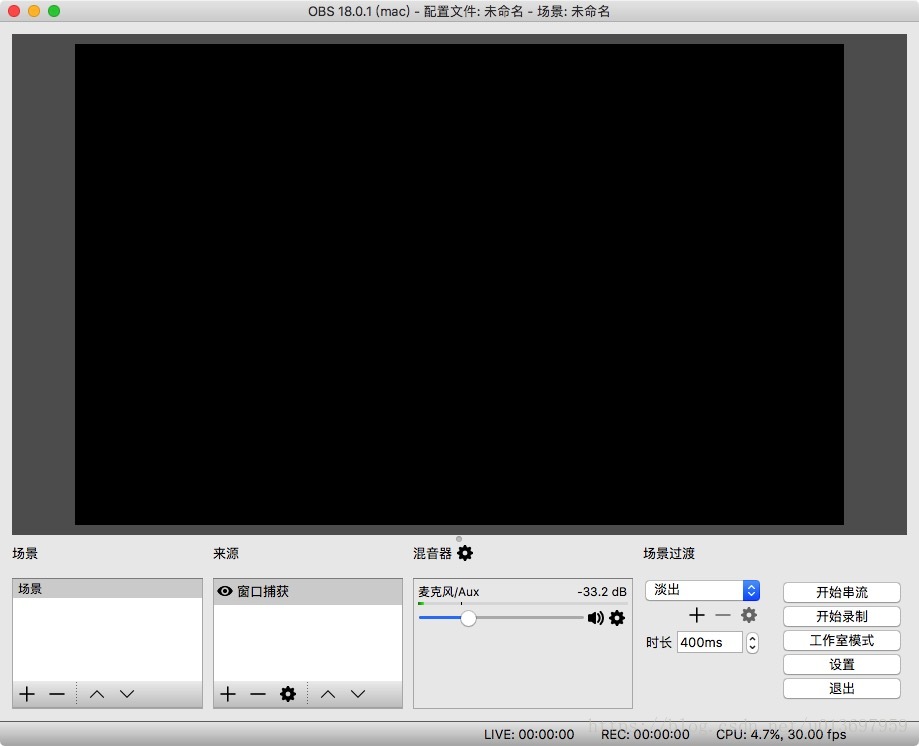
点击设置进入设置页面

串流类型选择: 自定义流媒体服务器
URL: rtmp://47.94.150.11:2018/hls
流秘钥 : test
自己定义,注意后边在拉直播流的时候 和这里保持一致
7、拉取直播流
-
<!DOCTYPE html> -
<html lang="en"> -
<head> -
<title>Video.js | HTML5 Video Player</title> -
<link href="http://vjs.zencdn.net/5.20.1/video-js.css" rel="stylesheet"> -
<script src="http://vjs.zencdn.net/5.20.1/videojs-ie8.min.js"></script> -
</head> -
<body> -
<video id="example_video_1" class="video-js vjs-default-skin" controls preload="auto" width="1280" height="720" poster="http://vjs.zencdn.net/v/oceans.png" data-setup="{}"> -
<!-- <source src="1.mp4" type="video/mp4"> --> -
# 这个地方修改为自己的流媒体服务器 如何访问直播流 -
<source src="http://47.94.150.11:8088/test.m3u8" type='application/x-mpegURL'> -
<p class="vjs-no-js">To view this video please enable JavaScript, and consider upgrading to a web browser that <a href="http://videojs.com/html5-video-support/" target="_blank">supports HTML5 video</a></p> -
</video> -
<script src="http://vjs.zencdn.net/5.20.1/video.js"></script> -
</body> -
</html>