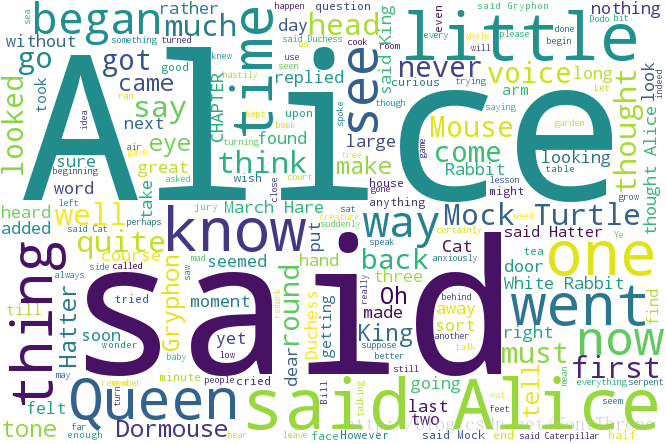
1 简易版生成词云
from wordcloud import WordCloud
import matplotlib.pyplot as plt

f = open(u'txt/AliceEN.txt','r').read()
wordcloud = WordCloud(background_color="white",width=1000, height=860, margin=2).generate(f)

# width,height,margin可以设置图片属性

# 你可以通过font_path参数来设置字体集

#background_color参数为设置背景颜色,默认颜色为黑色

plt.imshow(wordcloud)
plt.axis("off")
plt.show()

wordcloud.to_file('test.png')
# 保存图片,但是在第三模块的例子中 图片大小将会按照 mask 保存
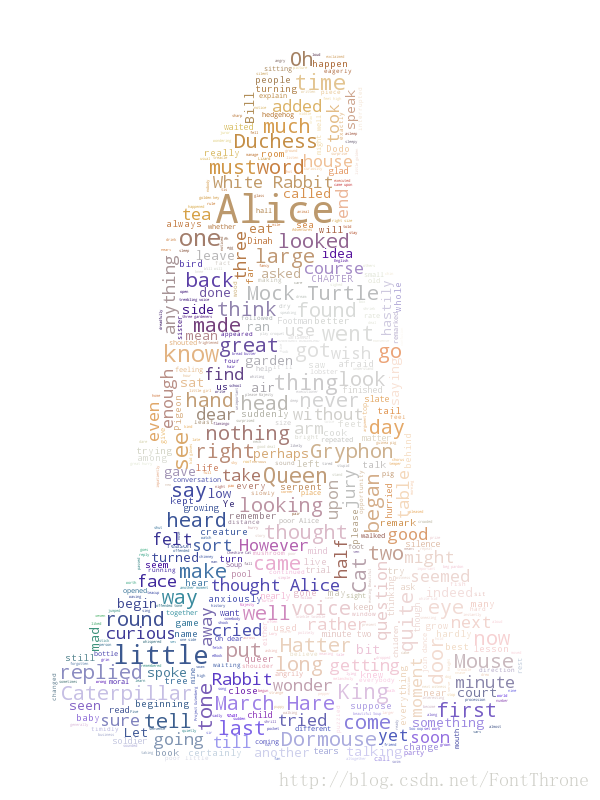
2 进阶版 利用背景图片生成词云,设置停用词词集
from os import path
from PIL import Image
import numpy as np
import matplotlib.pyplot as plt

from wordcloud import WordCloud, STOPWORDS, ImageColorGenerator

d = path.dirname(__file__)

# Read the whole text.
text = open(path.join(d, 'alice.txt')).read()

# read the mask / color image taken from
# http://jirkavinse.deviantart.com/art/quot-Real-Life-quot-Alice-282261010
alice_coloring = np.array(Image.open(path.join(d, "alice_color.png")))

# 设置停用词
stopwords = set(STOPWORDS)
stopwords.add("said")

# 你可以通过 mask 参数 来设置词云形状
wc = WordCloud(background_color="white", max_words=2000, mask=alice_coloring,
               stopwords=stopwords, max_font_size=40, random_state=42)
# generate word cloud
wc.generate(text)

# create coloring from image
image_colors = ImageColorGenerator(alice_coloring)

# show
# 在只设置mask的情况下,你将会得到一个拥有图片形状的词云
plt.imshow(wc, interpolation="bilinear")
plt.axis("off")
plt.figure()
# recolor wordcloud and show
# we could also give color_func=image_colors directly in the constructor
# 我们还可以直接在构造函数中直接给颜色
# 通过这种方式词云将会按照给定的图片颜色布局生成字体颜色策略
plt.imshow(wc.recolor(color_func=image_colors), interpolation="bilinear")
plt.axis("off")
plt.figure()
plt.imshow(alice_coloring, cmap=plt.cm.gray, interpolation="bilinear")
plt.axis("off")
plt.show()