什么是过滤器?
过滤器相当于一个函数,其作用于模板中的变量。过滤器将变量传入参数中,尔后根据本身功能进行过滤后,将结果返回到模板页面中。
什么情况下需要用到自定义过滤器?
当内置过滤器不能满足我们项目需求时,就须用到自定义过滤器!
自定义过滤器如何定义?
我们先写一个demo,然后通过这个demo来告诉大家如何自定义一个过滤器!
新建一个test.py文件,代码如下:
from flask import Flask,render_template

app = Flask(__name__)
@app.route('/')
def index():
    content = {
        "name":"blue",
        "txt":"hello python,python wolrd python!"
    }
    return render_template("test.html",**content)

if __name__ == "__main__":
    app.run(debug=True)
再新建一个test.html文件,其代码如下:
<!DOCTYPE html>
<html lang="en">
<head>
<meta charset="UTF-8">
<title>Title</title>
</head>
<body>
<h3>{{ txt }}</h3>
</body>
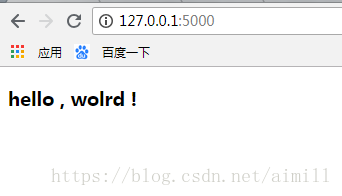
</html>运行test.py文件,走你!!运行结果如下:
假设我们现在有个需求,什么需求呢?把"hello python,python wolrd python!"这个字符串中的所有python去掉。怎么通过过滤器来实现这个效果呢?
首先,我们新建一个函数(过滤器本身就是一个函数),代码如下:
def cut(value):
    value = value.replace("hello","")
    return value
代码解析:
将"hello python,python wolrd python!"这个字符串作为参数传入cut这个函数中,经过replace后把结果返回到模板中!
函数写好了,是不是就完事了呢?当然不是!!函数写好后,我们还得把这个函数注册到Jinja模板中。过滤器完整代码如下:
#template_filter:可理解过模板过滤
#my_cut为过滤器的名字
@app.template_filter("my_cut")
def cut(value):
value = value.replace("hello", "")
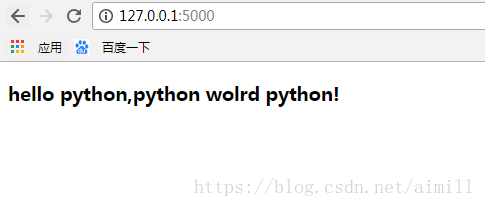
return value过滤器写好后,我们再运行试试!
咦!!结果怎么没变!!原因很简单,因为没有在模板文件中的变量调用我们自定义的过滤器(关键代码如下)
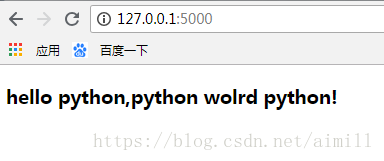
<h3>{{ txt|my_cut }}</h3>我们再运行试试,结果如我们所愿!