前言&需求:
部署docker的镜像仓库harbor仓库,如果是使用的rancher管理工具,可以直接在rancher的Catalog里面找到harbor仓库服务,填入相关的参数,一键部署即可。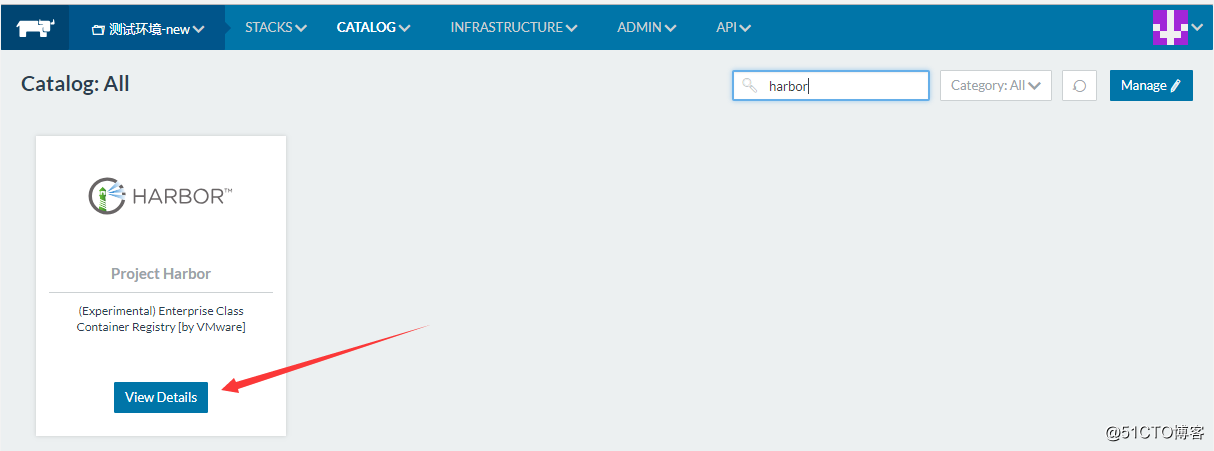
但是本次部署的服务器,因为业务限制,不能连外网,不能使用catalog部署,就只能离线部署。本次记录的是离线部署harbor仓库的过程。
实验环境:
harbor服务器系统:CentOS Linux release 7.4.1708 (Core)
harbor服务器IP:10.0.0.101
harbor版本:v1.5.0
另外为了测试pull镜像,使用了另一台test102机器:10.0.0.102
部署过程:
1、下载安装包
下载地址:http://harbor.orientsoft.cn/
2、上传并解压安装包
将下载下来的安装包上传到服务器的/home目录,并解压。
[root@test101 home]# tar xf harbor-offline-installer-v1.5.0.tgz
[root@test101 home]# ll
总用量 843504
drwxr-xr-x. 4 root root       229 7月  30 15:48 harbor
-rw-r--r--. 1 root root 863747205 7月  30 15:39 harbor-offline-installer-v1.5.0.tgz
[root@test101 home]#
3、配置harbor
3.1 编辑/home/habor/harbor.cfg,主要修改两个地方:
hostname = 10.0.0.101   #这里直接用的IP
harbor_admin_password = 123456   #登录harbor仓库的密码,默认密码是Harbor12345
4、安装docker-compose
安装命令:
curl -L https://github.com/docker/compose/releases/download/1.8.1/docker-compose-`uname -s`-`uname -m` > /usr/local/bin/docker-compose 因为本机器不能联网,于是在其他机器将docker-compose下载下来再上传到本机的 /usr/local/bin/目录下,然后赋予x权限:
[root@test101 templates]# chmod +x /usr/local/bin/docker-compose      #给docker-compose添加执行权限,这一步不能漏掉
[root@test101 harbor]# ll /usr/local/bin/ |grep docker-compose
-rwxr-xr-x. 1 root root 7986086 7月  30 13:46 docker-compose
[root@test101 harbor]#
检查docker-compose是否安装成功,可以查看一下版本号:
[root@test101 harbor]# docker-compose -version
docker-compose version 1.8.1, build 878cff1
[root@test101 harbor]#
5、执行install.sh脚本,安装harbor仓库
注意:在执行install.sh脚本之前,先检查两个问题:
1)docker-compose是否安装,否则在运行install.sh时会失败,报错“✖ Need to install docker-compose(1.7.1+) by yourself first and run this script again.”
2)docker服务是否正常运行,否则在运行install.sh会失败,报错“Cannot connect to the Docker daemon at unix:///var/run/docker.sock. Is the docker daemon running?”
运行安装脚本:
[root@test101 harbor]# ./install.sh

[Step 0]: checking installation environment ...
......                     #输出过程省略
Creating nginx

✔ ----Harbor has been installed and started successfully.----       #提示安装成功

Now you should be able to visit the admin portal at http://10.0.0.101.
For more details, please visit https://github.com/vmware/harbor .
6、检查部署是否OK
6.1检查容器启动状况,已经全部OK:
[root@test101 harbor]# docker ps -a
CONTAINER ID        IMAGE                                  COMMAND                  CREATED             STATUS                    PORTS                                                              NAMES
3d544a83d078        vmware/harbor-jobservice:v1.5.0        "/harbor/start.sh"       34 seconds ago      Up 14 seconds                                                                                harbor-jobservice
0d4d27c67d81        vmware/nginx-photon:v1.5.0             "nginx -g 'daemon ..."   34 seconds ago      Up 31 seconds (healthy)   0.0.0.0:80->80/tcp, 0.0.0.0:443->443/tcp, 0.0.0.0:4443->4443/tcp   nginx
a258703ea6d9        vmware/harbor-ui:v1.5.0                "/harbor/start.sh"       37 seconds ago      Up 34 seconds (healthy)                                                                      harbor-ui
85e21f04fb3f        vmware/redis-photon:v1.5.0             "docker-entrypoint..."   39 seconds ago      Up 37 seconds             6379/tcp                                                           redis
f0cd3db1d2a7        vmware/harbor-db:v1.5.0                "/usr/local/bin/do..."   39 seconds ago      Up 36 seconds (healthy)   3306/tcp                                                           harbor-db
916f6513fcbd        vmware/harbor-adminserver:v1.5.0       "/harbor/start.sh"       39 seconds ago      Up 37 seconds (healthy)                                                                      harbor-adminserver
21dc6d054ad1        vmware/registry-photon:v2.6.2-v1.5.0   "/entrypoint.sh se..."   39 seconds ago      Up 37 seconds (healthy)   5000/tcp                                                           registry
ada393444d09        vmware/harbor-log:v1.5.0               "/bin/sh -c /usr/l..."   44 seconds ago      Up 39 seconds (healthy)   127.0.0.1:1514->10514/tcp                                          harbor-log
[root@test101 harbor]#
6.2 界面访问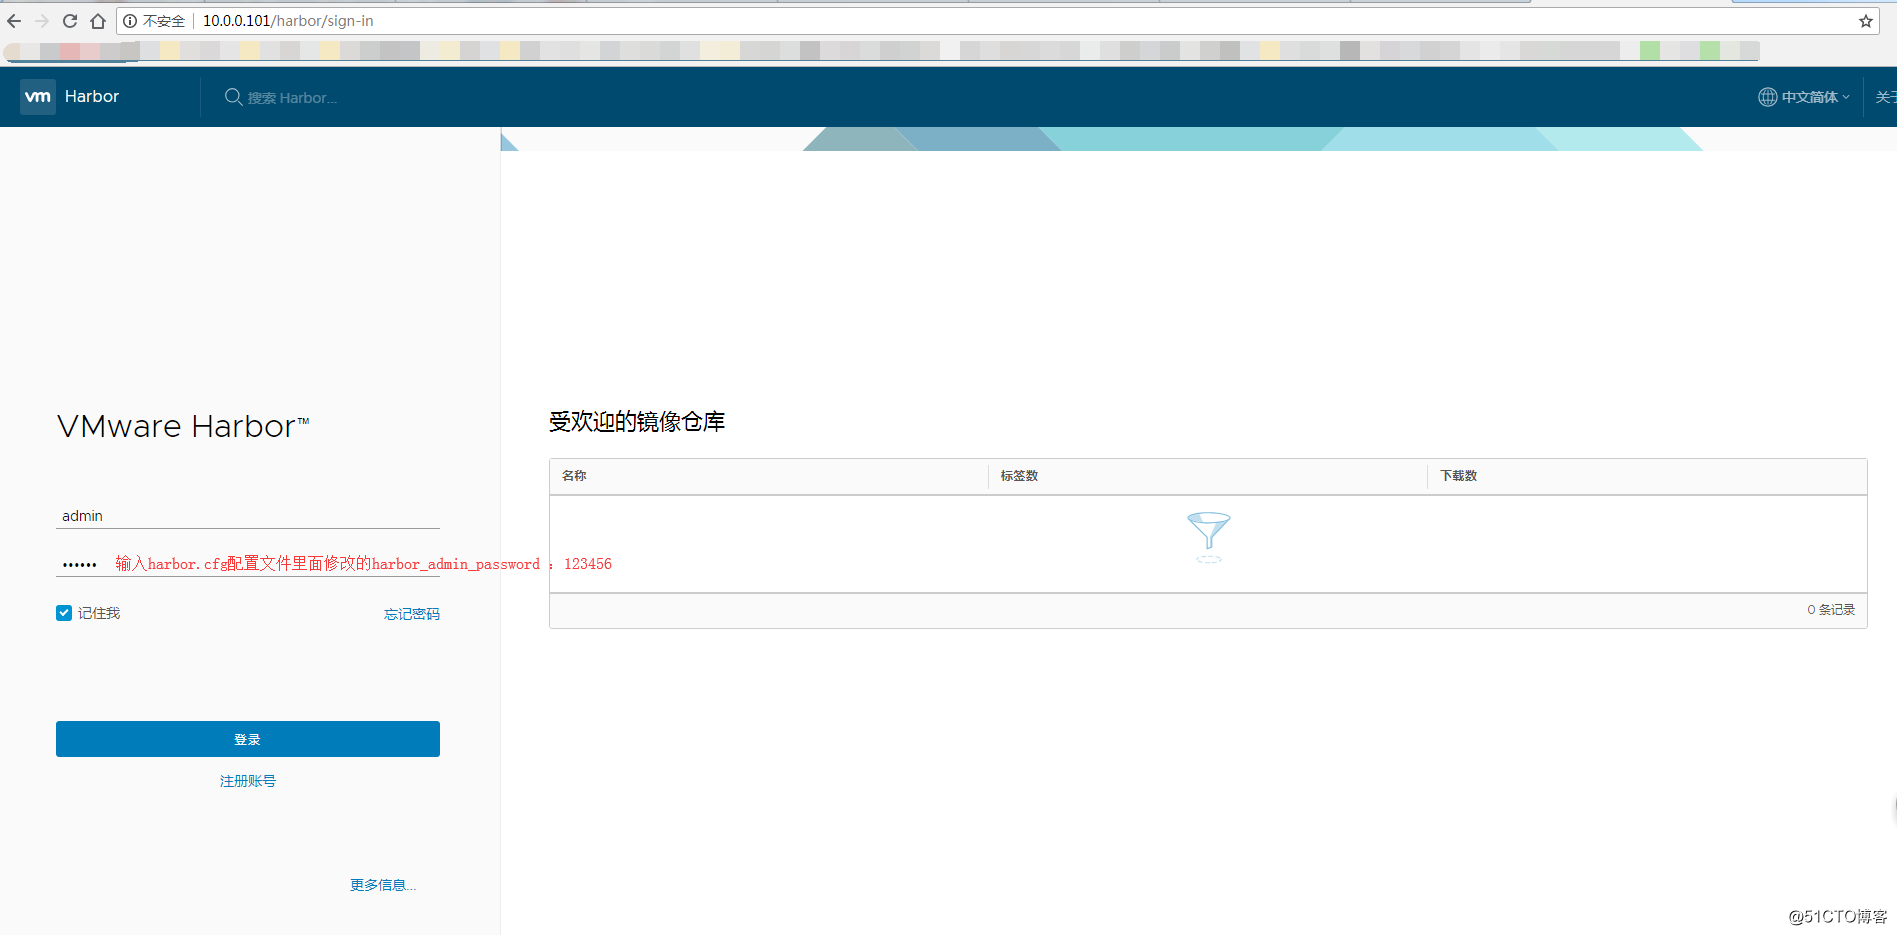
登录成功: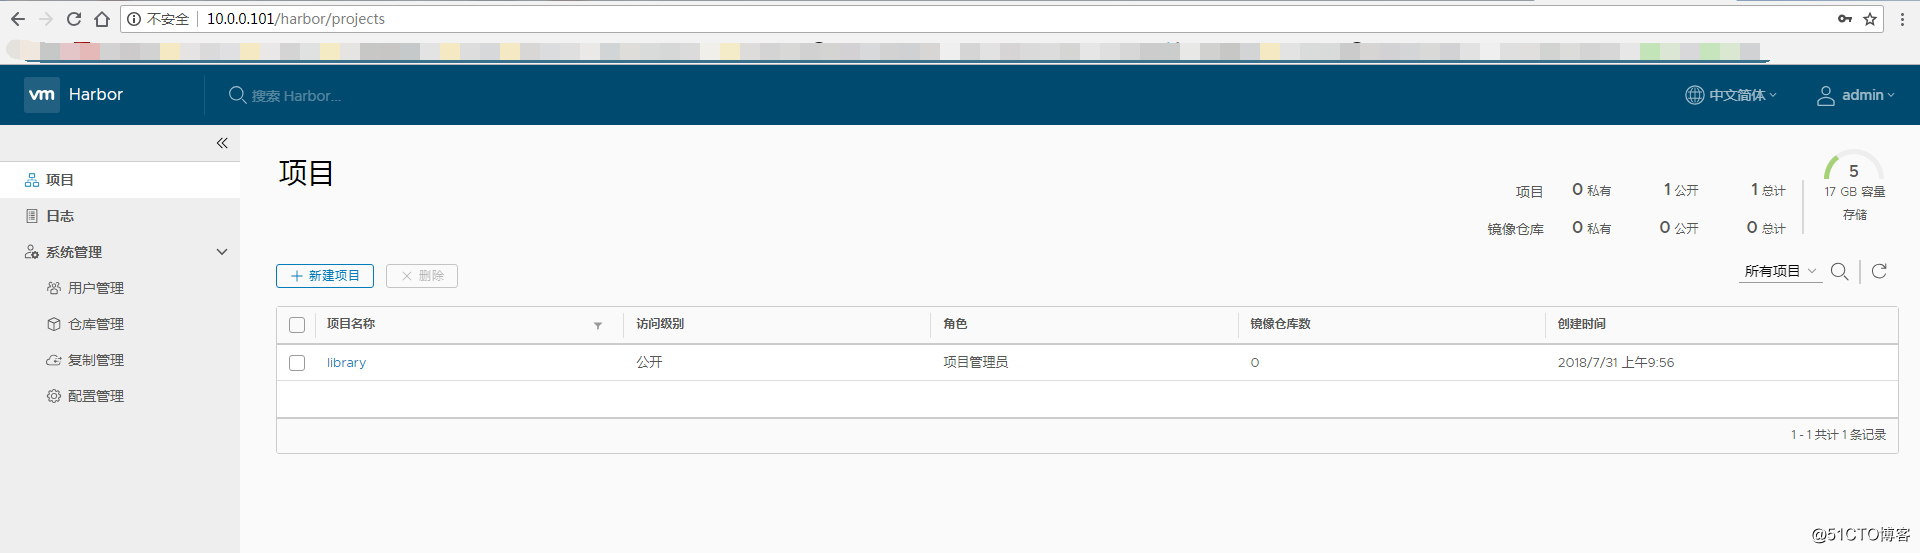
创建一个test项目: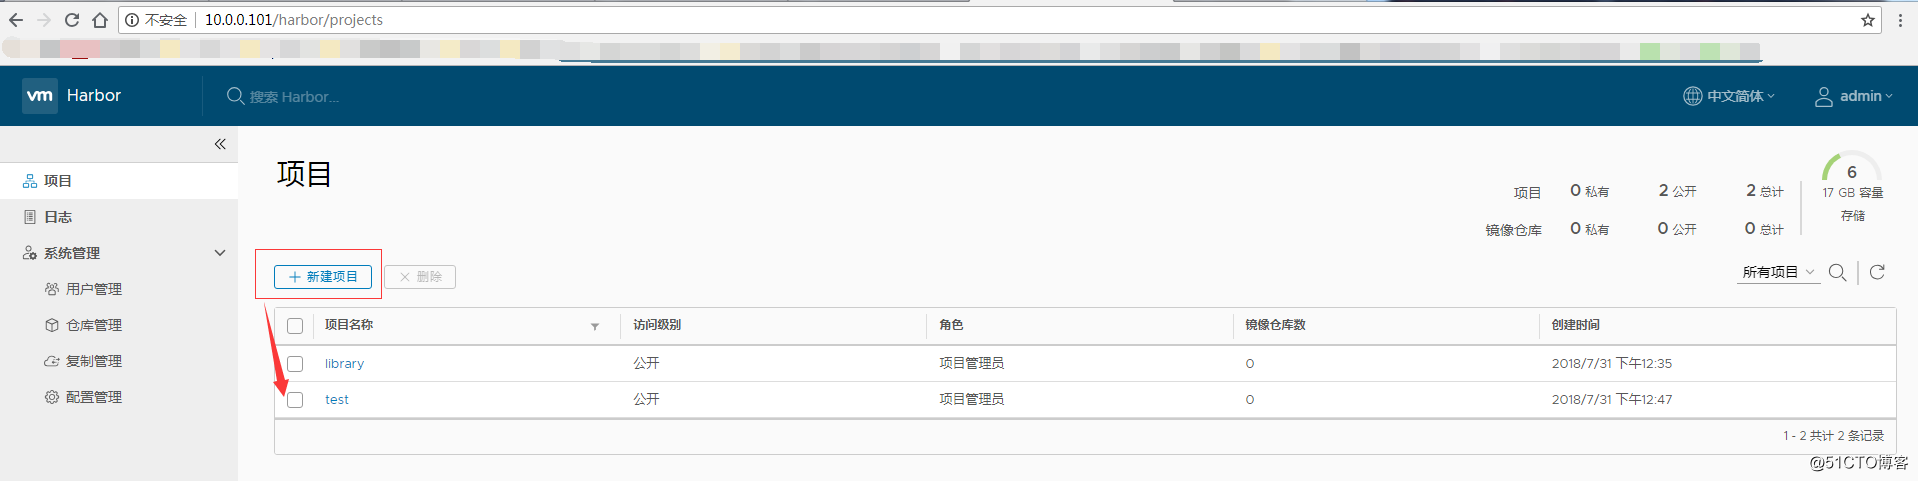
构建一个镜像并推送到仓库:
[root@test101 harbor]#docker build -t 10.0.0.101/test/bigdatacenter:latest /usr/local/src/bigdatacenter/   #构建测试镜像
[root@test101 harbor]# docker push 10.0.0.101/test/bigdatacenter:latest   #推送到仓库
查看harbor仓库的,测试镜像已经推送成功: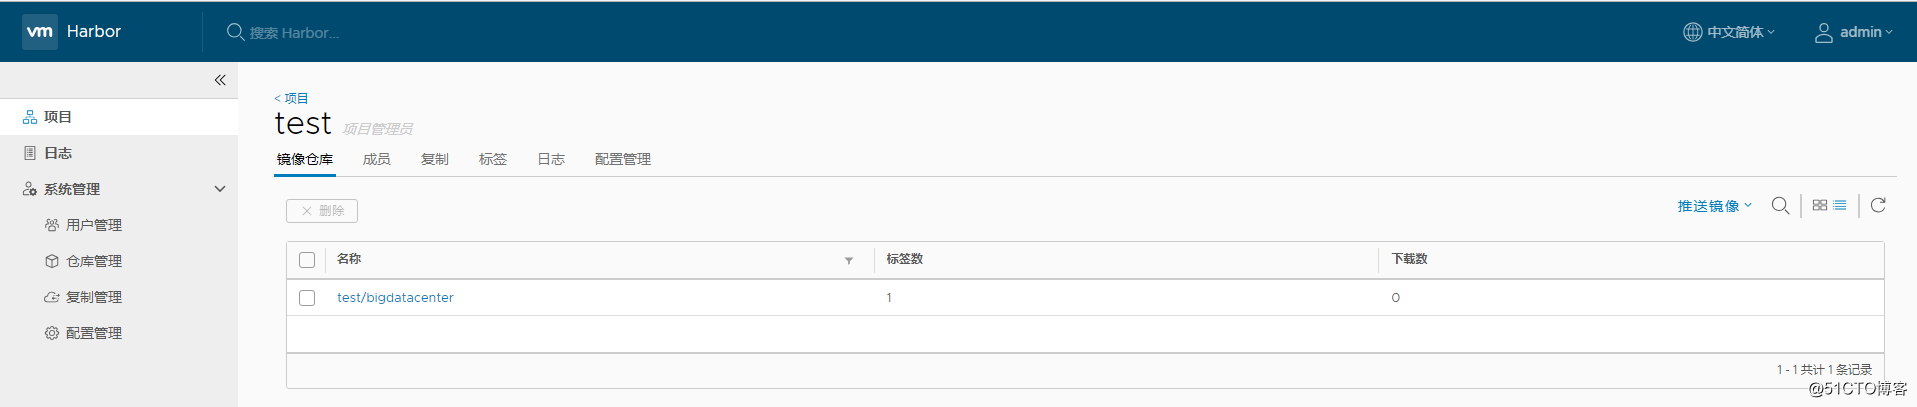
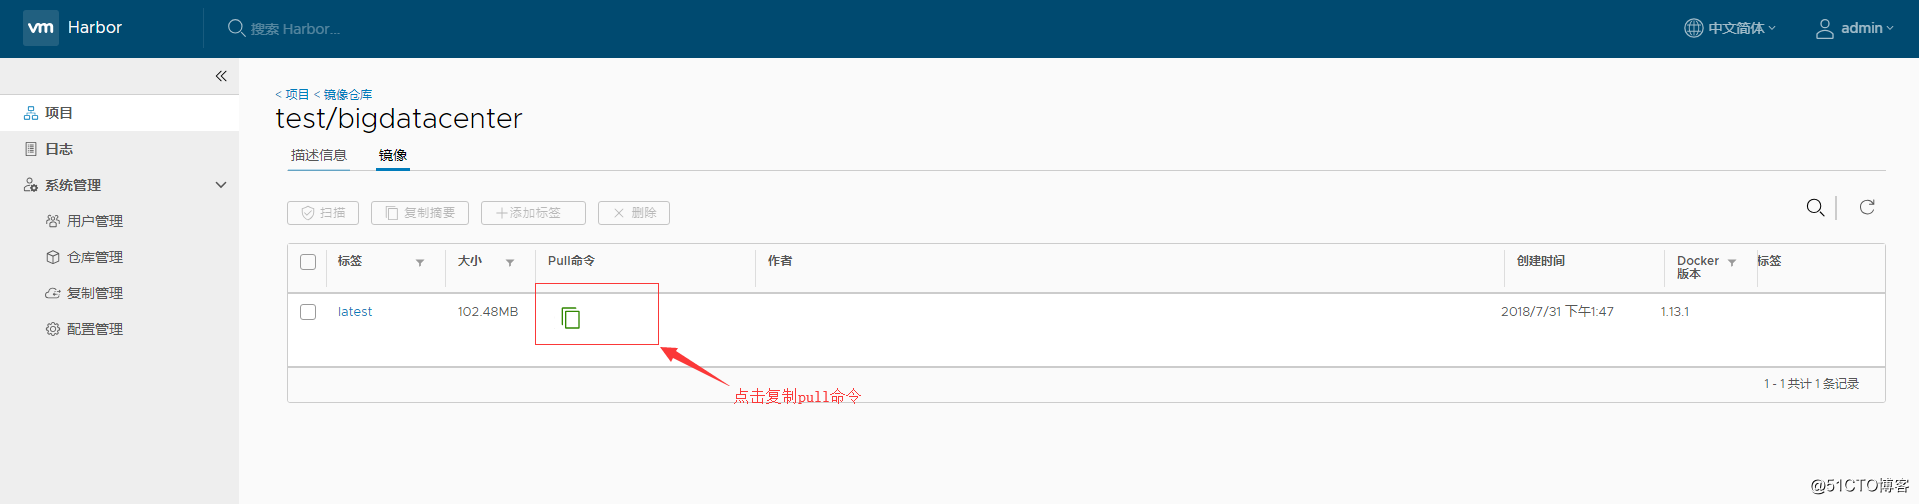
查看pull命令,名找一台测试机测试pull镜像: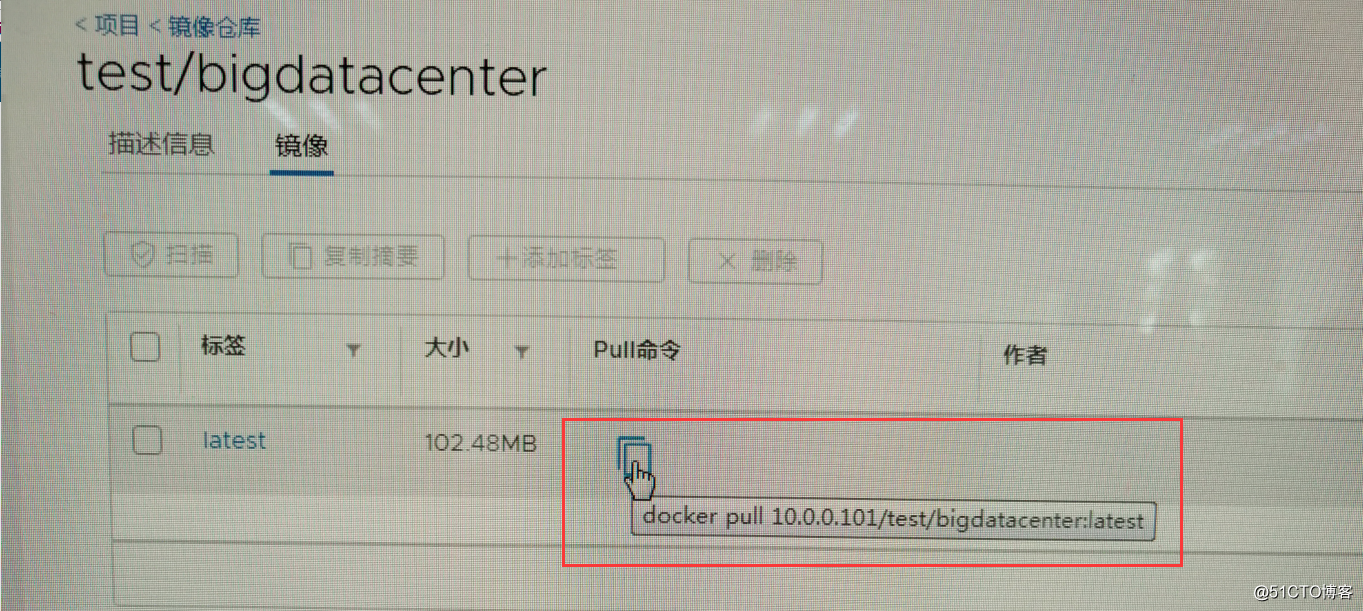
=============下面的操作在test102机器上进行=============
找一台机器test102测试pull该镜像:
首先配置该机器指向harbor仓库所在地址10.0.0.101,然为了保证docker的配置文件生效,重启一下test102机器的docker服务: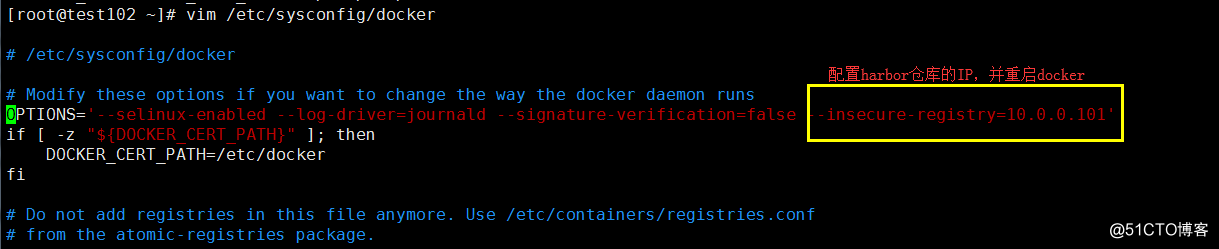
重启test102docker服务:
[root@test102 ~]# systemctl restart docker在test102机器上测试pull镜像:
[root@test102 ~]# docker images    #test102机器还没有任何的镜像文件
REPOSITORY          TAG                 IMAGE ID            CREATED             SIZE
[root@test102 ~]#
[root@test102 ~]# docker pull 10.0.0.101/test/bigdatacenter:latest   从harbor仓库拉取镜像文件
Trying to pull repository 10.0.0.101/test/bigdatacenter ...
latest: Pulling from 10.0.0.101/test/bigdatacenter
53478ce18e19: Pull complete
d1c225ed7c34: Pull complete
c6724ba0c09a: Pull complete
5665f8d021a4: Pull complete
8ae56d3ca4f6: Pull complete
4e209be2644e: Pull complete
Digest: sha256:07c467b4f8c6cfa306484bd060721fb621ddb1fd43f528ef5a0df1157d8bd853
Status: Downloaded newer image for 10.0.0.101/test/bigdatacenter:latest
[root@test102 ~]# docker images    #镜像文件已经拉取成功
REPOSITORY                      TAG                 IMAGE ID            CREATED             SIZE
10.0.0.101/test/bigdatacenter   latest              d8660885a369        30 minutes ago      181 MB
[root@test102 ~]#
至此,简单的离线harbor仓库就已经部署完成,并已经能够正常使用了!