以下步骤是日后实际开发中经常重复的。
1、建立动作类和动作方法
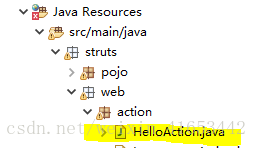
package struts.web.action;
import com.opensymphony.xwork2.ActionSupport;

public class HelloAction extends ActionSupport{
    /**
     *  struts2中的action可以继承ActionSupport,也可以不继承ActionSupport。
        不继承ActionSupport的情况只需要有一个方法,返回String,即可,记住,在继承ActionSupport的情况下,必须有无参构造函数。
        继承ActionSupport的好处在于:
        1、能够使用struts预设的返回字符串,如SUCCESS,INPUT等等。
        2、重写方法,更方便的实现验证、国际化等等功能。(public String execute() throws Exception)
        3、与struts的功能结合紧密,方便开发。
     */
    public String sayHello() {
        System.out.println("HelloAction.sayHello()");
        return SUCCESS;
    }
}
2、在struts.xml文件中配置
<?xml version="1.0" encoding="UTF-8" ?>
<!DOCTYPE struts PUBLIC
"-//Apache Software Foundation//DTD Struts Configuration 2.3//EN"
"http://struts.apache.org/dtds/struts-2.3.dtd">
<struts>
<!-- 1、package元素
1.1、作用:在struts2的配置文件中引入了面向对象思想,使用了分包管理。易于管理动作类。便于模块化开发动作类。
1.2、属性:
name:包的名称。必须写。且必须唯一。
extends:一般情况下需要继承struts-default包,但不是必须的。不过如果不继承的话,将无法使用struts2提供的核心功能。
struts-default.xml中定义着struts-default这个包。且struts-default.xml是在我们的struts.xml加载之前加载。-->
<package name="struts-demo" extends="struts-default" namespace="/hello">
<action name="hello" class="struts.web.action.HelloAction" method="sayHello">
<!-- 配置结果视图-->
<result>/success.jsp</result>
</action>
</package>
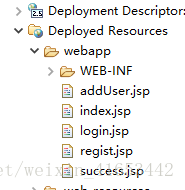
</struts>3、建立一个jsp文件
例:index.jsp(用作给浏览器发出请求)
<%@ page language="java" contentType="text/html; charset=ISO-8859-1"
    pageEncoding="ISO-8859-1"%>
<!DOCTYPE html>
<html>
<head>
<meta charset="ISO-8859-1">
<title>Insert title here</title>
</head>
<body>
<!-- <%=request.getContextPath() %>相当于localhost:8080/项目名 -->
    <a href="<%=request.getContextPath() %>/hello.action">hello.action</a>
    <a href="<%=request.getContextPath() %>/hello">hello</a>
    <a href="<%=request.getContextPath() %>/hello.do">hello.do</a>
</body>
</html>
4、结果视图页面
即在struts.xml中定义的/success.jsp页面
<%@ page language="java" contentType="text/html; charset=ISO-8859-1"
pageEncoding="ISO-8859-1"%>
<!DOCTYPE html>
<html>
<head>
<meta charset="ISO-8859-1">
<title>Insert title here</title>
</head>
<body>
<p>success</p>
</body>
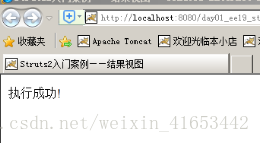
</html>5、测试:
1.启动Servers进入index.jsp页,点击a标签hello.action 或a标签hello
或在浏览器直接输入localhost:8080/项目名/hello 或 localhost:8080/项目名/hello.action
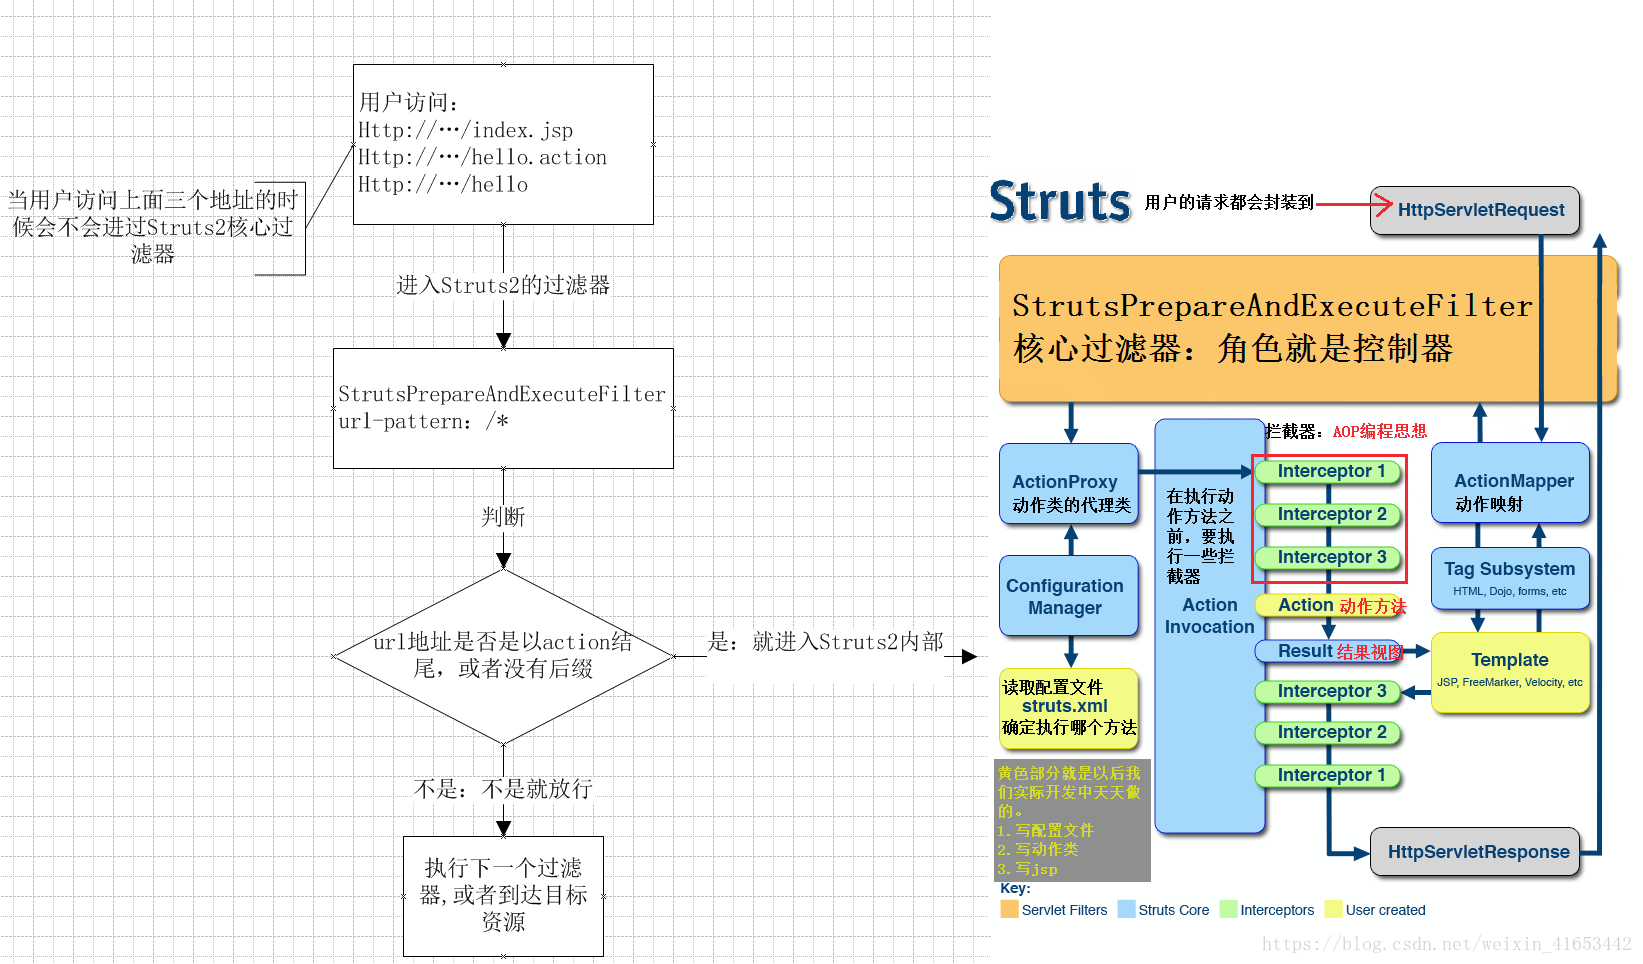
6.疑问
当我们访问localhost:8080/项目名/hello.do或者a标签hello.dode的时候发现报404
那是因为Struts2框架提供了常量
而常量定义在了default.properties配置文件中,体现形式都是key=value。所有的struts2应用都会用到这些常量。
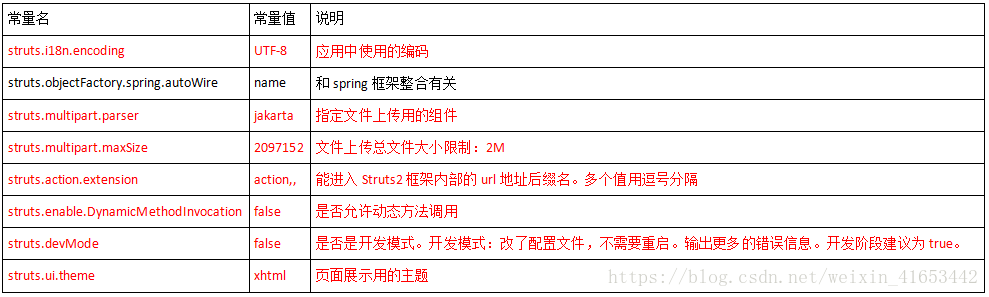
看到常量值(action)这想必都明白了为什么加了.action后缀也能访问到页面!
而想要后缀.do也能使用,就必须覆盖这些常量了!
6.2、在struts.xml中覆盖常量
使用 constant 元素进行覆盖 (例如:)
<!--这样.acition就不能使用-->
<constant name="struts.action.extension" value="do"></constant>
6.3、创建struts.properties文件覆盖
在应用的构建路径中创建一个struts.properties的文件。

第一行是设置为开发者模式
第二行是设置请求资源url扩展名(.action或.do或没有后缀都能使用)
struts.devMode=true
struts.action.extension=action,do,,
这样再次访问localhost:8080/项目名/hello.do也能进入success.jsp啦!!
7、第一个案例的执行过程
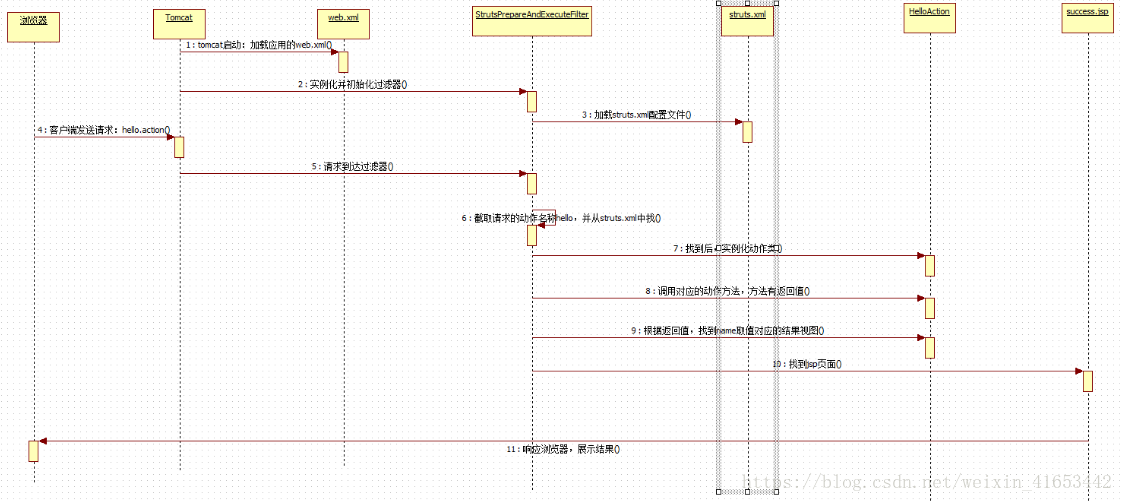
明确:
8、Struts2的配置文件
1、加载时机:当应用被tomcat加载的时候,struts2的配置文件就已经被加载过了。
2、加载顺序
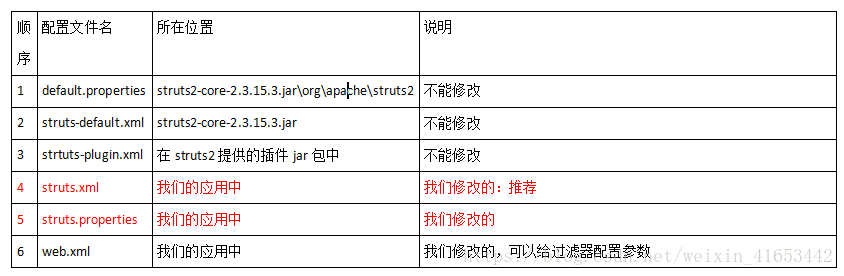
注意:
1、Struts2提供了两种配置的方式。一种是key=value的方式,即使用.properties文件。另一种是xml文件配置。我们推荐使用xml文件(它能描述层级关系)。
2、当多个配置文件中,有相同的参数,后面的会把前面的值给覆盖了。
over~~~