    rsync服务可以实现数据的同步,但不是自动同步,所以在一些网站服务等,
    需要用到inotify进行自动监控。

    实验环境:centos7 两台 能互相ping通对方。一台为源端,一台为发起端。
    该实验博主源端地址:192.168.60.135
                  发起端地址:192.168.60.136

    http://github.com/downloads/rvoicilas/inotify-tools/inotify-tools-3.14.tar.gz
    这是inotify网址,进网站响应很慢,耐心等待。

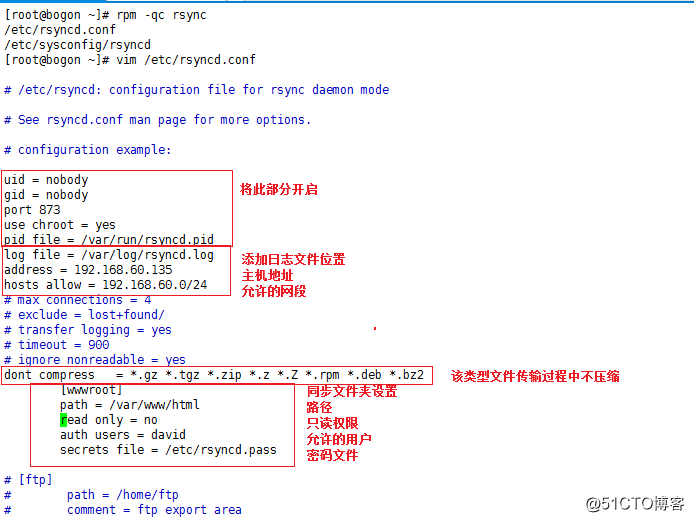
一、源端配置相应文件
rsync主配置文件设置
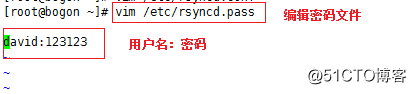
允许用户的密码文件
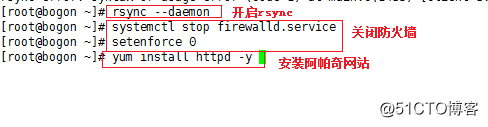
关闭防火墙,安装阿帕奇网站,无需启动,只做测试
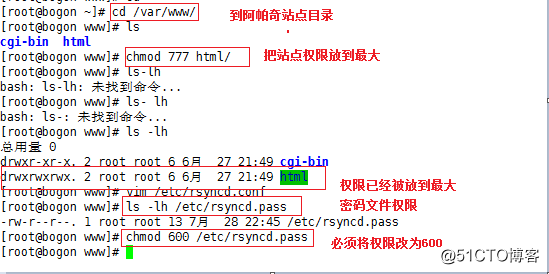
放大阿帕奇站点文件权限,设置用户密码文件权限。
    二、发起端配置
    配置免交互文件

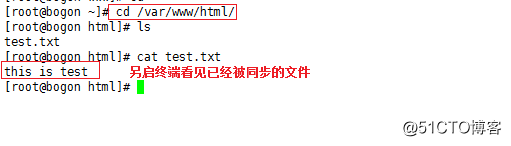
首先要安装阿帕奇服务,然后测试rsync能否同步,示例如下

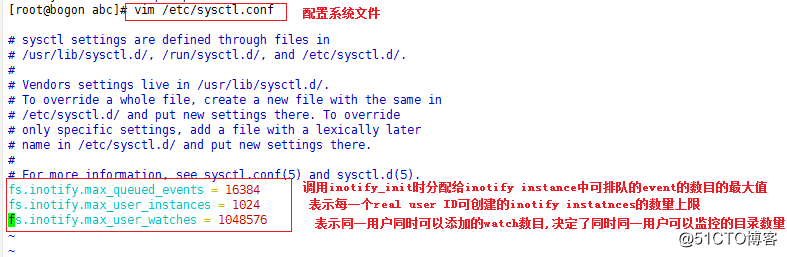
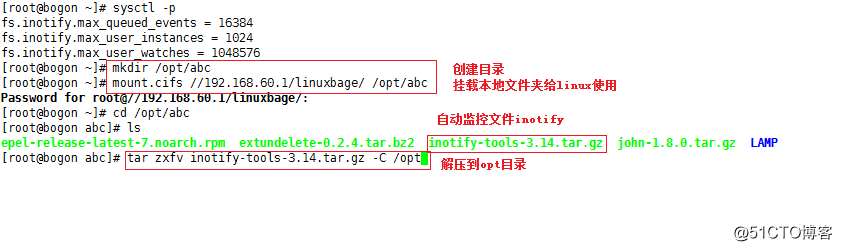
配置系统文件,放大inotify权限相对应的值
挂载使用inotify的包
安装编译环境,gcc gcc-c++
安装完编译环境后./configure 加载inotify 然后make && make install

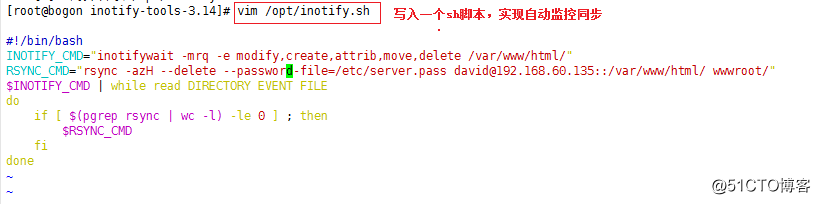
shell脚本实现自动监控
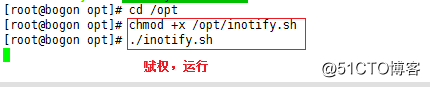
赋权shell脚本权限,同时记得将发起端阿帕奇站点权限开到最大!!!
测试

rsync+inotify配置就介绍到这,欢迎大家进行探讨,共同提升~