Hello!今天是学习的第二天,也要元气满满哦!
根据书本的内容
今天一开始我要接触的是Log打印。一起来看看吧
一、Log

不过在测试之前,我们得先调一下AS默认的LogCat
找到Setting——Color Scheme——Android Logcat
去掉
然后就可以自己弄自己喜欢的颜色啦!


弄了一个Button来测试
public void LogClick(View view)
{
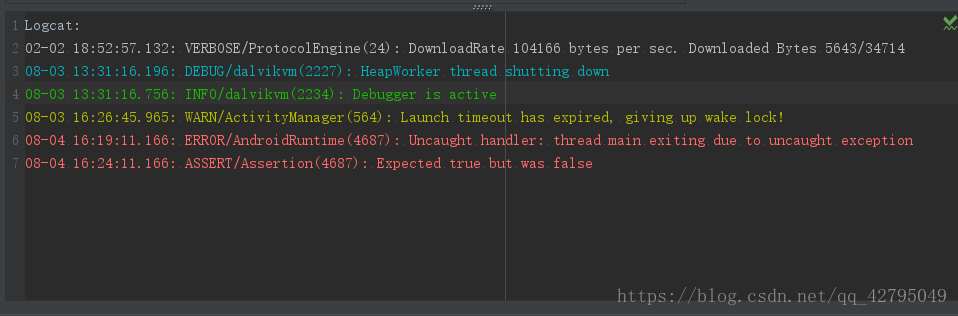
Log.v("MainActivity","我是黑色,很啰嗦的黑色");
Log.d("MainActivity","我是蓝色,负责Debug的蓝色");
Log.i("MainActivity","我是绿色,负责告诉你绿了的Information");
Log.w("MainActivity","我是黄色,FBI Warming的黄色");
Log.e("MainActivity","我是红色,就是你们程序员最怕见到的Error的颜色");
}
二、基础控件
- Button
巧妙运用 Wrap_content和fill_parent能做出两个形态不一的Button
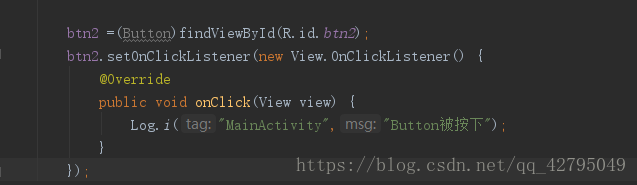
除了昨天例子用到的在Xml中添加OnClick事件,一般来说,在OnCreate中添加监听器更为方便。
实例:
先创建一个按钮,id为btn2
两种方法一种是 当前类使用 OnClickListener接口,但必须重写 接口中的抽象方法 OnClick
另一种方法
使用内部类实现监听器的监听
测试结果:


- 布局
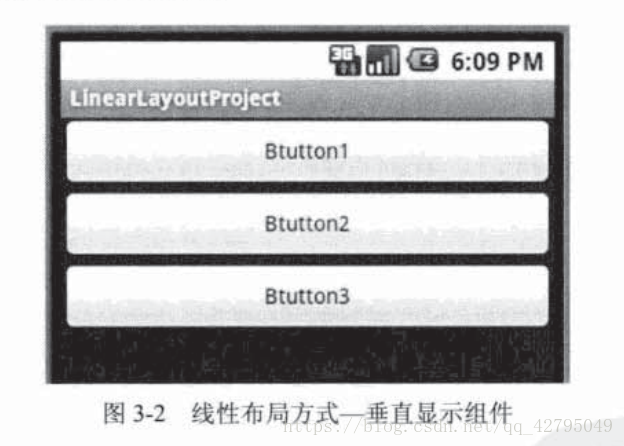
- 线性布局(LinearLayout)
当模式为默认的垂直模式时
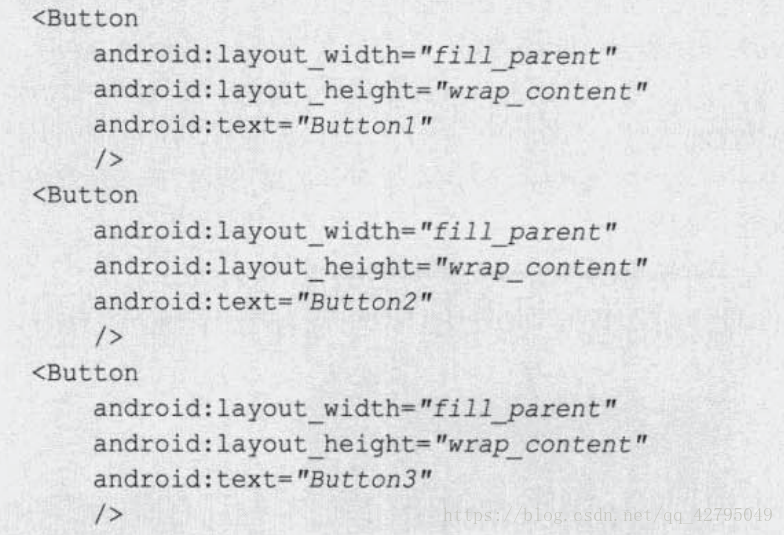
Xml的代码为
那么我们把 模式调为水平模式 horizontal
会发现 Button1 把Button2 Button3都覆盖掉了
原因当然是因为我们XML中,宽设置为全填充。
那么我们要先调为自适应
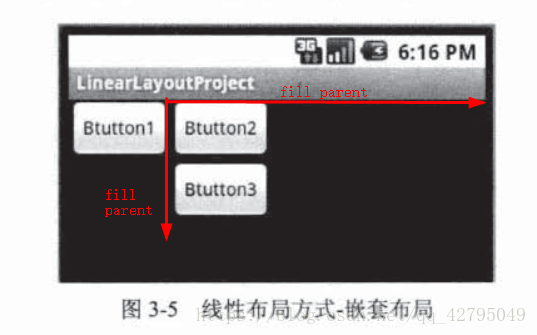
下面在LinearLayout中再嵌套一个LinearLayout
之后将Button2和Button3放入其中,我们得到的结果是
这是显而易见的。
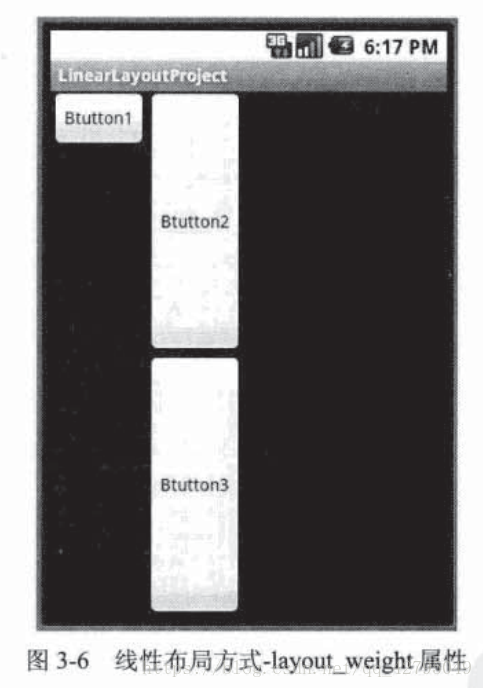
在这里我们顺便讨论一下android:layout_weight的属性
假如我们将上面的B2,B3的android:layout_weight都设置为1
那么久会将会得到以下结果
原因是:


顺便一提:
android:layout_gravity和android:gravity的区别
https://blog.csdn.net/shakespeare001/article/details/7843460
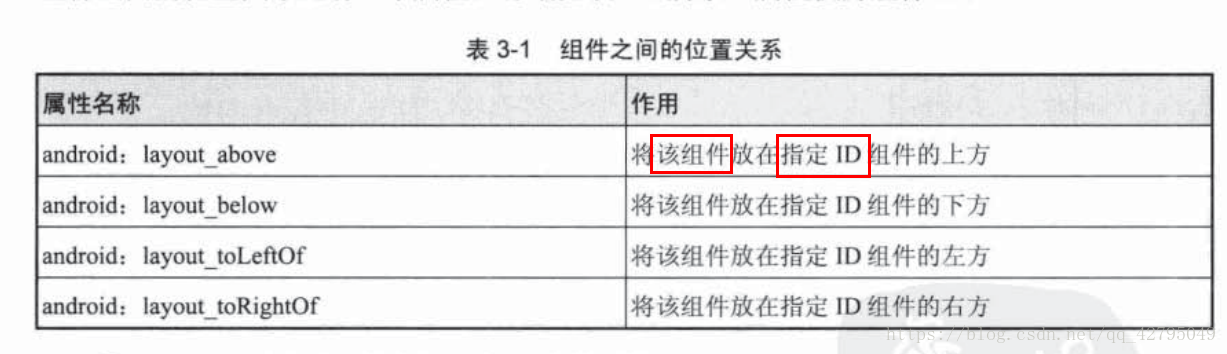
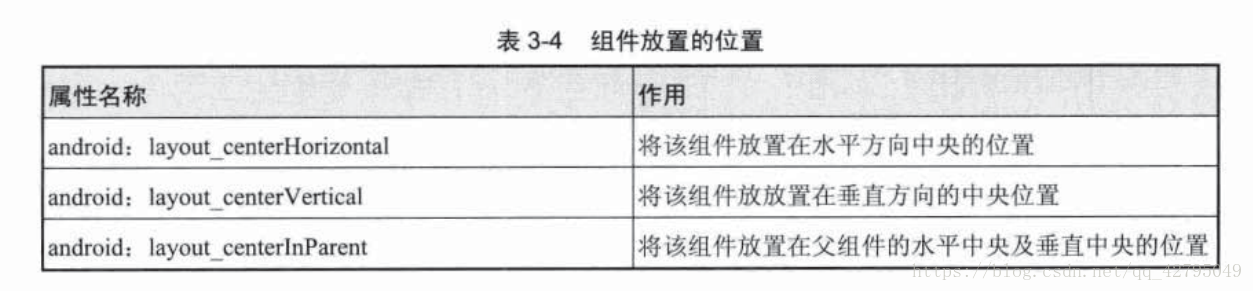
2、相对布局(RelativeLayout)
组件以相对位置摆放
注意:最!左,最!上
这个最字很关键。
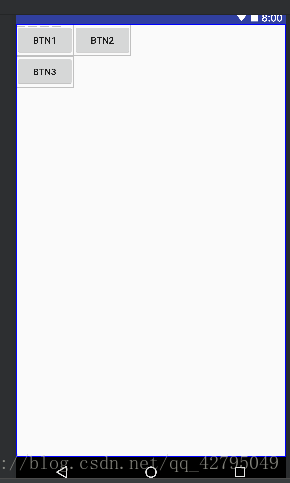
我们来看例子:
    <Button
        android:id="@+id/rbtn3"
        android:text="BTN3"
        android:layout_below="@+id/rbtn2"
        android:layout_width="wrap_content"
        android:layout_height="wrap_content" />
虽然将BTN3写在BTN2的下面,但是由于没有确定水平位置,于是默认为最左。
假如再添加一个BTN4
   <Button
        android:text="BTN4"
        android:id="@+id/rbtn4"
        android:layout_toRightOf="@+id/rbtn3"
        android:layout_width="wrap_content"
        android:layout_height="wrap_content" />
会发现,BTN4把BTN2给覆盖了,原因是因为没有确定垂直位置,于是默认最上面。


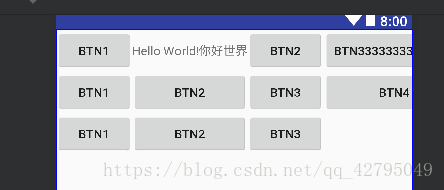
3、 表格布局(TableLayout)
代码:
  <TableRow>
        <Button android:text="btn1" />
        <TextView android:text="@string/text" />
        <Button android:text="btn2"/>

    </TableRow>
    <TableRow>
        <Button android:text="btn1" />
        <Button android:text="btn2"/>
        <Button android:text="btn3"/>
    </TableRow>
    <TableRow>
        <Button android:text="btn1" />

        <Button android:text="btn2"/>
        <Button android:text="btn3"/>
    </TableRow>
效果:
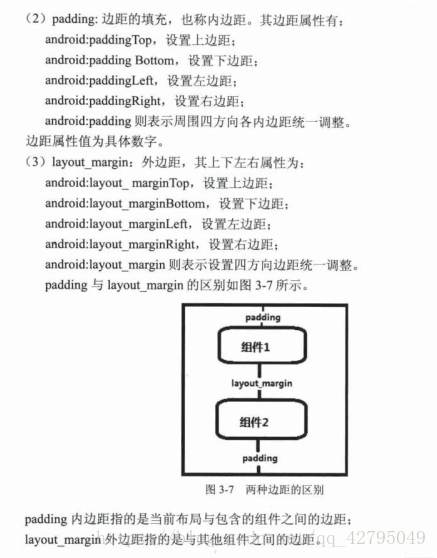
表格布局常用的属性(是布局属性,写在布局里,不是组件)
- shrinkColumns属性(用于超出)
以0为序,以第N列自动延伸填充可用部分,当TableRow里面的控件还没有布满布局时,shrinkColunms不起作用。控件缩放到最小值也不起作用(用来防止最后一个控件超出Activity)
实例:
当
android:shrinkColumns="3"<TableRow> <Button android:text="btn1" /> <TextView android:text="@string/text" /> <Button android:text="btn2"/> <Button android:text="btn33333333333333"/> </TableRow> <TableRow> <Button android:text="btn1" /> <Button android:text="btn2"/> <Button android:text="btn3"/> <Button android:text="btn4"/> </TableRow>
去掉android:shrinkColumns="3"
效果很明显。
- stretchColumns属性(用于不足)
以0为序,对空白部分进行填充
实例:
android:stretchColumns="2"
android:stretchColumns="0"
- collapseColumns属性
以0为序,隐藏指定行
TableLayout对于组件的属性:
<TableLayout
    xmlns:android="http://schemas.android.com/apk/res/android" android:layout_width="match_parent"
    android:layout_height="match_parent"
    android:shrinkColumns="4"
    >

    <TableRow>
        <Button android:text="btn1"
            android:layout_span="3"/>
        <Button android:text="btn2"/>
    </TableRow>
    <TableRow>
        <Button android:text="btn1"
            android:layout_column="2"
            />

...


4、绝对布局(AbsoluteLayout)
顾名思义就是用X,Y坐标确定组件的位置,但是这个在不同分辨率上显示的效果不一样,所以不推荐!
使用layout_x和layout_y,以像素dp为单位确定位置。
5.单帧布局(FrameLayout)
不说....
下一篇我们来讲讲学习更多的控件