Istio简介
1、简介
1.1、Service Mesh
上网了解一下:Service mesh和sidecar。参考链接:http://www.sohu.com/a/198655597_467759
1.2、Istio体系结构
Istio主要由Envoy、Pilot、Mixer三部分组成,整体结构如下:

- Envoy:以sidecar的形式和应用程序运行与同一个pod中,通过修改iptables来代理应用程序的所有出入流量
- Pilot:接受系统管理员发出的指令或者规则,遥控所有Envoy的行为
- Mixer:从Envoy处获取流量属性,根据自定义的属性匹配规则进行流量处理,如:流量限制、日志记录等
1.2.1、Envoy

- svcA服务作为客户端点用服务端svcB,svcB存在有两个版本,但是svcA并不知情
- Envoy作为sidecar部署到各个svc到pod内,代理所有到进出流量
- 当svcA通过svcB到域名访问其服务时,Envoy根据Pilot配置的路由规则,将1%的流量分给了svcB的alpha版本
整个过程对应用程序透明,无需任何的代码修改。
1.2.2、Pilot

这张图表明了Pilot平台无关性设计,Pilot提供REST客户端接受用户请求,具体的实现则由各个平台自己实现Platform Adapter。Envoy同样实现Envoy API以实现路由配置功能和服务发现功能。
通过配置,Pilot可以使Envoy实现:路由配置、故障注入、流量迁移、请求超时、熔断等诸多能力。
1.2.3、Mixer

Mixer主要提供三个核心功能:
- 前提条件检查:发生在服务响应请求之前,如果检查不通过可终止响应
- 配额管理:
- 遥测报告:可监控服务、上报日志信息
2、部署
2.1、前提条件
一个可用的Kubernetes环境,这里使用之前文章中通过Ansible创建的实验环境:
| IP | Role | OS |
|---|---|---|
| 192.168.119.160 | k8s-master | CentOS 7 |
| 192.168.119.161 | K8s-node-1 | CentOS 7 |
| 192.168.119.162 | K8s-node-2 | CentOS 7 |
| 192.168.119.163 | K8s-node-3 | CentOS 7 |
[root@k8s-master ~]# kubectl get nodes
NAME         STATUS    ROLES     AGE       VERSION
k8s-master   Ready     master    3m        v1.9.2
k8s-node-1   Ready     <none>    1m        v1.9.2
k8s-node-2   Ready     <none>    2m        v1.9.2
k8s-node-3   Ready     <none>    2m        v1.9.2

[root@k8s-master ~]# kubectl get pods --all-namespaces
NAMESPACE     NAME                                 READY     STATUS    RESTARTS   AGE
kube-system   etcd-k8s-master                      1/1       Running   0          2m
kube-system   kube-apiserver-k8s-master            1/1       Running   0          2m
kube-system   kube-controller-manager-k8s-master   1/1       Running   0          2m
kube-system   kube-dns-6f4fd4bdf-s22f6             3/3       Running   0          3m
kube-system   kube-flannel-ds-62ms7                1/1       Running   0          3m
kube-system   kube-flannel-ds-82k4n                1/1       Running   0          2m
kube-system   kube-flannel-ds-qs9md                1/1       Running   0          2m
kube-system   kube-flannel-ds-spn7n                1/1       Running   0          2m
kube-system   kube-proxy-2ttcj                     1/1       Running   0          3m
kube-system   kube-proxy-lbbs9                     1/1       Running   0          2m
kube-system   kube-proxy-pkms8                     1/1       Running   0          2m
kube-system   kube-proxy-sk5l9                     1/1       Running   0          2m
kube-system   kube-scheduler-k8s-master            1/1       Running   0          2m
特别注意事项:
K8S集群的apiserver在配置admission-control的时候,需要加入MutatingAdmissionWebhook和ValidatingAdmissionWebhook,否则无法自动注入sidecar,但也不会报错。手动注入不会有问题。
吐槽:关于admission-control的配置,使用kubeadm默认部署的集群不会配置Webhook相关的准入控制器,但是,官网强烈建议的配置是包含的。最坑的是如果按照默认的配置部署Webhook,自动注入sidecar不成功也不报错!!!!
### apiserver中完整的admission-control配置 ###

[root@k8s-master ~]# kubectl describe pod kube-apiserver-k8s-master -n kube-system | grep admission-control
      --admission-control=Initializers,NamespaceLifecycle,LimitRanger,ServiceAccount,PersistentVolumeLabel,DefaultStorageClass,DefaultTolerationSeconds,MutatingAdmissionWebhook,ValidatingAdmissionWebhook,ResourceQuota
通过kubectl edit无法修改apiserver的启动参数,需要在kubeadm init时,使用配置文件来建立集群:
### 配置文件内容 ###
[root@k8s-master kubernetes]# vi kubeadm-config.yml
apiVersion: kubeadm.k8s.io/v1alpha1
kind: MasterConfiguration
api:
  advertiseAddress: 192.168.119.160
kubeProxy:
  config:
    clusterCIDR: 10.244.0.0/16
apiServerExtraArgs:
  admission-control: Initializers,NamespaceLifecycle,LimitRanger,ServiceAccount,PersistentVolumeLabel,DefaultStorageClass,DefaultTolerationSeconds,MutatingAdmissionWebhook,ValidatingAdmissionWebhook,ResourceQuota
kubernetesVersion: v1.9.2
networking:
  podSubnet: 10.244.0.0/16

### 部署master节点 ###
[root@k8s-master kubernetes]# kubeadm init --config kubeadm-config.yml

### 查看集群完整配置 ###
[root@k8s-master kubernetes]# kubeadm config view上述配置文件的完整用法参见,kube-apiserver的配置参数参见
吐槽:官网上的kube-apiserver配置参数中并没有写admission-control这一项,和此项相关的–admission-control-config-file、–enable-admission-plugins、–disable-admission-plugins都无法达到目的!!!!
旁白:事先准备一个Ansible的脚本确实很方便,在部署Istio的过程中出现过很多问题,很多时候想重新部署一个干净的Kubernetes环境,用Ansible只需要几分钟就轻松搞定。
2.2、镜像清单
- 核心镜像
- istio/istio-ca:0.6.0
- istio/mixer:0.6.0
- istio/sidecar_injector:0.6.0
- istio/proxy_init:0.6.0
- istio/proxy:0.6.0
- istio/pilot:0.6.0
- prom/statsd-exporter:v0.5.0
- 事例镜像
- istio/examples-bookinfo-reviews-v1
- istio/examples-bookinfo-reviews-v2
- istio/examples-bookinfo-reviews-v3
- istio/examples-bookinfo-details-v1
- istio/examples-bookinfo-productpage-v1
- istio/examples-bookinfo-ratings-v1
- tutum/curl:latest
- 其他镜像
- alpine:latest
下文附网盘连接
2.3、安装部署步骤
2.3.1、安装命令行工具
[root@k8s-master ~]# wget https://github.com/istio/istio/releases/download/0.6.0/istio-0.6.0-linux.tar.gz
[root@k8s-master ~]# tar -zxvf istio-0.6.0-linux.tar.gz
[root@k8s-master ~]# cd istio-0.6.0
[root@k8s-master istio-0.6.0]# cp bin/istioctl /usr/local/bin/
istioctl是个可执行文件,放在$PATH下即可
2.3.2、修改istio部署文件
Istio默认的服务提供方式为LoadBalancer,这里将其修改为NodePort
[root@k8s-master istio-0.6.0]# vi install/kubernetes/istio.yaml
.
.
.
################################
# Istio ingress
################################
apiVersion: v1
kind: Service
metadata:
  name: istio-ingress
  namespace: istio-system
  labels:
    istio: ingress
spec:
  type: NodePort
  ports:
  - port: 80
#   nodePort: 32000
    name: http
  - port: 443
    name: https
  selector:
    istio: ingress
.
.
.
istio.yaml和istio-auth.yaml都需要修改,部署时二选一。istio-auth.yaml启用了sidecar之间的认证功能。
2.3.3、部署istio应用
[root@k8s-master istio-0.6.0]# kubectl apply -f install/kubernetes/istio.yaml如果在第一次执行时出现类似如下提示:
unable to recognize "install/kubernetes/istio.yaml": no matches for config.istio.io/, Kind=attributemanifest
unable to recognize "install/kubernetes/istio.yaml": no matches for config.istio.io/, Kind=attributemanifest
unable to recognize "install/kubernetes/istio.yaml": no matches for config.istio.io/, Kind=stdio
unable to recognize "install/kubernetes/istio.yaml": no matches for config.istio.io/, Kind=logentry
unable to recognize "install/kubernetes/istio.yaml": no matches for config.istio.io/, Kind=rule
unable to recognize "install/kubernetes/istio.yaml": no matches for config.istio.io/, Kind=metric
unable to recognize "install/kubernetes/istio.yaml": no matches for config.istio.io/, Kind=metric
unable to recognize "install/kubernetes/istio.yaml": no matches for config.istio.io/, Kind=metric
unable to recognize "install/kubernetes/istio.yaml": no matches for config.istio.io/, Kind=metric
unable to recognize "install/kubernetes/istio.yaml": no matches for config.istio.io/, Kind=metric
unable to recognize "install/kubernetes/istio.yaml": no matches for config.istio.io/, Kind=metric
unable to recognize "install/kubernetes/istio.yaml": no matches for config.istio.io/, Kind=prometheus
unable to recognize "install/kubernetes/istio.yaml": no matches for config.istio.io/, Kind=rule
unable to recognize "install/kubernetes/istio.yaml": no matches for config.istio.io/, Kind=rule
unable to recognize "install/kubernetes/istio.yaml": no matches for config.istio.io/, Kind=kubernetesenv
unable to recognize "install/kubernetes/istio.yaml": no matches for config.istio.io/, Kind=rule
unable to recognize "install/kubernetes/istio.yaml": no matches for config.istio.io/, Kind=kubernetes
再执行一次。可能是因为istio.yaml中的内容很多,前面的api-version还没来得及生效。删除时类似。
### 执行完之后,检查一下,刚刚提示的内容已经部署好了 ###

[root@k8s-master istio-0.6.0]# kubectl get attributemanifest --all-namespaces
NAMESPACE      NAME         AGE
istio-system   istioproxy   2m
istio-system   kubernetes   2m
[root@k8s-master istio-0.6.0]# kubectl get stdio --all-namespaces
NAMESPACE      NAME      AGE
istio-system   handler   4m
2.3.4、检查部署
[root@k8s-master istio-0.6.0]# kubectl get pods -n istio-system
NAME                             READY     STATUS    RESTARTS   AGE
istio-ca-59f6dcb7d9-skkxg        1/1       Running   0          28s
istio-ingress-779649ff5b-v2v6w   1/1       Running   0          28s
istio-mixer-7f4fd7dff-hhtg6      3/3       Running   0          29s
istio-pilot-5f5f76ddc8-5r6jm     2/2       Running   0          28s

[root@k8s-master istio-0.6.0]# kubectl get svc -n istio-system
NAME            TYPE        CLUSTER-IP      EXTERNAL-IP   PORT(S)                                                            AGE
istio-ingress   NodePort    10.97.41.224    <none>        80:30708/TCP,443:30128/TCP                                         50s
istio-mixer     ClusterIP   10.100.37.244   <none>        9091/TCP,15004/TCP,9093/TCP,9094/TCP,9102/TCP,9125/UDP,42422/TCP   51s
istio-pilot     ClusterIP   10.98.240.84    <none>        15003/TCP,8080/TCP,9093/TCP,443/TCP                                50s
到此,安装部署完毕
2.4、注入sidecar
2.4.1、前提条件
为了让istio正常工作,kubernetes中的pod必须满足如下条件:
- 每个pod只能属于一个service
- service的端口必须命名(知道name属性)
- deployment必须包含一个app的标签(label)
- pod中必须包含一个与istio兼容的sidecar
2.4.2、手动注入
手动注入也就是在部署前修改yaml文件,在其中加入sidecar的配置,然后部署到kubernetes中去。samples/sleep/sleep.yaml是istio提供的一个简单事例:
### 查看原始内容 ###
[root@k8s-master istio-0.6.0]# vi samples/sleep/sleep.yaml

### 执行istioctl会在原始内容的基础上加入sidecar的配置内容 ###
[root@k8s-master istio-0.6.0]# istioctl kube-inject -f samples/sleep/sleep.yaml
.
.
.
.
### 将istioctl处理之后的内容部署到kubernetes上 ###
[root@k8s-master istio-0.6.0]# kubectl apply -f <(istioctl kube-inject -f samples/sleep/sleep.yaml)
service "sleep" created
deployment "sleep" created

### 检查部署情况 ###
[root@k8s-master istio-0.6.0]# kubectl get pods
NAME                    READY     STATUS    RESTARTS   AGE
sleep-c9f4b55c7-np4cf   2/2       Running   0          12s
[root@k8s-master istio-0.6.0]# kubectl get deployment -o wide
NAME      DESIRED   CURRENT   UP-TO-DATE   AVAILABLE   AGE       CONTAINERS          IMAGES                                          SELECTOR
sleep     1         1         1            1           1m        sleep,istio-proxy   tutum/curl:trusty,docker.io/istio/proxy:0.6.0   app=sleep
[root@k8s-master istio-0.6.0]# kubectl get svc
NAME         TYPE        CLUSTER-IP       EXTERNAL-IP   PORT(S)   AGE
kubernetes   ClusterIP   10.96.0.1        <none>        443/TCP   21m
sleep        ClusterIP   10.108.246.172   <none>        80/TCP    28s

### 查看pod详细内容 ###
[root@k8s-master istio-0.6.0]# kubectl describe pod sleep-c9f4b55c7-np4cf
.
.
.
Containers:
  sleep:
    Container ID:  docker://b3d5755f651c60282566b8b0afbda60656a8aeef4faffd0e8992a7335a461d37
    Image:         tutum/curl:trusty
    Image ID:      docker://sha256:01176385d84aeb1d40ed18c6d3f952abf40d2d2b4aa98fcf0a8a4b01010fb9a9
.
.
.
  istio-proxy:
    Container ID:  docker://a0310f2c344524451afb86b43bee1e6eb5ebc0abee0d796706cc9857b7d45425
    Image:         docker.io/istio/proxy:0.6.0
    Image ID:      docker-pullable://docker.io/istio/proxy@sha256:51ec13f9708238351a8bee3c69cf0cf96483eeb03a9909dea12306bbeb1d1a9d
.
.
.
pod中有两个容器:sleep和istio-proxy,手动注入成功。
我这里将samples/sleep/sleep.yaml中的iamge由tutum/curl修改为tutum/curl:trusty,并且在docker中为其打上了trusty的tag。
2.4.3、自动注入
处理手动注入,sidecar也可以通过MutatingAdmissionWebhook准入控制器实现自动注入。这个功能需要kubernetes 1.9或更高版本。
### 验证kubernetes环境是否支持MutatingAdmissionWebhook ###
[root@k8s-master istio-0.6.0]# kubectl api-versions | grep admissionregistration
admissionregistration.k8s.io/v1beta1这里有点问题,大部分文章包括官网都是这样验证是否支持自定注入的。但是在我的环境中,默认admission-control参数中没有MutatingAdmissionWebhook,也是可以得到上面的输出内容。所有才会有上文前提条件中的特别注意事项。一定要确认kube-apiserver的–admission-control参数中包含MutatingAdmissionWebhook。
2.4.3.1、安装Webhook
Webhook需要签名密钥对,可以使用istio安装包中的./install/kubernetes/webhook-create-signed-cert.sh脚本生成,这个脚本会调用kubernetes的CSR API生成一个具有K8S签名的密钥对,用于Webhook。然后建立一个secret存放证书信息。
[root@k8s-master istio-0.6.0]# ./install/kubernetes/webhook-create-signed-cert.sh --service istio-sidecar-injector --namespace istio-system --secret sidecar-injector-certs
creating certs in tmpdir /tmp/tmp.tPswHf85Tc
Generating RSA private key, 2048 bit long modulus
..................................................................................+++
....+++
e is 65537 (0x10001)
certificatesigningrequest "istio-sidecar-injector.istio-system" created
NAME                                  AGE       REQUESTOR          CONDITION
istio-sidecar-injector.istio-system   0s        kubernetes-admin   Pending
certificatesigningrequest "istio-sidecar-injector.istio-system" approved
secret "sidecar-injector-certs" created

### 验证脚本执行结果 ###
[root@k8s-master istio-0.6.0]# kubectl get csr
NAME                                                   AGE       REQUESTOR                 CONDITION
istio-sidecar-injector.istio-system                    13s       kubernetes-admin          Approved,Issued
node-csr-hVRI2oPCE2eCgRPY0uiROOadv2nwZspTvMN_CeDdPwg   50m       system:bootstrap:8cf6df   Approved,Issued
node-csr-kDTnUX1ON9_vid7tgvOHHrDUBAIy95oJQb8U5y1p9Ag   50m       system:bootstrap:8cf6df   Approved,Issued
node-csr-pgZlXG72G0JtqmFfZrGIOUJgWEchHouApx2GiJypvBc   50m       system:bootstrap:8cf6df   Approved,Issued
[root@k8s-master istio-0.6.0]# kubectl get secret --all-namespaces | grep sidecar-injector-certs
istio-system   sidecar-injector-certs                           Opaque                                2         32s
[root@k8s-master istio-0.6.0]# kubectl describe secret sidecar-injector-certs -n istio-system
Name:         sidecar-injector-certs
Namespace:    istio-system
Labels:       <none>
Annotations:
Type:         Opaque

Data
====
key.pem:   1679 bytes
cert.pem:  1314 bytes
部署./install/kubernetes/istio-sidecar-injector-configmap-release.yaml,这个configMap中包含了sidecar模版(template)和自动注入策略(policy)
[root@k8s-master istio-0.6.0]# kubectl apply -f ./install/kubernetes/istio-sidecar-injector-configmap-release.yaml
configmap "istio-inject" created
[root@k8s-master istio-0.6.0]# kubectl get cm -n istio-system | grep istio-inject
istio-inject                            1         44s
将./install/kubernetes/istio-sidecar-injector.yaml中的 ${CA_BUNDLE} 替换为实际值,部署结果文件:
[root@k8s-master istio-0.6.0]# cat install/kubernetes/istio-sidecar-injector.yaml | ./install/kubernetes/webhook-patch-ca-bundle.sh > install/kubernetes/istio-sidecar-injector-with-ca-bundle.yaml
[root@k8s-master istio-0.6.0]# kubectl apply -f install/kubernetes/istio-sidecar-injector-with-ca-bundle.yaml
service "istio-sidecar-injector" created
serviceaccount "istio-sidecar-injector-service-account" created
deployment "istio-sidecar-injector" created
mutatingwebhookconfiguration "istio-sidecar-injector" created

### 检查部署结果 ###
[root@k8s-master istio-0.6.0]# kubectl get deployment -n istio-system -listio=sidecar-injector
NAME                     DESIRED   CURRENT   UP-TO-DATE   AVAILABLE   AGE
istio-sidecar-injector   1         1         1            1           1m
[root@k8s-master istio-0.6.0]# kubectl get pods -n istio-system -listio=sidecar-injector
NAME                                      READY     STATUS    RESTARTS   AGE
istio-sidecar-injector-7947777478-p88np   1/1       Running   0          2m
2.4.3.2、测试
### 删除之前手动注入的事例 ###
[root@k8s-master istio-0.6.0]# kubectl delete -f <(istioctl kube-inject -f samples/sleep/sleep.yaml)
service "sleep" deleted
deployment "sleep" deleted

### 重新部署 ###
[root@k8s-master istio-0.6.0]# kubectl apply -f samples/sleep/sleep.yaml
service "sleep" created
deployment "sleep" created

### 查看部署结果 ###
[root@k8s-master istio-0.6.0]# kubectl get deployment -o wide
NAME      DESIRED   CURRENT   UP-TO-DATE   AVAILABLE   AGE       CONTAINERS   IMAGES              SELECTOR
sleep     1         1         1            1           39s       sleep        tutum/curl:trusty   app=sleep
[root@k8s-master istio-0.6.0]# kubectl get pod
NAME                     READY     STATUS    RESTARTS   AGE
sleep-697bb7b9f9-wb7gg   1/1       Running   0          1m
为default命名空间打上一个label
[root@k8s-master istio-0.6.0]# kubectl get namespace -L istio-injection
NAME           STATUS    AGE       ISTIO-INJECTION
default        Active    1h
istio-system   Active    1h
kube-public    Active    1h
kube-system    Active    1h
[root@k8s-master istio-0.6.0]# kubectl label namespace default istio-injection=enabled
namespace "default" labeled
[root@k8s-master istio-0.6.0]# kubectl get namespace -L istio-injection
NAME           STATUS    AGE       ISTIO-INJECTION
default        Active    1h        enabled
istio-system   Active    1h
kube-public    Active    1h
kube-system    Active    1h
删除sleep的pod,再次查看结果
[root@k8s-master istio-0.6.0]# kubectl get pods
NAME                     READY     STATUS    RESTARTS   AGE
sleep-697bb7b9f9-wb7gg   1/1       Running   0          6m
[root@k8s-master istio-0.6.0]# kubectl delete pod sleep-697bb7b9f9-wb7gg
pod "sleep-697bb7b9f9-wb7gg" deleted
[root@k8s-master istio-0.6.0]# kubectl get pods
NAME                     READY     STATUS        RESTARTS   AGE
sleep-697bb7b9f9-45pzn   0/2       Init:0/1      0          2s
sleep-697bb7b9f9-wb7gg   1/1       Terminating   0          7m
[root@k8s-master istio-0.6.0]# kubectl get pods
NAME                     READY     STATUS        RESTARTS   AGE
sleep-697bb7b9f9-45pzn   2/2       Running       0          26s
sleep-697bb7b9f9-wb7gg   1/1       Terminating   0          7m
[root@k8s-master istio-0.6.0]# kubectl get pods
NAME                     READY     STATUS    RESTARTS   AGE
sleep-697bb7b9f9-45pzn   2/2       Running   0          36s
[root@k8s-master istio-0.6.0]# kubectl describe pod sleep-697bb7b9f9-45pzn
可以看到,新创建的pod中包含了sidecar
删除default命名空间的label
[root@k8s-master istio-0.6.0]# kubectl get namespace -L istio-injection
NAME           STATUS    AGE       ISTIO-INJECTION
default        Active    1h        enabled
istio-system   Active    1h
kube-public    Active    1h
kube-system    Active    1h
[root@k8s-master istio-0.6.0]# kubectl label namespace default istio-injection-
namespace "default" labeled
[root@k8s-master istio-0.6.0]# kubectl get namespace -L istio-injection
NAME           STATUS    AGE       ISTIO-INJECTION
default        Active    1h
istio-system   Active    1h
kube-public    Active    1h
kube-system    Active    1h
再次删除sleep的pod并查看结果
[root@k8s-master istio-0.6.0]# kubectl delete pod sleep-697bb7b9f9-45pzn
pod "sleep-697bb7b9f9-45pzn" deleted
[root@k8s-master istio-0.6.0]# kubectl get pods
NAME                     READY     STATUS              RESTARTS   AGE
sleep-697bb7b9f9-45pzn   2/2       Terminating         0          4m
sleep-697bb7b9f9-qvfpw   0/1       ContainerCreating   0          3s
[root@k8s-master istio-0.6.0]# kubectl get pods
NAME                     READY     STATUS        RESTARTS   AGE
sleep-697bb7b9f9-45pzn   2/2       Terminating   0          5m
sleep-697bb7b9f9-qvfpw   1/1       Running       0          8s
[root@k8s-master istio-0.6.0]# kubectl get pods
NAME                     READY     STATUS    RESTARTS   AGE
sleep-697bb7b9f9-qvfpw   1/1       Running   0          1m
2.4.3.3、解释
准入控制器MutatingWebhookConfiguration默认会在标记为istio-injection=enabled的namespace下调用Webhook完成自动注入,而这一规则可以通过./install/kubernetes/istio-sidecar-injector-with-ca-bundle.yaml修改:
[root@k8s-master istio-0.6.0]# vi ./install/kubernetes/istio-sidecar-injector-with-ca-bundle.yaml
.
.
.
    rules:
      - operations: [ "CREATE" ]
        apiGroups: [""]
        apiVersions: ["v1"]
        resources: ["pods"]
    namespaceSelector:
      matchLabels:
        istio-injection: enabled
---
前面有提到过,自动注册的策略和sidecar模版在./install/kubernetes/istio-sidecar-injector-configmap-release.yaml部署的名为istio-inject的configMap中:
[root@k8s-master istio-0.6.0]# kubectl describe cm istio-inject -n istio-system
Name:         istio-inject
Namespace:    istio-system
Labels:       <none>
Annotations:  kubectl.kubernetes.io/last-applied-configuration={"apiVersion":"v1","data":{"config":"policy: enabled\ntemplate: |-\n  initContainers:\n  - name: istio-init\n    image: docker.io/istio/proxy_init:0.6....

Data
====
config:
----
policy: enabled
template: |-
  initContainers:
  - name: istio-init
    image: docker.io/istio/proxy_init:0.6.0
.
.
.
.- policy角色十分自动注入sidecar,取值包括:
- disabled:表示禁用自动注入,即使namespace上打了label。但是可以通过添加
sidecar.istio.io/inject: "false"注解来启用自动注入。 - enable:表示启用自动注入,但是需要namespace上打上对应的label。同样可以通过
sidecar.istio.io/inject: "true"注解禁用自动注入。
- disabled:表示禁用自动注入,即使namespace上打了label。但是可以通过添加
[root@k8s-master istio-0.6.0]# kubectl get pods
NAME                     READY     STATUS    RESTARTS   AGE
sleep-697bb7b9f9-qvfpw   1/1       Running   0          14m
[root@k8s-master istio-0.6.0]# kubectl label namespace default istio-injection=enabled
### 修改configMap的配置policy为disabled ###
[root@k8s-master istio-0.6.0]# kubectl edit cm istio-inject -n istio-system
configmap "istio-inject" edited
修改了configMap之后,不会立即生效,可能需要登上十几秒左右。
[root@k8s-master istio-0.6.0]# kubectl delete pod sleep-697bb7b9f9-qvfpw
pod "sleep-697bb7b9f9-qvfpw" deleted
[root@k8s-master istio-0.6.0]# kubectl get pods
NAME                     READY     STATUS        RESTARTS   AGE
sleep-697bb7b9f9-qvfpw   1/1       Terminating   0          15m
sleep-697bb7b9f9-s75g9   1/1       Running       0          3s
添加annotation之后,再次测试
[root@k8s-master istio-0.6.0]# kubectl delete -f samples/sleep/sleep.yaml
service "sleep" deleted
deployment "sleep" deleted
[root@k8s-master istio-0.6.0]# vi samples/sleep/sleep.yaml
.
.
.
---
apiVersion: extensions/v1beta1
kind: Deployment
metadata:
  name: sleep
spec:
  replicas: 1
  template:
    metadata:
      annotations:
        sidecar.istio.io/inject: "true"
      labels:
        app: sleep
    spec:
.
.
.
[root@k8s-master istio-0.6.0]# kubectl get pods
No resources found.
[root@k8s-master istio-0.6.0]# kubectl apply -f samples/sleep/sleep.yaml
service "sleep" created
deployment "sleep" created
[root@k8s-master istio-0.6.0]# kubectl get pods
NAME                    READY     STATUS     RESTARTS   AGE
sleep-cc884ff55-nwd9s   0/2       Init:0/1   0          2s
此时的policy为disabled,annotation设置为true之后,依然会注入sidecard。
- template
Template中主要是一下替换,语法规格为Go template language
2.4.3.4、卸载Webhook
[root@k8s-master istio-0.6.0]# kubectl delete -f install/kubernetes/istio-sidecar-injector-with-ca-bundle.yaml
[root@k8s-master istio-0.6.0]# kubectl -n istio-system delete secret sidecar-injector-certs
[root@k8s-master istio-0.6.0]# kubectl delete csr istio-sidecar-injector.istio-system
[root@k8s-master istio-0.6.0]# kubectl label namespace default istio-injection-
3、配置
3.1、部署Bookinfo
3.1.1、介绍
Bookinfo是一个官方微服务事例应用,用来演示和学习istio,应用组件包括:
- Product page:Web应用,Python环境,用来展示书本信息
- Reviews:微服务应用,Java环境,接收Product page的请求,返回评论信息,同时也调用Ratings微服务
- Ratings:微服务应用,Nodejs环境,接受Reviews的请求,返回评分信息
- Details:微服务应用,Ruby环境,接受Product page的请求,返回书本详细属性

Reviews有三个版本:v1、v2、v3,这个三个版本在响应Product page的请求时各有不同:v1的响应没有评分等级、v2的响应包含黑色的评分等级、v3的响应包含红色的评分等级
3.1.2、安装
接下来部署应用,并为每个应用注入sidecar
#### 检查环境 ###
[root@k8s-master istio-0.6.0]# kubectl get namespace -L istio-injection
NAME           STATUS    AGE       ISTIO-INJECTION
default        Active    2h        enabled
istio-system   Active    2h
kube-public    Active    2h
kube-system    Active    2h
[root@k8s-master istio-0.6.0]# kubectl describe cm istio-inject -n istio-system | grep policy
Annotations:  kubectl.kubernetes.io/last-applied-configuration={"apiVersion":"v1","data":{"config":"policy: enabled\ntemplate: |-\n  initContainers:\n  - name: istio-init\n    image: docker.io/istio/proxy_init:0.6....
policy: enabled

### 部署应用 ###
[root@k8s-master istio-0.6.0]# kubectl apply -f samples/bookinfo/kube/bookinfo.yaml
service "details" created
deployment "details-v1" created
service "ratings" created
deployment "ratings-v1" created
service "reviews" created
deployment "reviews-v1" created
deployment "reviews-v2" created
deployment "reviews-v3" created
service "productpage" created
deployment "productpage-v1" created
ingress "gateway" created

### 检查部署结果 ###
[root@k8s-master istio-0.6.0]# kubectl get pods
NAME                              READY     STATUS    RESTARTS   AGE
details-v1-64b86cd49-cc6j6        2/2       Running   0          1m
productpage-v1-84f77f8747-5hm8d   2/2       Running   0          1m
ratings-v1-5f46655b57-gq6p4       2/2       Running   0          1m
reviews-v1-ff6bdb95b-fnd65        2/2       Running   0          1m
reviews-v2-5799558d68-b4wkl       2/2       Running   0          1m
reviews-v3-58ff7d665b-z9qfh       2/2       Running   0          1m
sleep-cc884ff55-nwd9s             2/2       Running   0          34m
[root@k8s-master istio-0.6.0]# kubectl get deployment
NAME             DESIRED   CURRENT   UP-TO-DATE   AVAILABLE   AGE
details-v1       1         1         1            1           1m
productpage-v1   1         1         1            1           1m
ratings-v1       1         1         1            1           1m
reviews-v1       1         1         1            1           1m
reviews-v2       1         1         1            1           1m
reviews-v3       1         1         1            1           1m
sleep            1         1         1            1           34m
[root@k8s-master istio-0.6.0]# kubectl get svc
NAME          TYPE        CLUSTER-IP       EXTERNAL-IP   PORT(S)    AGE
details       ClusterIP   10.105.36.247    <none>        9080/TCP   1m
kubernetes    ClusterIP   10.96.0.1        <none>        443/TCP    2h
productpage   ClusterIP   10.109.141.137   <none>        9080/TCP   1m
ratings       ClusterIP   10.104.86.239    <none>        9080/TCP   1m
reviews       ClusterIP   10.101.68.190    <none>        9080/TCP   1m
sleep         ClusterIP   10.99.107.160    <none>        80/TCP     34m
在istio下部署之后的结构如下,所有的出入请求均通过sidecar处理:

手动注入:
[root@k8s-master istio-0.6.0]# kubectl apply -f <(istioctl kube-inject -f samples/bookinfo/kube/bookinfo.yaml)
3.1.3、测试
访问bookinfo应用,我们通过istio-ingress暴露服务,并且istio-ingress被配置为NodePort:
[root@k8s-master istio-0.6.0]# kubectl get svc -n istio-system
NAME                     TYPE        CLUSTER-IP       EXTERNAL-IP   PORT(S)                                                            AGE
istio-ingress            NodePort    10.97.41.224     <none>        80:30708/TCP,443:30128/TCP                                         2h
istio-mixer              ClusterIP   10.100.37.244    <none>        9091/TCP,15004/TCP,9093/TCP,9094/TCP,9102/TCP,9125/UDP,42422/TCP   2h
istio-pilot              ClusterIP   10.98.240.84     <none>        15003/TCP,8080/TCP,9093/TCP,443/TCP                                2h
istio-sidecar-injector ClusterIP 10.111.140.170 <none> 443/TCP 1h所以我的访问地址:http://192.168.119.160:30708/productpage,尝试刷新几次看看效果
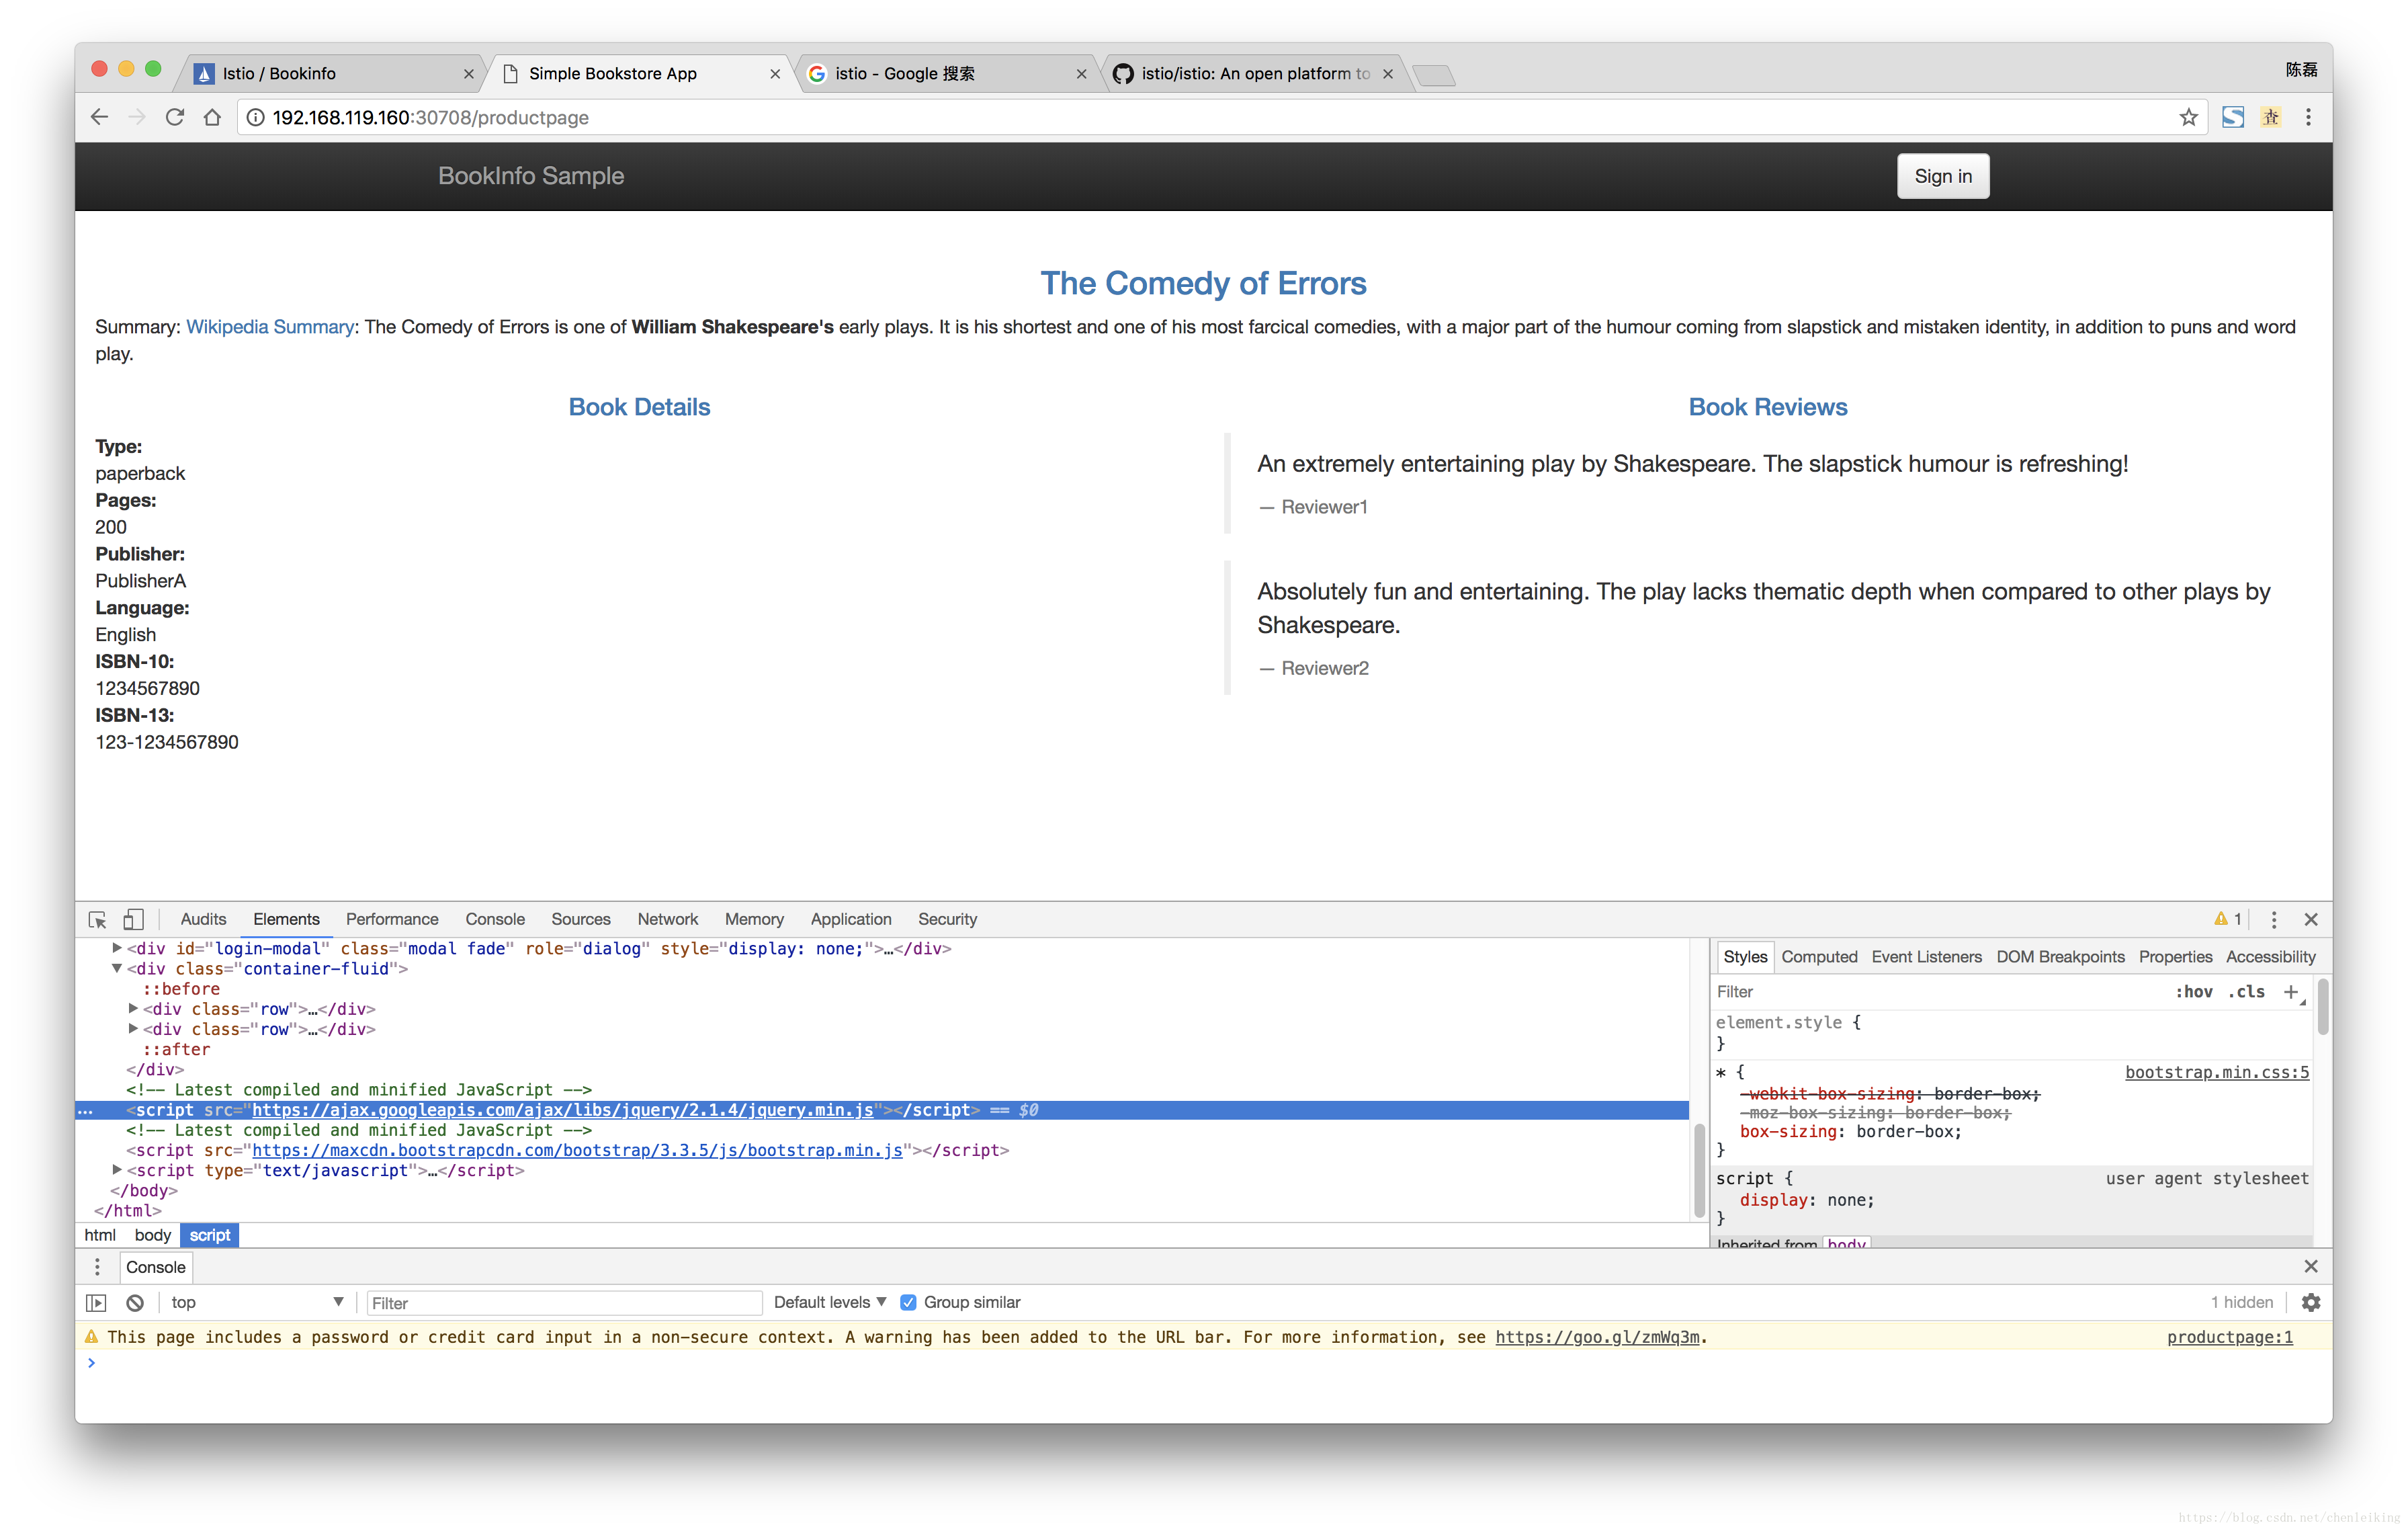
注意图中jquery的引用地址,如果你无法访问这个地址,你可能无法进行后面的登录操作!!!
3.1.4、事例
### 先看一下当前pod的label ###
[root@k8s-master istio-0.6.0]# kubectl get pods -L version
NAME                              READY     STATUS    RESTARTS   AGE       VERSION
details-v1-64b86cd49-cc6j6        2/2       Running   2          17h       v1
productpage-v1-84f77f8747-5hm8d   2/2       Running   2          17h       v1
ratings-v1-5f46655b57-gq6p4       2/2       Running   2          17h       v1
reviews-v1-ff6bdb95b-fnd65        2/2       Running   2          17h       v1
reviews-v2-5799558d68-b4wkl       2/2       Running   2          17h       v2
reviews-v3-58ff7d665b-z9qfh       2/2       Running   2          17h       v3
sleep-cc884ff55-nwd9s 2/2 Running 2 17h- 配置所有的流量走version为v1的应用
[root@k8s-master istio-0.6.0]# istioctl create -f samples/bookinfo/kube/route-rule-all-v1.yaml
Created config route-rule//productpage-default at revision 28549
Created config route-rule//reviews-default at revision 28550
Created config route-rule//ratings-default at revision 28551
Created config route-rule//details-default at revision 28552
这里也可以使用kubectl apply命令
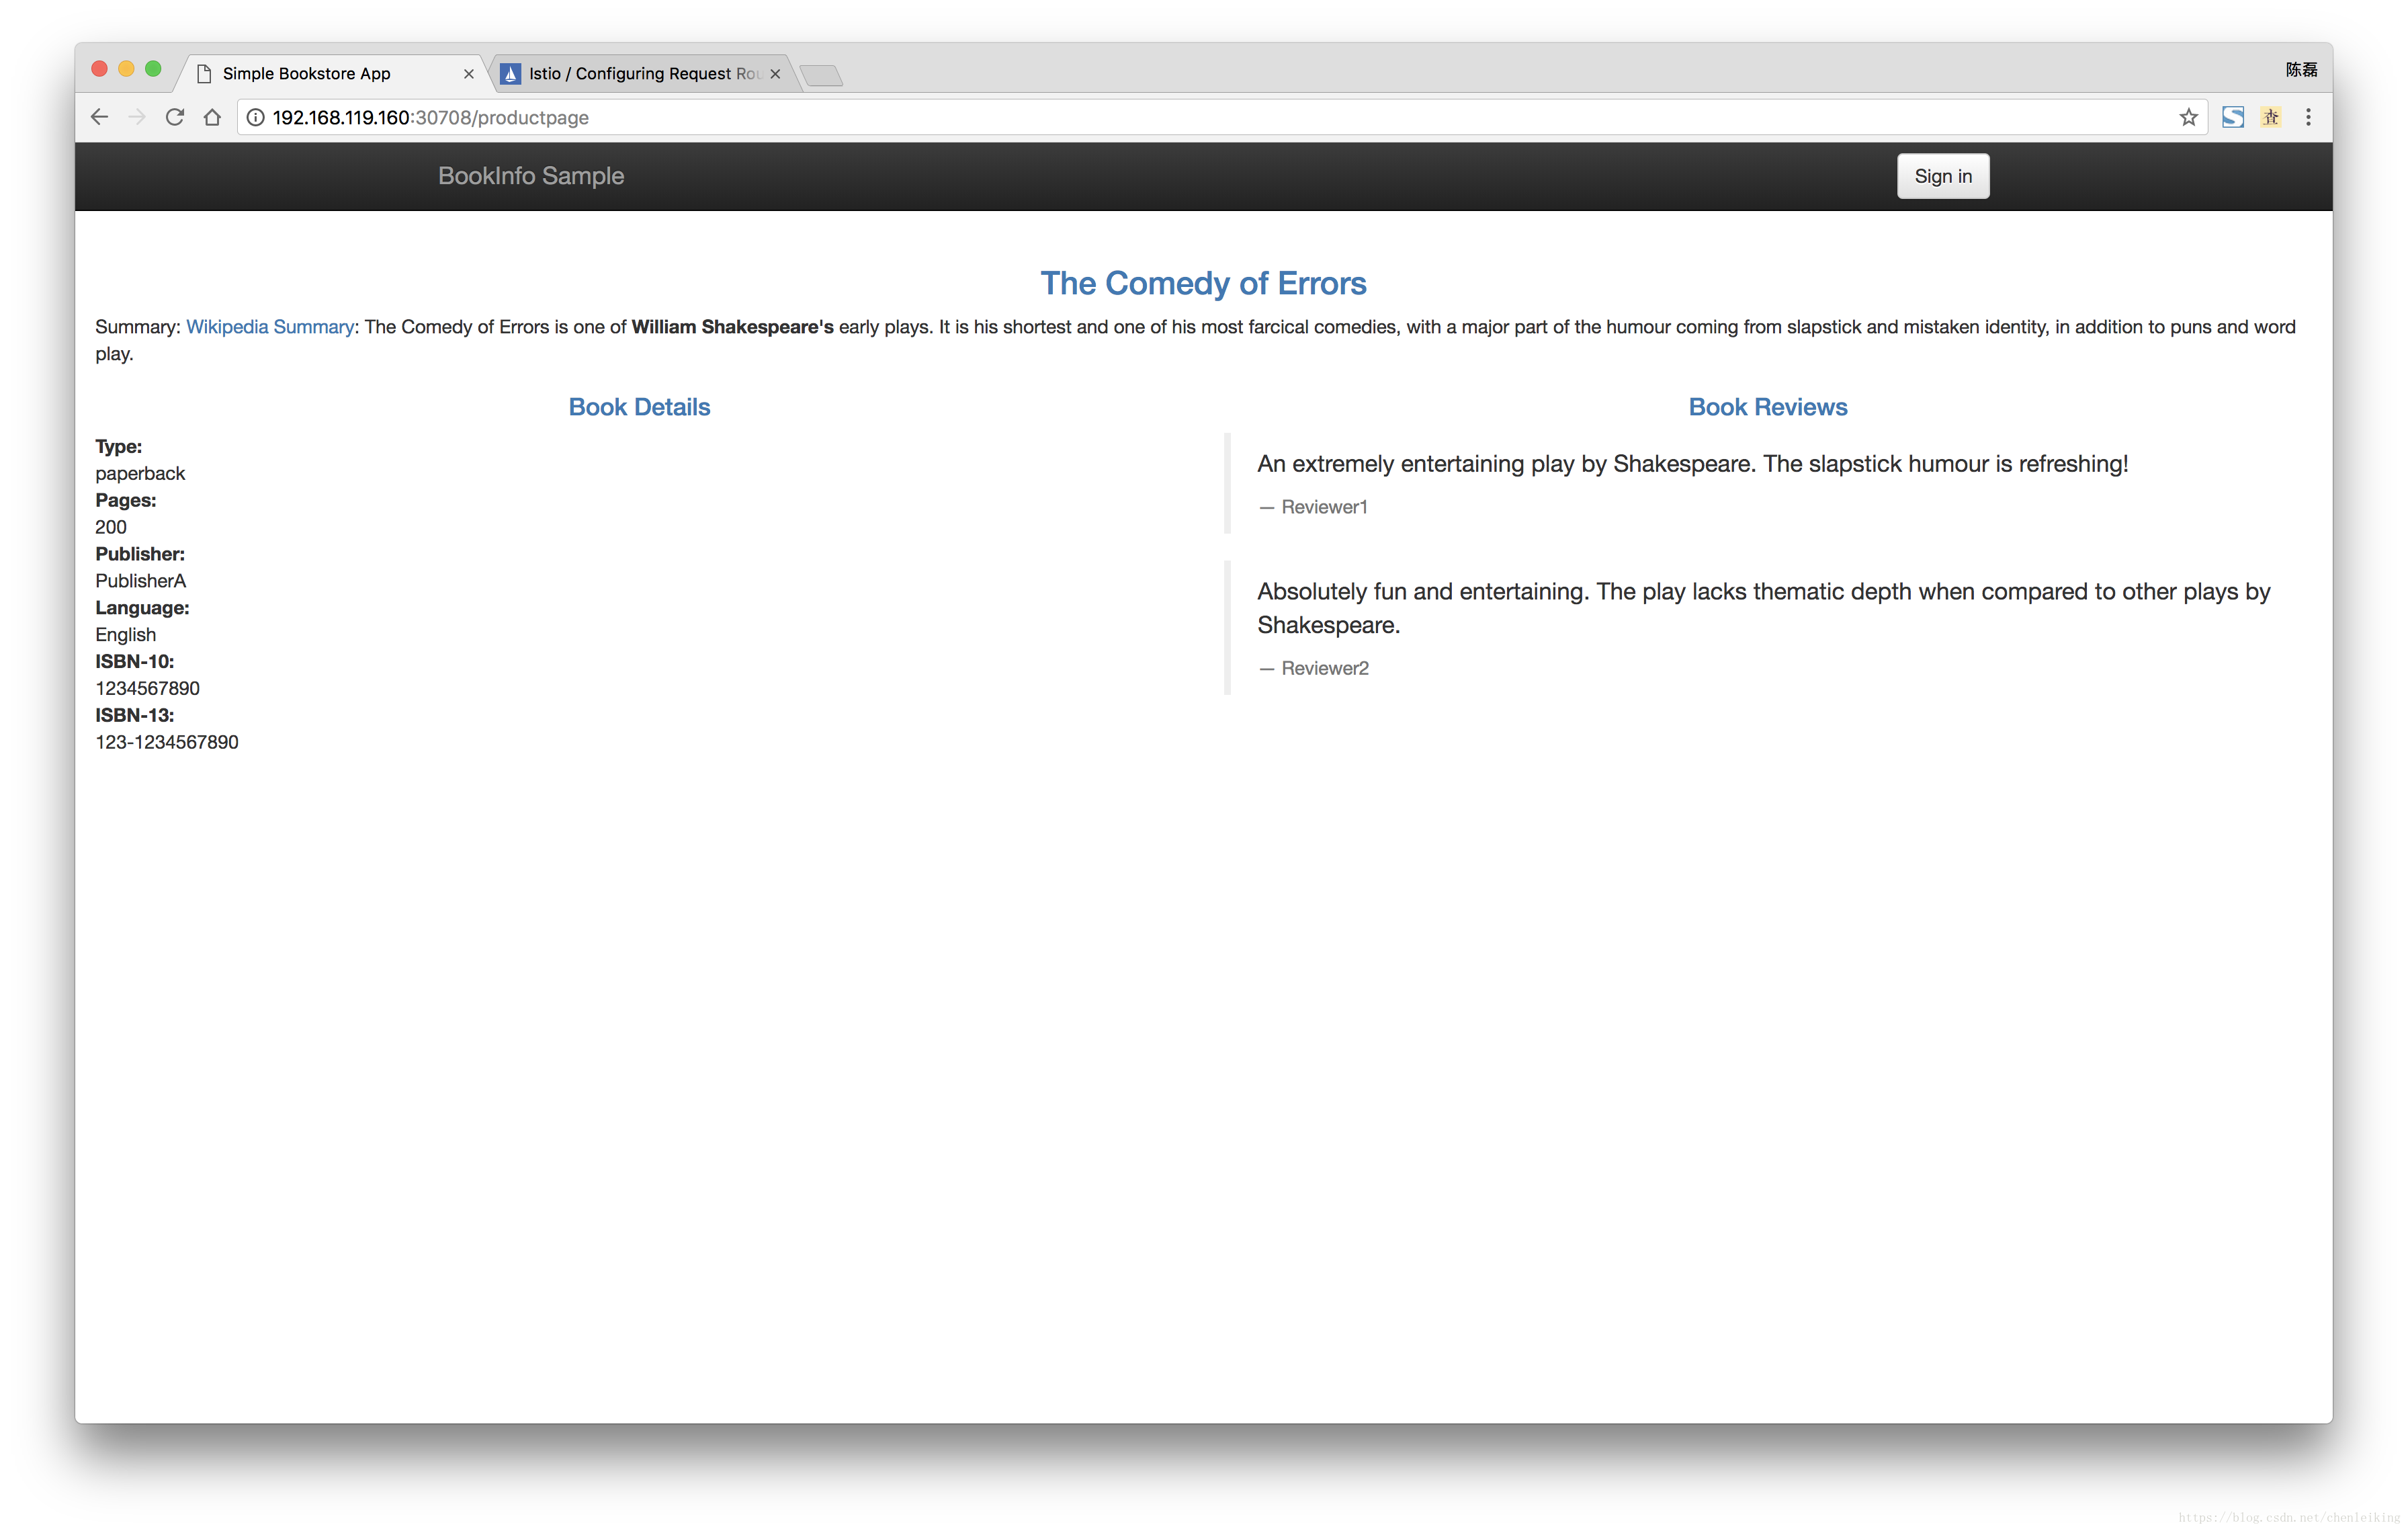
多次刷新页面,你会发现Book Reviews不再显示评分星级,因为所有到reviews的流量被分配到v1版本对应的pod,而该pod是不访问ratings也不会返回星级。
- 配置用户名为jason的用户的请求分发到v2版本
[root@k8s-master istio-0.6.0]# istioctl create -f samples/bookinfo/kube/route-rule-reviews-test-v2.yaml
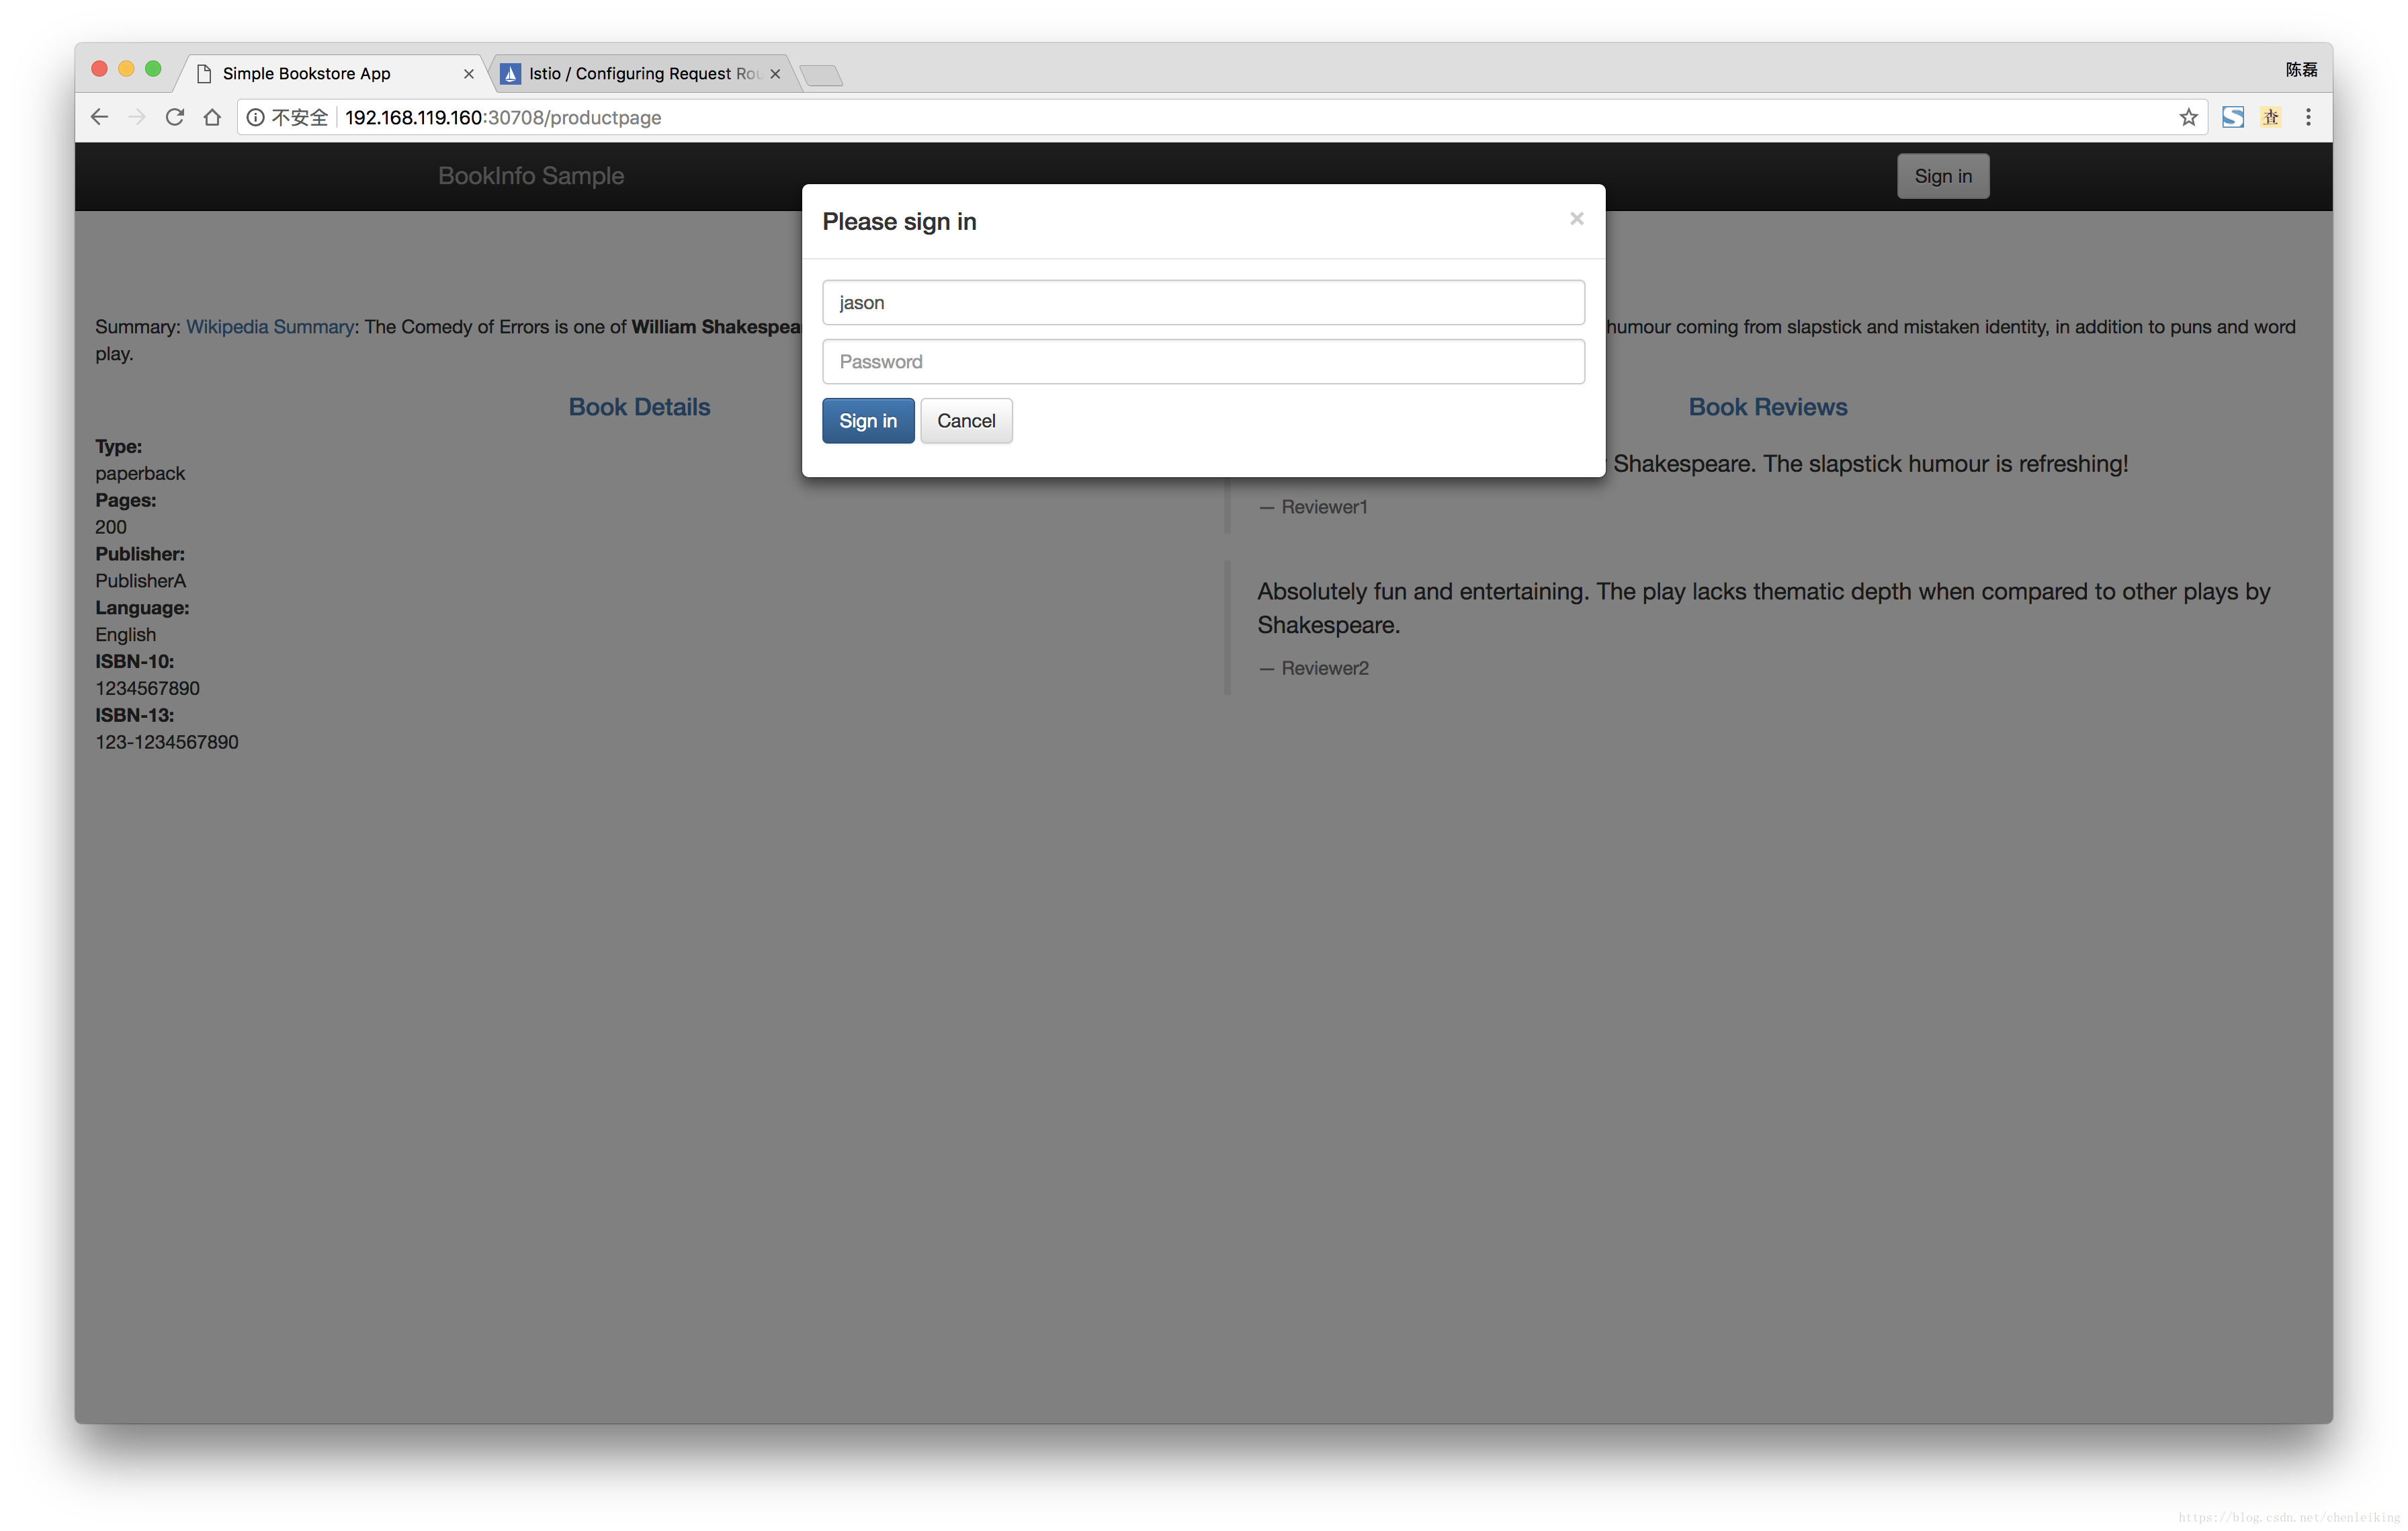
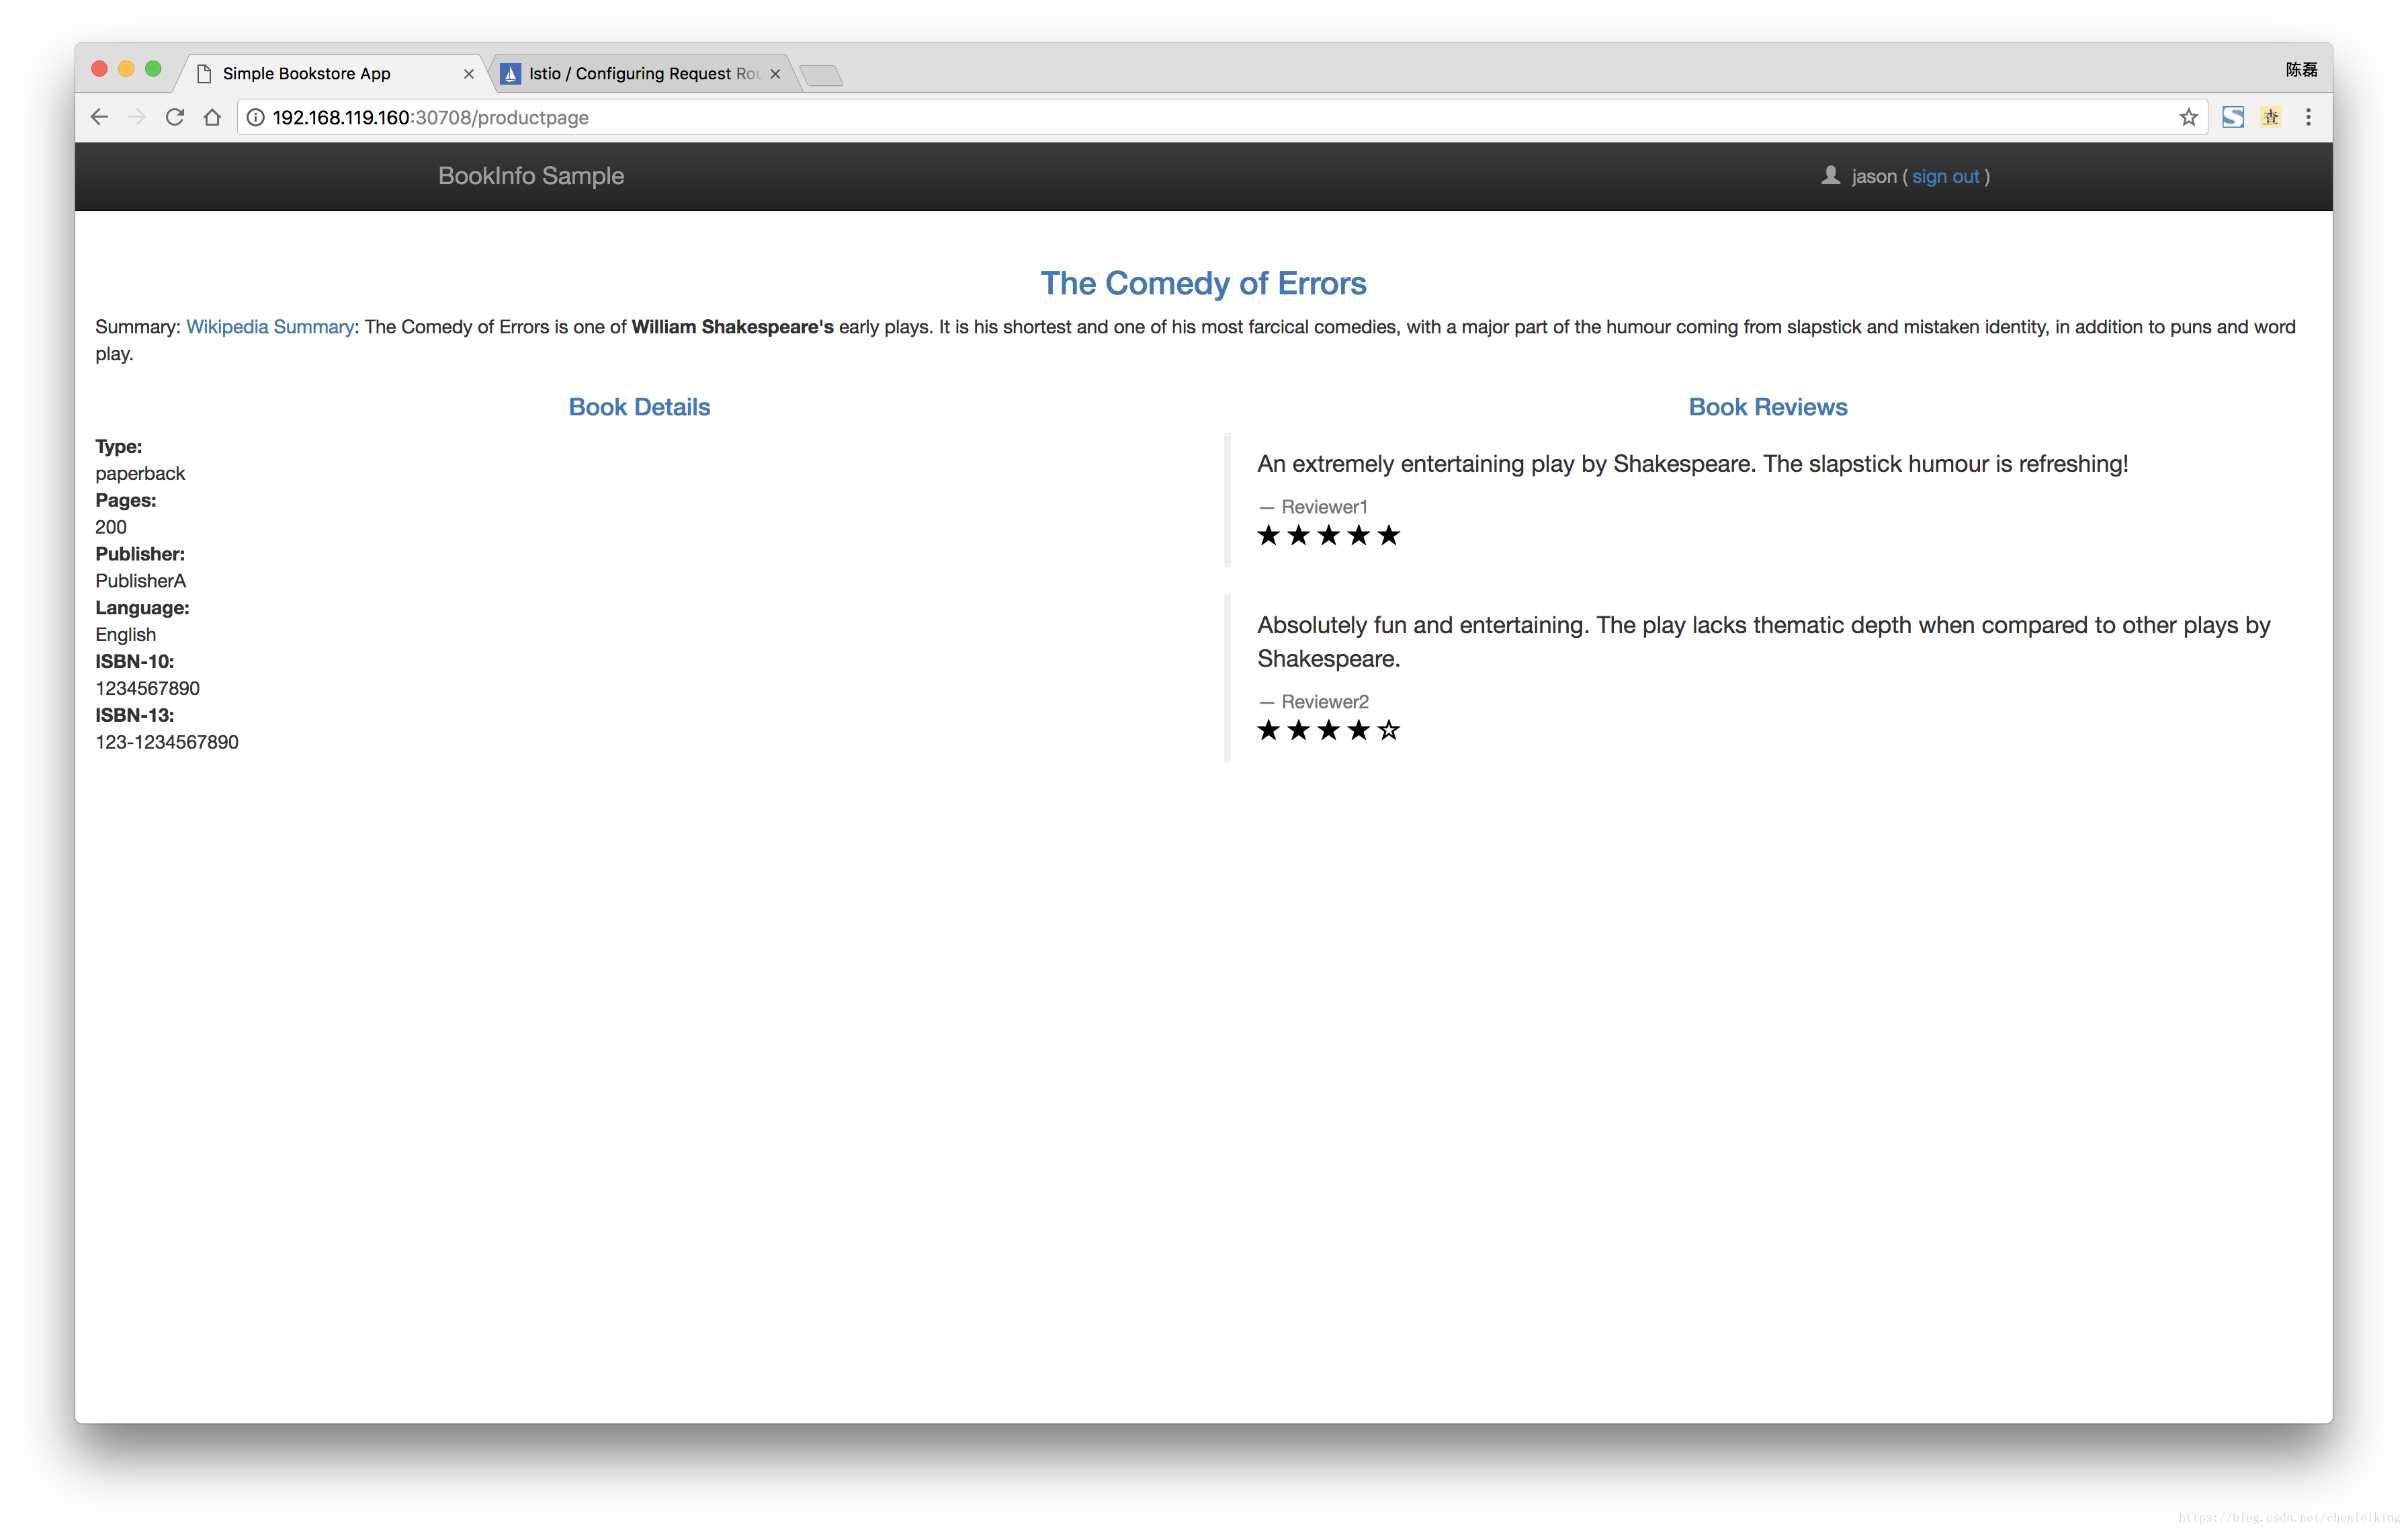
Created config route-rule//reviews-test-v2 at revision 29091点击页面”Sign in”按钮,输入用户名jason、密码没有校验,可为空,点击登录后多次刷新页面。Book Reviews一直显示很色星级。
查看路由配置命令:
[root@k8s-master istio-0.6.0]# istioctl get routerules
[root@k8s-master istio-0.6.0]# istioctl get routerules -o yaml
[root@k8s-master istio-0.6.0]# kubectl get routerule reviews-test-v2 -o yaml
- 删除路由配置
[root@k8s-master istio-0.6.0]# kubectl delete -f samples/bookinfo/kube/route-rule-all-v1.yaml
routerule "productpage-default" deleted
routerule "reviews-default" deleted
routerule "ratings-default" deleted
routerule "details-default" deleted
[root@k8s-master istio-0.6.0]# kubectl delete -f samples/bookinfo/kube/route-rule-reviews-test-v2.yaml
routerule "reviews-test-v2" deleted
istioctl delete命令无法删除,原因待查。
刷新页面,路由规则又变成在reviews的三个版本之间轮训
3.2、配置详解
Istio的RouteRule配置基本语法规则举例:
apiVersion: config.istio.io/v1alpha2
kind: RouteRule
metadata:
  name: reviews-default
spec:
  destination:
    name: reviews
  route:
  - labels:
      version: v1
weight: 100- destination:目标服务,name对应service name,表示此规则适用的服务
- route:路由规则,label对应service所包含的pod的label
- weight:权重,如果有多个route,可以设置按照权重分配流量到不同label的pod
这个规则的含义:将所有访问reviews服务的流量百分之百的发送到version标签为v1的pod
详细内容请参考:
中文:http://istio.doczh.cn/docs/concepts/traffic-management/rules-configuration.html
英文:https://istio.io/docs/concepts/traffic-management/rules-configuration.html
4、附件
https://pan.baidu.com/s/1hdazovV-SVMYxk9cb1wBhg
### 解压 ###

[root@k8s-master images]# for file in *.gz; do tar -zxvf $file; done;

### 导入 ###

[root@k8s-master images]# for file in *.tar; do docker load -i $file; done;