正则表达式:
正则表达式是对字符串操作的一种逻辑公式,就是用事先定义好的一些特定字符、
及这些特定字符的组合,组成一个“规则字符串”,这个“规则字符串”用来表达对字符串的一种过滤逻辑。
我们可以使用grep命令来测试我们的正则表达式,grep命令使用正则表达式去尝试匹配
指定文件的每一行,并将至少有一处匹配表达式的所有行显示出来。
grep概述:
文本过滤命令:grep是一种文本搜索工具,根据用户指定的“模式”对目标文本进行匹配检查,打印匹配到的行;
grep:由正则表达式或者字符及基本文本字符所编写的过滤条件;
grep匹配字符
用法:
   -E                扩展正则表达式
  grep root passwd   模糊过滤root字符
  grep -E "\<root" passwd  模糊过滤以root开头的字符
  grep -E "\<root\>" passwd  精确过滤以root字符
  grep -E -i "\<root\>" passwd  忽略大小写过滤root字符
  grep -E -i "^\<root\>" passwd 忽略大小写过滤以root字符开头的行
  grep -E -i "\<root\>$" passwd 忽略大小写过滤以root字符结尾的行
  grep -E  "root|ROOT" passwd 模糊过滤root和ROOT字符
操作演示:
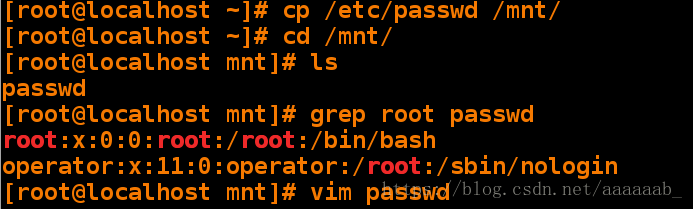
[root@localhost ~]# cp /etc/passwd /mnt/  将passwd文件复制到/mnt
[root@localhost ~]# cd /mnt/   切换路径
[root@localhost mnt]# ls   查看
passwd
[root@localhost mnt]# grep root passwd  过滤root行
root:x:0:0:root:/root:/bin/bash
operator:x:11:0:operator:/root:/sbin/nologin
[root@localhost mnt]# vim passwd   编辑文件写入root开头结尾在中间的行,进行测试
测试文件内容:

操作步骤:
[root@localhost mnt]# grep ^root passwd   ^表示root开头的行
root:x:0:0:root:/root:/bin/bash
[root@localhost mnt]# grep root$ passwd   $表示结尾的行
test:test:root
[root@localhost mnt]# grep -i ^root passwd  -i忽略大小写
root:x:0:0:root:/root:/bin/bash
Root:test:test
[root@localhost mnt]# grep -i root$ passwd  -i忽略大小写
test:test:root
[root@localhost mnt]# grep -i -E "^root|root$" passwd -E扩展正则表达式,过滤root开头结尾的行
root:x:0:0:root:/root:/bin/bash
test:test:root
Root:test:test
[root@localhost mnt]# egrep -i "^root|root$" passwd    egrep=grep -E效果一样
root:x:0:0:root:/root:/bin/bash
test:test:root
Root:test:test
[root@localhost mnt]# grep -i -E -v "^root|root$" passwd   |表示或者关系,加参数表示并且,-v表示反向屏蔽
postfix:x:89:89::/var/spool/postfix:/sbin/nologin
test:root:test
咋样过滤root在中间的行?
[root@localhost mnt]# grep -i root passwd   过滤root行
root:x:0:0:root:/root:/bin/bash
operator:x:11:0:operator:/root:/sbin/nologin
test:test:root
test:root:test
Root:test:test
[root@localhost mnt]# grep -i root passwd | grep -v -i -E "^root|root$"  过滤含有root的行同时反向过滤掉root开头结尾的行保留root在中间的行
operator:x:11:0:operator:/root:/sbin/nologin
test:root:test
[root@localhost mnt]# grep -v -i -E "^root|root$" passwd   反向过滤掉root开头结尾的行保留root在中间的行
postfix:x:89:89::/var/spool/postfix:/sbin/nologin
test:root:test
[root@localhost mnt]# grep -v -i -E "^root|root$" passwd | grep -i root  反向过滤掉root开头结尾的行保留root在中间的行同时过滤含有root的行
operator:x:11:0:operator:/root:/sbin/nologin
test:root:test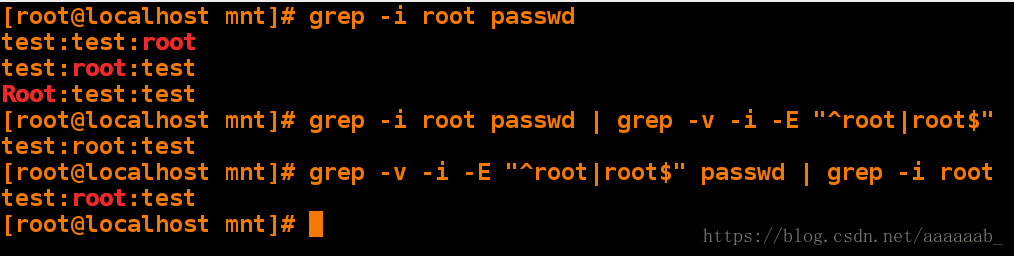
grep匹配字符出现次数:
  grep -E "x.." prc       x后至少2个字符
  grep -E "x..\>" prc     x后2个字符结尾
  grep -E "x..y\>" prc    x..y结尾ie
  grep -E "\<x..y\>" prc  x开头,2个字符,y结尾
  grep -E "x*y" prc       xy之间x出现任意次
  grep -E  "x?y" prc      xy之间x出现0-1次
  grep -E "\<x{,2}y" prc  以x开头,xy之间x最多出现2次
  grep -E "\<x{2,}y" prc  以x开头,xy之间x最少出现2次
  grep -E "\<x+y" prc     xy之间x最少出现1次
  grep -E "\<(xy)+" prc   以xy开头,xy字符最少出现1次
  *              字符出现零到任意次
  ?              字符出现零到一次
  +              字符出现一到任意次
\{n\}        字符出现[n次]
\{m,n\}          字符出现[最少出现m次,最多出现n次]
\{0,n\}          字符出现[0-n次]
\{m,\}           字符出现[至少m次]
\{xy\}\{n\}xy    关键字出现[n次]
.*               关键字之间匹配任意字符
操作演示:
[root@localhost mnt]# vim test 编辑文件进行测试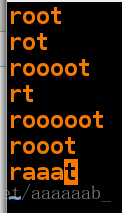
[root@localhost mnt]# grep 'r..t' test   过滤rt中间两个字符的行
root
[root@localhost mnt]# grep 'r...t' test  过滤rt中间三个字符的行
rooot
raaat
[root@localhost mnt]# grep -E 'r*t' test   *表示从零到所有过滤
root
rot
roooot
rt
rooooot
rooot
raaat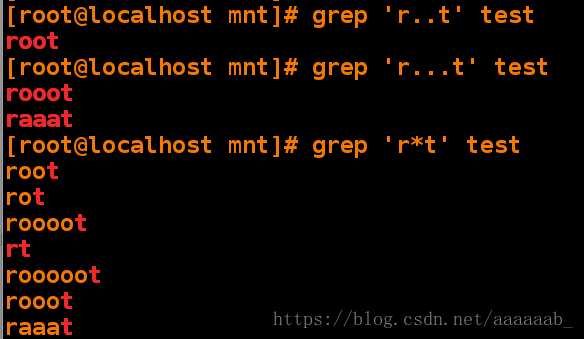
[root@localhost mnt]# grep -E 'ro?t' test  ?表示从零到一过滤
rot
rt
[root@localhost mnt]# grep -E 'ro{1,}t' test 表示过滤从一到所有
root
rot
roooot
rooooot
rooot
[root@localhost mnt]# grep -E 'ro{1,3}t' test 表示过滤从一到三
root
rot
rooot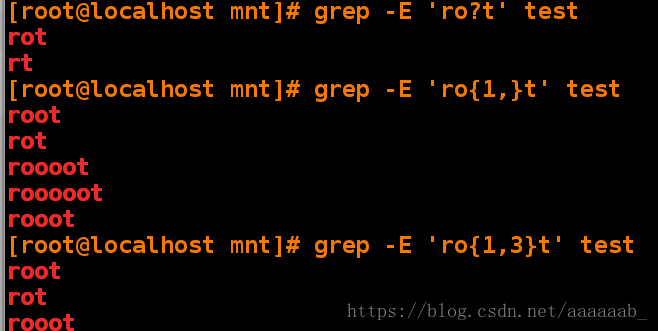
操作演示:
[root@localhost mnt]# vim test 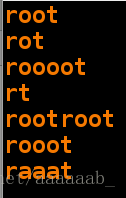
[root@localhost mnt]# grep -E '(root){2,}' test 表示过滤连续的两个root行
rootroot
[root@localhost mnt]# grep -E 'r*t' test 表示r从零到所有的行
root
rot
roooot
rt
rootroot
rooot
raaat
[root@localhost mnt]# grep -E 'r.*t' test 表示r和t之间的任意字符
root
rot
roooot
rt
rootroot
rooot
raaat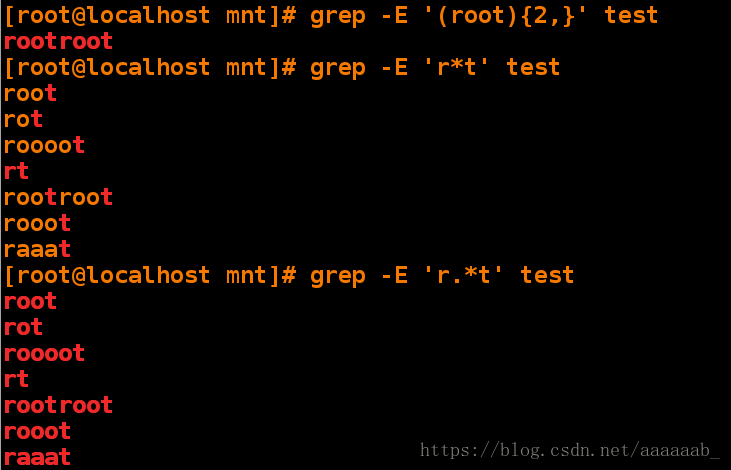
grep中字符的匹配位置
^ 关键字    关键字开头
关键字 $    关键字结尾
\<关键字    关键字结尾不扩展
关键字\>    关键字开头不进行扩展
\<关键字\>  精确匹配关键字
操作演示:
[root@localhost mnt]# vim test
[root@localhost mnt]# cat test 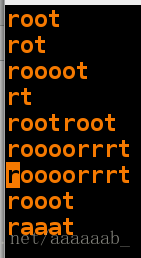
[root@localhost mnt]# grep -E "r...." test   表示过滤r开头后面有五个字符行
roort
rootroot
roooorrrt
roooorrrt
rooot
raaat
[root@localhost mnt]# grep -E "r....\>" test  表示过滤r开头后面有五个字符不扩展行
roort
rooot
raaat
[root@localhost mnt]# grep -E "....t" test    表示过滤t结尾前面有五个字符行
roort
rootroot
roooorrrt
roooorrrt
rooot
raaat
[root@localhost mnt]# grep -E "\<....t" test  表示过滤t结尾前面有五个字符不扩展行
roort
rooot
raaat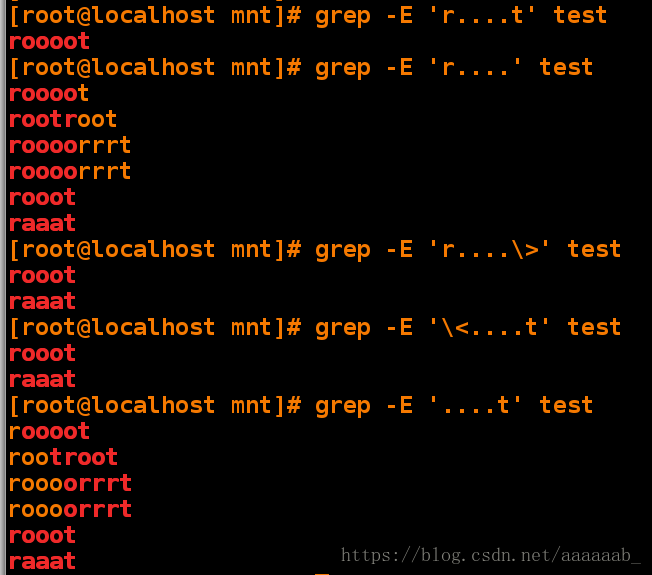
[root@localhost mnt]# ifconfig eth0   用\>过滤inet行
eth0: flags=4163<UP,BROADCAST,RUNNING,MULTICAST>  mtu 1500
        inet 172.25.254.121  netmask 255.255.255.0  broadcast 172.25.254.255
        inet6 fe80::5054:ff:fedf:3315  prefixlen 64  scopeid 0x20<link>
        ether 52:54:00:df:33:15  txqueuelen 1000  (Ethernet)
        RX packets 28542  bytes 5864646 (5.5 MiB)
        RX errors 0  dropped 0  overruns 0  frame 0
        TX packets 1939  bytes 223115 (217.8 KiB)
        TX errors 0  dropped 0 overruns 0  carrier 0  collisions 0

[root@localhost mnt]# ifconfig eth0 | grep inet   过滤inet行
        inet 172.25.254.121  netmask 255.255.255.0  broadcast 172.25.254.255
        inet6 fe80::5054:ff:fedf:3315  prefixlen 64  scopeid 0x20<link>
[root@localhost mnt]# ifconfig eth0 | grep -E "inet\>"   不进行扩展过滤inet
        inet 172.25.254.121  netmask 255.255.255.0  broadcast 172.25.254.255
[root@localhost mnt]# ifconfig eth0 | grep -E "inet "  直接加空格过滤
        inet 172.25.254.121  netmask 255.255.255.0  broadcast 172.25.254.255
[root@localhost mnt]# grep -E "ro?t" test  问号表示零到一次
rot
roort
rt
roooorrrt
roooorrrt
[root@localhost mnt]# grep -E "ro+t" test 加号表示一到任意次
root
rot
rootroot
rooot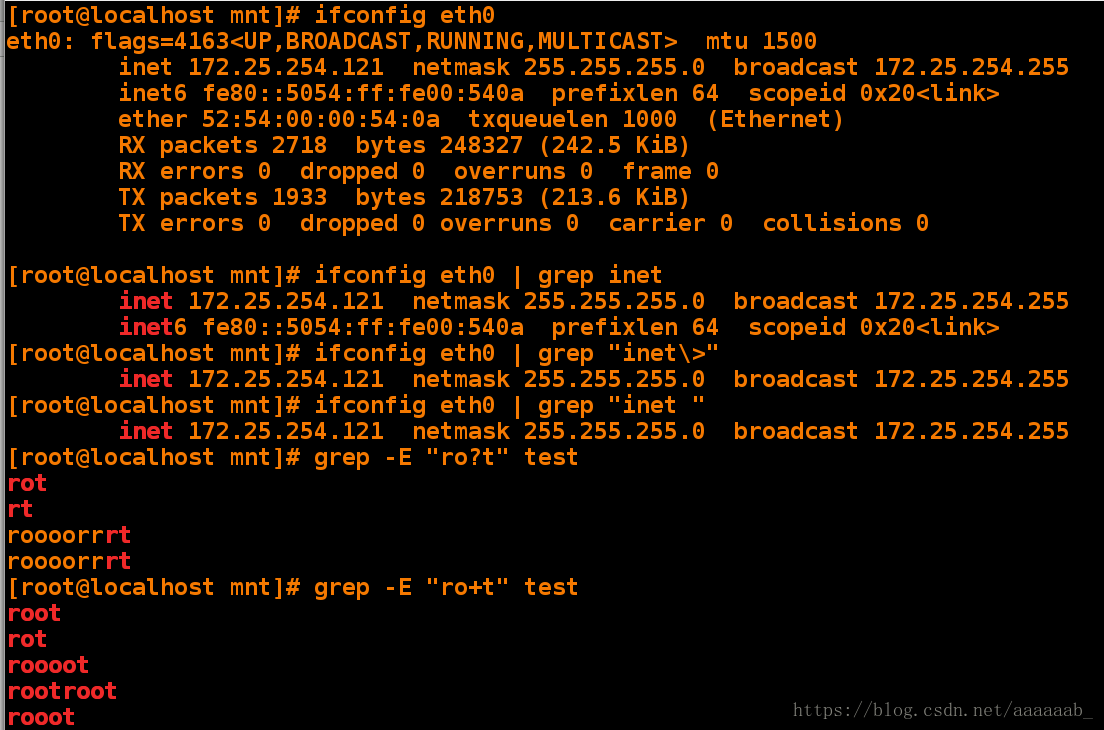
在系统当中找到可以登录的用户有哪些?
脚本实现:
[root@localhost mnt]# cat /etc/shells 查看shell
/bin/sh
/bin/bash
/sbin/nologin
/usr/bin/sh
/usr/bin/bash
/usr/sbin/nologin
/bin/tcsh
/bin/csh
[root@localhost mnt]# grep -v nologin /etc/shells 将nologin行反向过滤掉
/bin/sh
/bin/bash
/usr/bin/sh
/usr/bin/bash
/bin/tcsh
/bin/csh
[root@localhost mnt]# echo `grep -v nologin /etc/shells`  将过滤出来结果写为一行
/bin/sh /bin/bash /usr/bin/sh /usr/bin/bash /bin/tcsh /bin/csh
[root@localhost mnt]# echo `grep -v nologin /etc/shells` | sed 's/ /|/g'
用|替换空格,全文替换。
/bin/sh|/bin/bash|/usr/bin/sh|/usr/bin/bash|/bin/tcsh|/bin/csh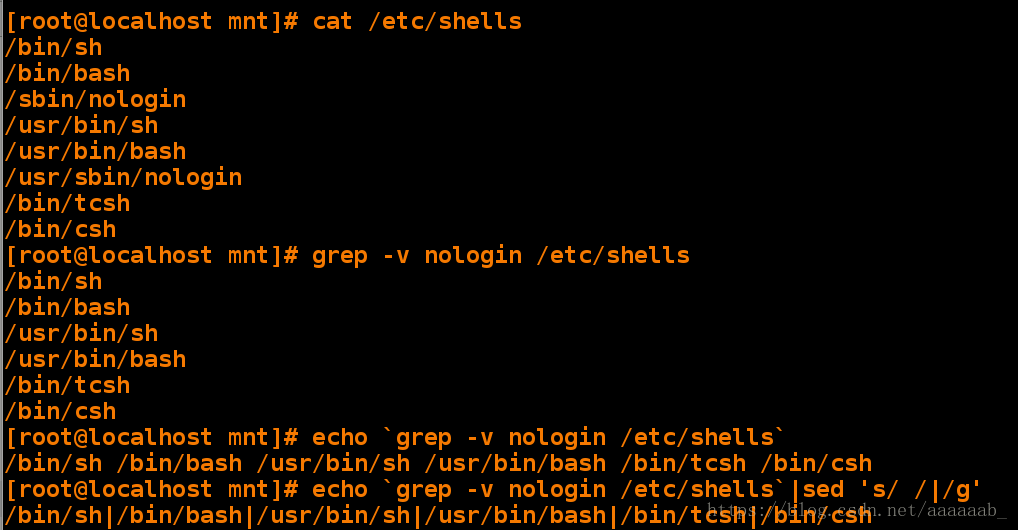
[root@localhost mnt]# vim show_loginuser.sh 编写脚本
[root@localhost mnt]# cat show_loginuser.sh 查看脚本
#!/bin/bash
SHELL=$(echo `grep -v nologin /etc/shells` | sed 's/ /|/g')
grep -E "$SHELL" /etc/passwd | cut -d : -f 1   指定分隔符,显示第一列过滤用户
[root@localhost mnt]# chmod +x show_loginuser.sh
[root@localhost mnt]# /mnt/show_loginuser.sh
root
student
[root@localhost mnt]# useradd -s /bin/tcsh user1在tcsh这个shell中建立用户
[root@localhost mnt]# su - user1  可以切换用户
[user1@localhost ~]$ logout
[root@localhost mnt]# /mnt/show_loginuser.sh  可以显示说明用户不一定都在bash此shell中
root
student
user1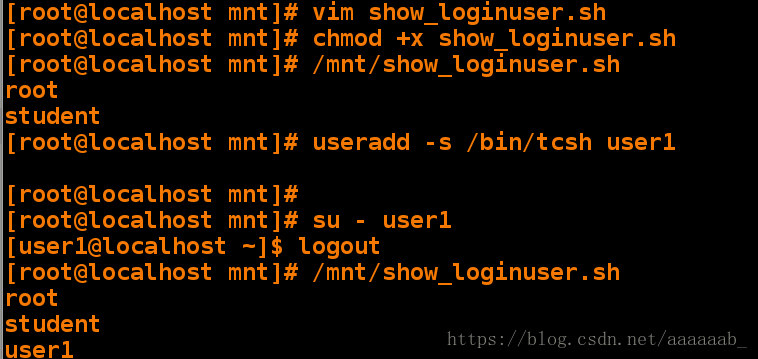
sed概述:
行编辑器:用来操作纯ASCII码的文本。
原理:处理时,把当前处理的行存储在“模式空间”(临时缓冲区),
符合模式条件的处理,不符合条件的不处理,处理完成后把缓冲区内
容送往屏幕;接着处理下一行,不断重复,直至文件结束;
p模式语法(显示模式)
 sed -n '/#/p' fstab            显示文件带#的行
 sed -n '/#/p' fstab -i fstab   将显示结果覆盖掉原文件
 cat -n fstab | sed -ne '3p;6p;8p'  显示文件的3,6,8行
 cat -n fstab | sed -ne '1,3!p'     不显示文件的1-3行
操作演示:
[root@localhost mnt]# rm -fr *
[root@localhost mnt]# cp /etc/fstab /mnt     复制fstab到/mnt下
[root@localhost mnt]# sed -n '/^#/p' fstab   显示以#开头的行
[root@localhost mnt]# sed -n '/^#/!p' fstab  显示除了以#开头的行
[root@localhost mnt]# sed -n '/0$/p' fstab   显示以0结尾的行
[root@localhost mnt]# cat -n fstab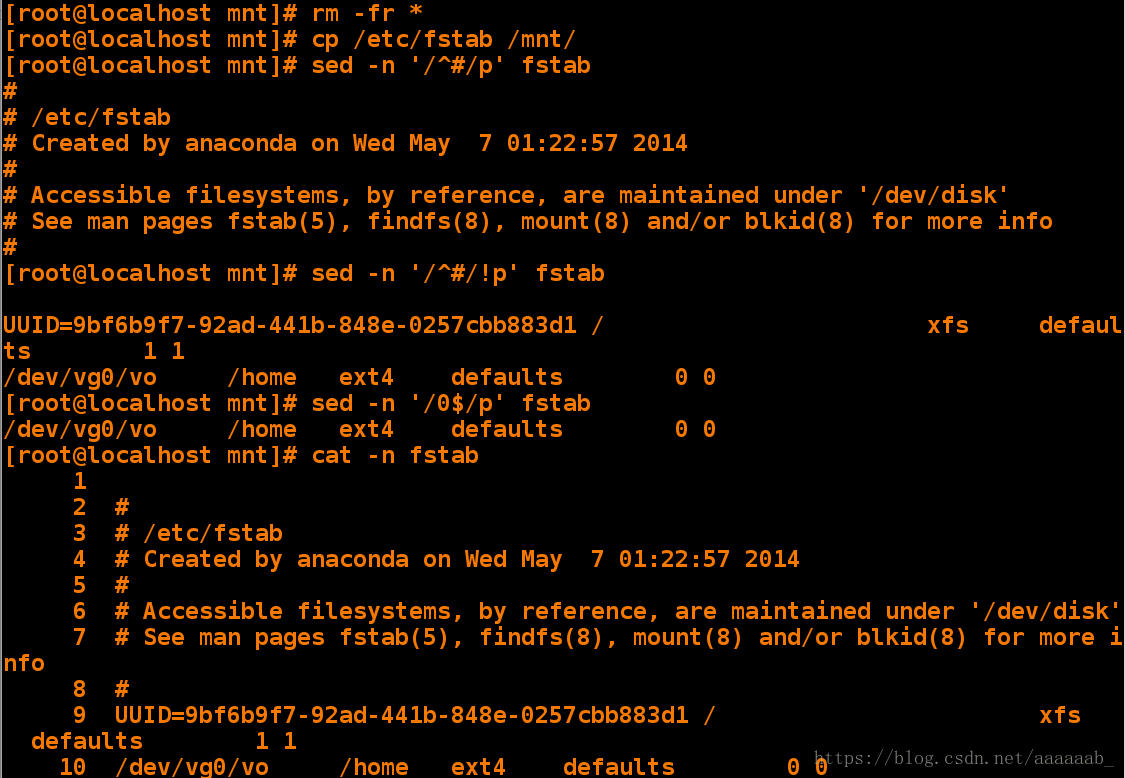
[root@localhost mnt]# cat -n fstab |sed -n '2,6p'  显示2-6行
[root@localhost mnt]# cat -n fstab |sed -n -e '2p' -e '6p' 显示第二行和第六行(-e表示多个条件)
[root@localhost mnt]# cat -n fstab |sed -n -e '2p;6p'  显示第二行和第六行
[root@localhost mnt]# cat -n fstab |sed -ne '2!p;6!p' | uniq -d  显示除了第二行和第六行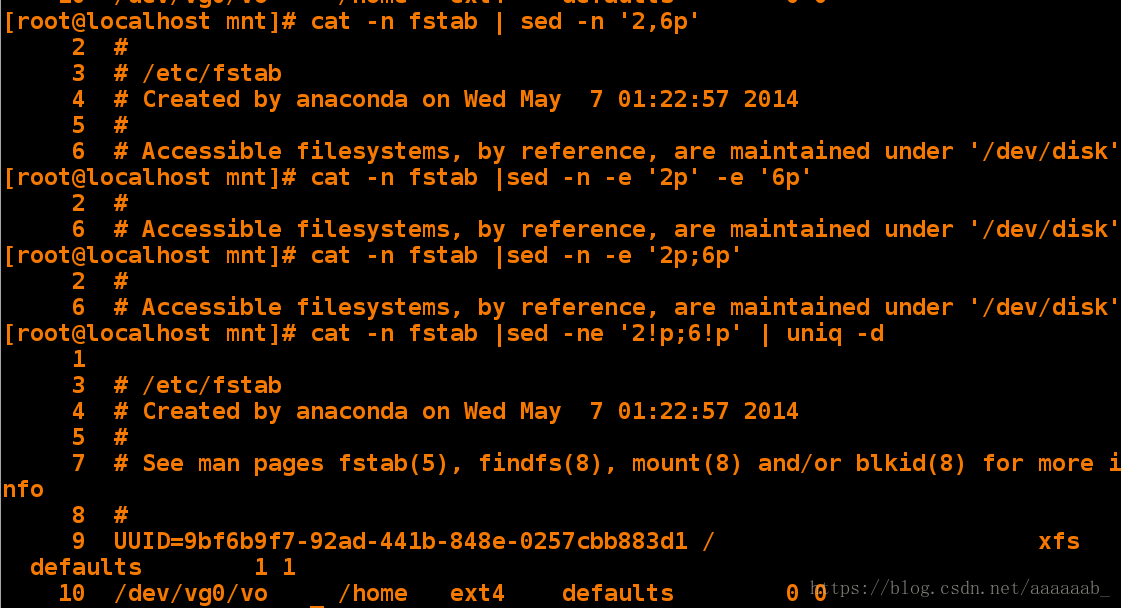
用脚本建立文件中的用户以及使用文件对应的密码:
[root@localhost mnt]# vim userfile 编辑用户文件
[root@localhost mnt]# vim passfile 编辑密码文件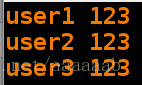
[root@localhost mnt]# vim user_create.sh 编写脚本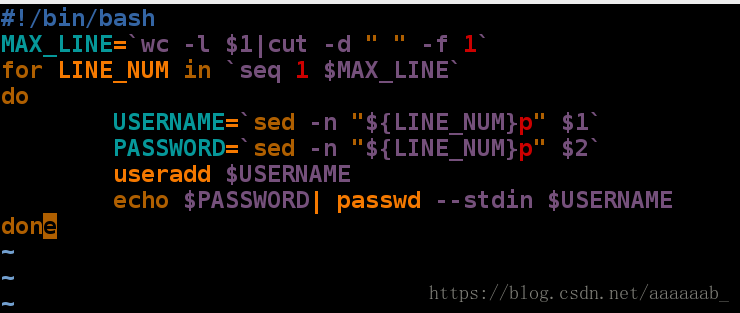
[root@localhost mnt]# sh user_create.sh userfile passfile   调用脚本
useradd: user 'user1' already exists
Changing password for user user1.
passwd: all authentication tokens updated successfully.
Changing password for user user2.
passwd: all authentication tokens updated successfully.
Changing password for user user3.
passwd: all authentication tokens updated successfully.
[root@localhost mnt]# id user1  查看user1用户信息
uid=1001(user1) gid=1001(user1) groups=1001(user1)
[root@localhost mnt]# su - user1  验证user1用户
Last login: Mon Jun 18 09:21:58 EDT 2018 on pts/1
[user1@localhost ~]$ su - user2   验证user2密码
Password:
[user2@localhost ~]$ exit  退出
logout
[user1@localhost ~]$ exit  退出
logout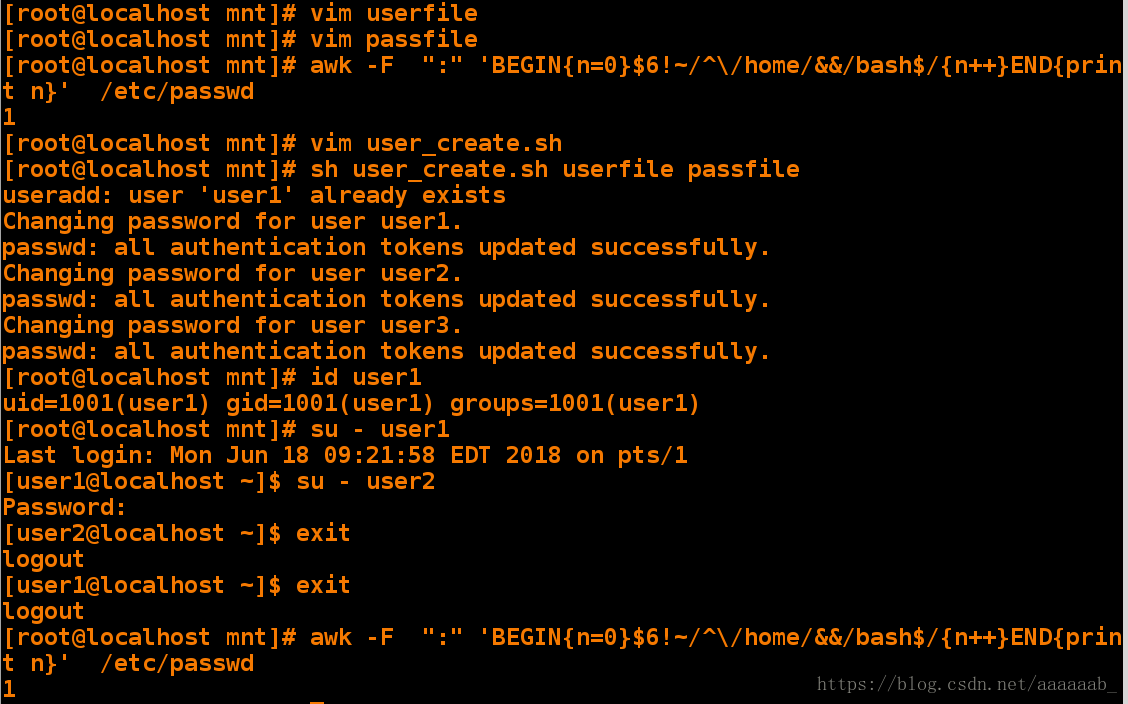
d模式语法(删除模式)
 sed '1,4d' fstab          删除文件的1、4行
 sed '/^#/d' fstab         删除文件以#开头的行
 sed '/^UUID/!d' fstab     除了以UUID开头的行都删除
操作演示:
[root@localhost mnt]# sed -e '2d;6d' fstab    除了2和6行都显示
[root@localhost mnt]# sed -e '/^#/d' fstab    删除以#开头的行
[root@localhost mnt]# sed -e '/^$/d' fstab    删除空格行
[root@localhost mnt]# sed -e '/^$/d;/^#/d' fstab    删除空格行和#开头的行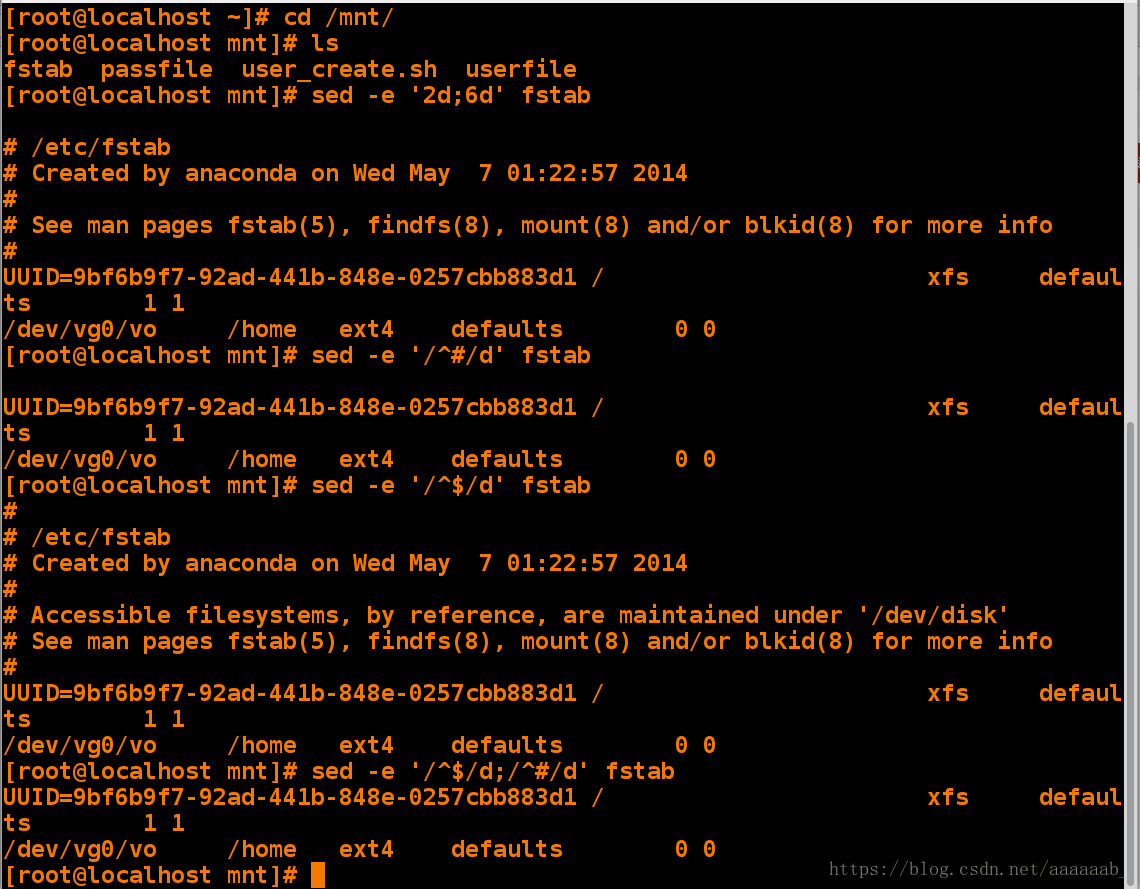
a模式语法(添加模式)
 sed '/^UUID/a hello' fstab        在以UUID开头的那一行后插入hello行
 sed '/^UUID/a hello\ntest' fstab  在以UUID开头的那一行后插入2行
操作演示:
[root@localhost mnt]# vim westos
hello
[root@localhost mnt]# sed '/hello/aworld' westos
hello
world   ##在hello后面添加
[root@localhost mnt]# sed '/hello/aworld\nwestos' westos ##\n在world后面换行添加
hello
world
westos
[root@localhost mnt]# sed 's/hello/hello world/g' westos  ##将hello更换成hello world
hello world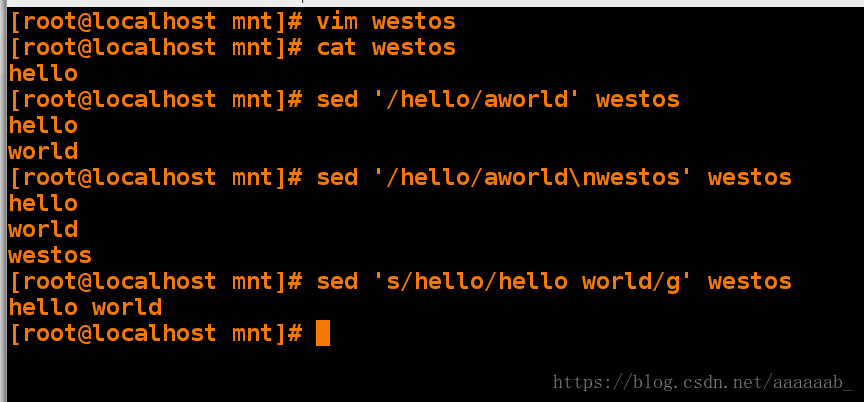
i模式语法(插入模式)
sed '/^UUID/i hello' fstab ##在以UUID开头的那一行前插入hello行操作演示:
[root@localhost mnt]# sed '/hello/iwestos' westos   在hello前插入一行westos
westos
hello
c模式语法(替换模式)
sed '/^UUID/c hello' fstab 将以UUID开头的那一行替换成hello行操作演示:
[root@localhost mnt]# sed '/hello/chello world' westos   将hello替换成hello world
[root@localhost mnt]# cp /etc/passwd .
w模式语法(写入模式)
sed '/^UUID/w /mnt/test' fstab           将文件fstab以UUID开头的那一行写入/mnt/test
 sed -n '/^UUID/w /mnt/test' fstab       同上,但是不输出结果
 sed '/^UUID/=' fstab                    将文件fstab以UUID开头的行号输出
 sed '1r /mnt/hello' fstab               将/mnt/hello文件写入fstab的第1行
 sed '$r /mnt/hello' fstab               将/mnt/hello文件写入fstab的最后1行
操作演示:
[root@localhost mnt]# sed -n '/bash$/p' passwd > file  将bash结尾的行重定向到文件
[root@localhost mnt]# cat file   查看文件
[root@localhost mnt]# rm -fr file  删除文件
[root@localhost mnt]# sed -n '/bash$/wfile' passwd     将bash结尾的行写入到文件
[root@localhost mnt]# cat file  查看文件
注意:w和>的区别:w做的是一个命令,>做的是两个命令;w的效率要比>高
[root@localhost mnt]# sed '/hello/p' westos
[root@localhost mnt]# sed '/hello/=' westos   输出行号
1
hello
[root@localhost mnt]# echo `sed '/hello/=' westos`   将输出结果放到一行
1 hello
[root@localhost mnt]# sed '6r westos' fstab  将westos的内容加到fstab文件的第六行下面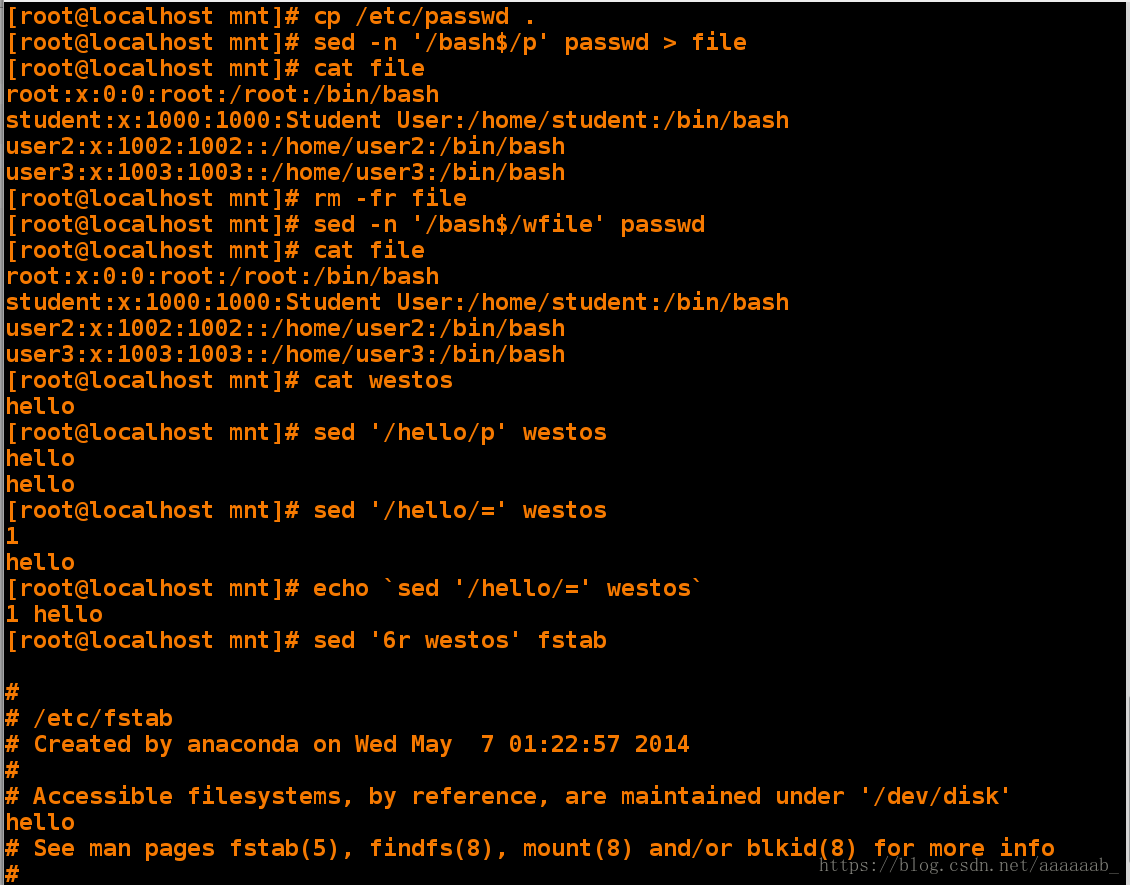
sed其他参数 (-n:只显示匹配空间的内容)
sed -n -f prctise fstab       对fstab执行prctise的策略
[root@localhost mnt]# cat prctise
/^UUID/p
\/^UUID/=
sed -n -e '/^UUID/p' fstab -e '/^UUID/='  同上
sed 's/s/S/g' fstab         将fstab全文的s替换成S
sed '1,3s/s/S/g' fstab      将fstab前3行的s替换成S
sed '/by/,/man/s/S/\#/g' fstab     将fstab字符by与man之间的S替换成#
sed 's@s@S@g' fstab       @于/意义相同
sed 'G' hello             在hello文件的每行后插入空行
sed '$!G' hello           除了最后1行,每行后插入空行
sed '=' hello             显示行号
操作演示:
[root@localhost mnt]# sed -n '/^UUID/=' fstab  只显示行数
9
[root@localhost mnt]# sed  '/^UUID/=' fstab  显示行数和内容
9
UUID=9bf6b9f7-92ad-441b-848e-0257cbb883d1 /                       xfs     defaults        1 1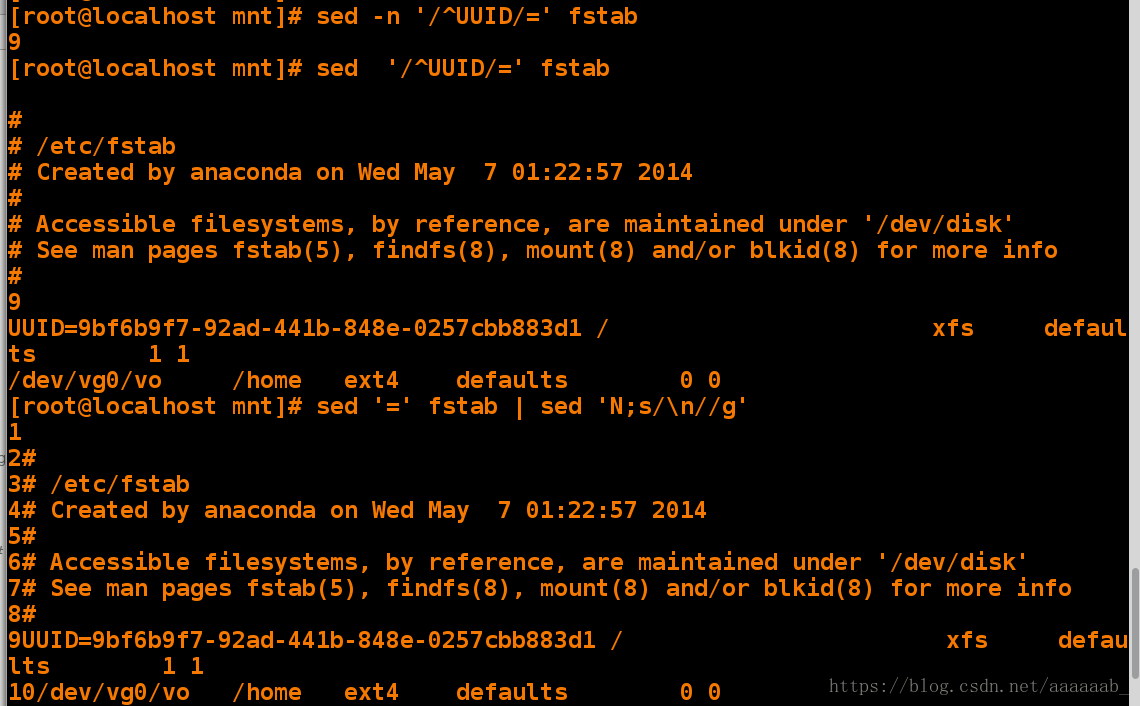
[root@localhost mnt]# sed '=' fstab | sed 'N;s/\n//g'  在文件前面加行号
[root@localhost mnt]#   内容和行号之间有空格
[root@localhost mnt]# sed 'G' fstab  在内容的每一行后面加一个空行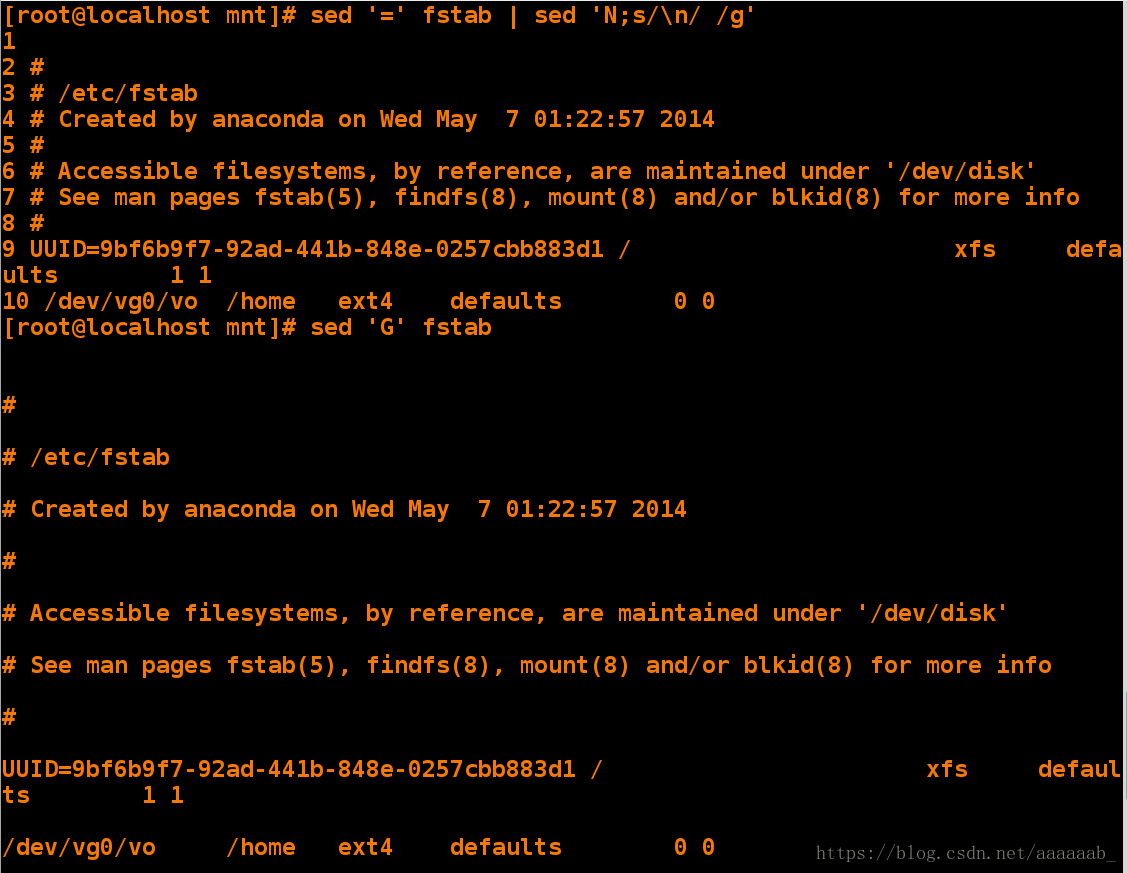
[root@localhost mnt]# sed '$!G' fstab  在最后一行不加空行
[root@localhost mnt]# sed -n '$p' fstab  显示最后一行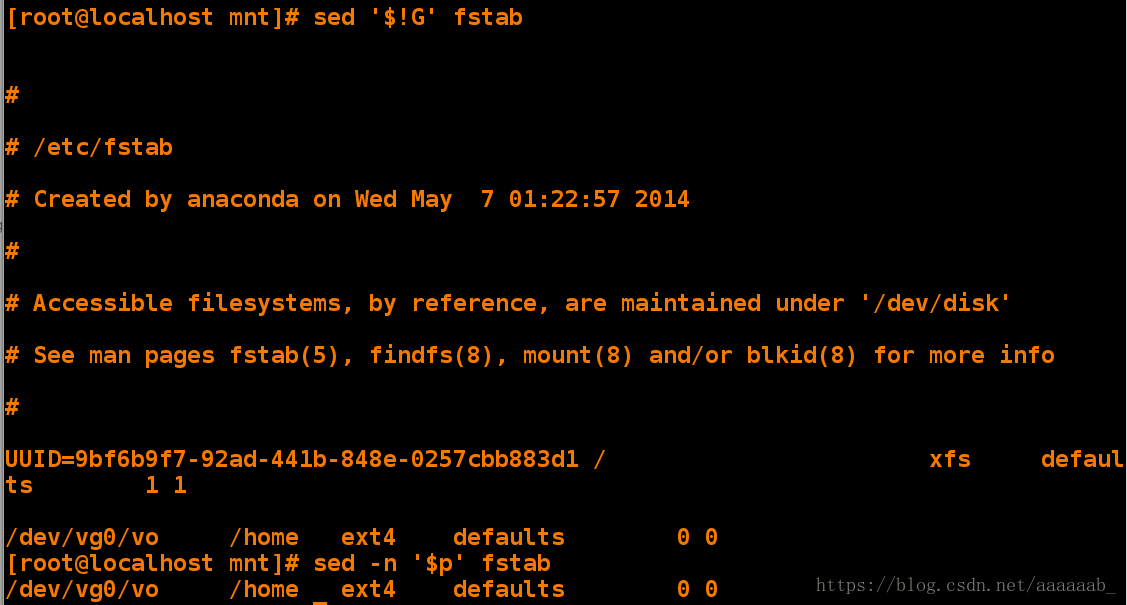
sed替换模式:
[root@localhost ~]# cd /mnt/  切换到/mnt下
[root@localhost mnt]# rm -fr *  删除所有
[root@localhost mnt]# cp /etc/passwd .   复制/etc/passwd到当前
[root@localhost mnt]# ls
passwd
[root@localhost mnt]# vim passwd       编辑passwd保留部分行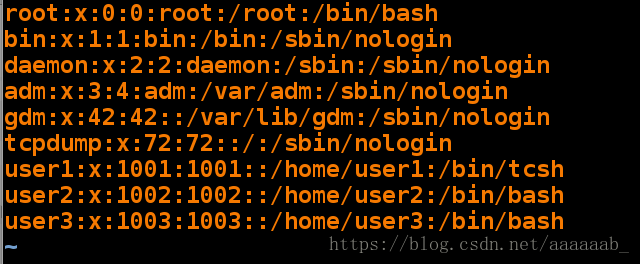
[root@localhost mnt]# sed 's/nologin/westos/g' passwd      将全文的nologin替换成westos(/g是替换全文)
[root@localhost mnt]# sed '3,5s/nologin/westos/g' passwd      替换3和5行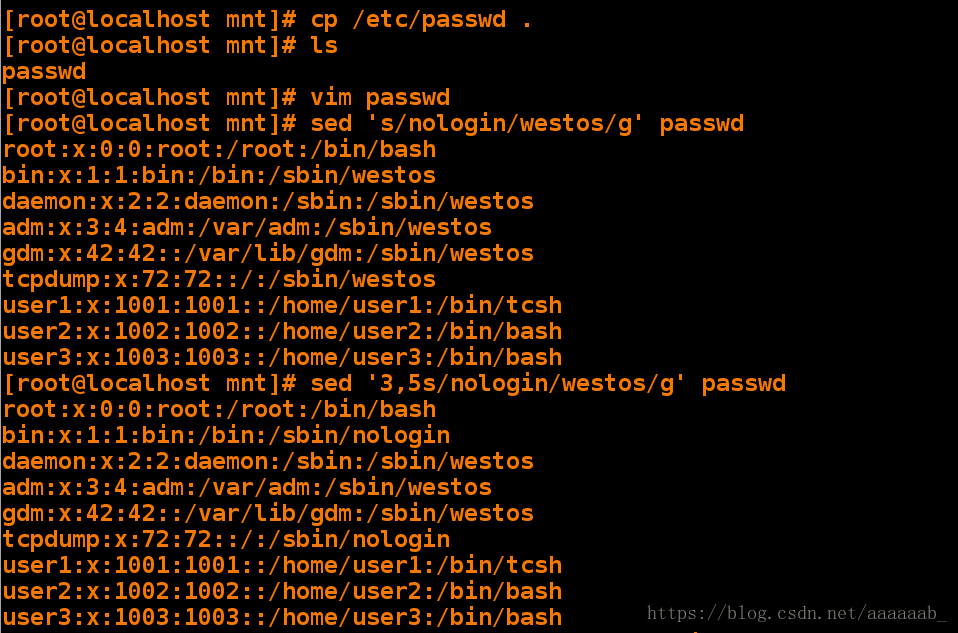
[root@localhost mnt]# sed '/adm/,/tcpdump/s/nologin/westos/g' passwd       替换关键字adm到tcpdump之间的内容
[root@localhost mnt]# sed -e '/adm/,/tcpdump/s/nologin/westos/g;s/sbin/xfl/g' passwd  多条指令同时执行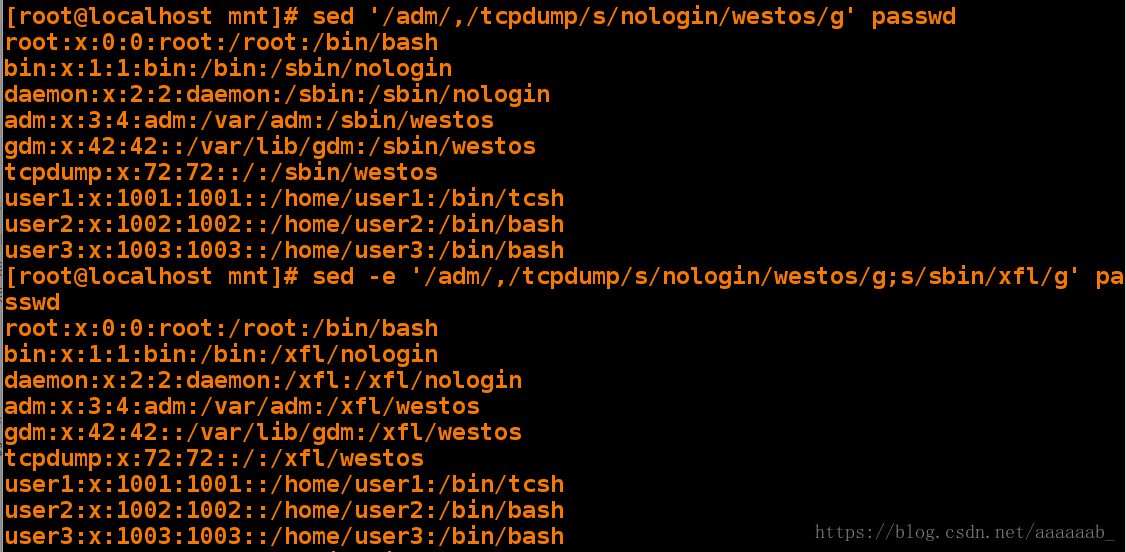
[root@localhost mnt]# vim file   编辑替换文件
s/sbin/westos/g
s/nologin/linux/g
[root@localhost mnt]# sed -f file passwd          执行file里的替换命令
[root@localhost mnt]# cat passwd                  所有的替换都不会改变原文件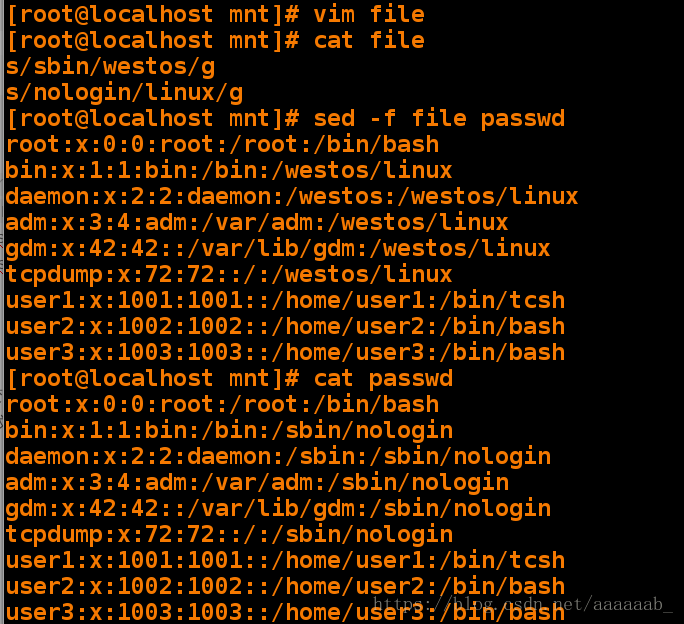
[root@localhost mnt]# sed -f file -i passwd       将原文件改变,-i改变文件
[root@localhost mnt]# cat passwd                  查看文件已经改变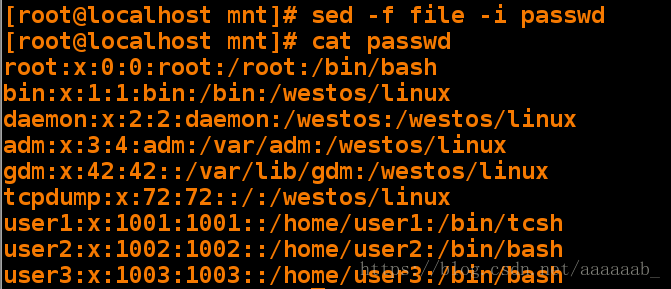
编写脚本使得自动安装阿帕奇并使用指定端口:
[root@localhost mnt]# vim install_apache.sh  编辑脚本
[root@localhost mnt]# cat install_apache.sh
#!/bin/bash
yum install httpd.x86_64 -y;  安装阿帕奇
sed -i "/^Listen/cListen $1" /etc/httpd/conf/httpd.conf;
echo   ;
echo the listen is changed;
sed -ne '42p' /etc/httpd/conf/httpd.conf
systemctl restart httpd   重启服务
[root@localhost mnt]# sh install_apache.sh 8080   运行脚本
[root@localhost mnt]# netstat -antlupe | grep 8080  查看8080端口
tcp6 0 0 :::8080 :::* LISTEN 0 91425 10757/httpd 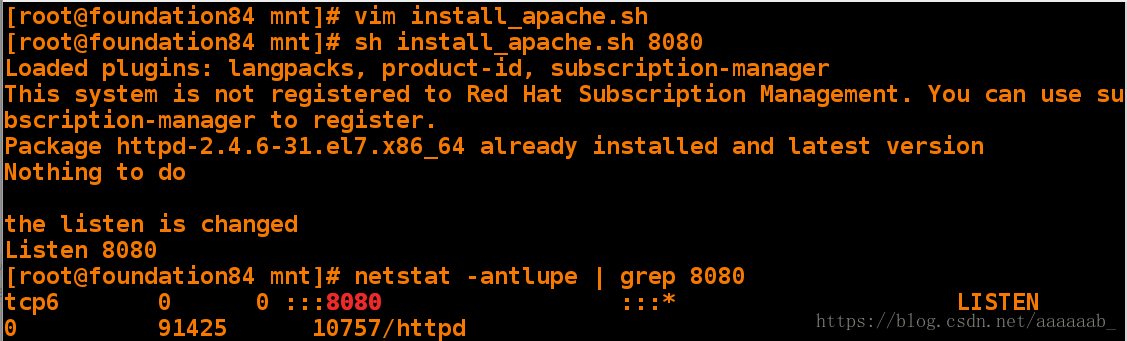
awk报告生成器:
awk概述:
awk处理机制:逐行处理文本,支持在处理第一行之前做一些准备工作,
以及在处理完最后一行做一些总结性质的工作
awk参数:
awk -F : 'BEGIN{print "NAME"}{print $1}' passwd
以:为分隔符,处理前打印 NAME ,打印第1列
awk -F : 'BEGIN{print "NAME"}{print $1}END{print NR}' passwd
以:为分隔符,处理前打印 NAME ,打印第1列,处理后打印行数(NF列)
awk -F : '/bash$/{print $7}' passwd
以:为分隔符,打印以bash结尾行的第7列
awk -F : '/bash$/' passwd
以:为分隔符,打印以bash结尾行
awk -F : 'NR==3' passwd
以:为分隔符,打印第3行
awk -F : 'BEGIN{print "NAME"}NR<=3&&NR>=2{print $1}' passwd
以:为分隔符,处理前打印 NAME ,打印2-3行的第1个字符
awk命令呈现:
[root@localhost mnt]# awk -F ":" '{print $1}' passwd 打印第一列
[root@localhost mnt]# awk -F ":" 'BEGIN{print "NAME"}{print $1}' passwd  以:为分隔符,处理前打印NAME,打印第1列
[root@localhost mnt]# awk -F ":" 'BEGIN{print "name"}{print $1}' passwd  以:为分隔符,处理前打印name,打印第1列
[root@localhost mnt]# awk '/bash$/{print}' passwd  打印bash结尾的行
[root@localhost mnt]# awk -F ":" 'BEGIN{N=0}/bash$/{N++}END{print N}' passwd 从零开始统计bash结尾的行数
[root@localhost mnt]# awk '/^a|nologin$/{print}' passwd   打印a开头的同时nologin结尾的行
[root@localhost mnt]# awk -F ":" '$1~/^r/{print}' passwd   打印以r开头的行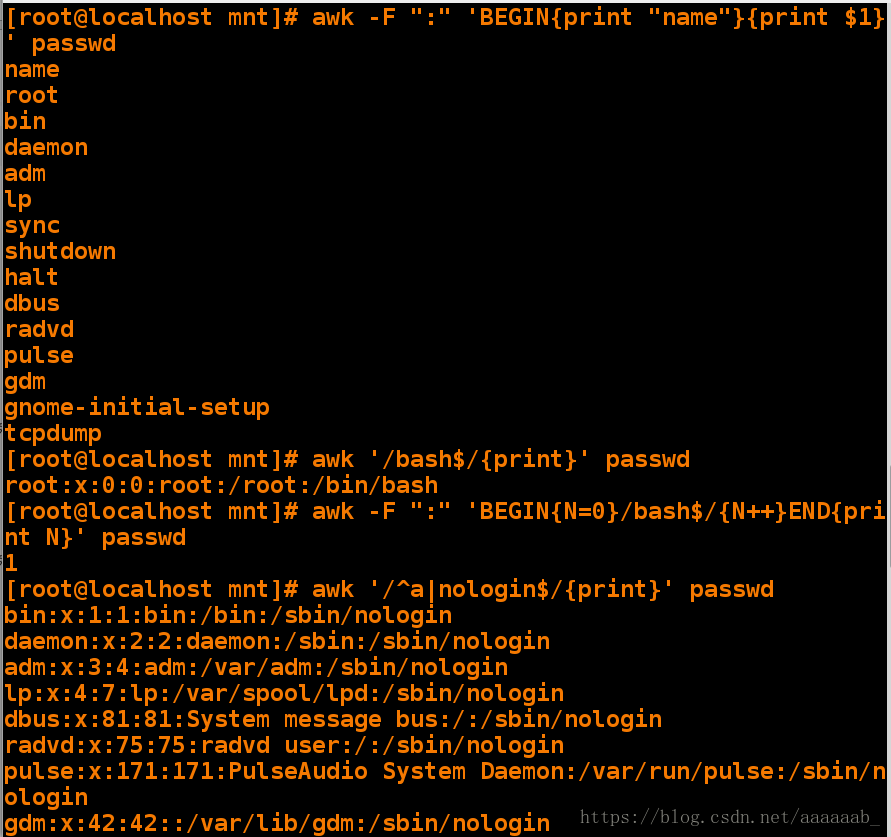
[root@localhost mnt]# awk -F ":" '$1!~/^r/{print}' passwd  打印不是以r开头的行
[root@localhost mnt]# awk -F ":" '$7!~/bash$/{print}' passwd   打印不是bash结尾的行
[root@localhost mnt]# awk -F ":" '{print NR,$0}' passwd 打印行数,0代表所有
[root@localhost mnt]# awk -F ":" '{print NR,$1}' passwd  1代表第一列依次类推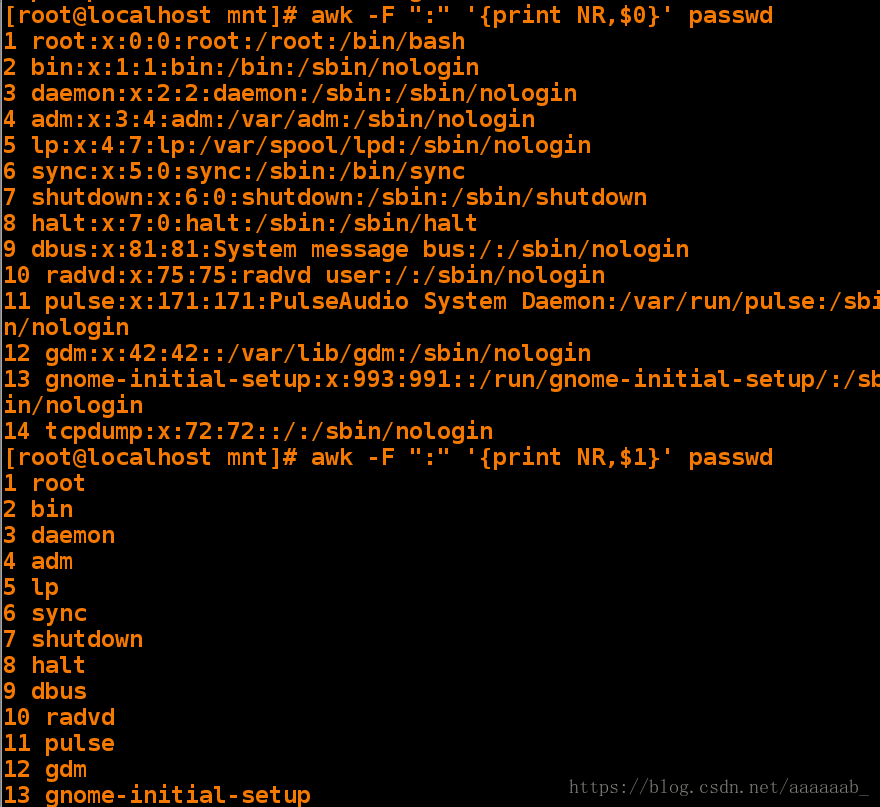
[root@localhost mnt]# awk -F ":" '$6!~/^\/home/&&/bash$/{print $1}' /etc/passwd  以:为分隔符,打印家目录下不是bash结尾的,打印第一列
root
[root@localhost mnt]# awk -F ":" 'BEGINA{n=0}$6!~/^\/home/&&/bash$/{n++}END{print n}' /etc/passwd
1   以:为分隔符,打印数目
脚本的练习:
1.打印能登陆系统且家目录不是/home的用户个数
[root@localhost mnt]# vim cc.sh
[root@localhost mnt]# sh cc.sh
1
2.打印设备eth0的IP
[root@localhost mnt]# vim dd.sh
[root@localhost mnt]# sh dd.sh
172.25.254.121
[root@localhost mnt]# vim ee.sh
[root@localhost mnt]# sh ee.sh
172.25.254.121
3.打印能登录系统的用户:
[root@localhost mnt]# vim ff.sh
[root@localhost mnt]# sh ff.sh
2
4.awk显示文件行数:
[root@localhost mnt]# vim gg.sh
[root@localhost mnt]# sh gg.sh /etc/passwd
39
[root@localhost mnt]# sh gg.sh passwd
14